


Best way to set up your cover!
Welcome to our step-by-step guide on assembling your Cordwood Cover and constructing a traditional Holz Hausen woodpile. This method not only offers an efficient way to stack and dry your firewood but also adds an aesthetically pleasing feature to your yard. By following these instructions, you'll ensure your firewood remains dry, well-ventilated, and ready for use throughout the year. Let's get started on building a sturdy and functional woodpile that stands the test of time.
For printing out the step by step PDF, click here.
1
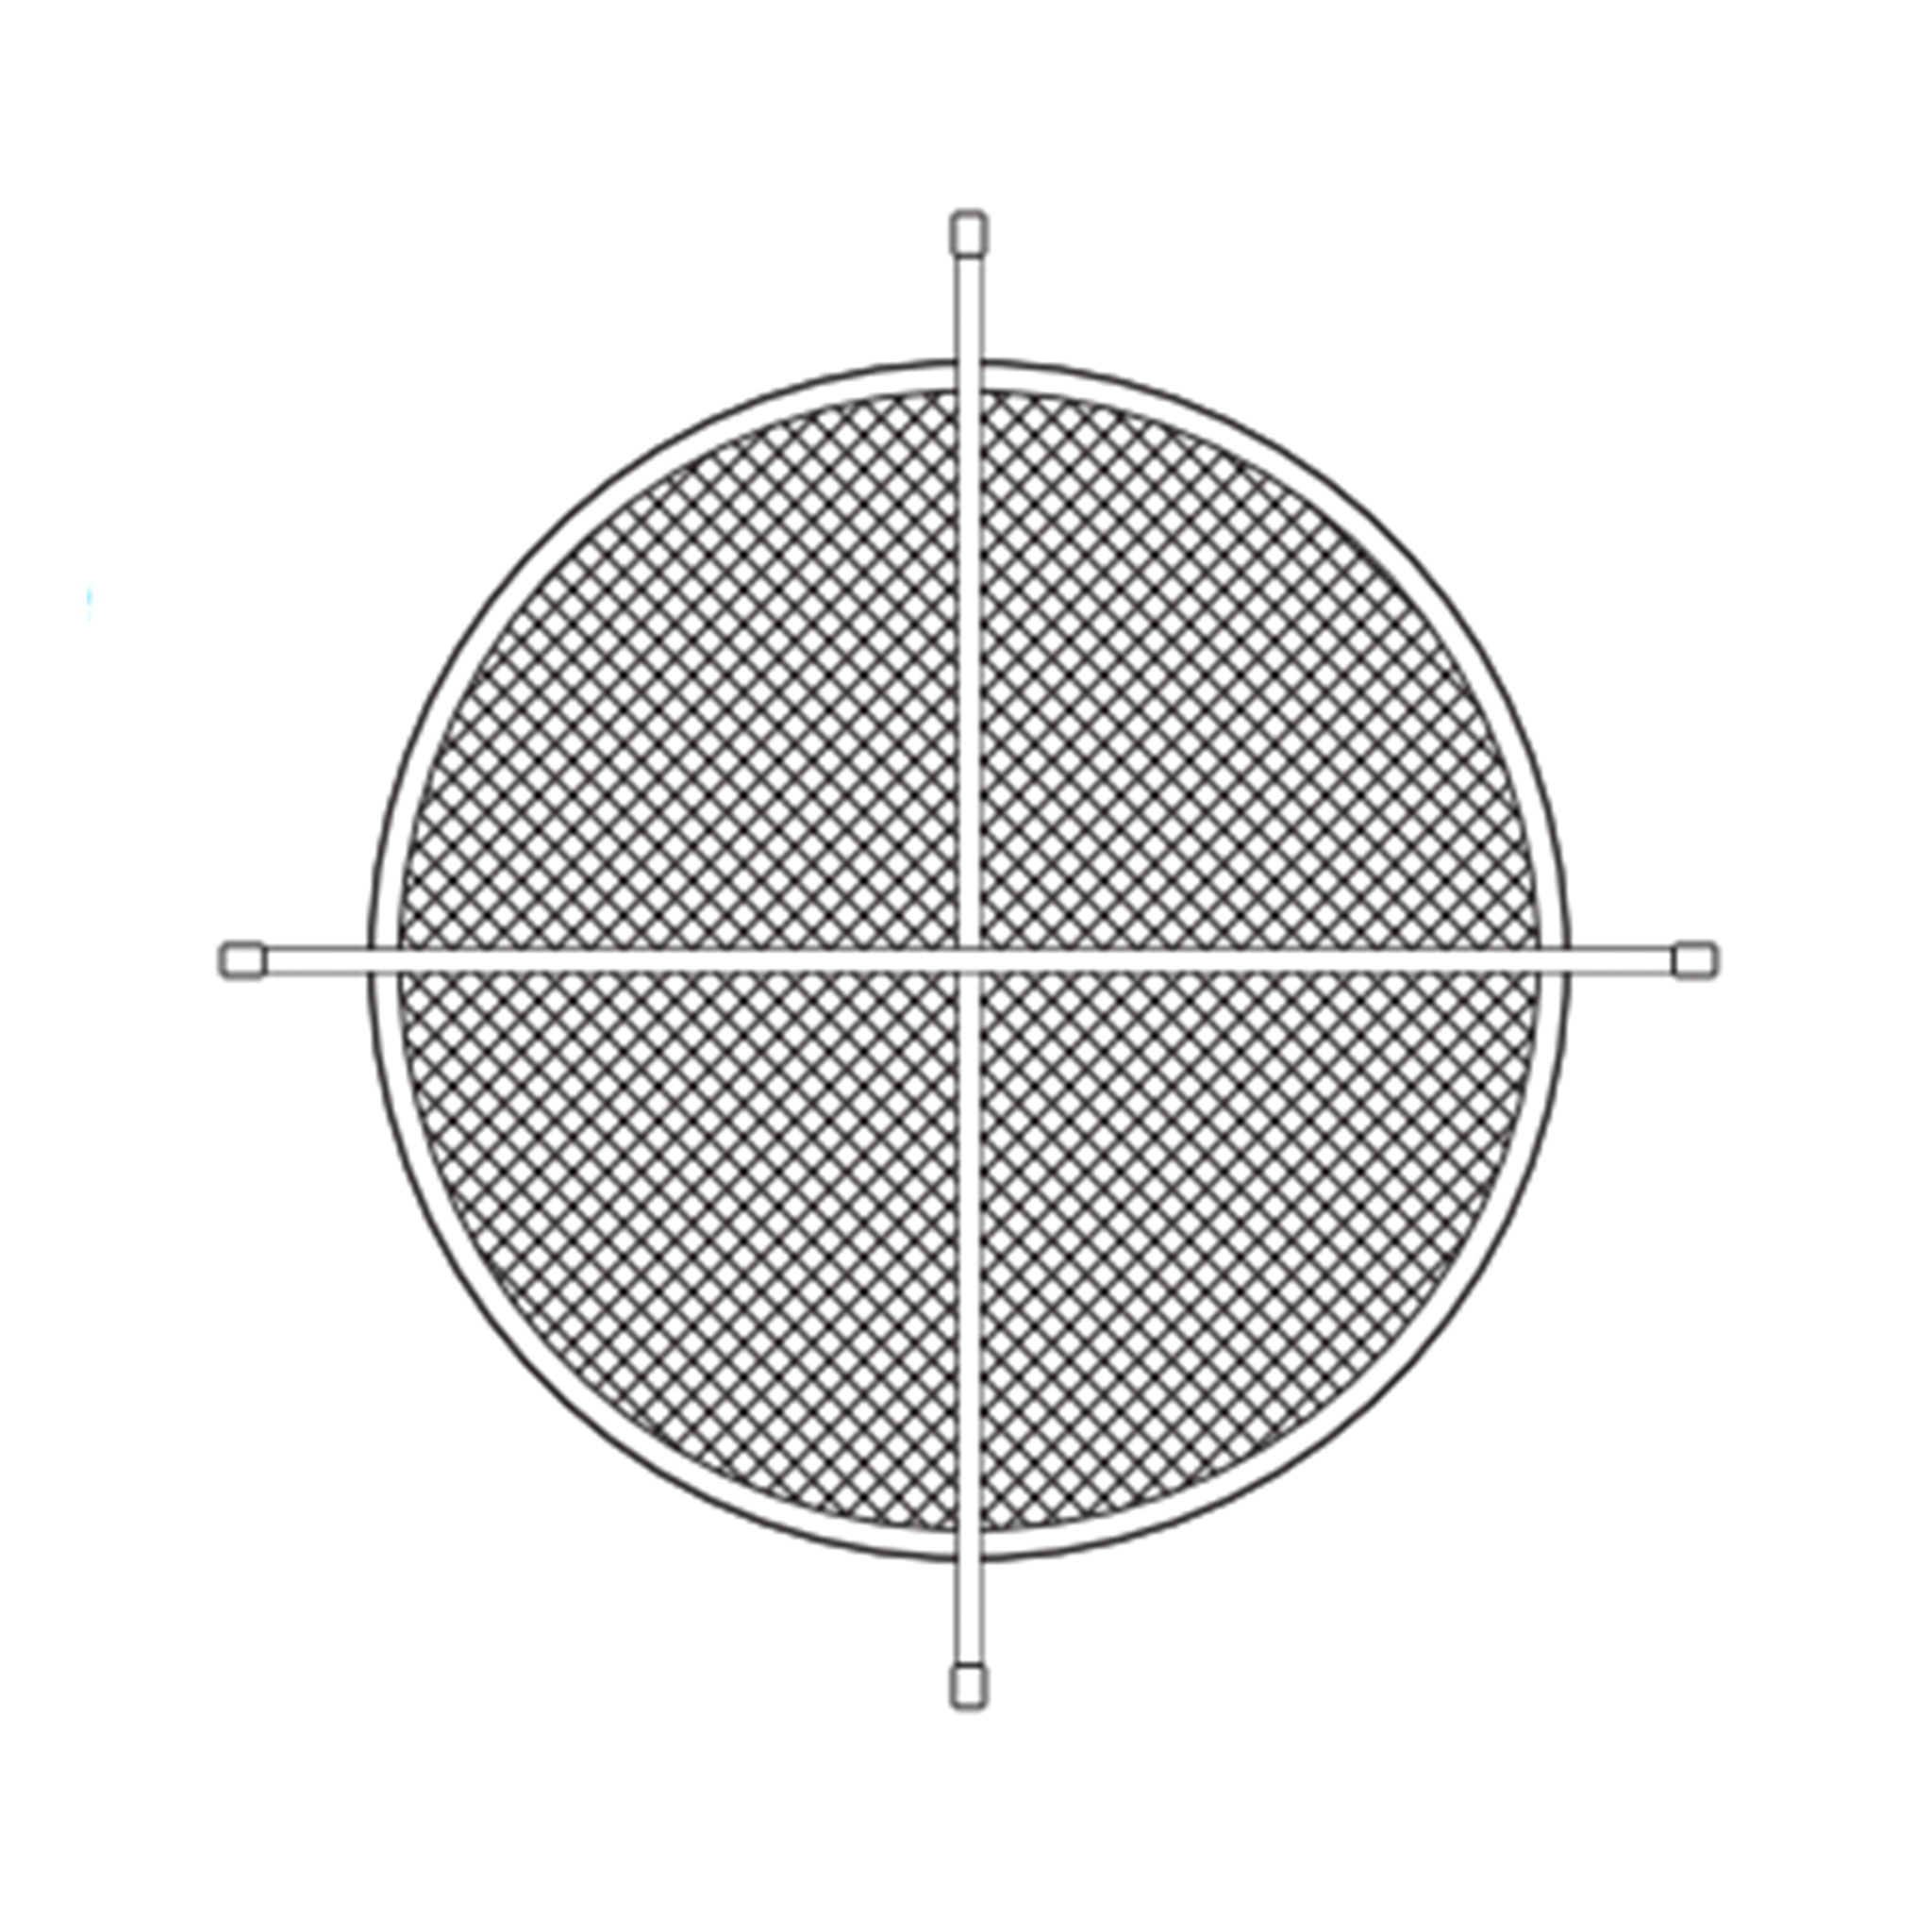
Lay out the mesh base on the ground. The ground should be relatively flat and firm.
2
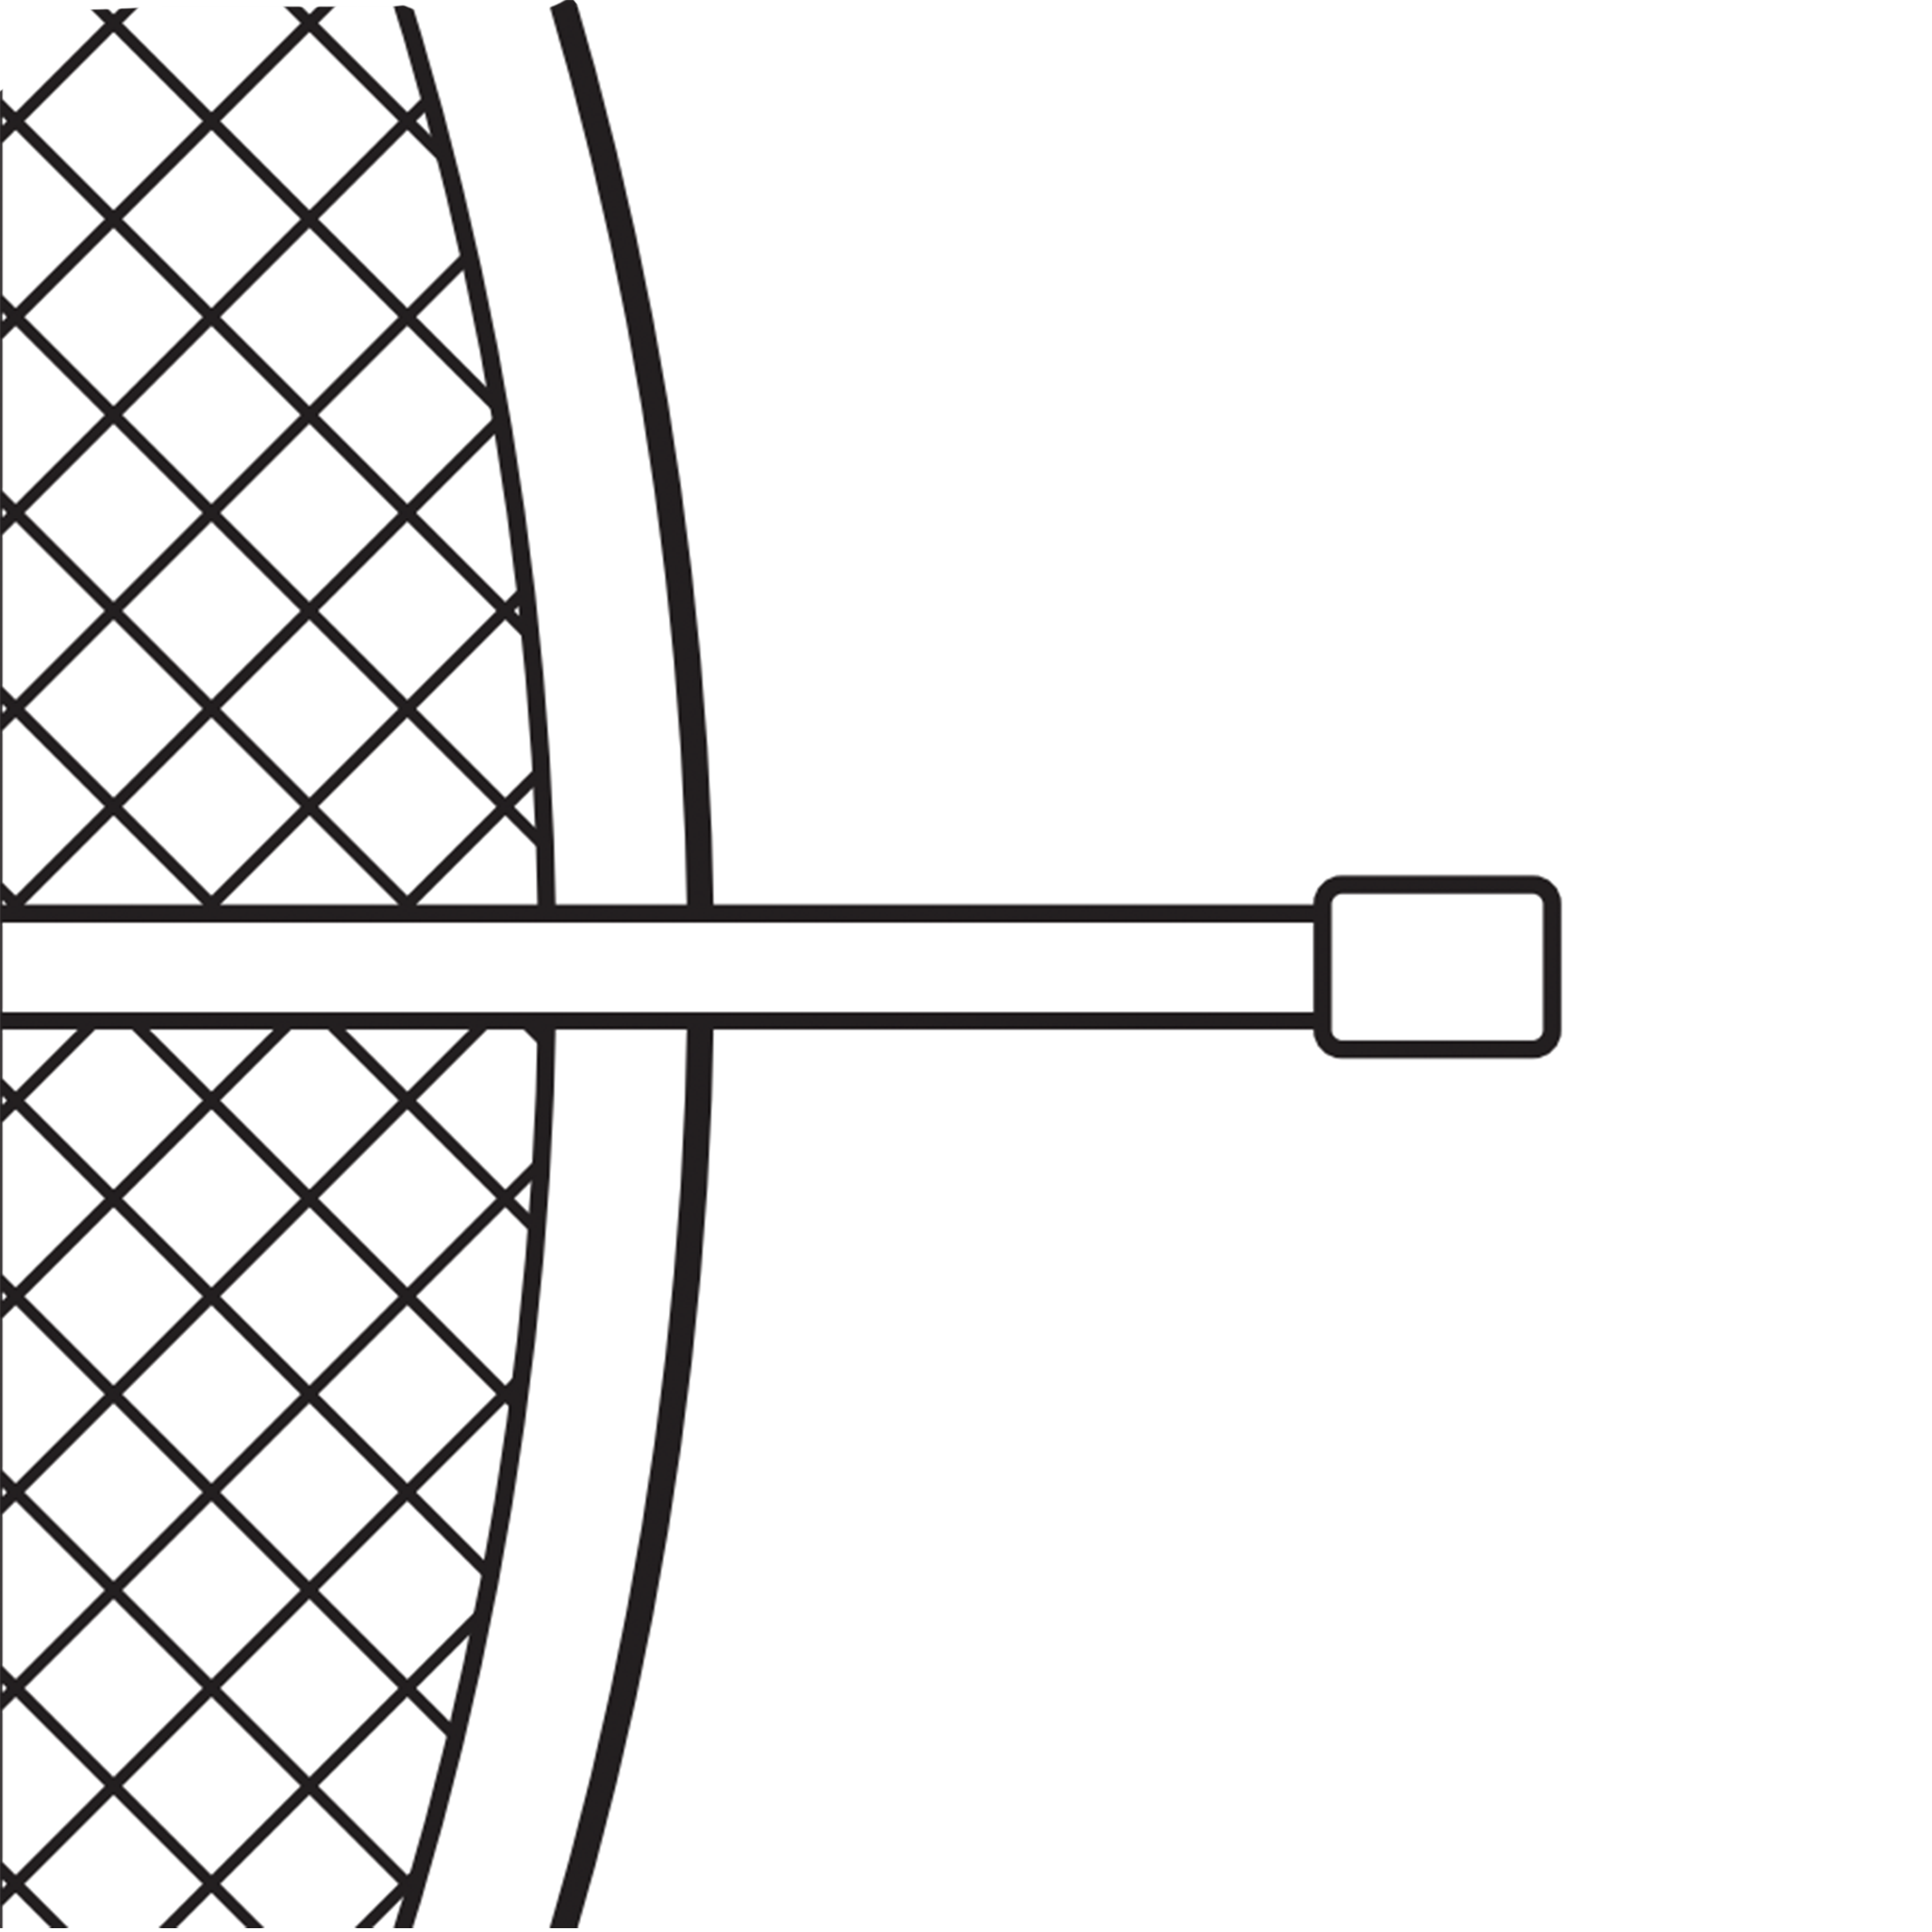
Warning: Four straps must extend outwards from the circular base as shown.
If you miss this step, you won't be able to fasten down your cover when you are finished stacking your firewood!
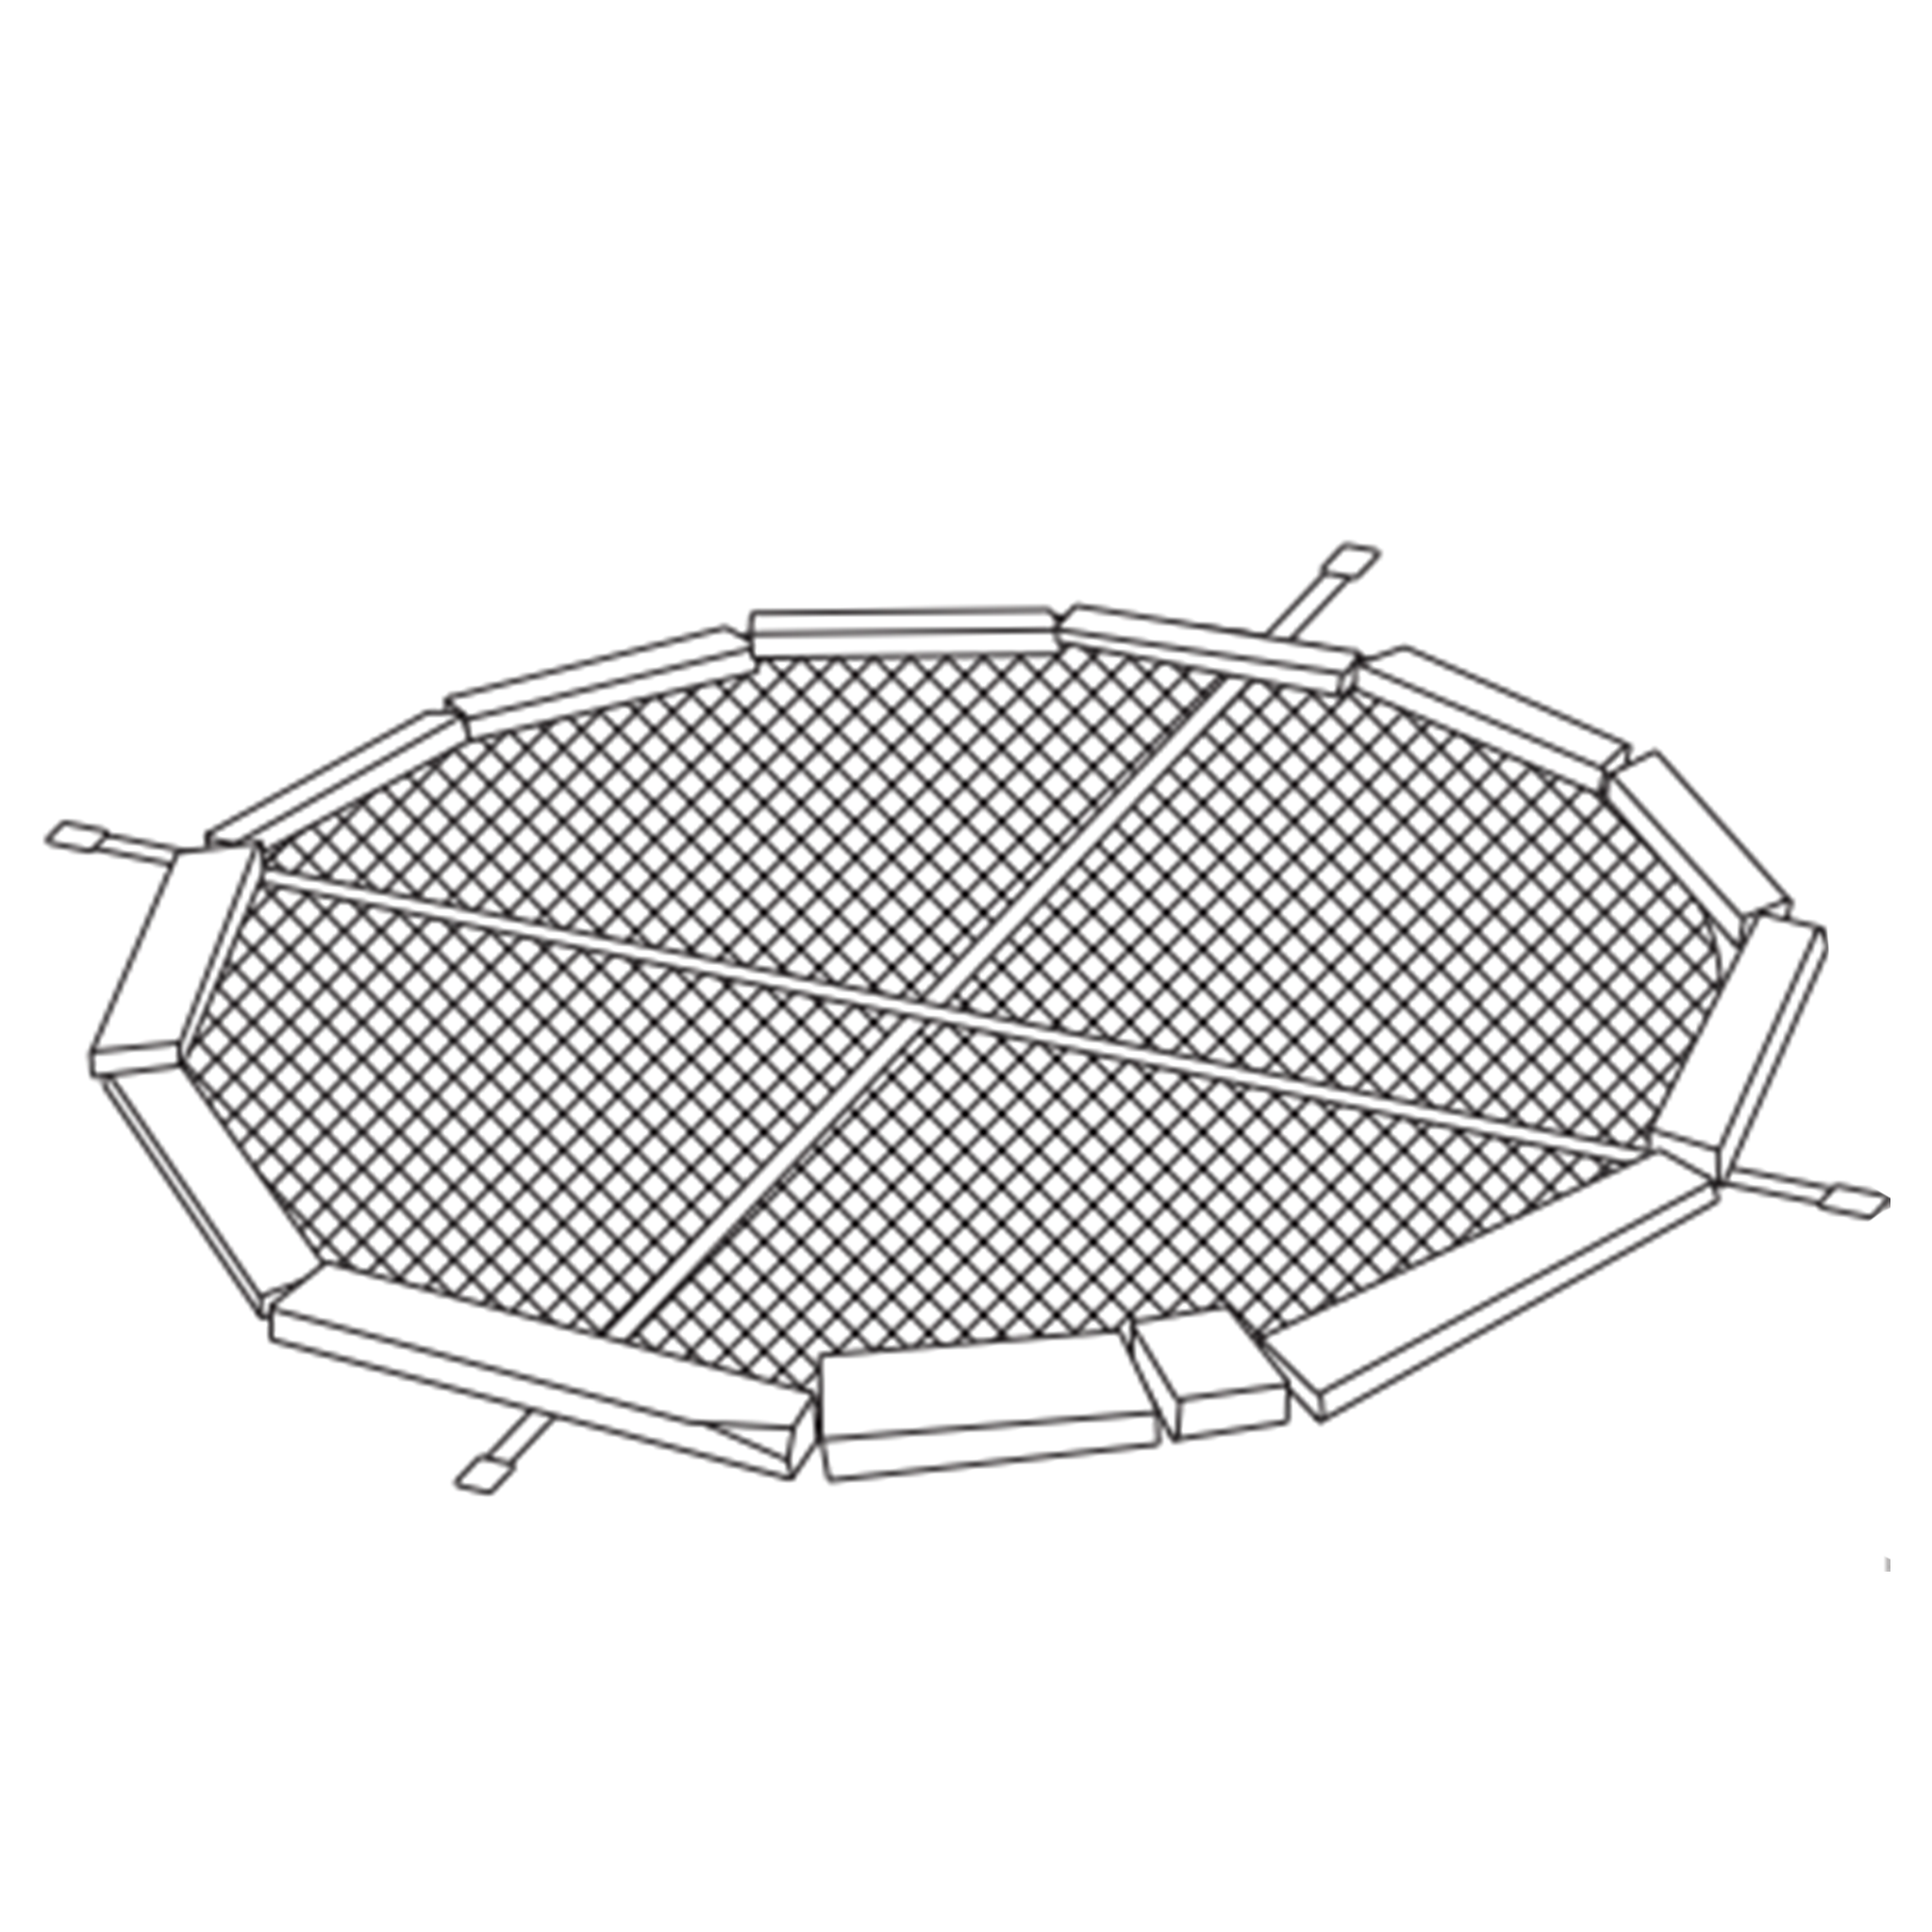
3
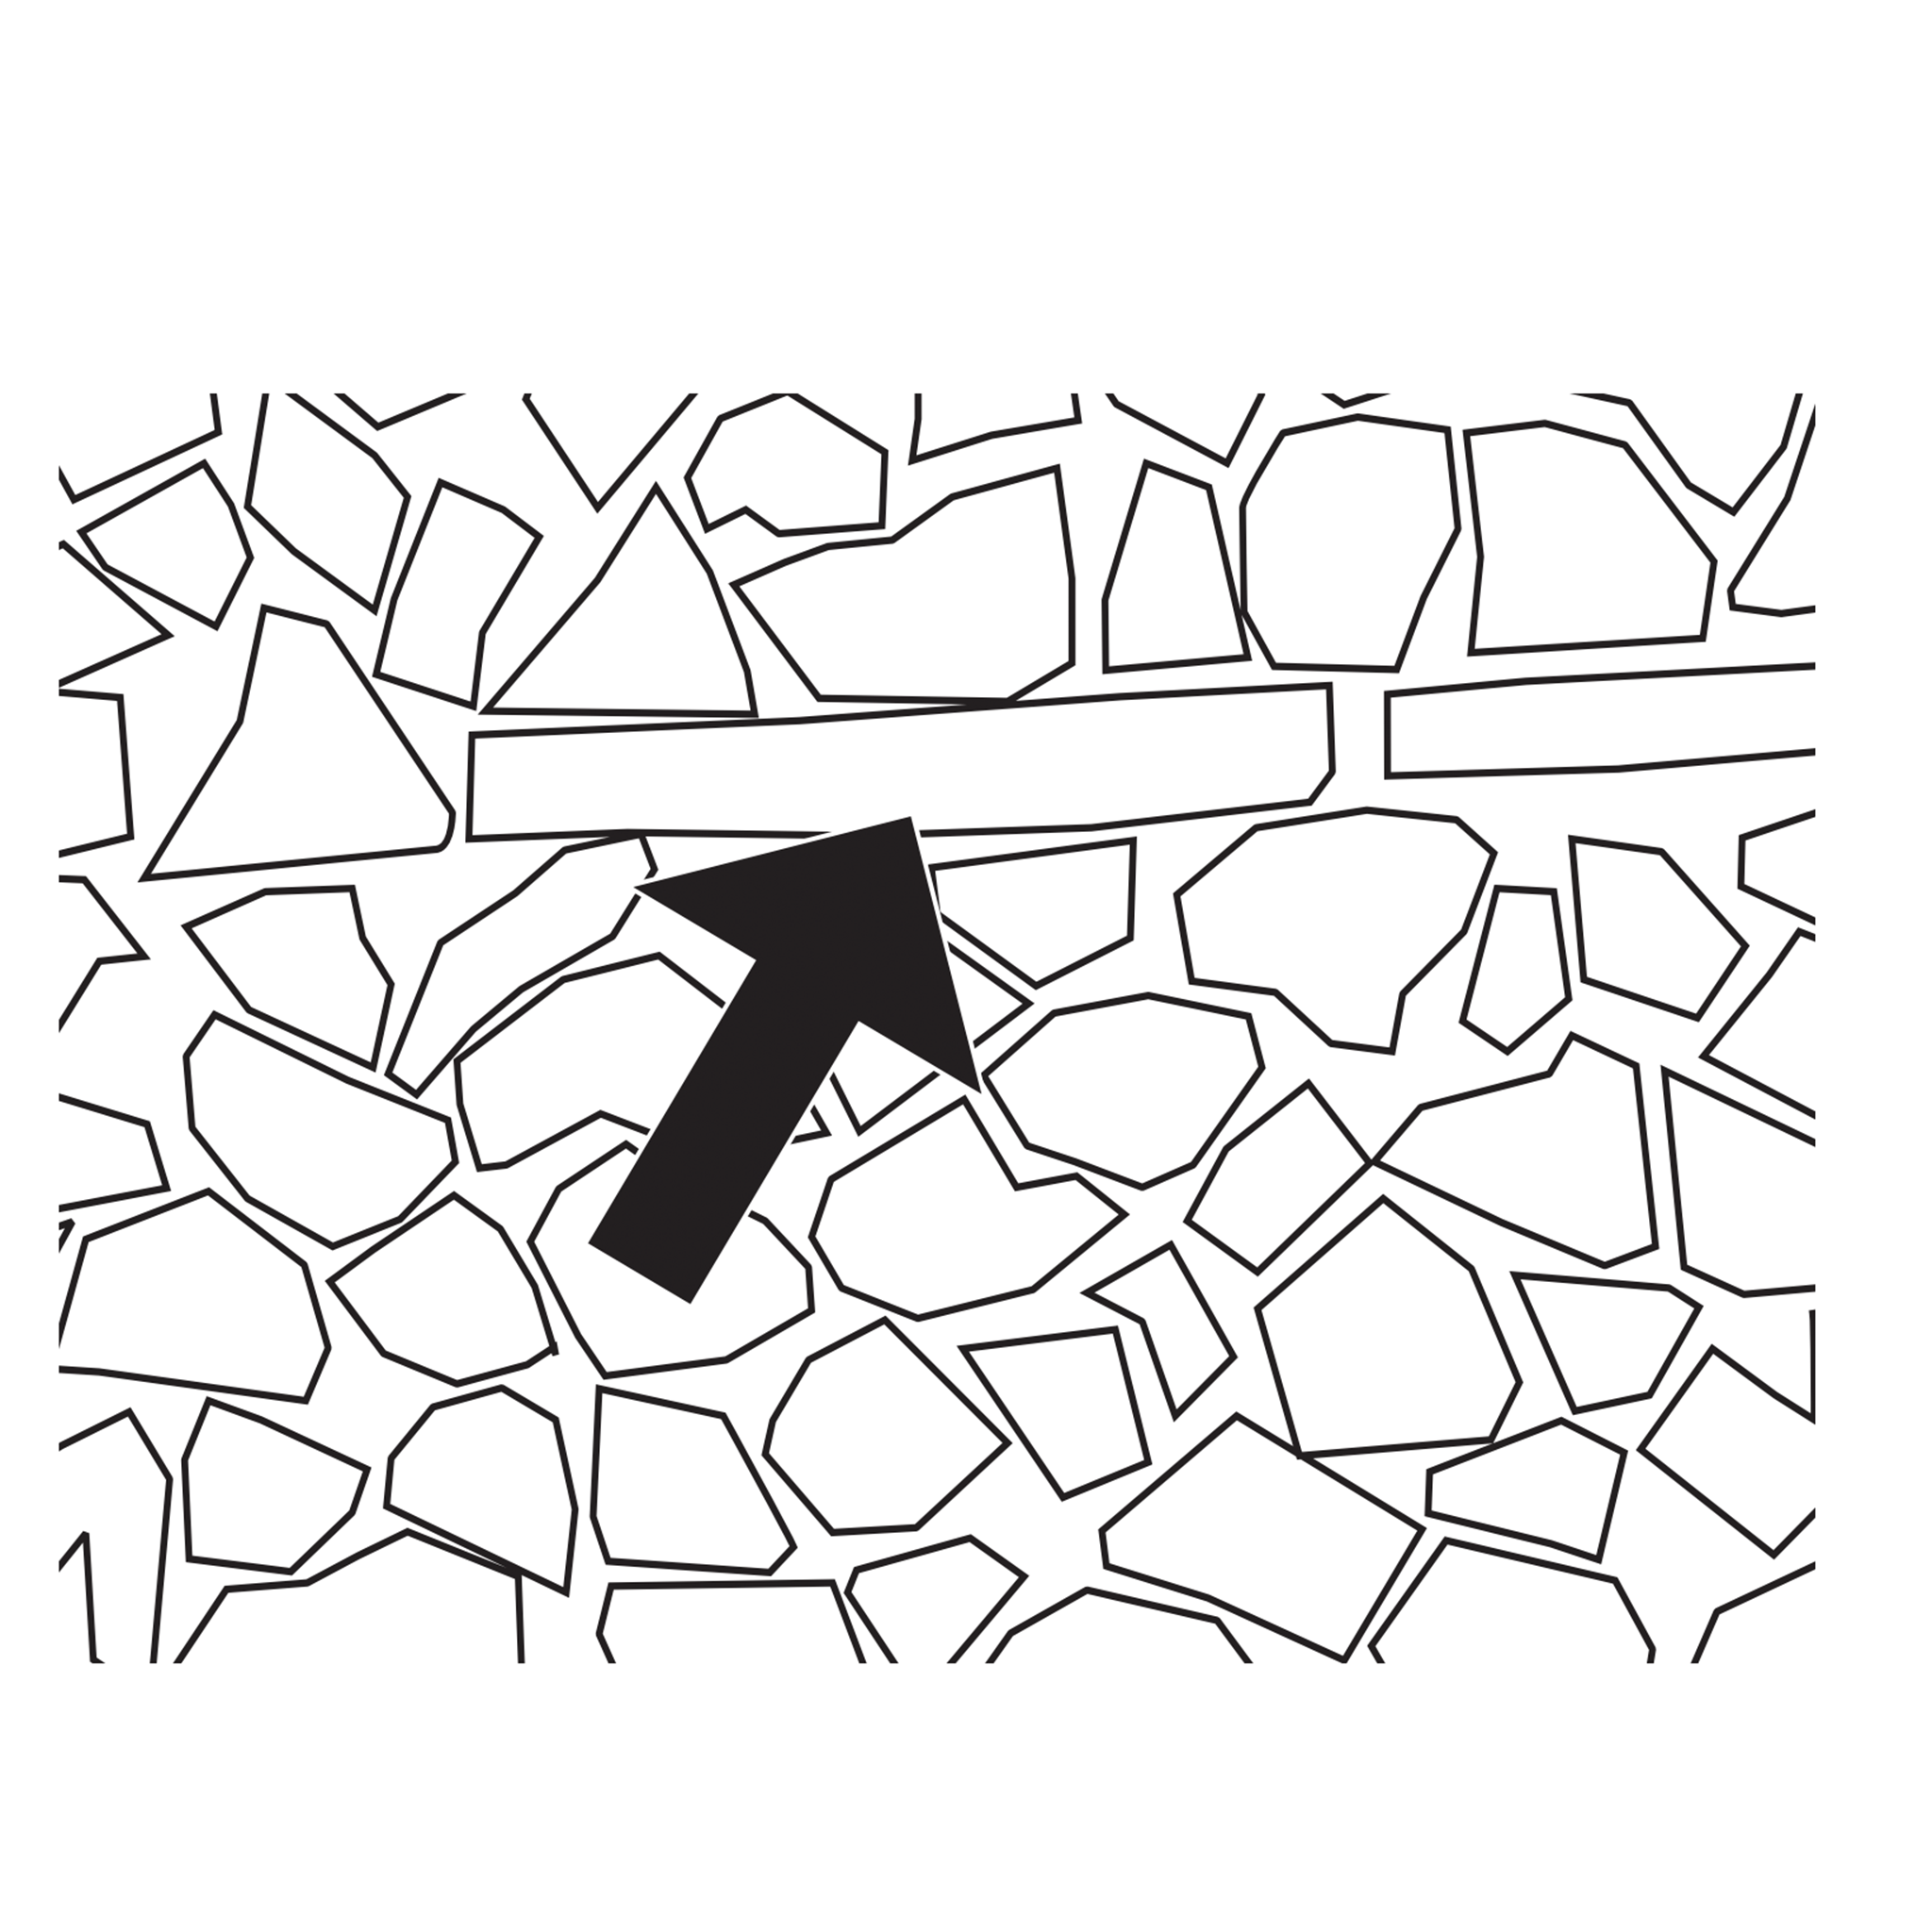
Begin stacking wood around the perimeter of the mesh base as shown. Use logs that have a flat side on them for this first circle around the perimeter. Place flat side down.
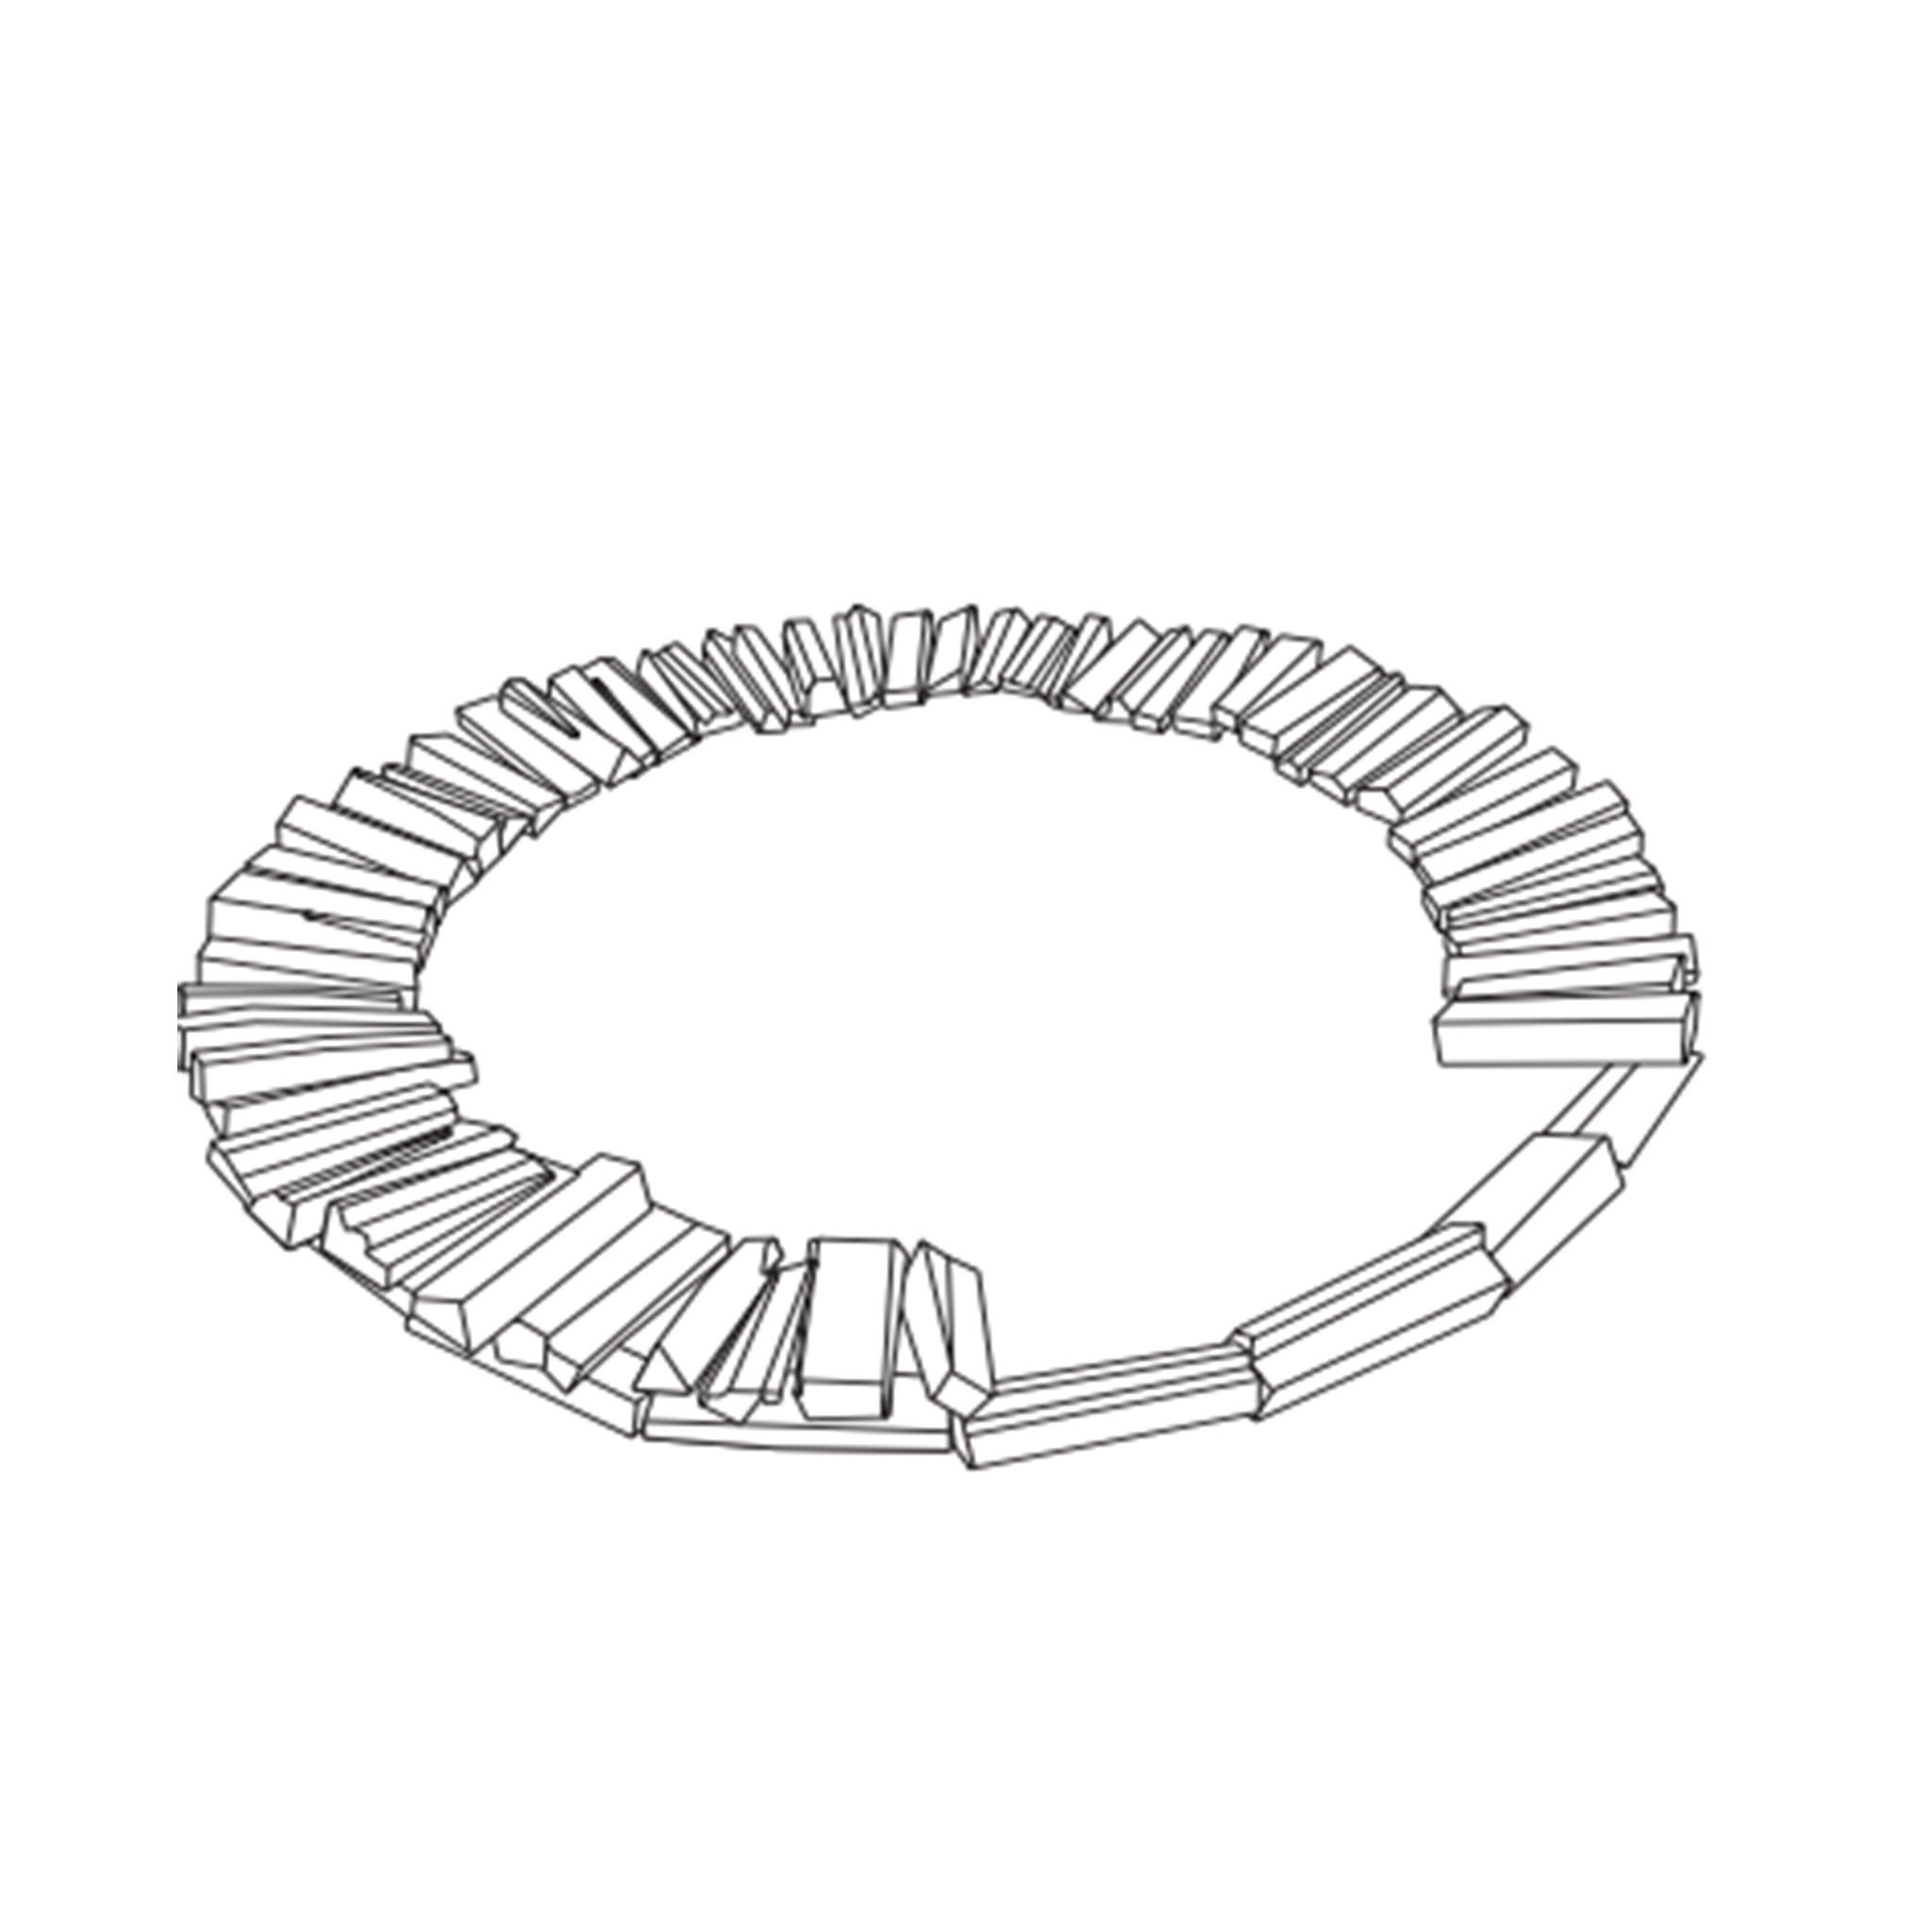
4
Once your perimeter is finished, start laying your logs resting on the perimeter logs and pointing toward the center of the circle. Keep laying logs around the perimeter in this way.
5
If you have tapered logs, try to place the narrow end toward the center. This will help you build a stable pile that is compact and sturdy.
6
If your logs are starting to tip outward, you may find it helpful to lay another log near the outside perpendicular to the other logs (as you did to start the pile). This will allow you to tip them toward the center.
7
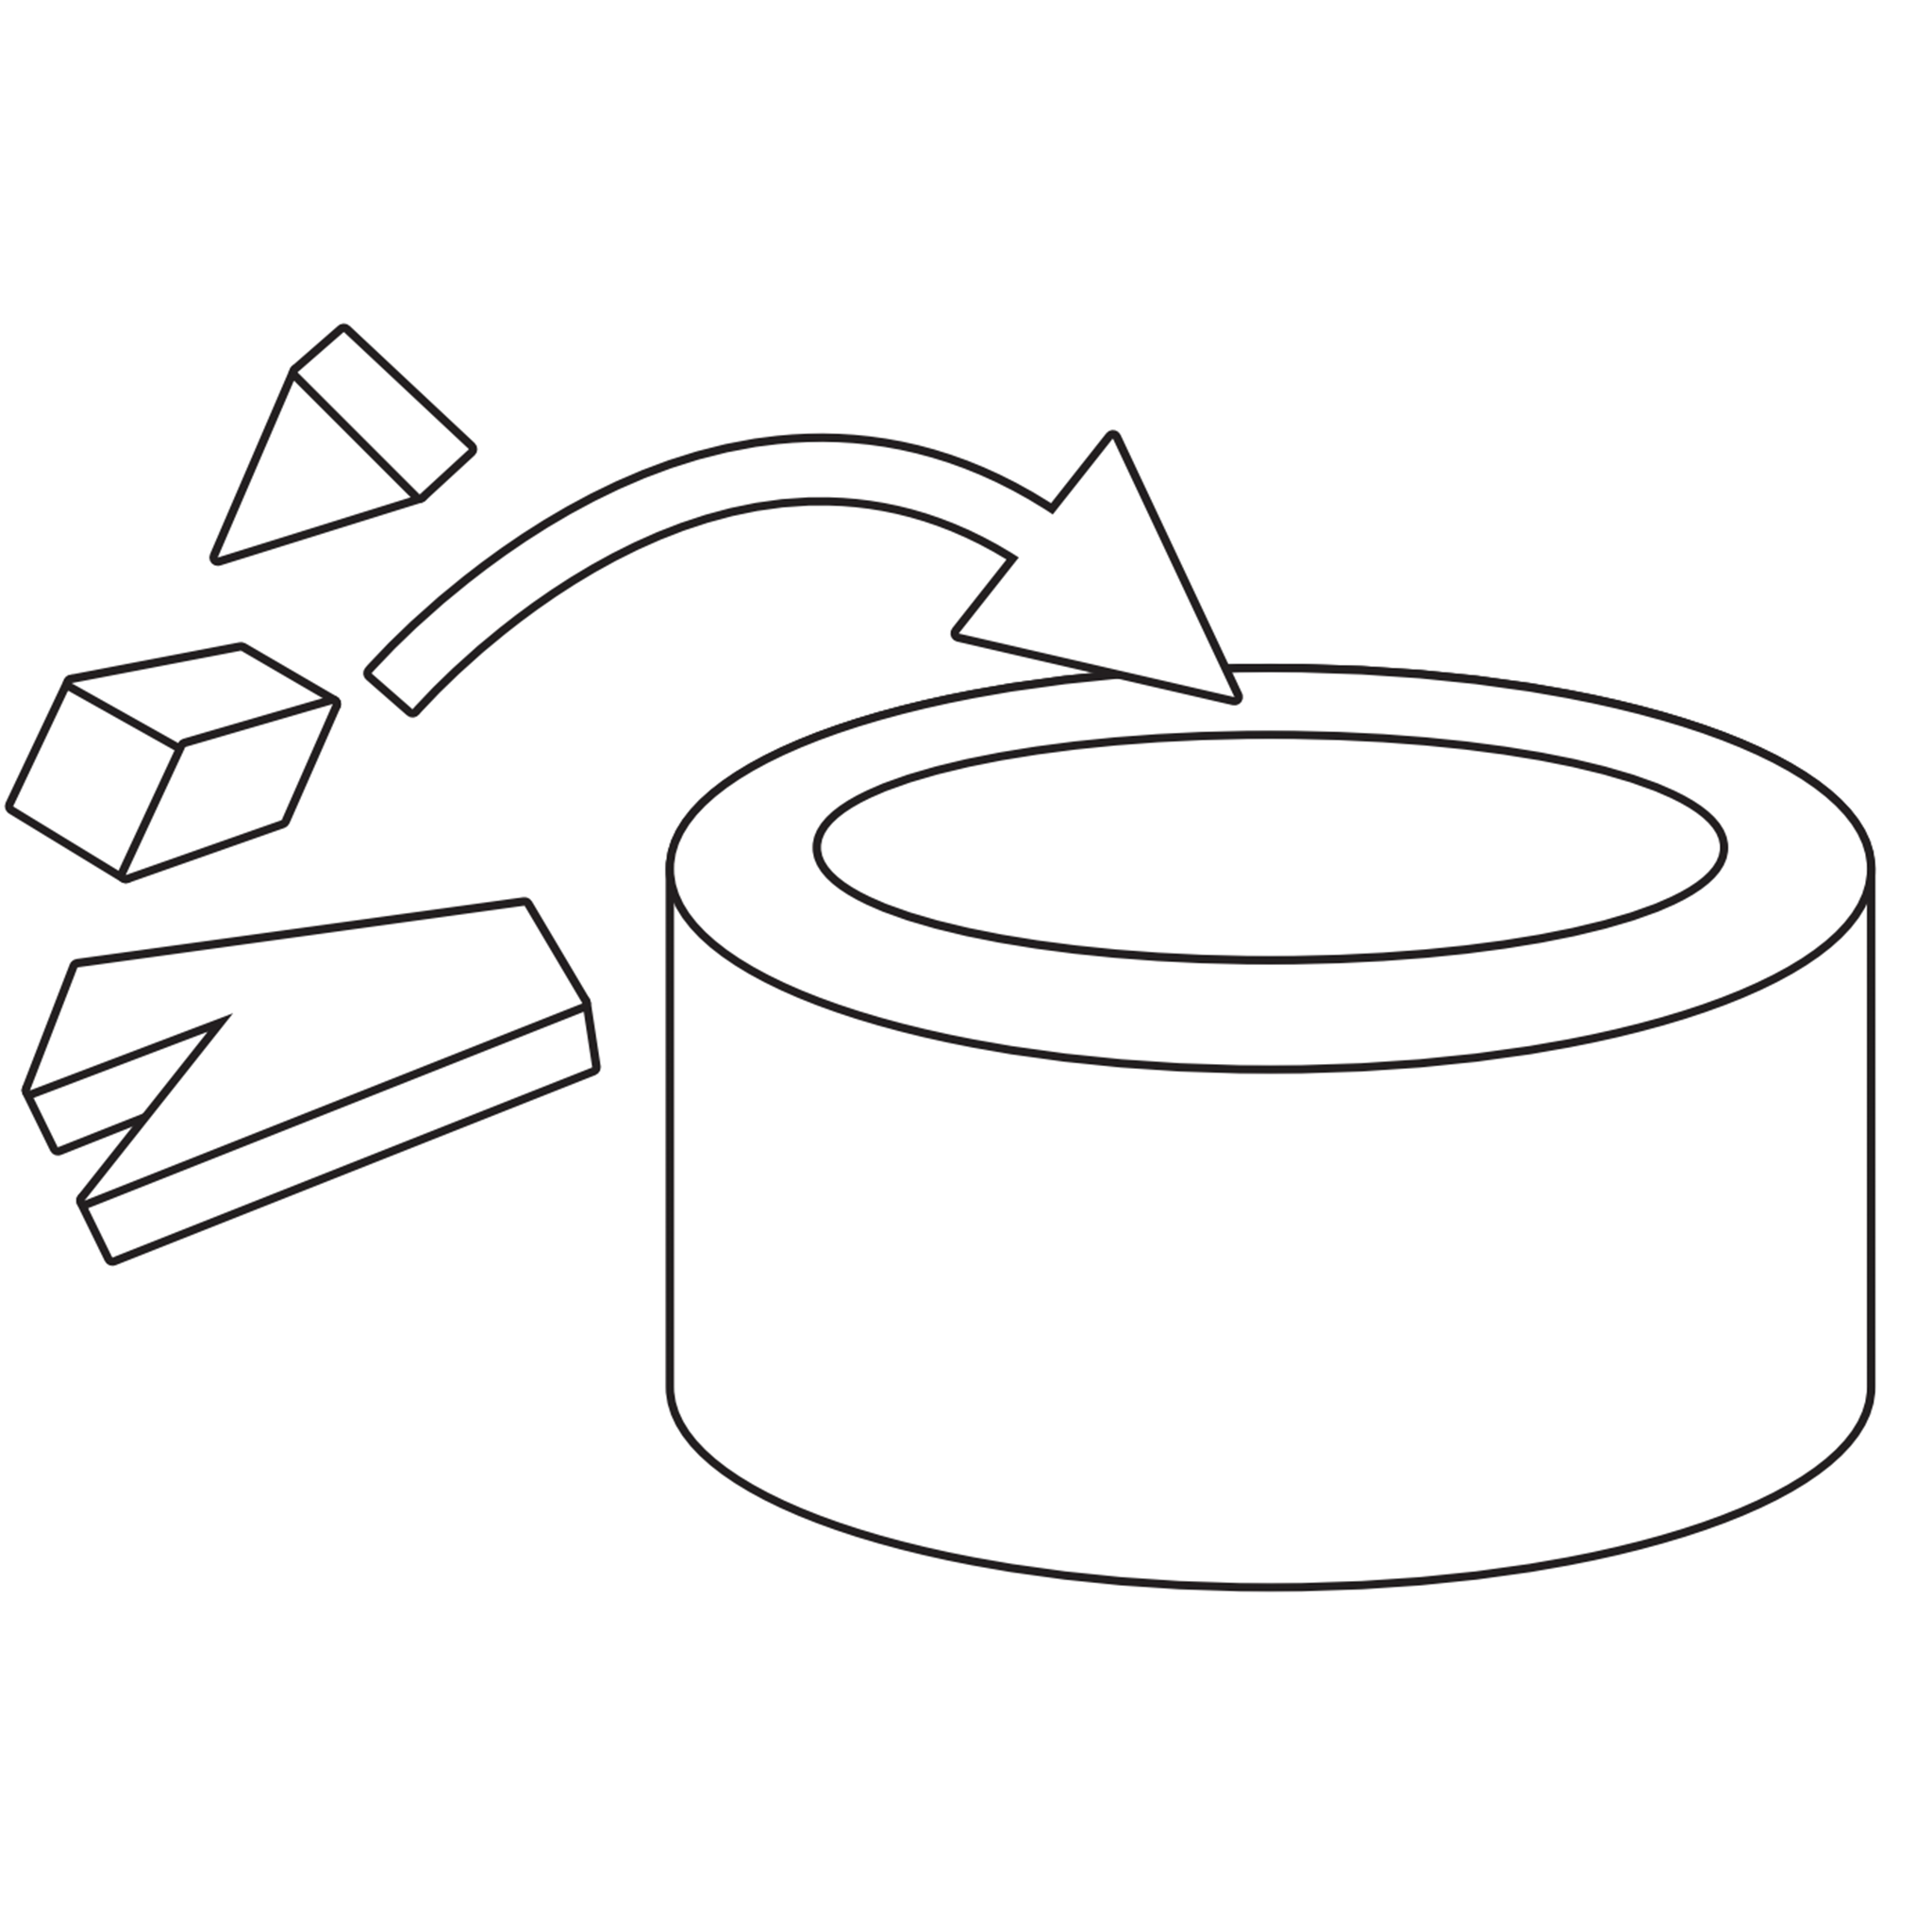
Odd sizes of logs (small scraps for kindling, weird shaped pieces with knots and chunks) can be thrown inside the perimeter. Anything that is hard to stack in a conventional woodpile is great to throw on the inside of the pile.
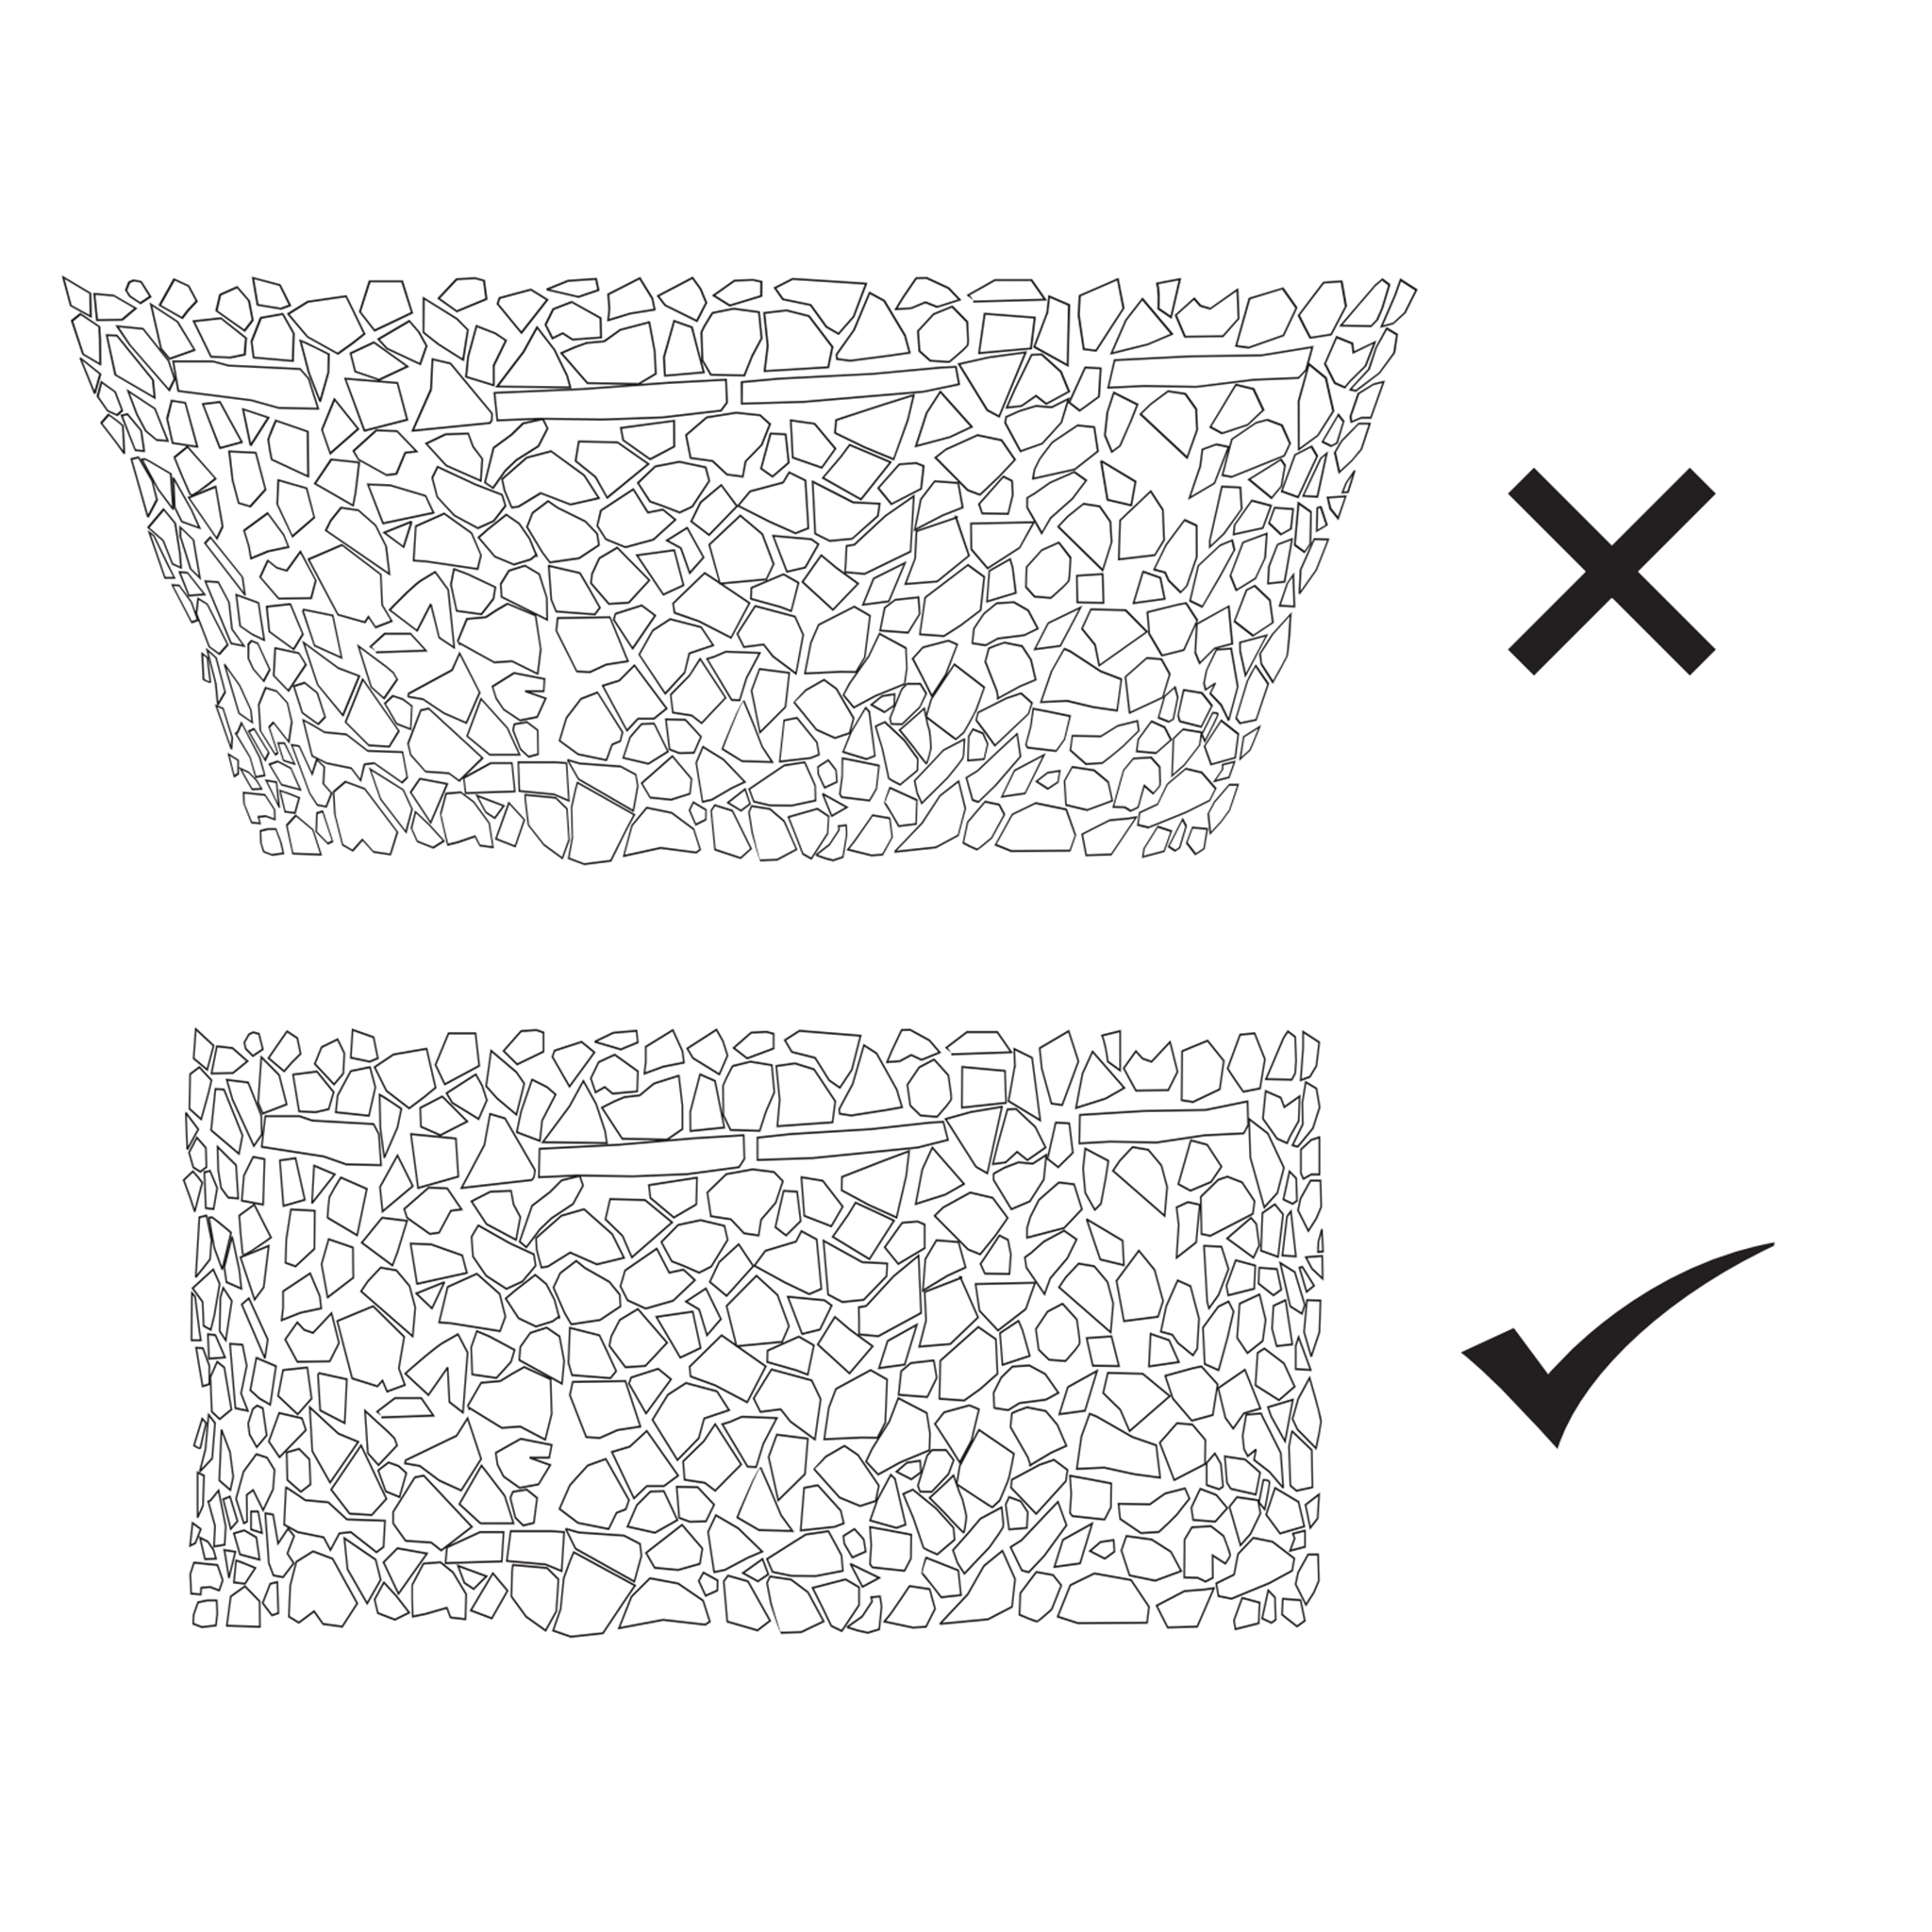
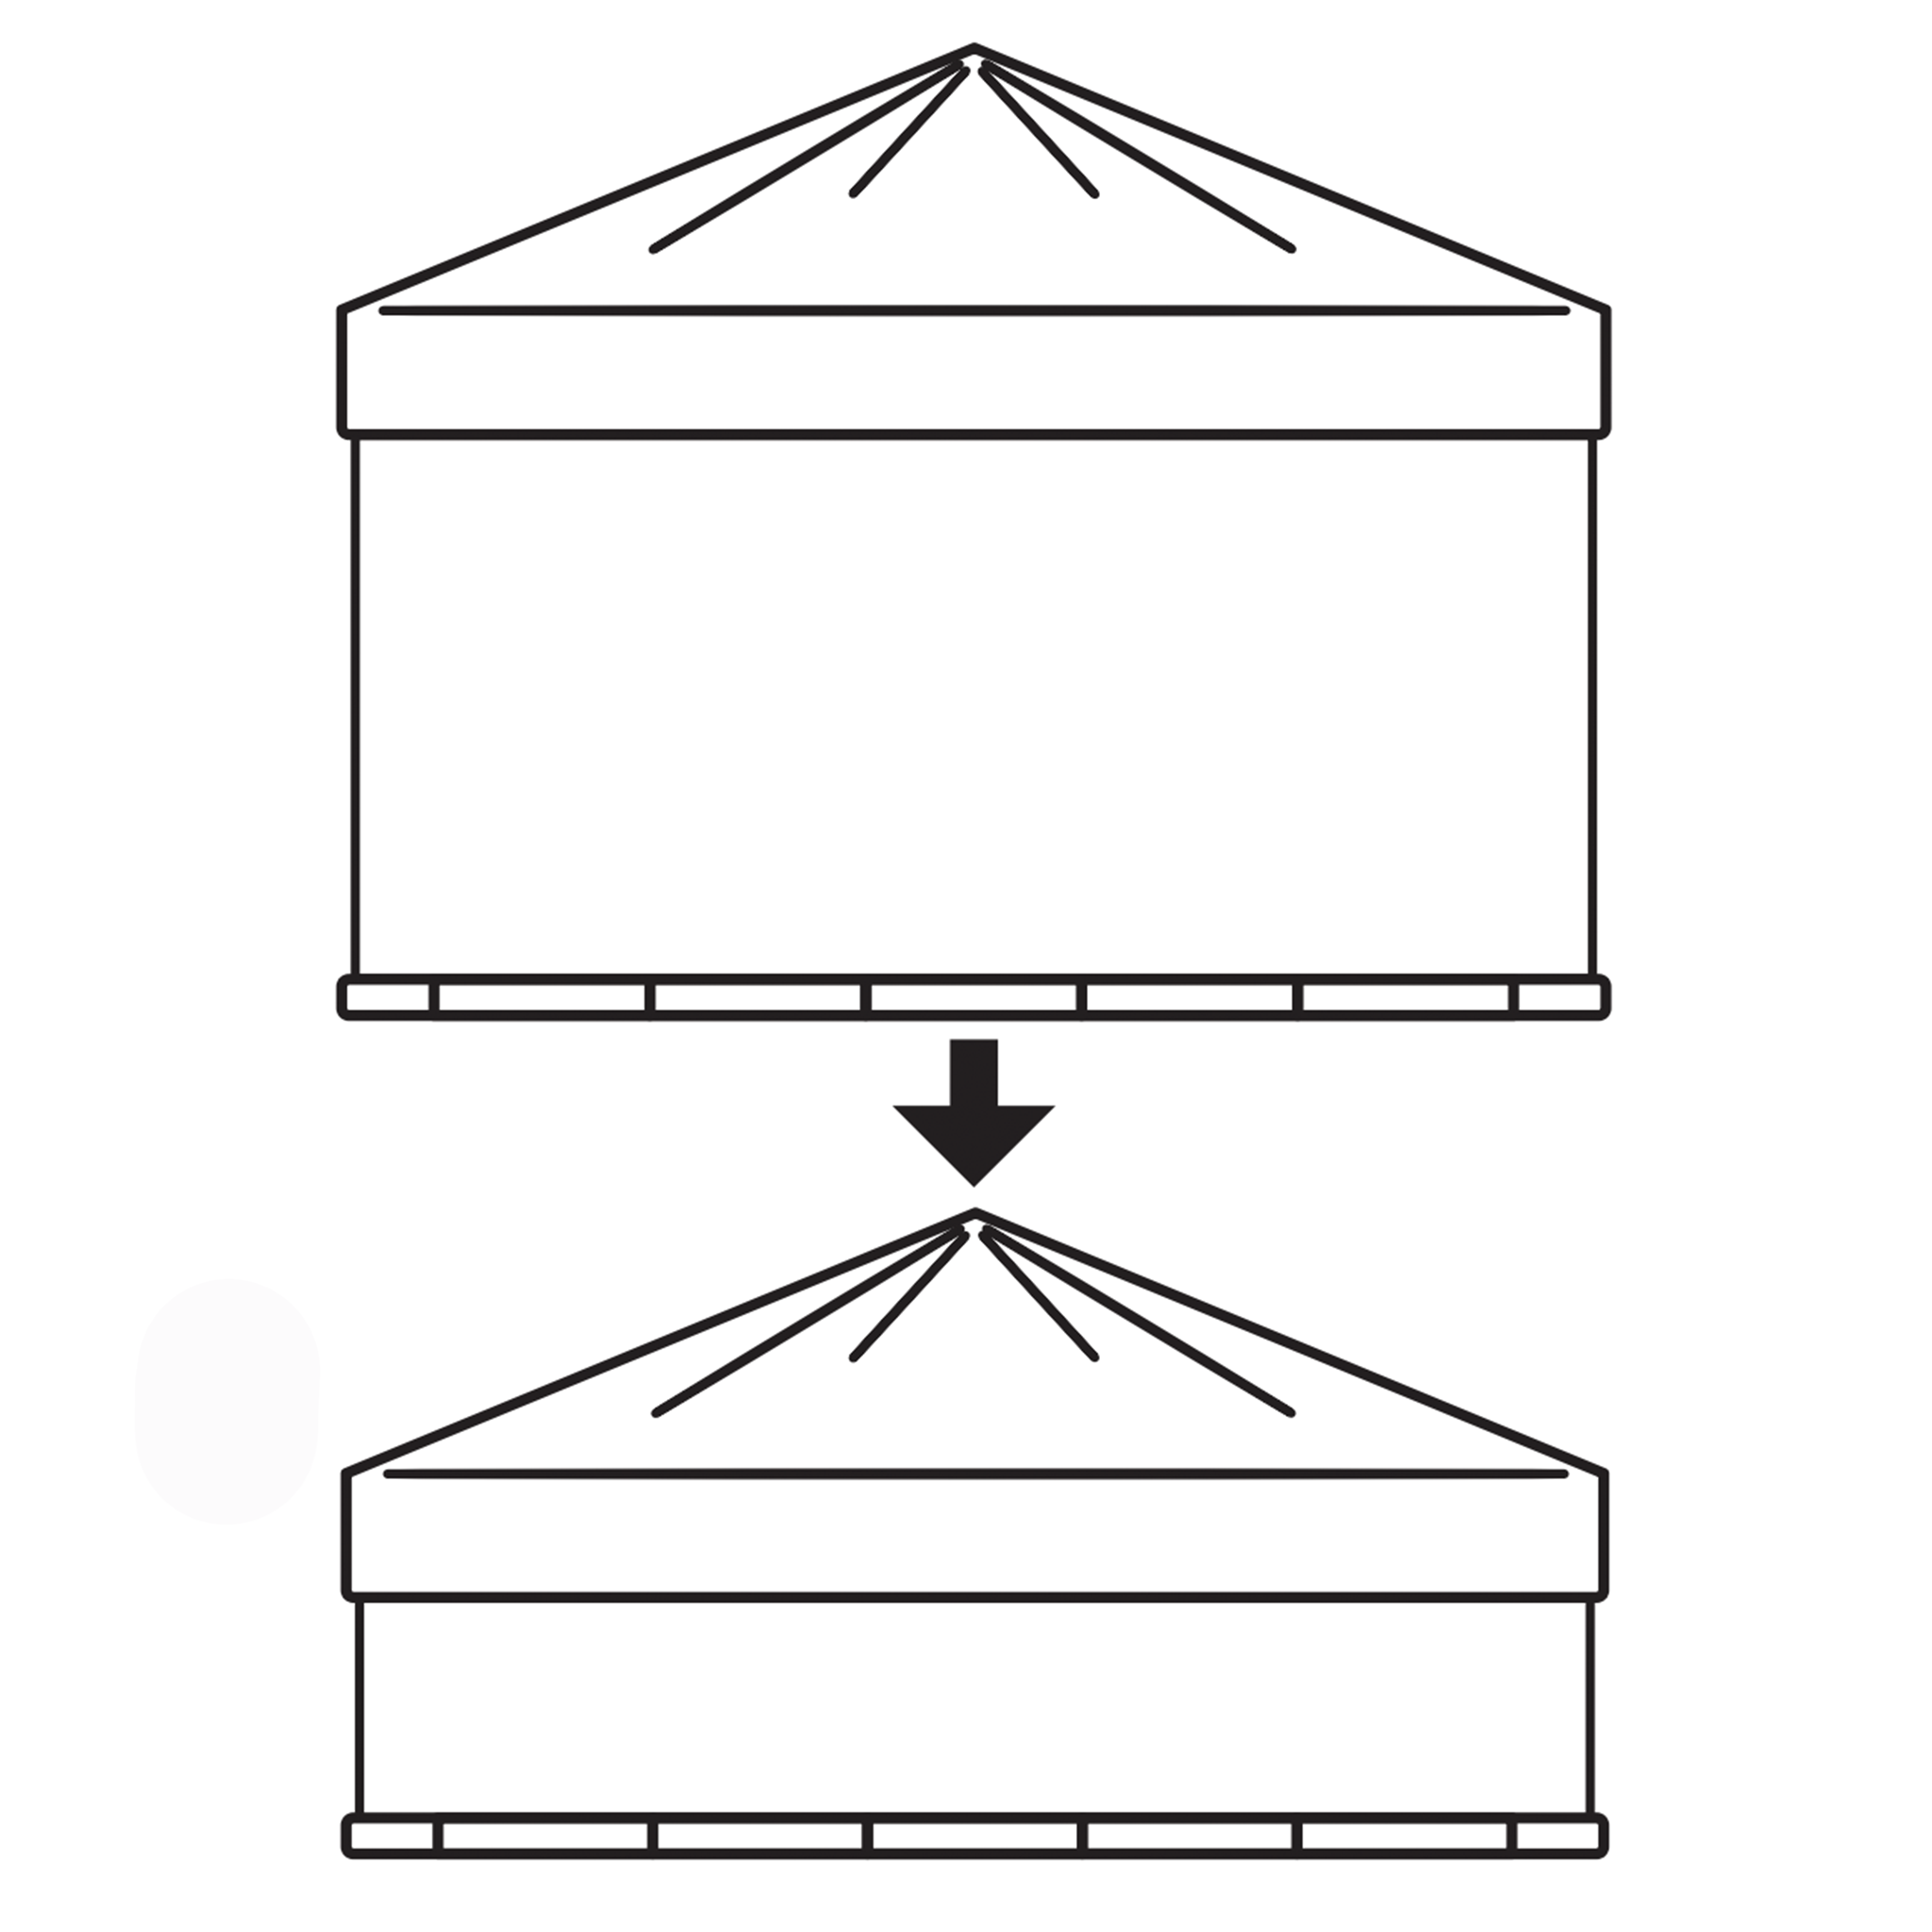
8
Keep stacking your pile to the desired height. Be careful to make sure the pile is vertical and not tipping outward. If it is tipping outward, the pile may be unstable and the cover may not fit.
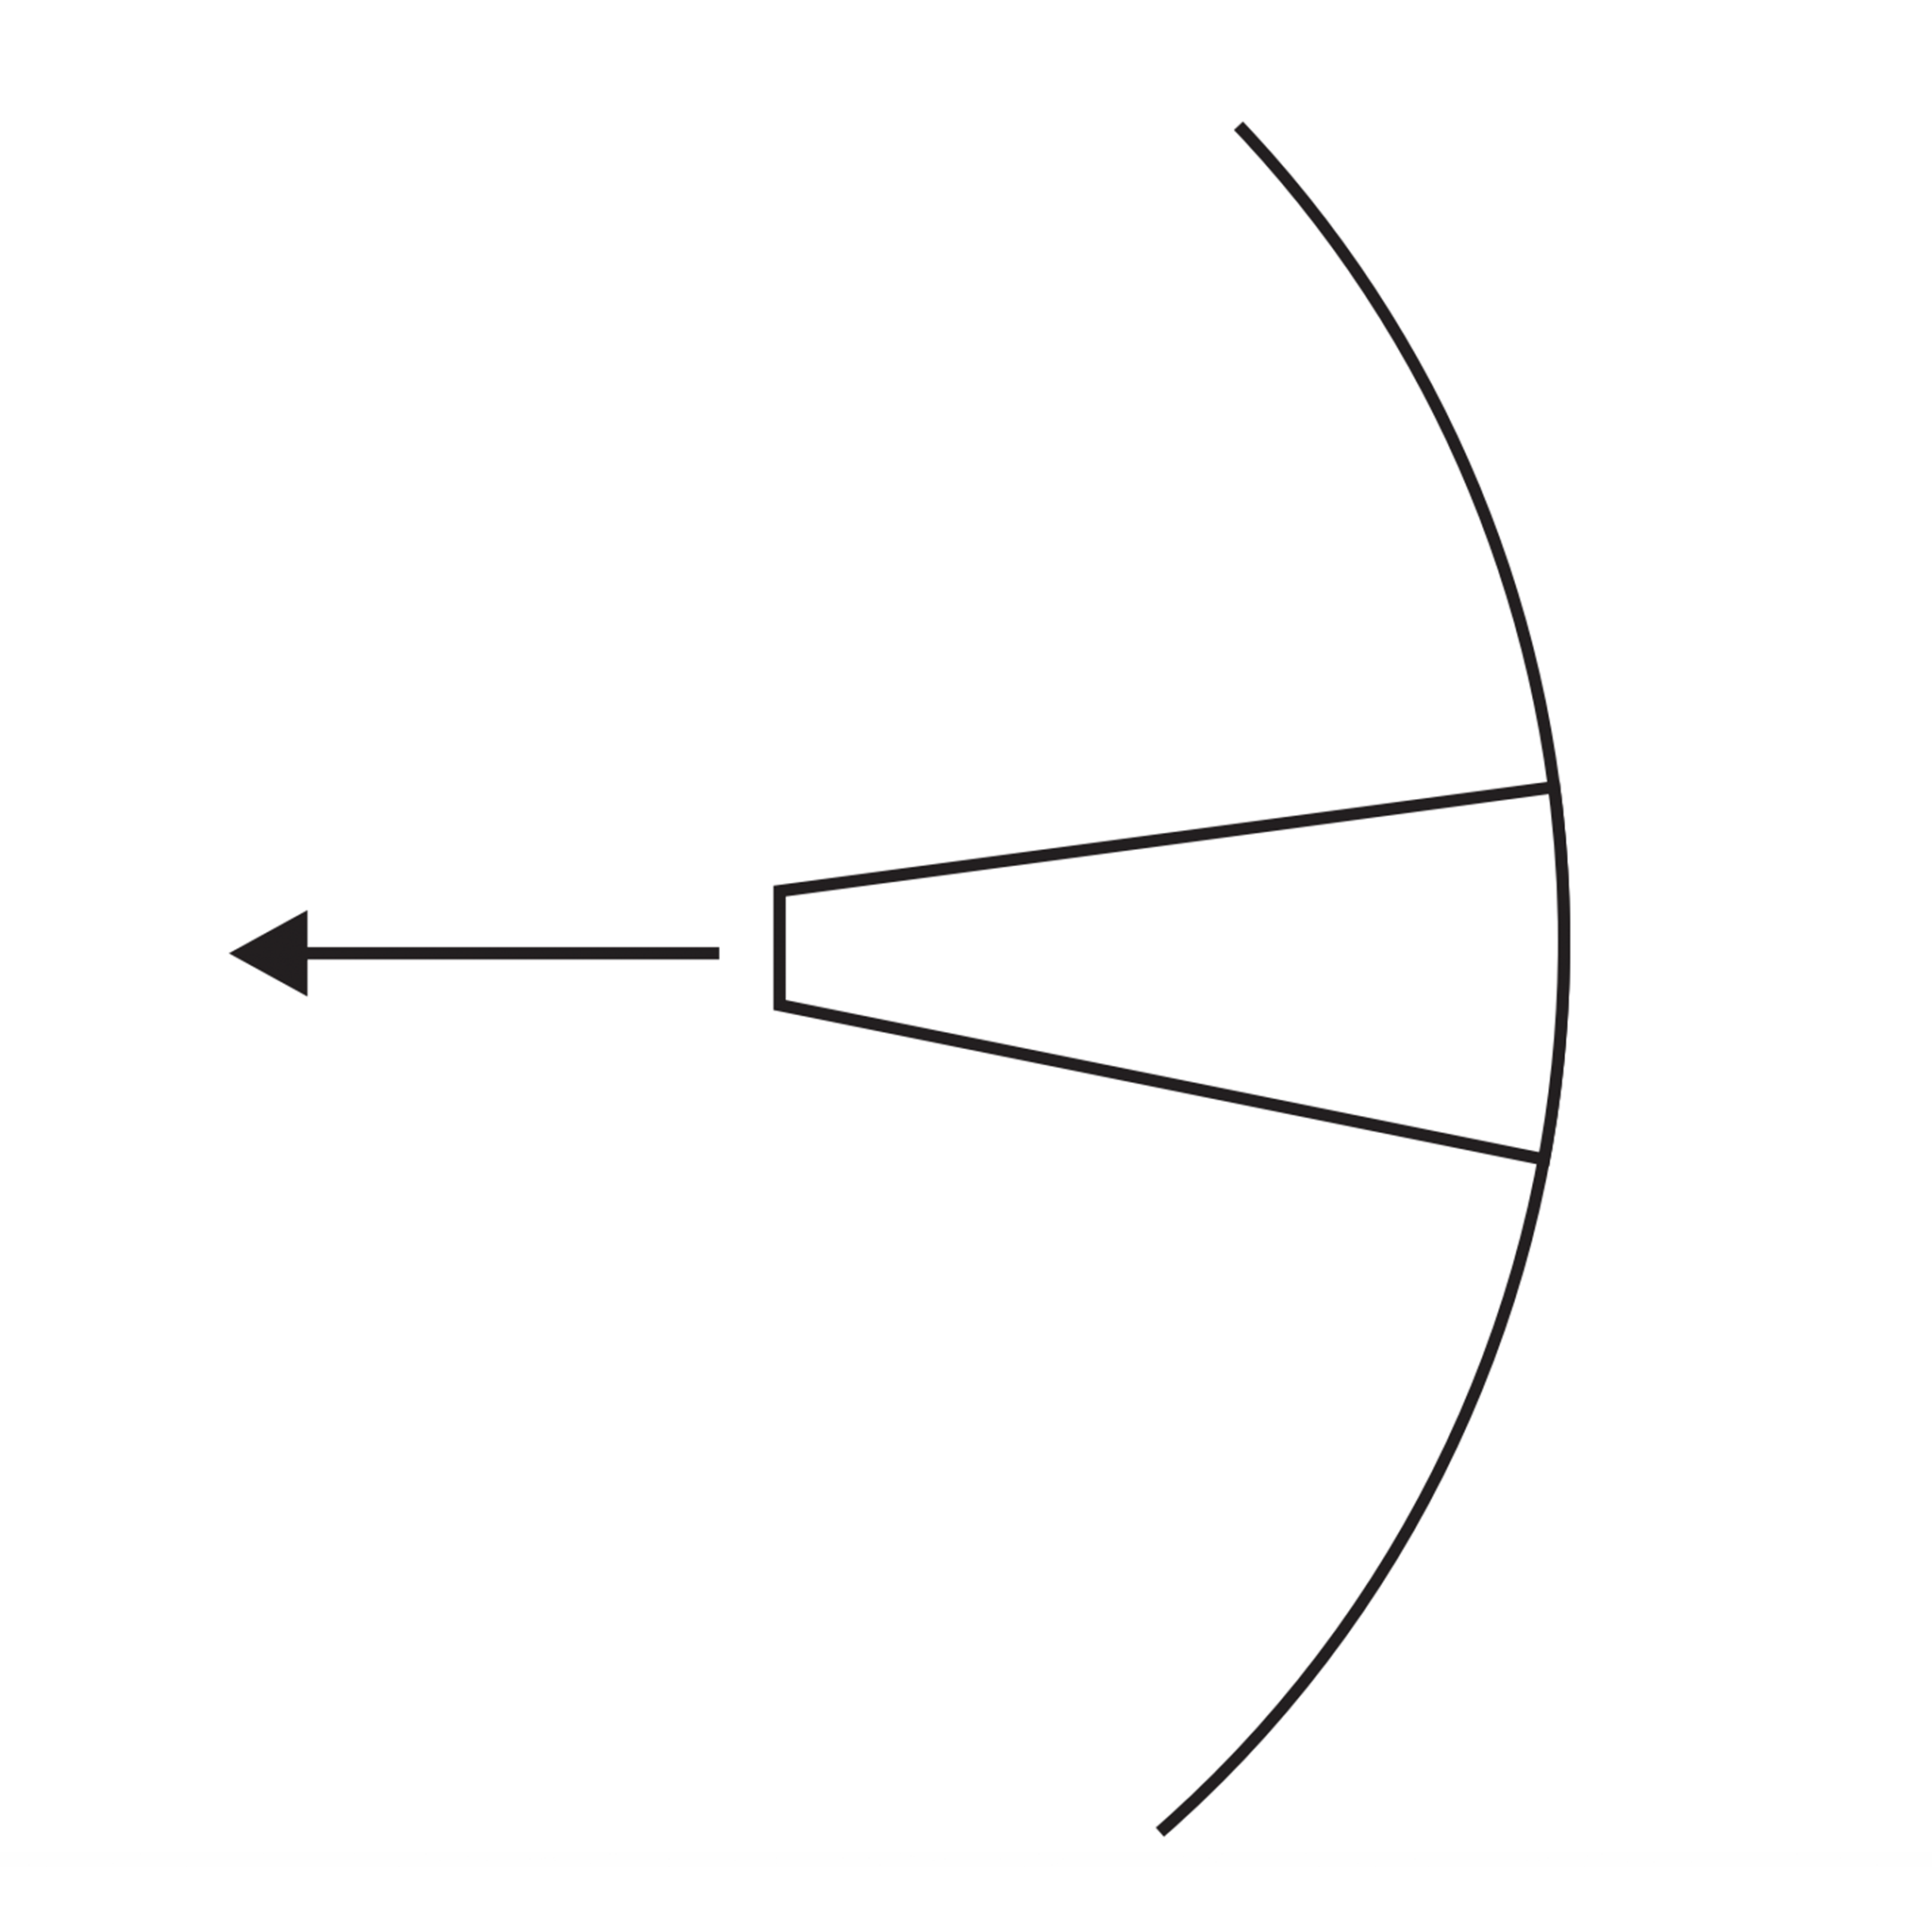
9
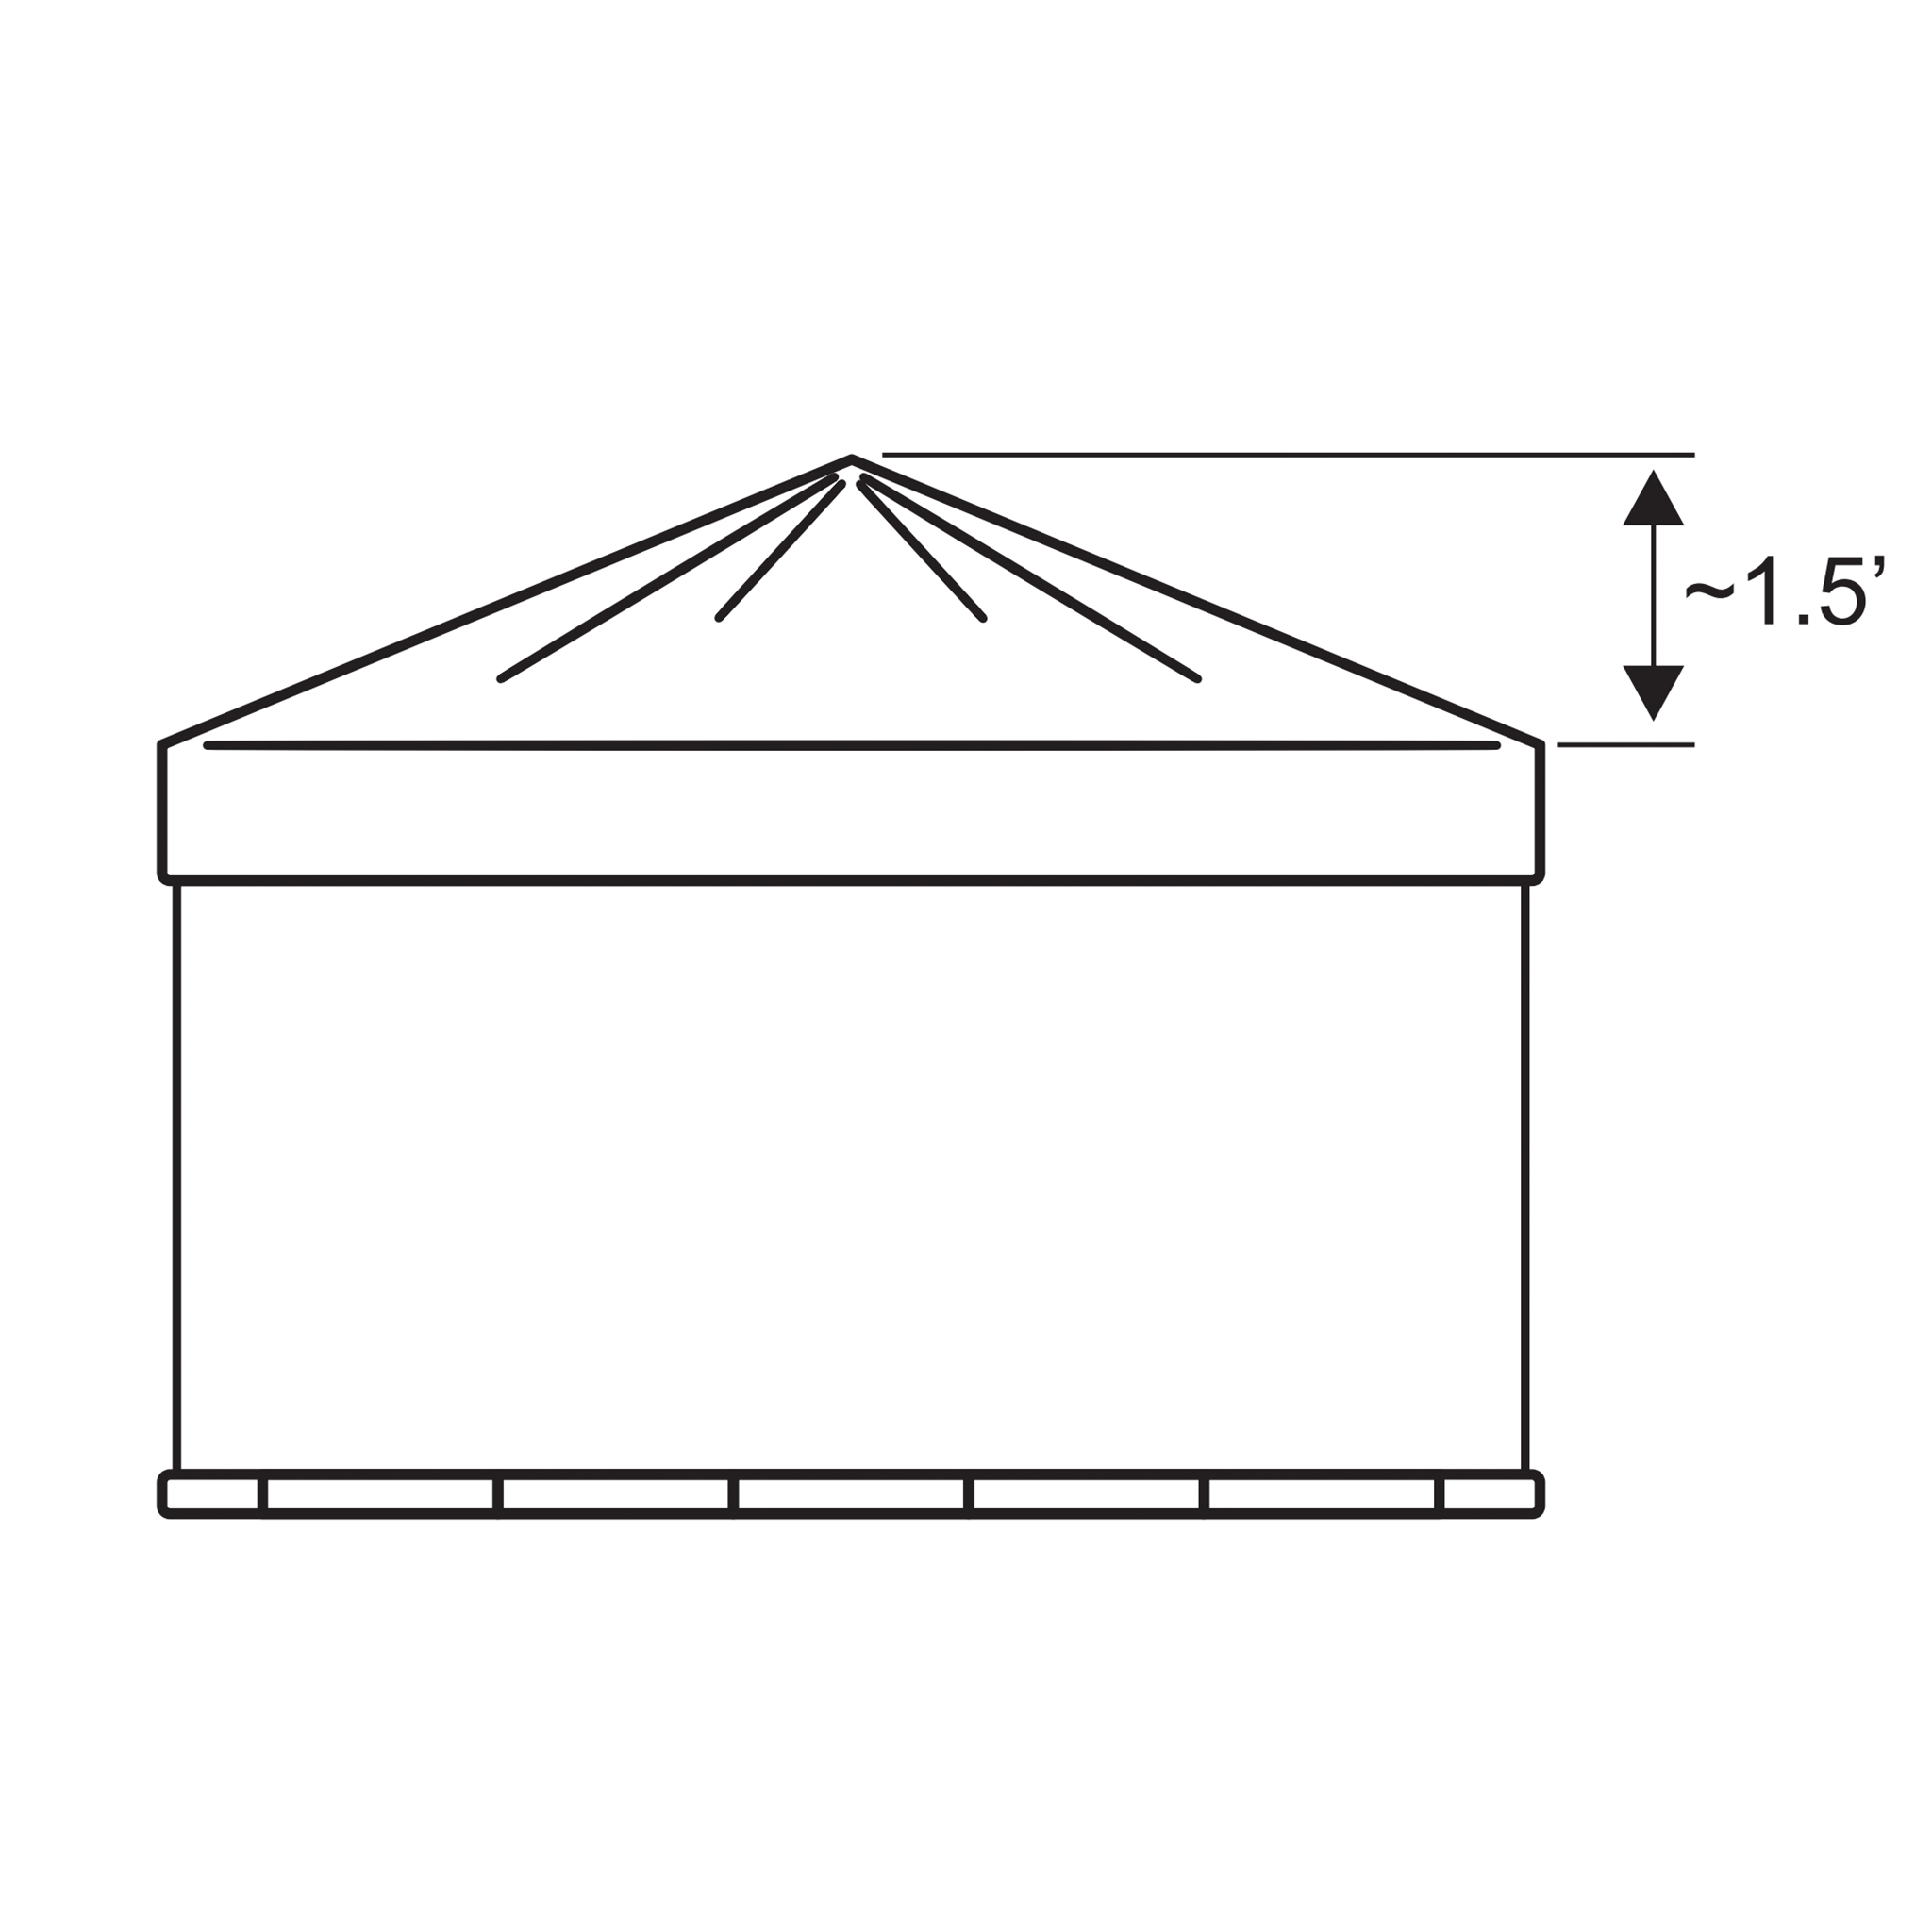
When you get to your desired height, start to make the center of the pile higher to give it a “roof pitch”. It will be about 1.5ft higher than the edge of the pile.

10
Place the cover on the pile. Rotate the cover to make sure the straps line up with the straps on the base. Attach the buckles and pull the straps tight to anchor the cover.
11
To remove wood during the season, un-buckle the strap and lift the cover to expose the wood on top. Work your way around the perimeter as you take wood off the pile over time so you can maintain the overall shape as it gets lower. After removing the wood, re-attach the buckle and pull the strap tight as your pile gets lower.
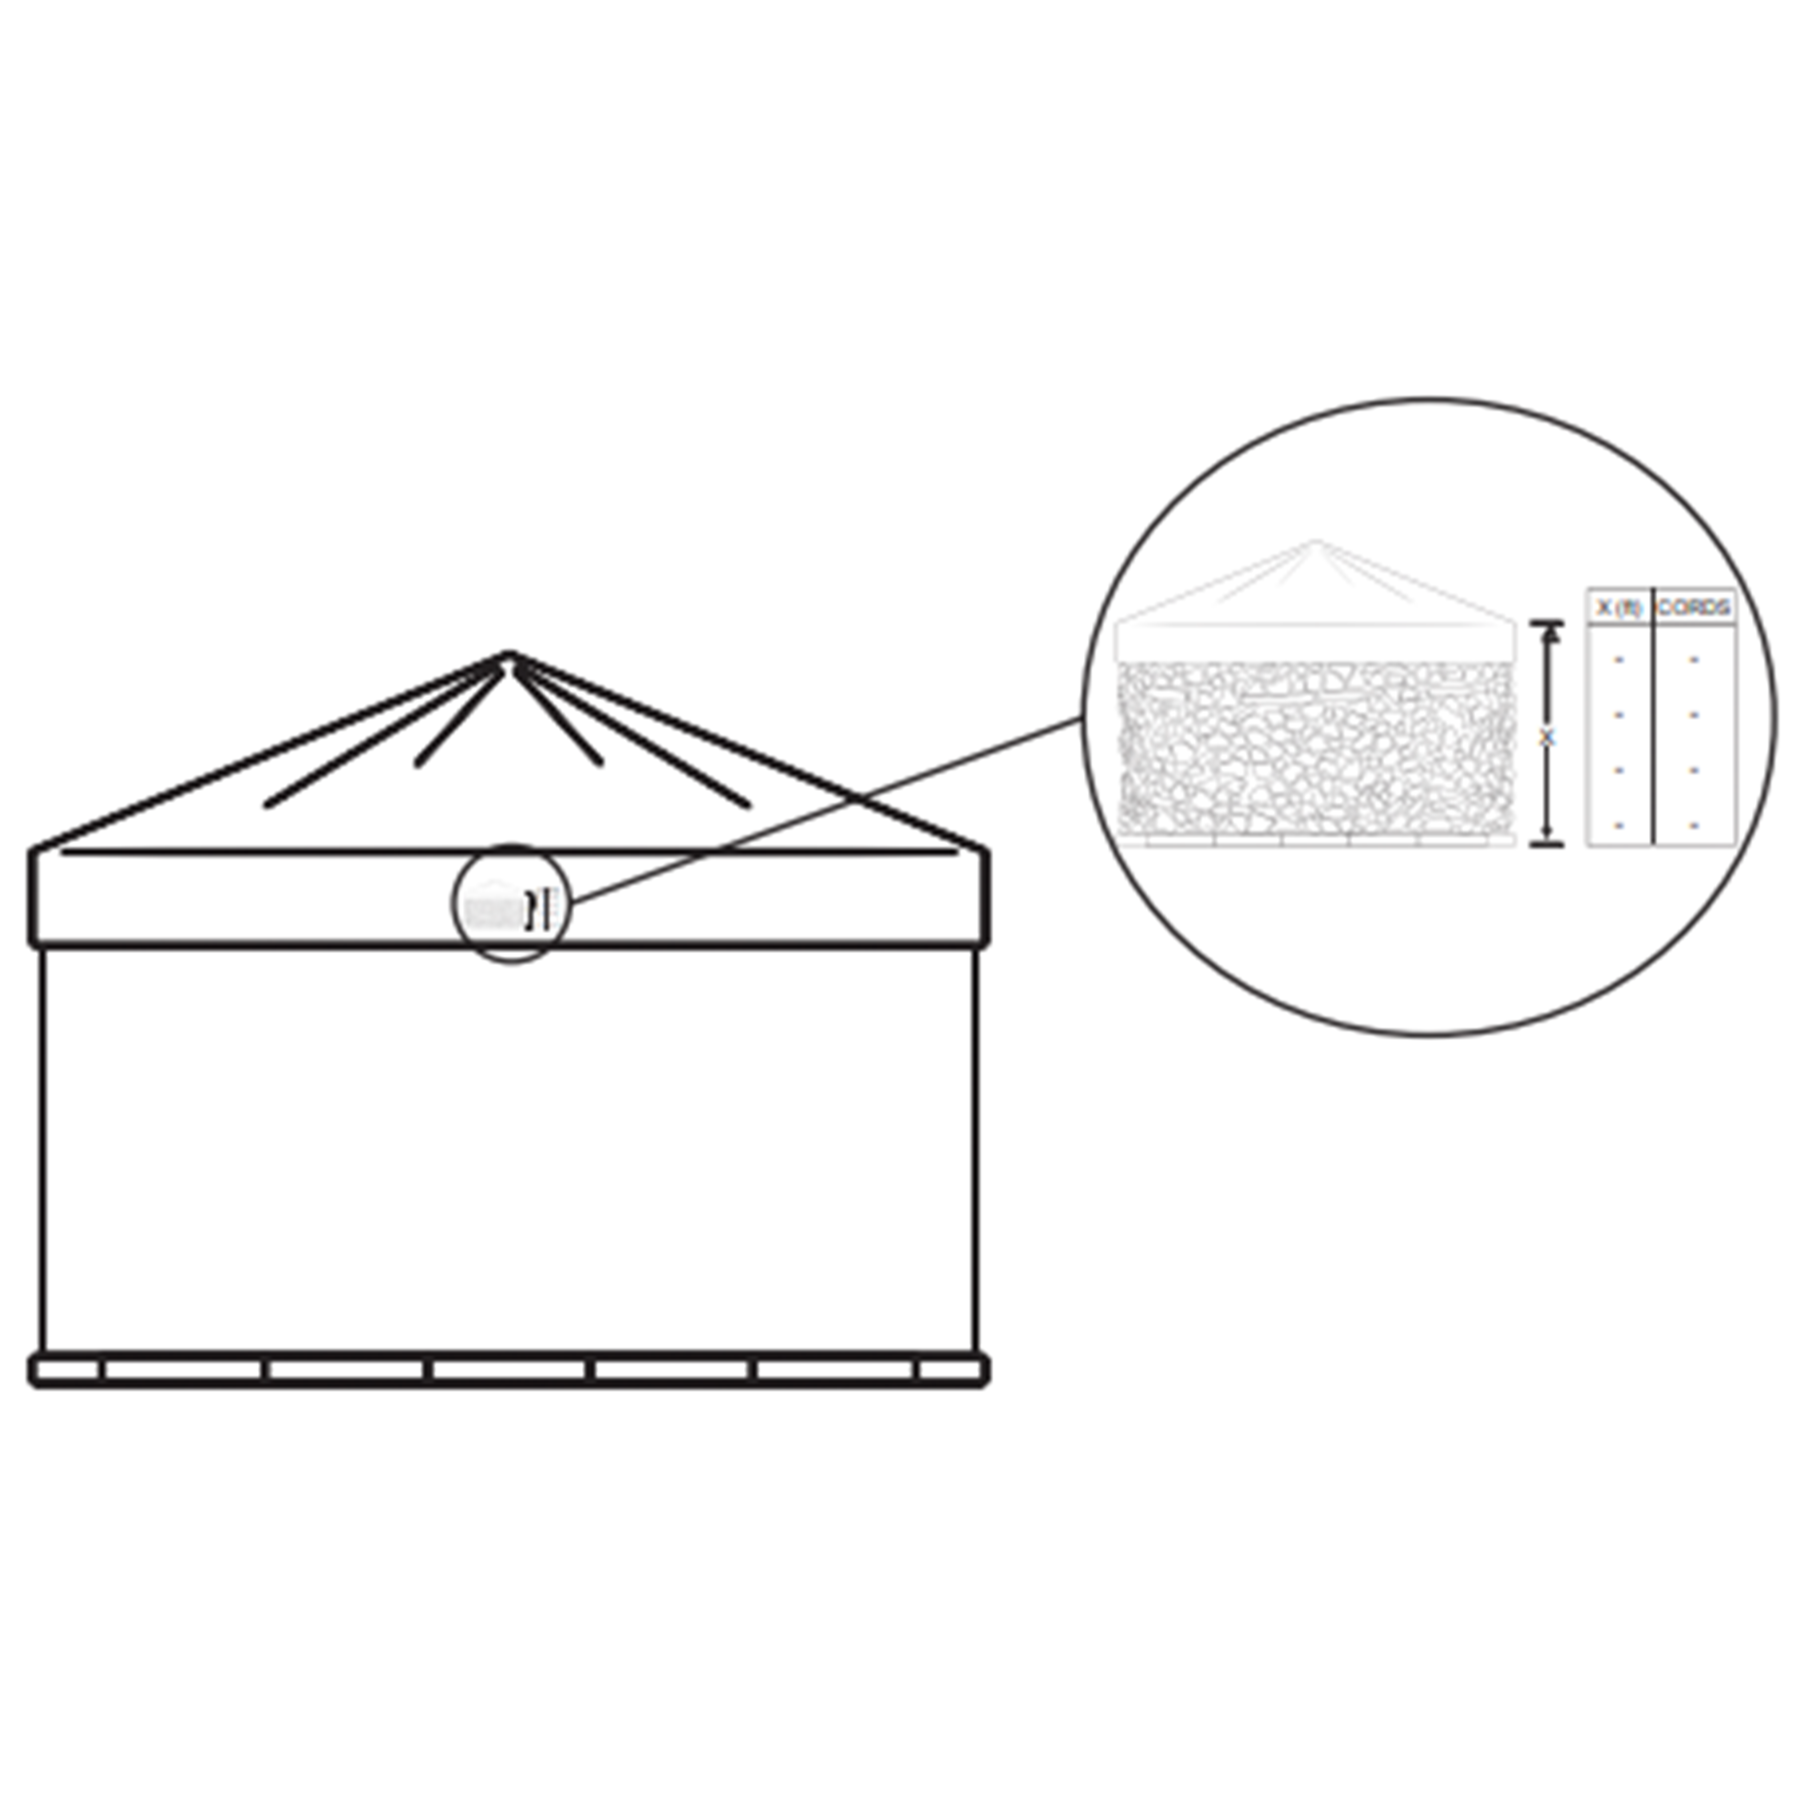
12
There is a diagram on the cover that shows you how many cords of wood are left in your pile depending on its height. Refer to that and enjoy your neatly stacked firewood!