


Firewood Stacking Methods
There are many different ways to stack firewood properly. Each approach will have pros and cons with regard to stability, ease of use, and the ability for the wood to dry properly. Some of the various ways to stack wood include building a shed, stacking using some type of firewood rack system, building a round woodpile known as a holz hausen, or using a more rectangular-shaped stack. Regardless of the kind of stacking used, it's important that the wood is kept dry and that air can circulate.
Supporting the Ends of Your Stack
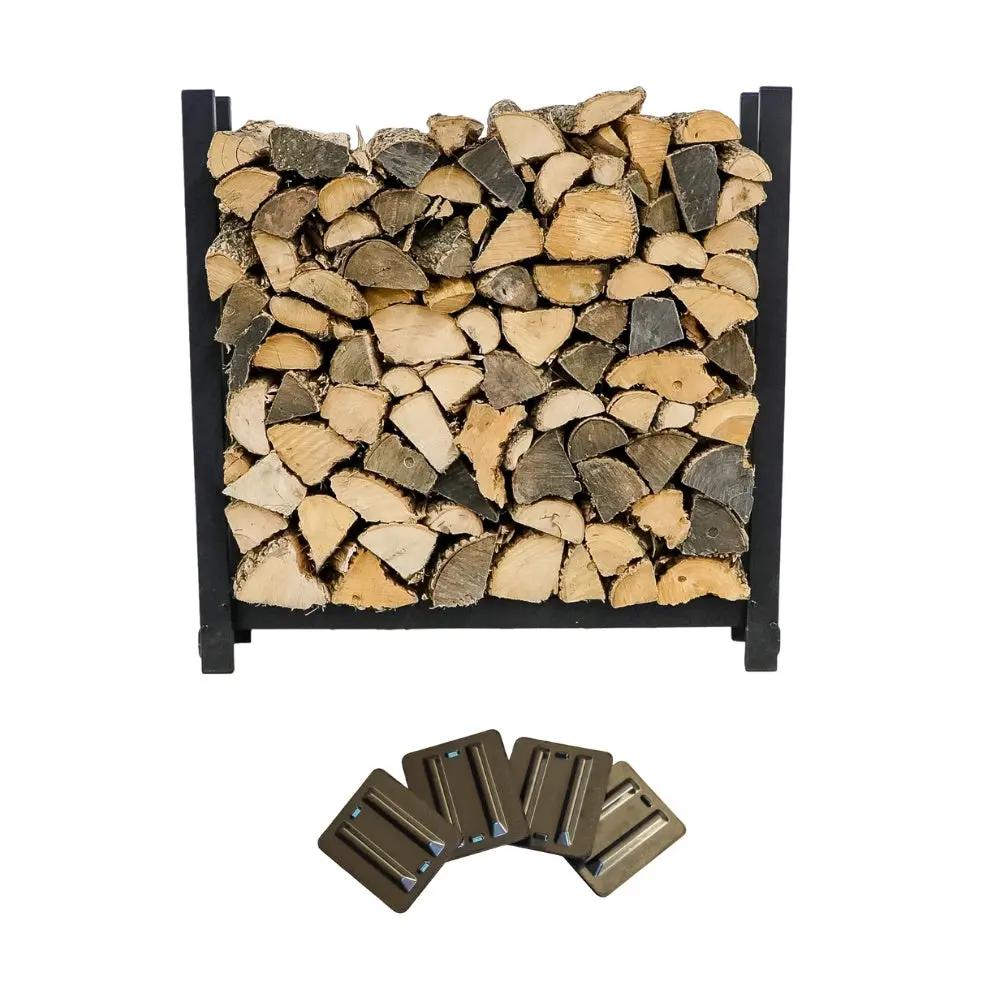
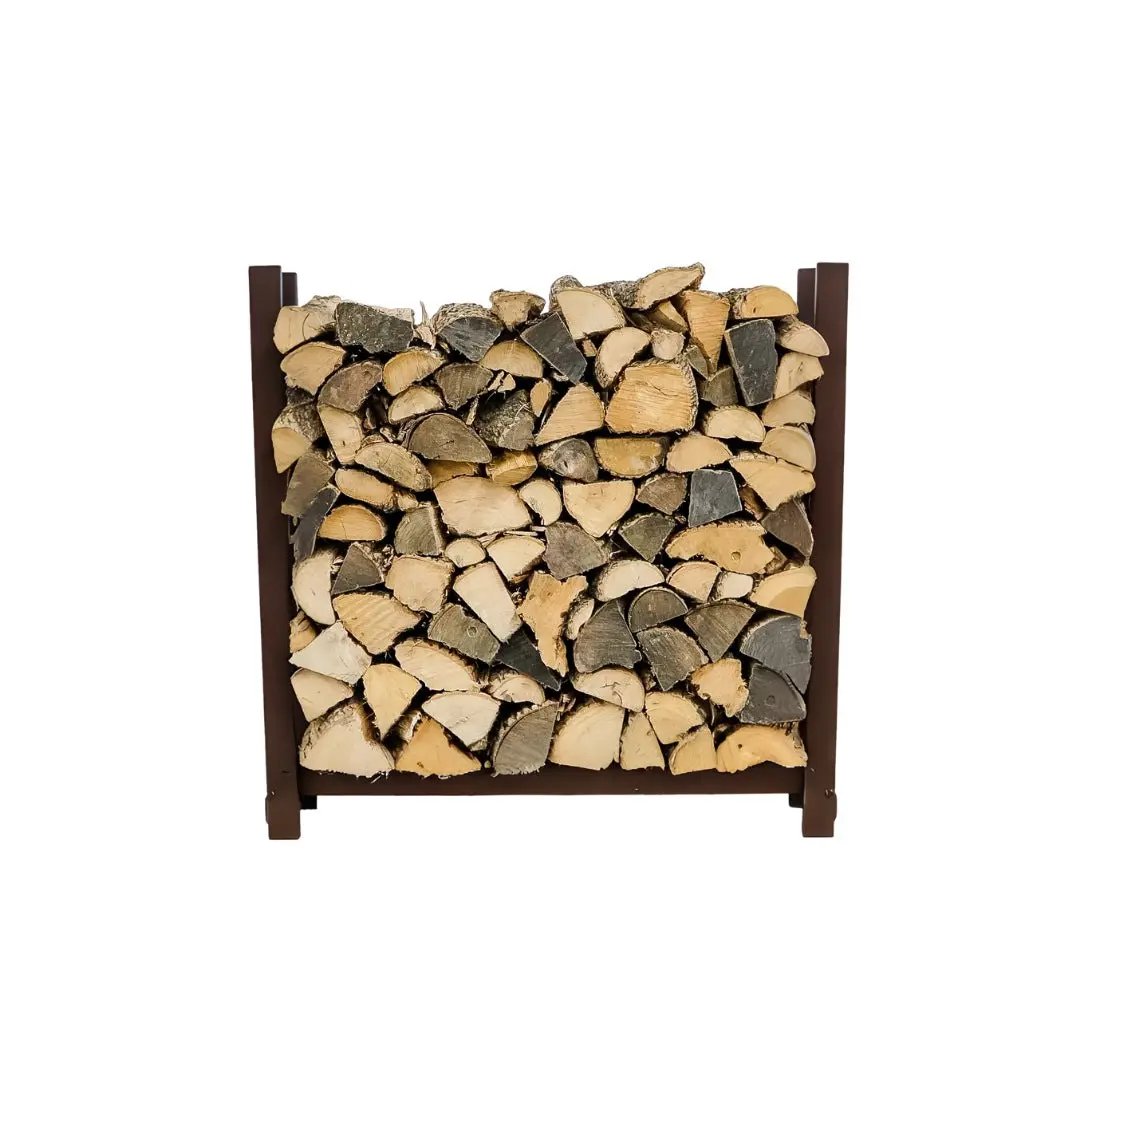
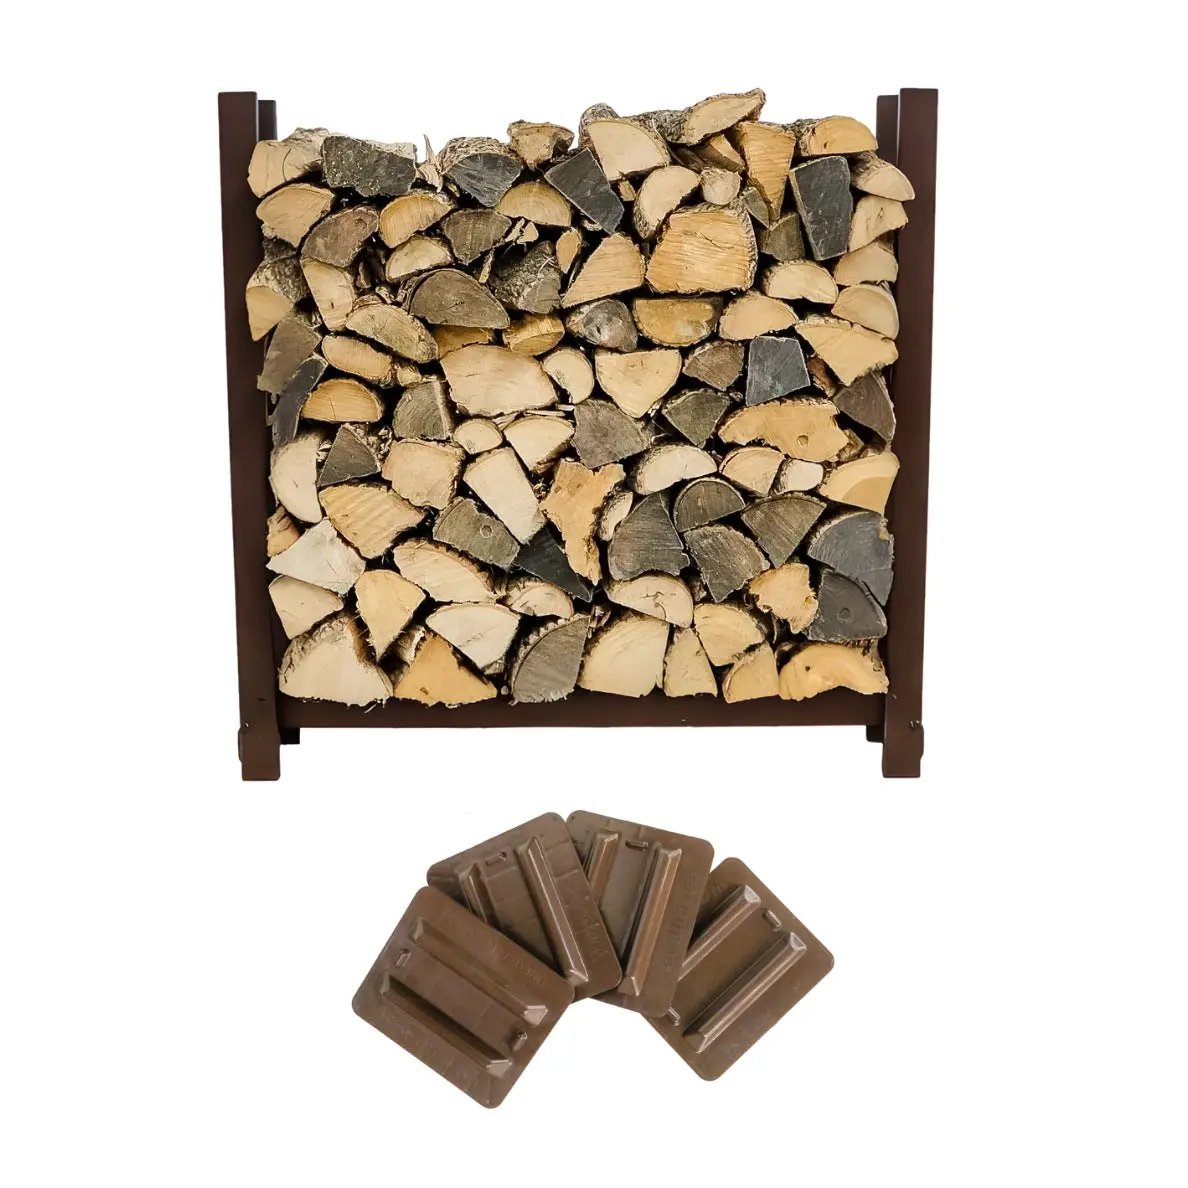
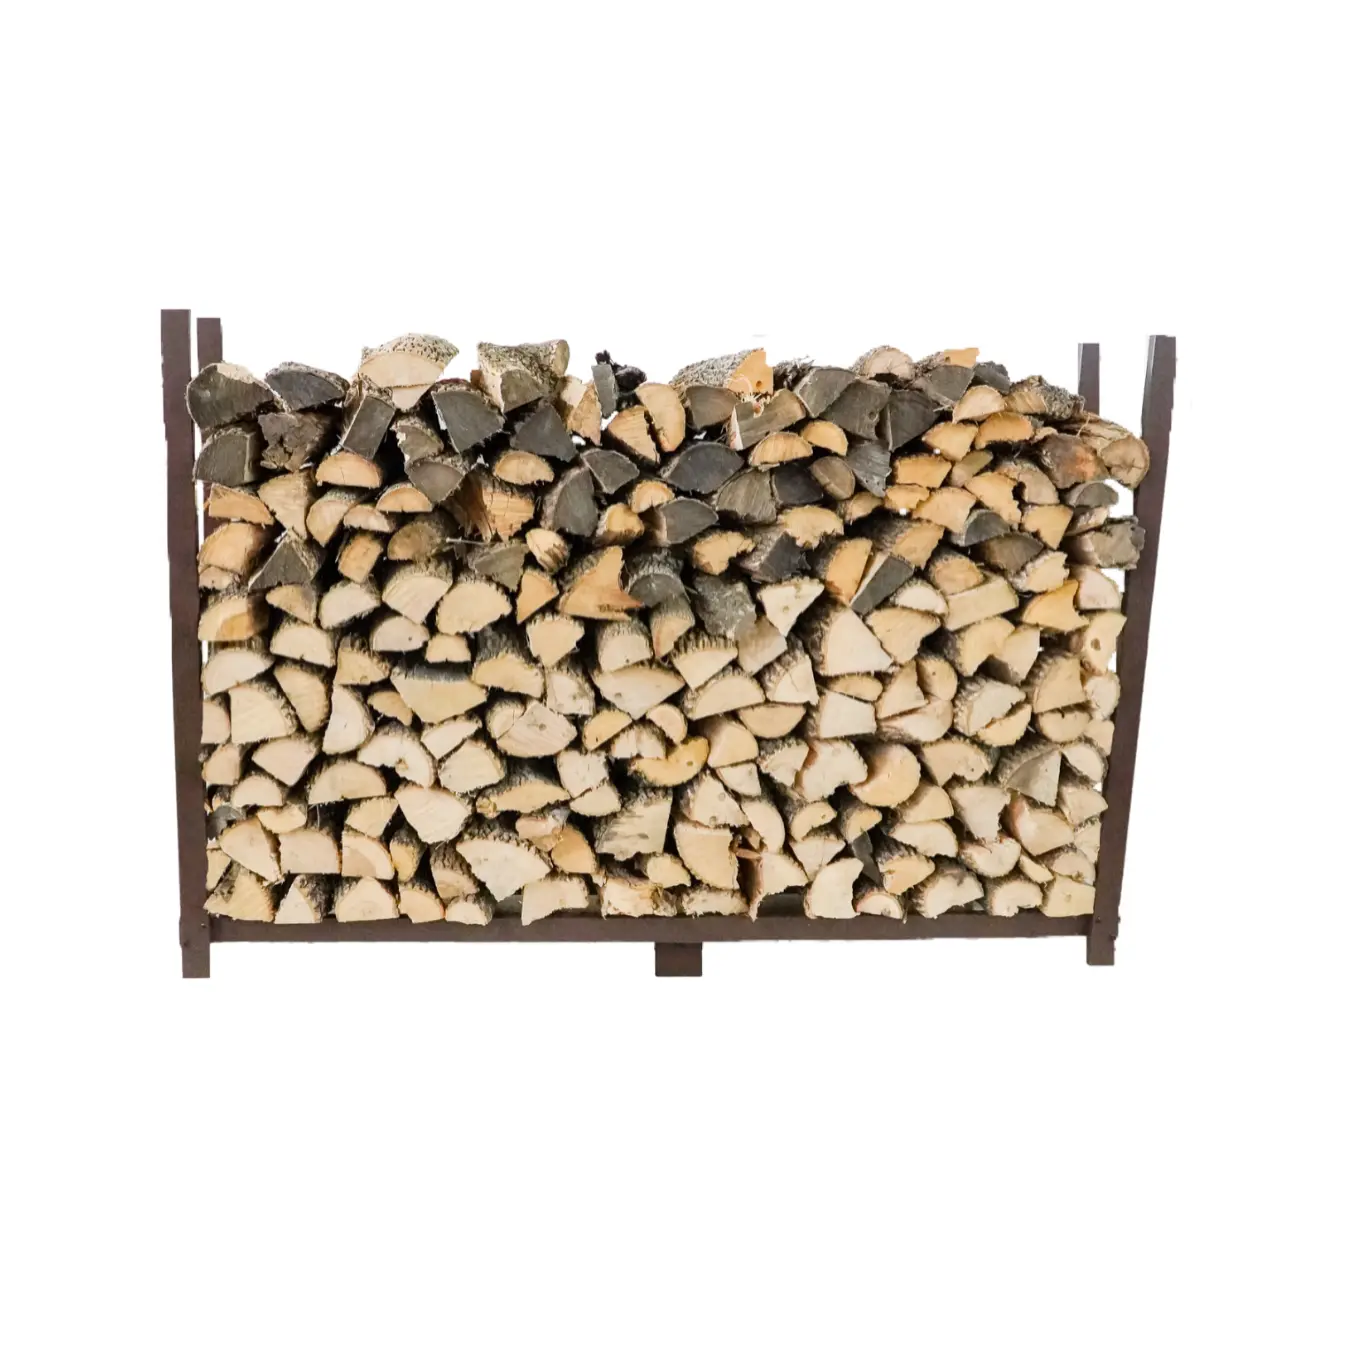
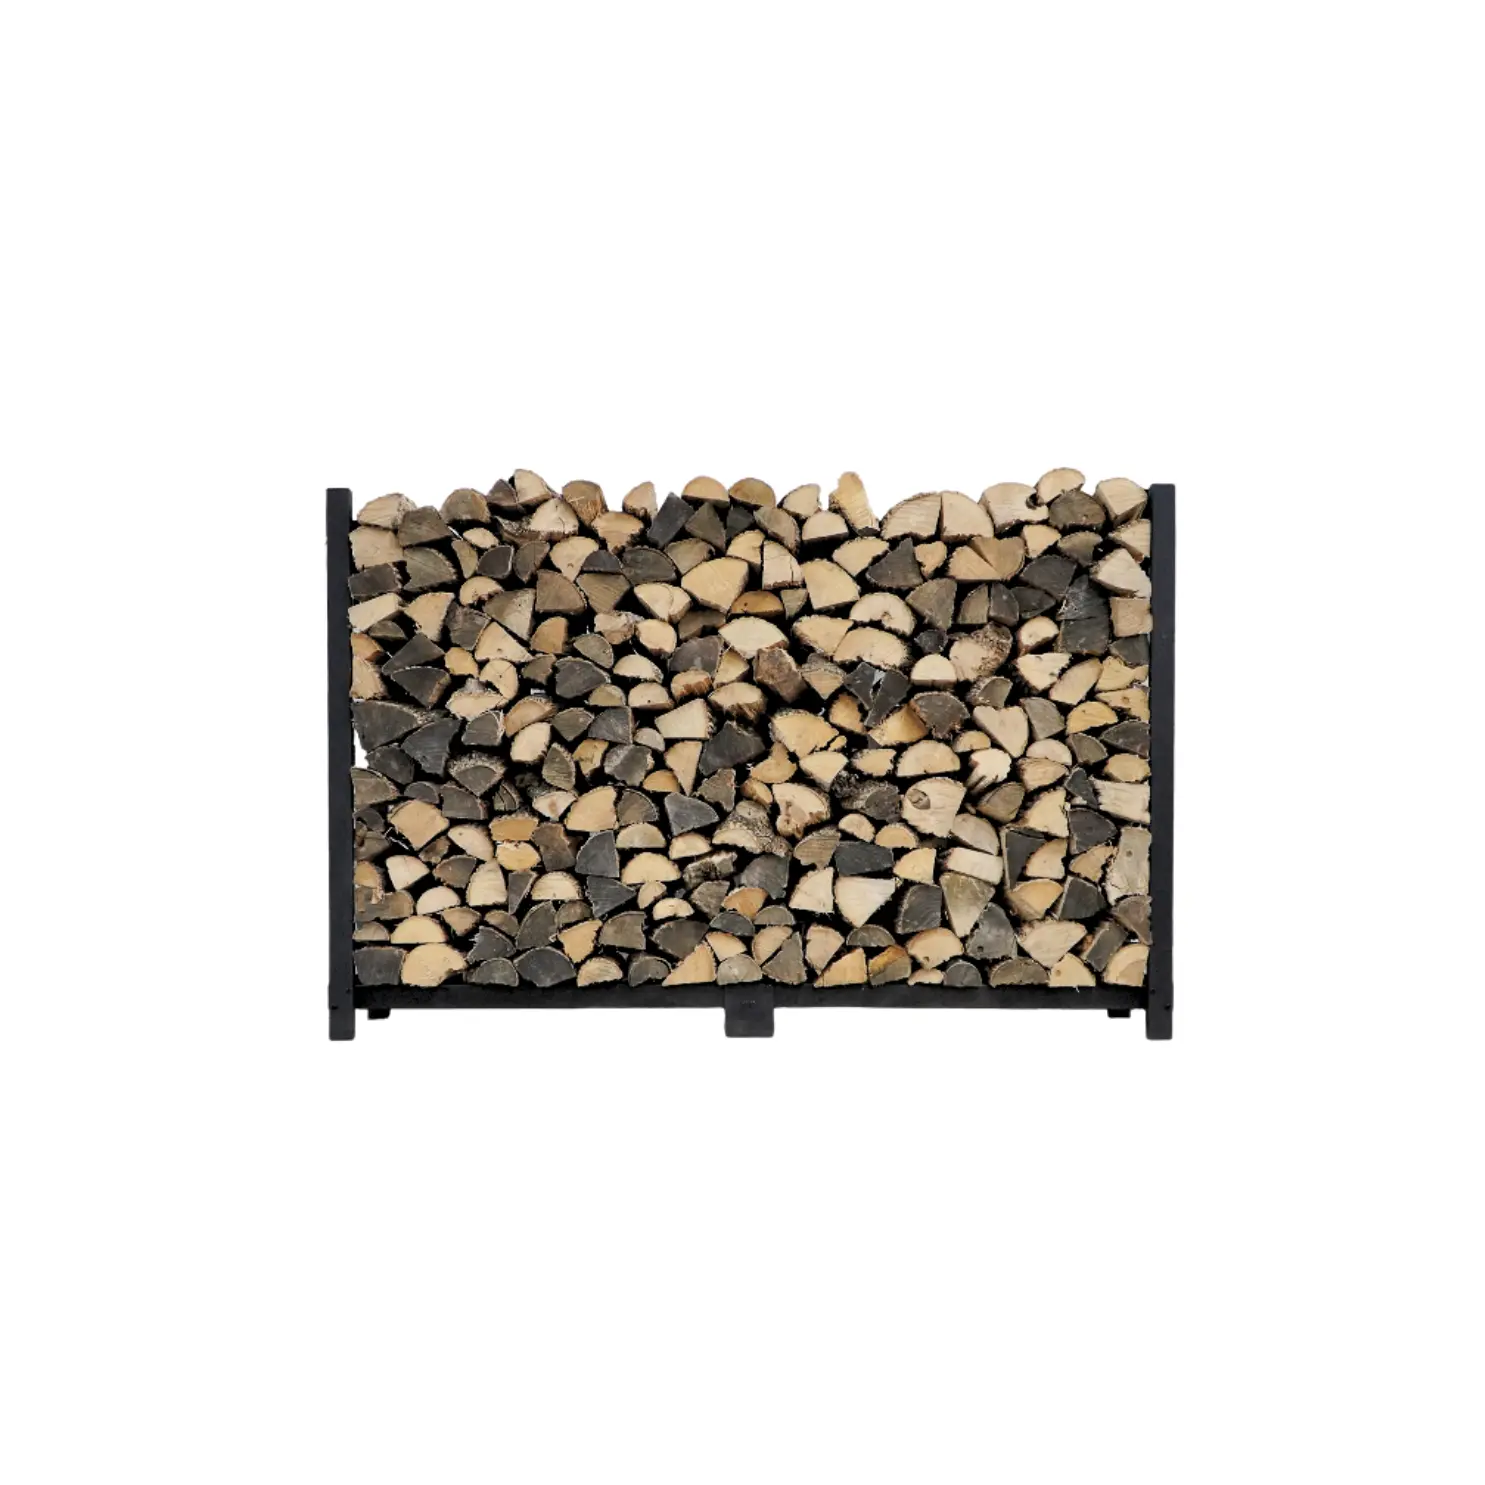
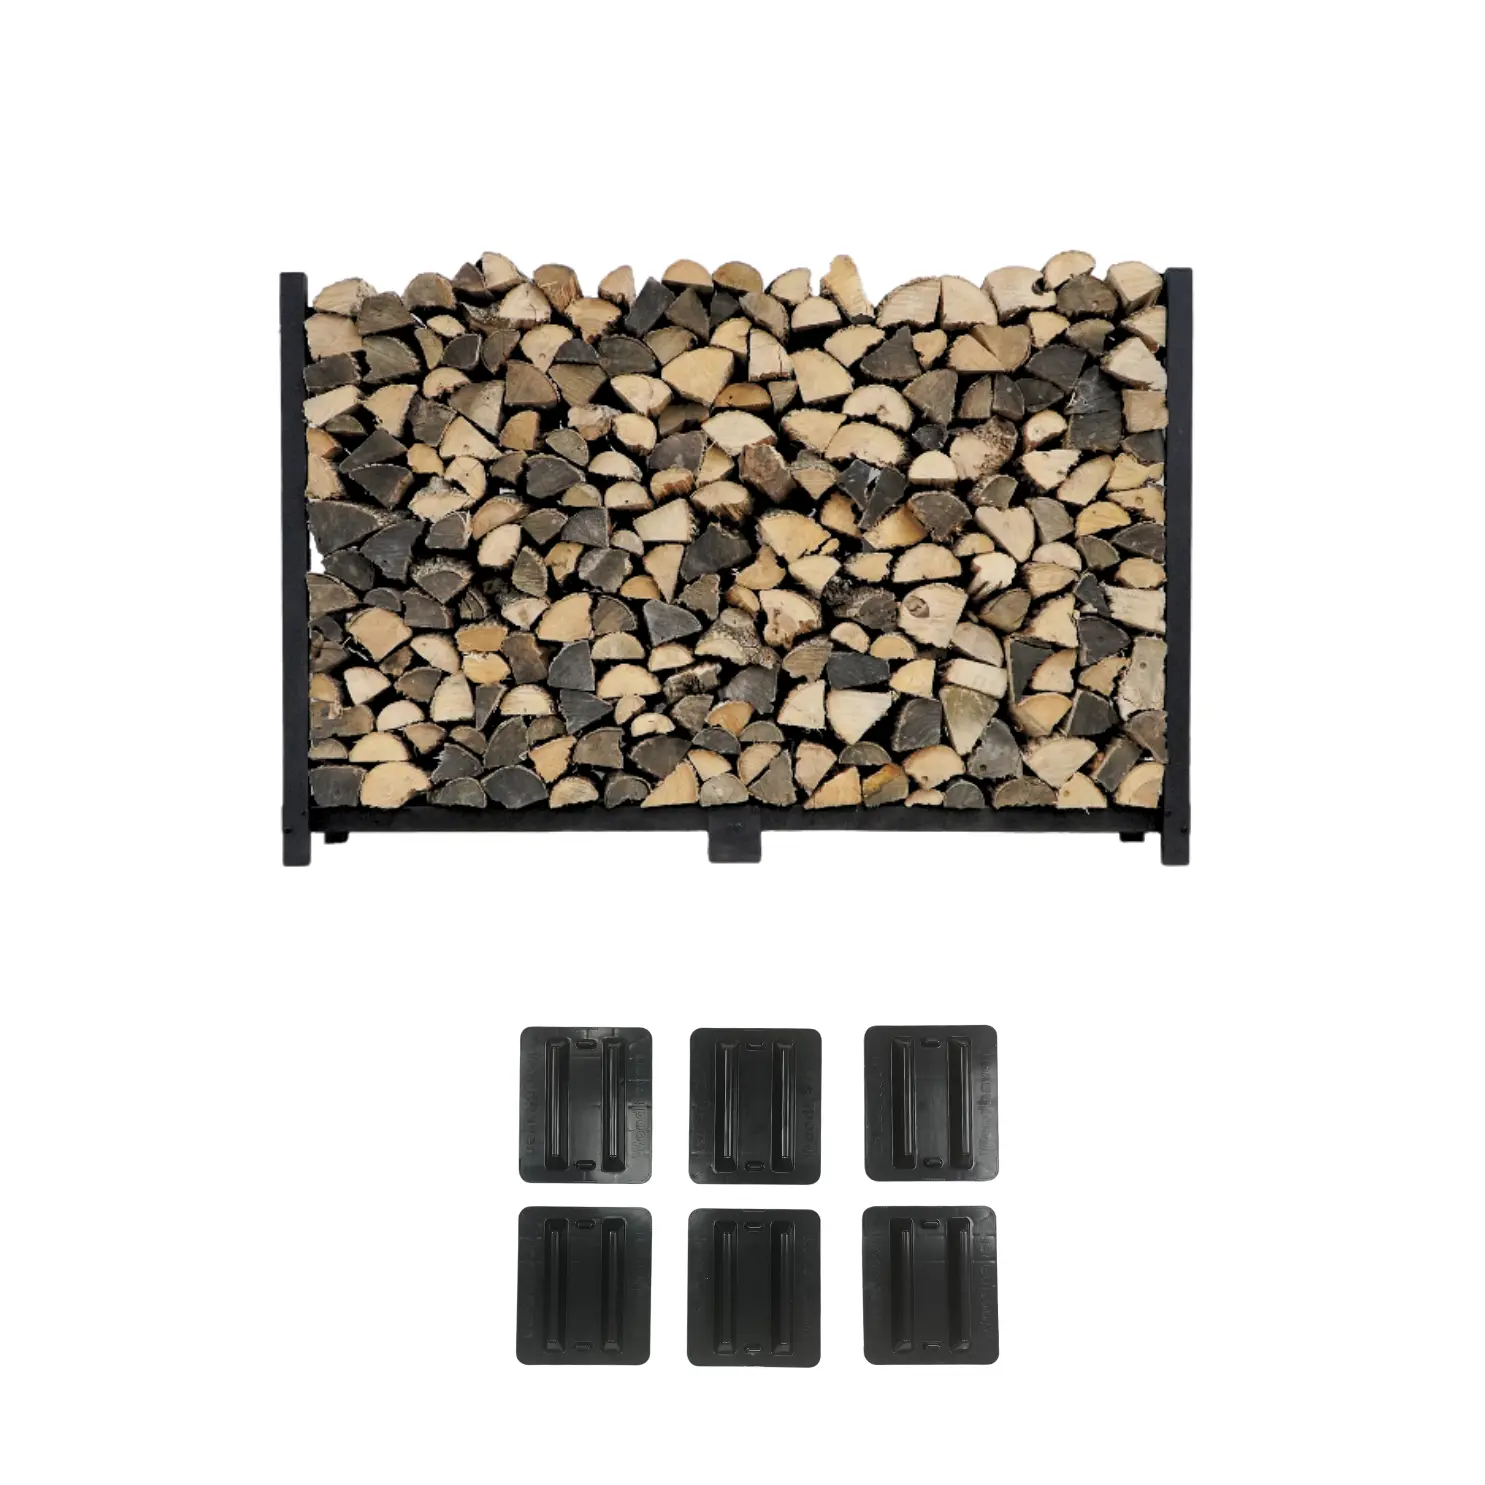
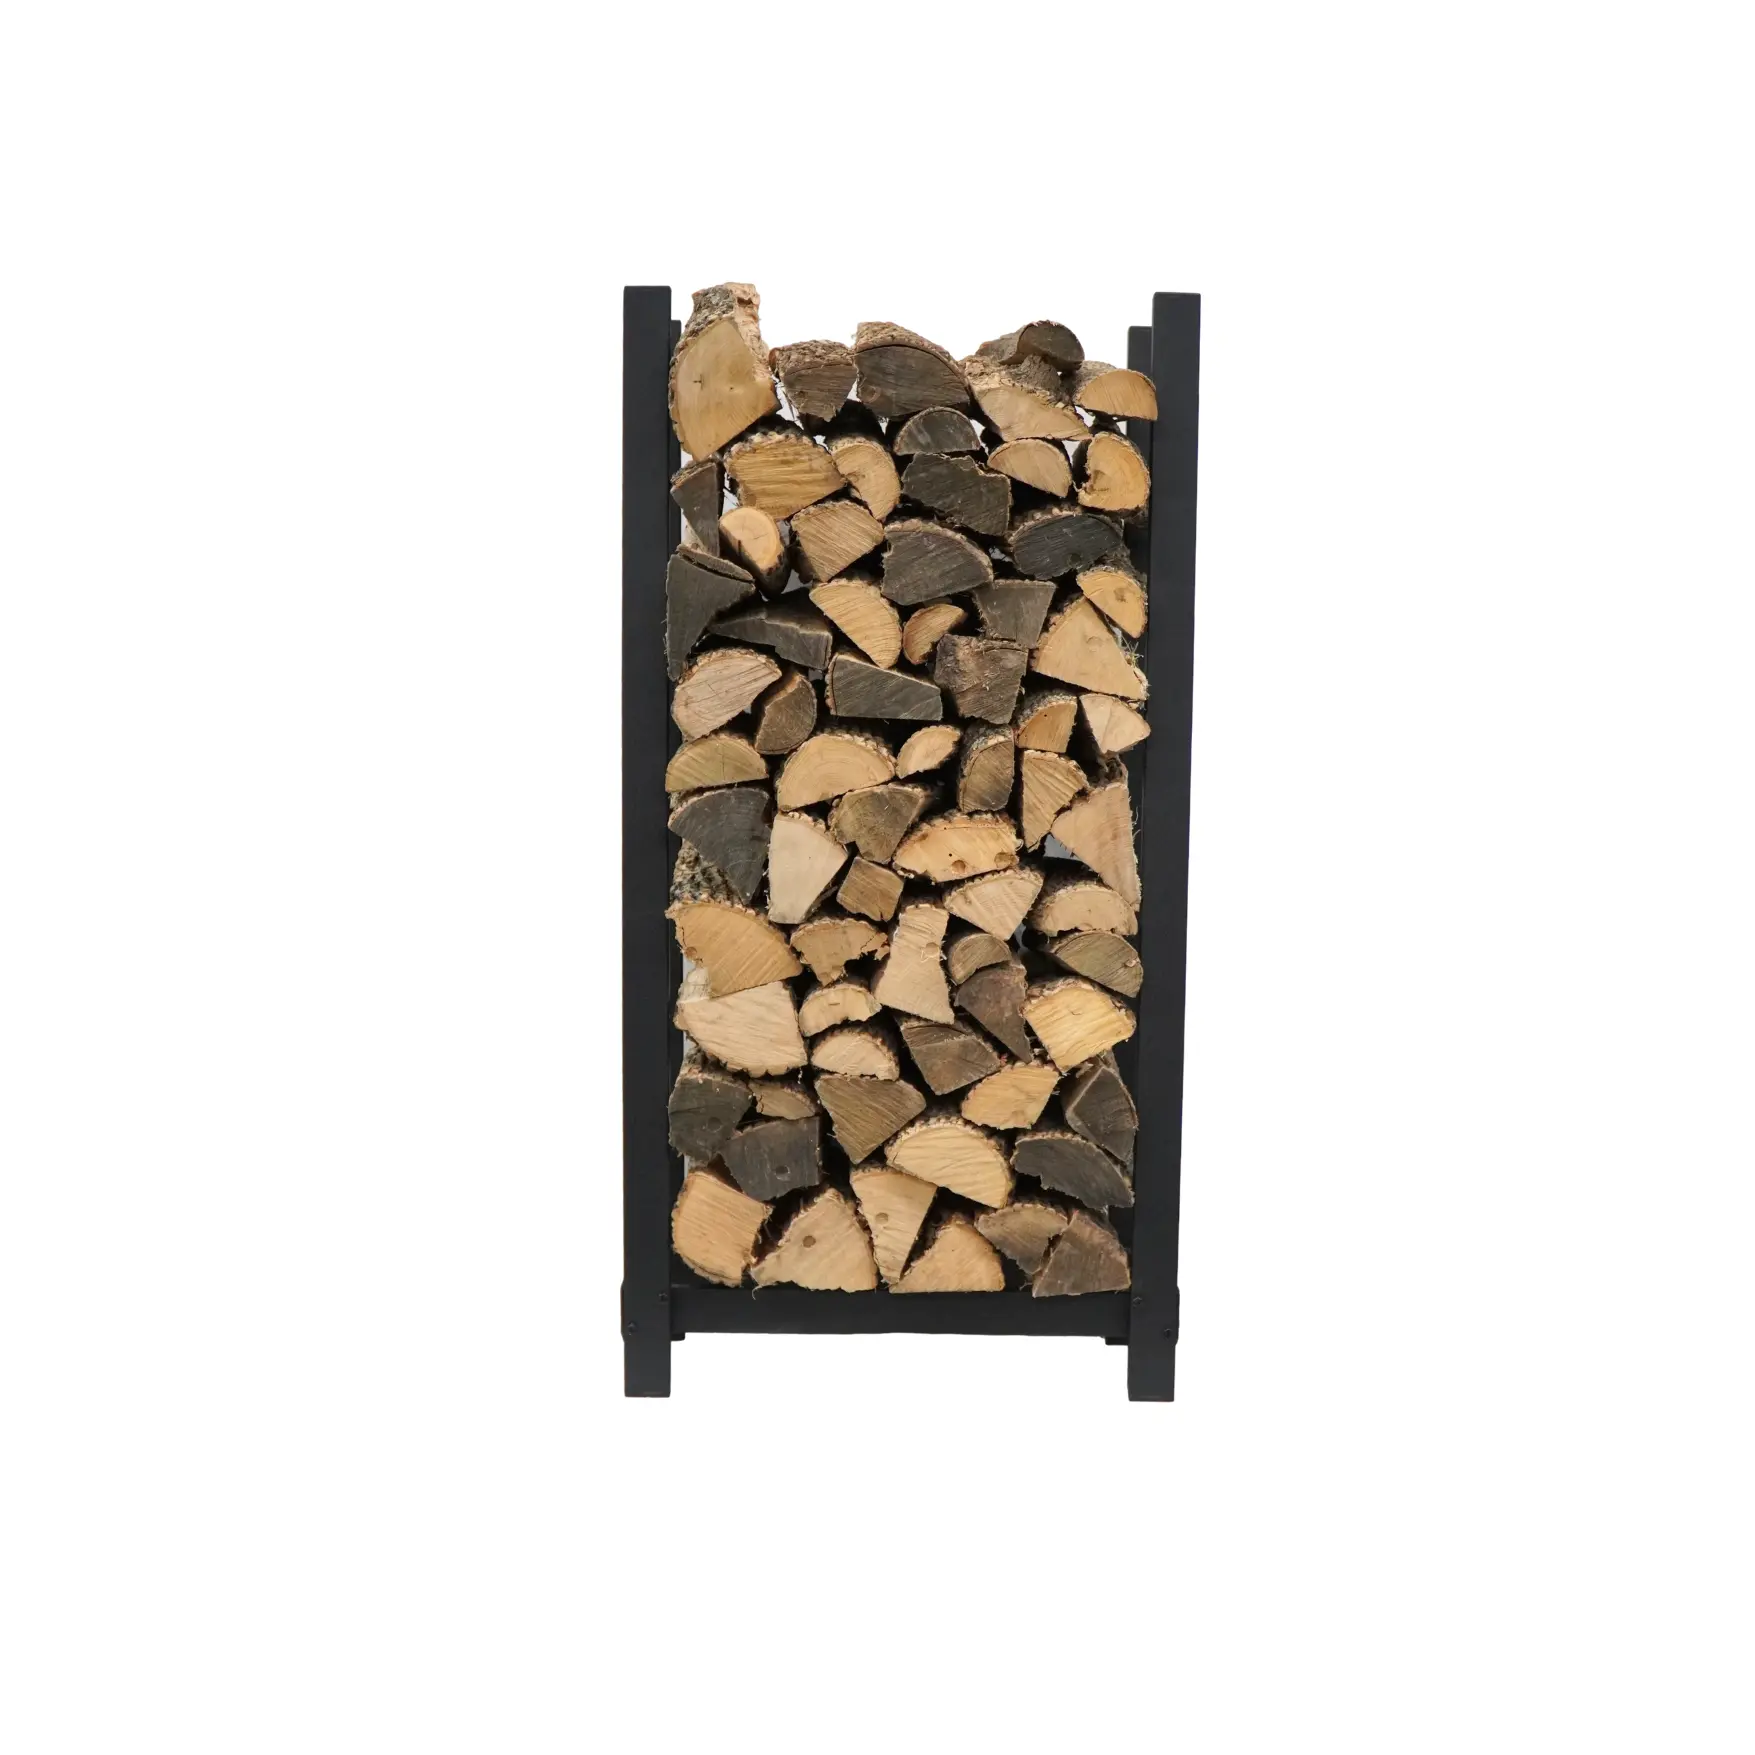
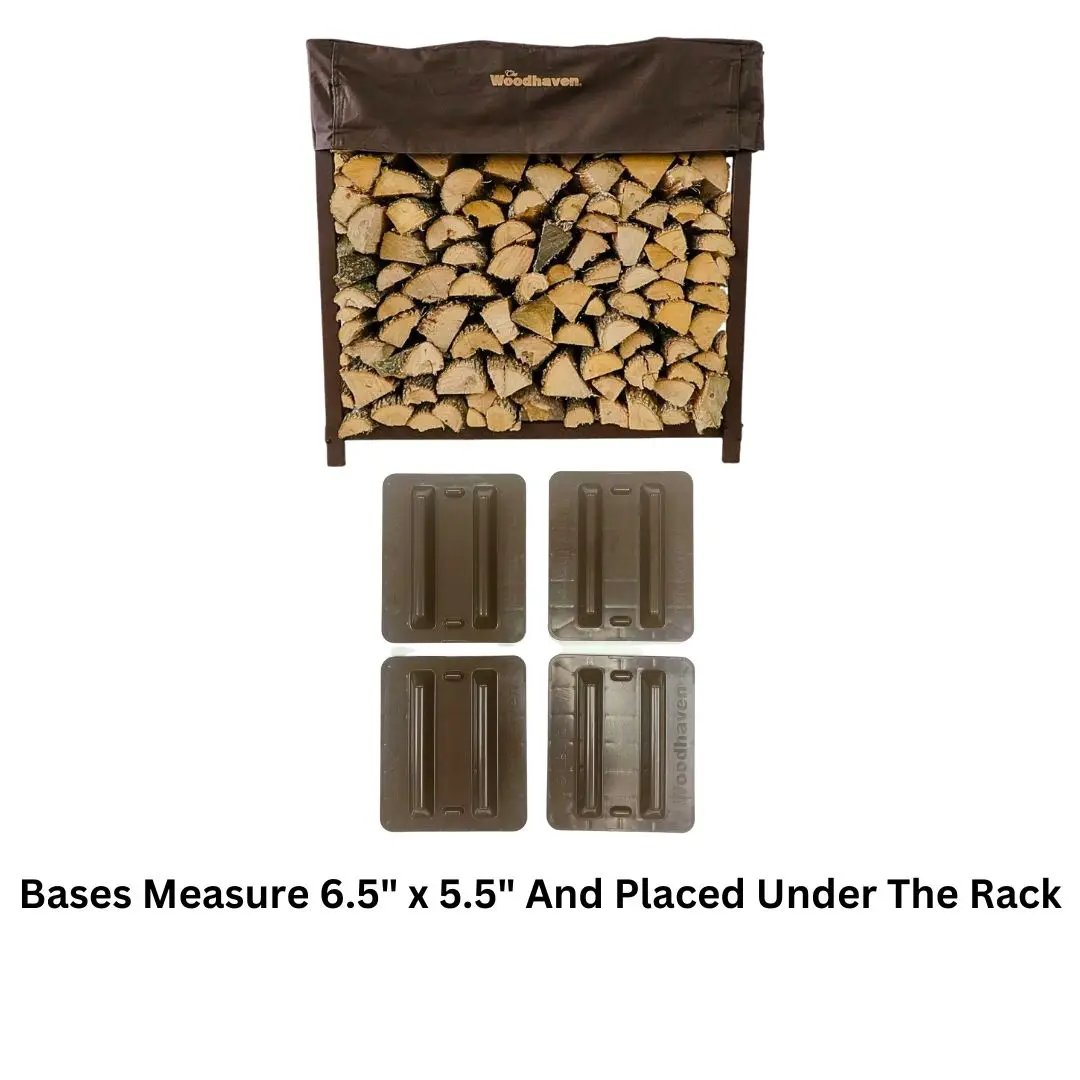
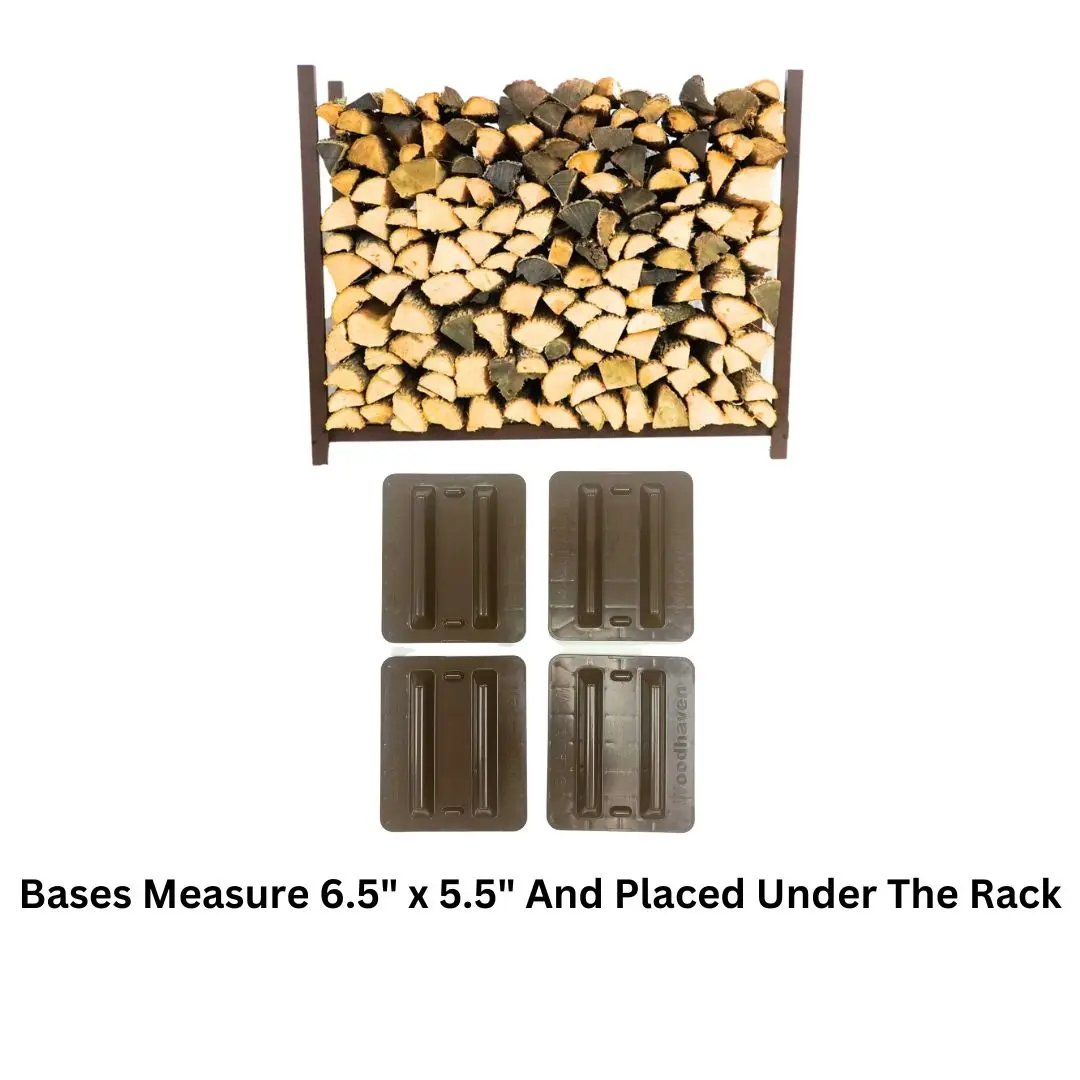
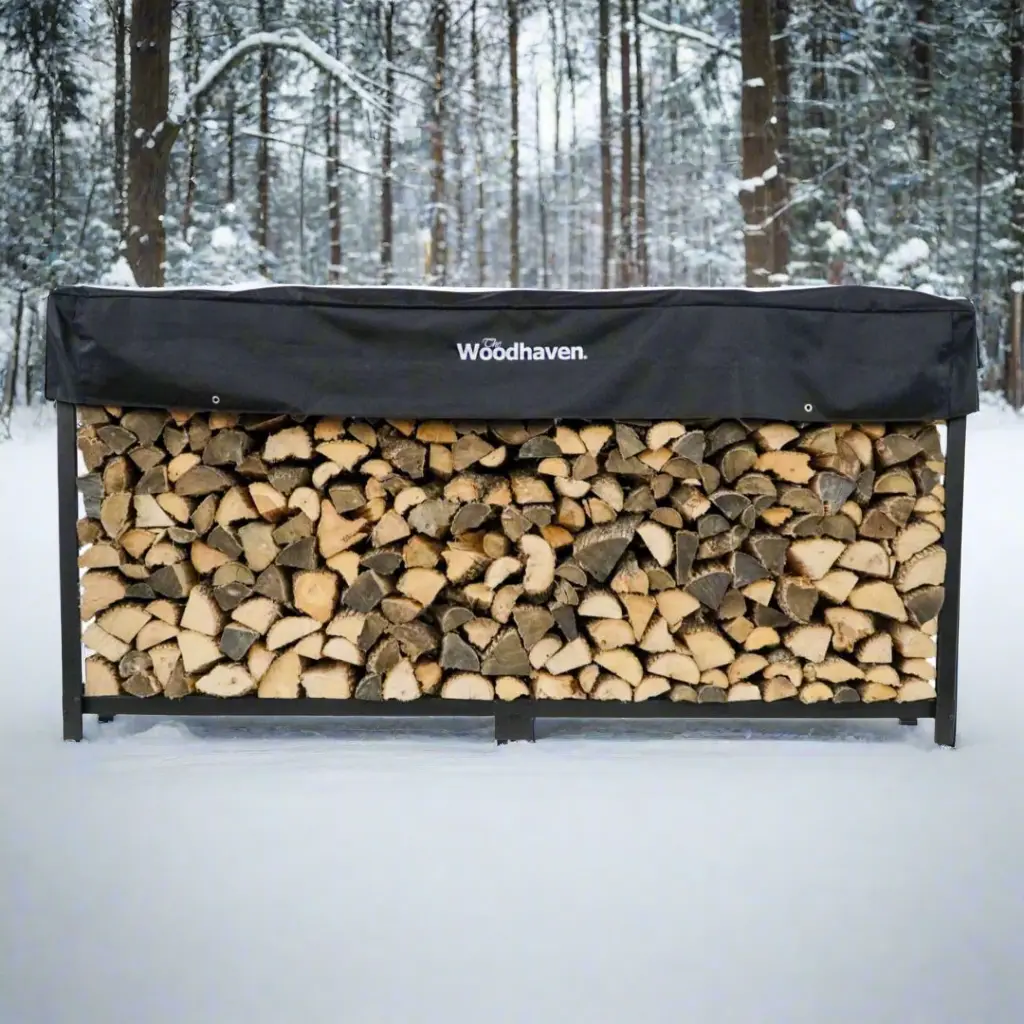
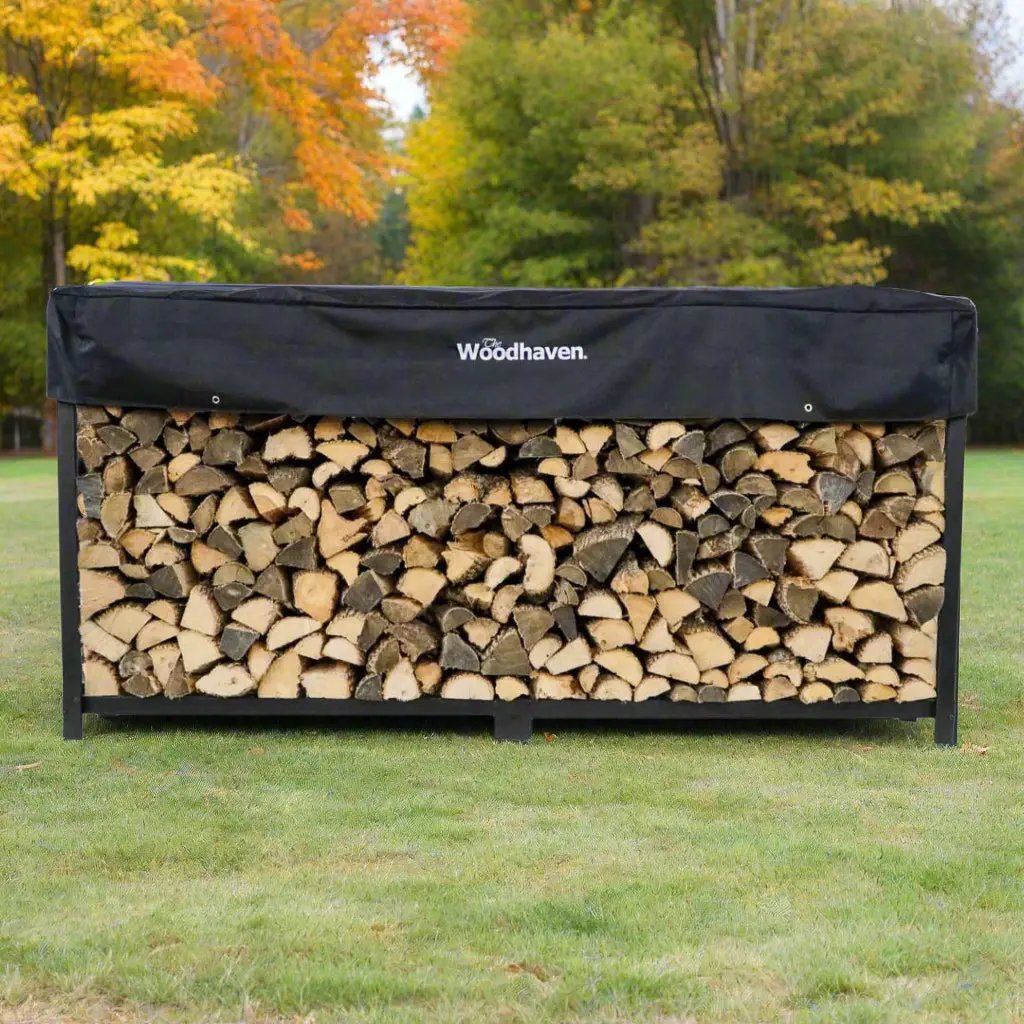
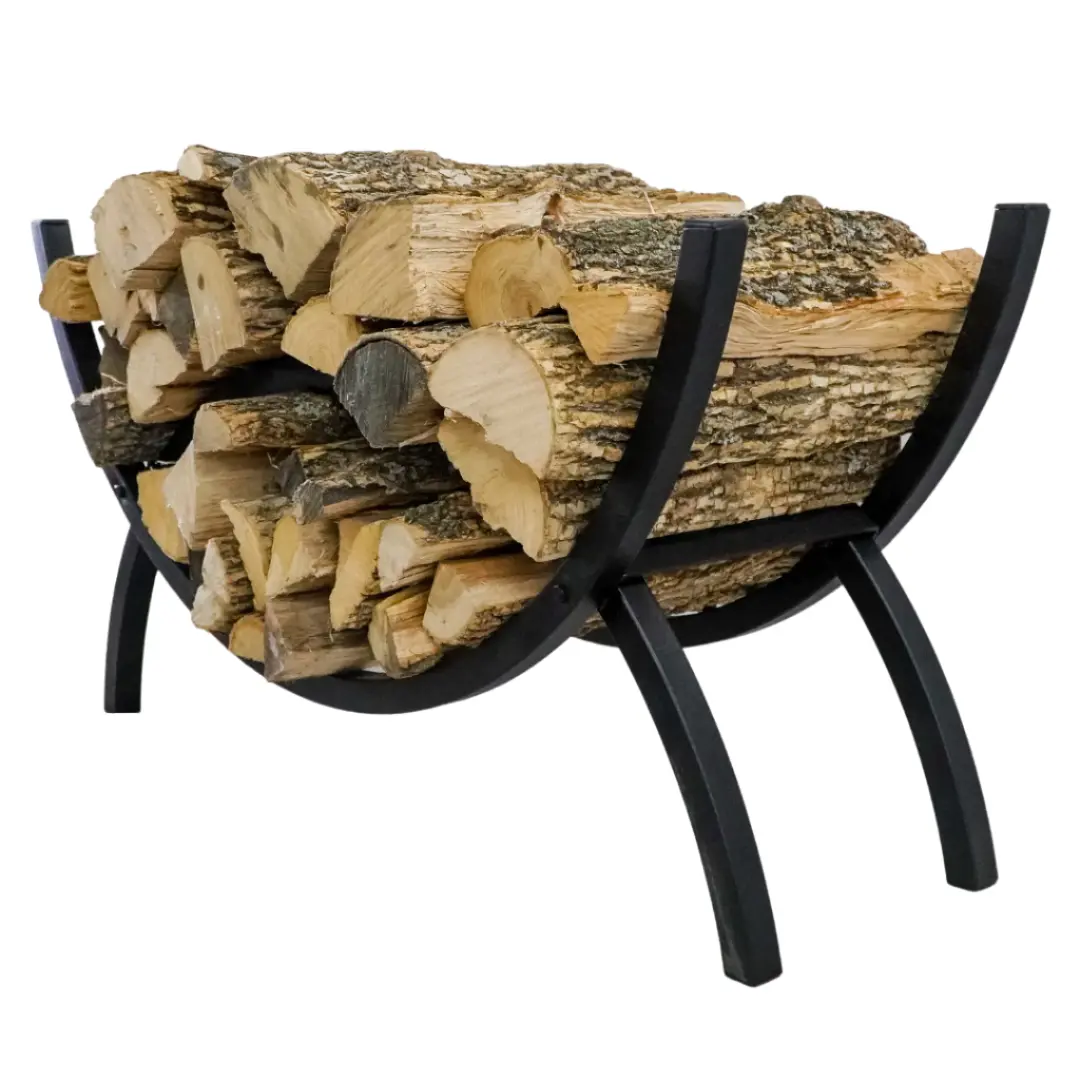
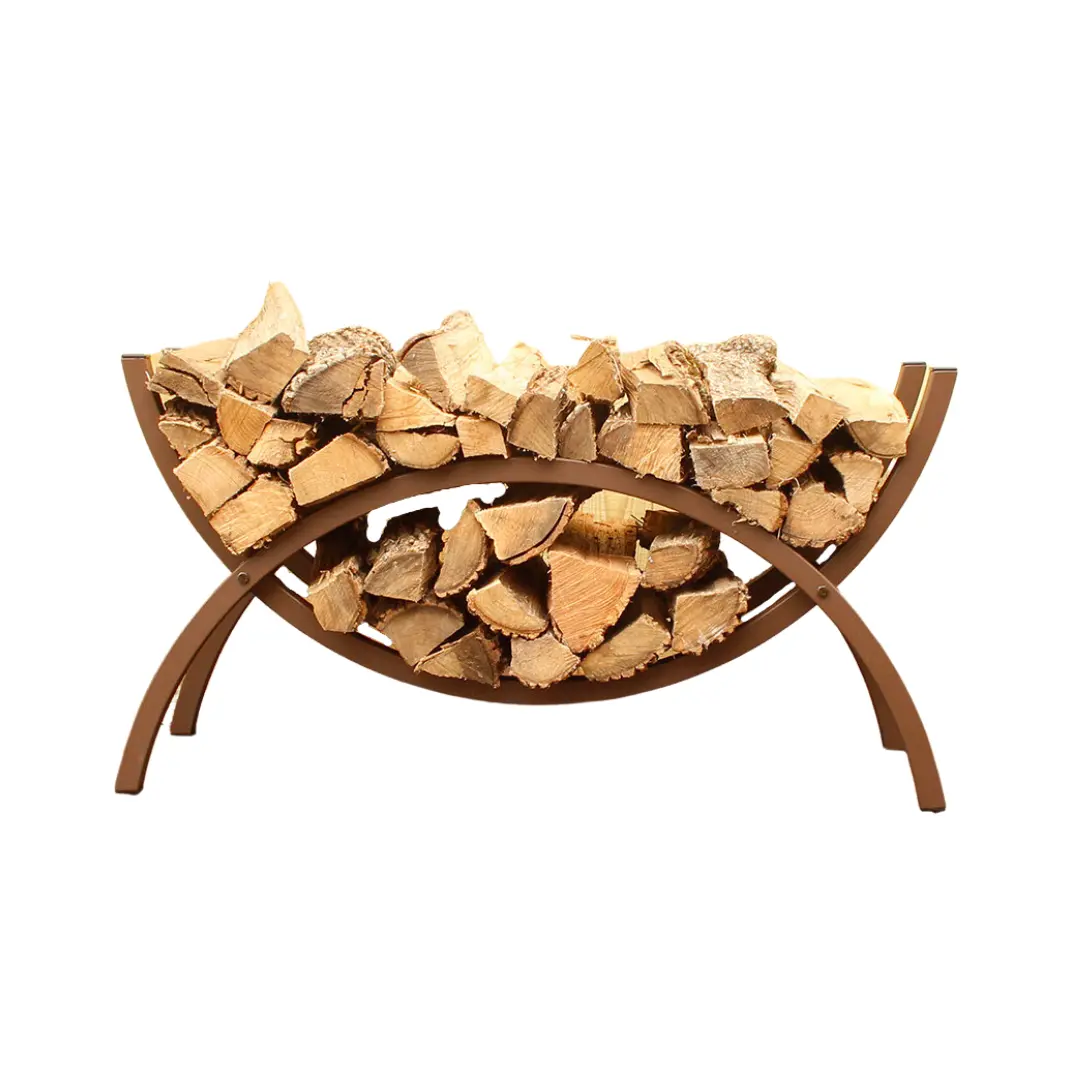
In the case of a rectangular or linear type stack, the key is to decide how the ends of the stack will be supported so they don't fall over. One way to support the ends of the woodpile is to buy a rack that has rigid ends to the row, thereby fully supporting the pile between two rigid rails.
Other people use a stake instead of buying a wood rack, but care should be taken to make sure the stake is rigid enough to support the wood. That stake needs to be deep enough in the ground to ensure that it doesn't tip over when exposed to the elements and forces from the wood over time.
Another option that has no cost is to stack two pillar-type stacks at the ends of the row. To build a pillar stack, lay two or three logs parallel next to each other. For the next row, do the same but place them perpendicular to the row you just made. Alternate each row of logs perpendicular to the row below them until you reach the desired height.
Here is a picture of this pillar alternate stacking technique:

Once you get your pillars constructed, you can fill in between them by stacking all the logs parallel to each other. Some people think it is necessary to make the whole stack using the alternate orientation for each row, but this is a waste of time. As long as the cover is constructed properly as discussed below, the wood will have enough airflow to dry properly.
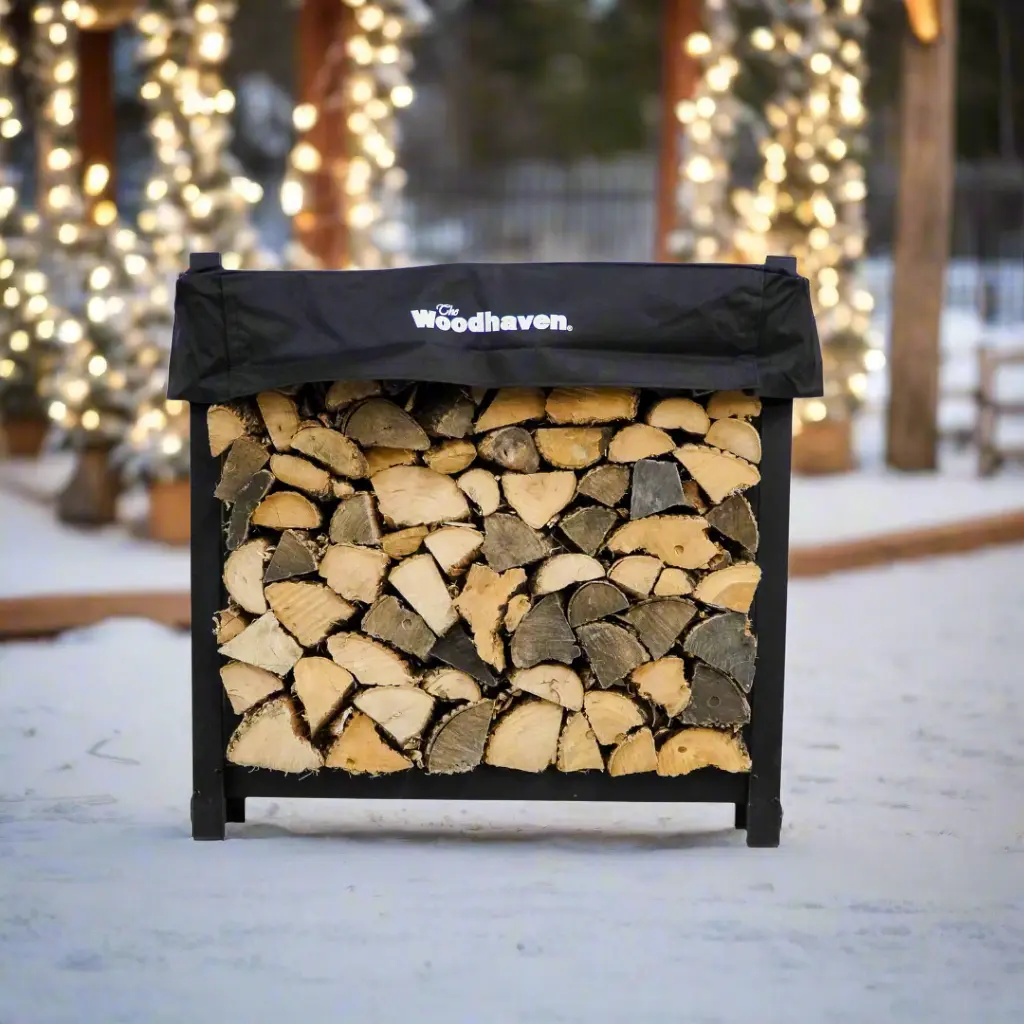
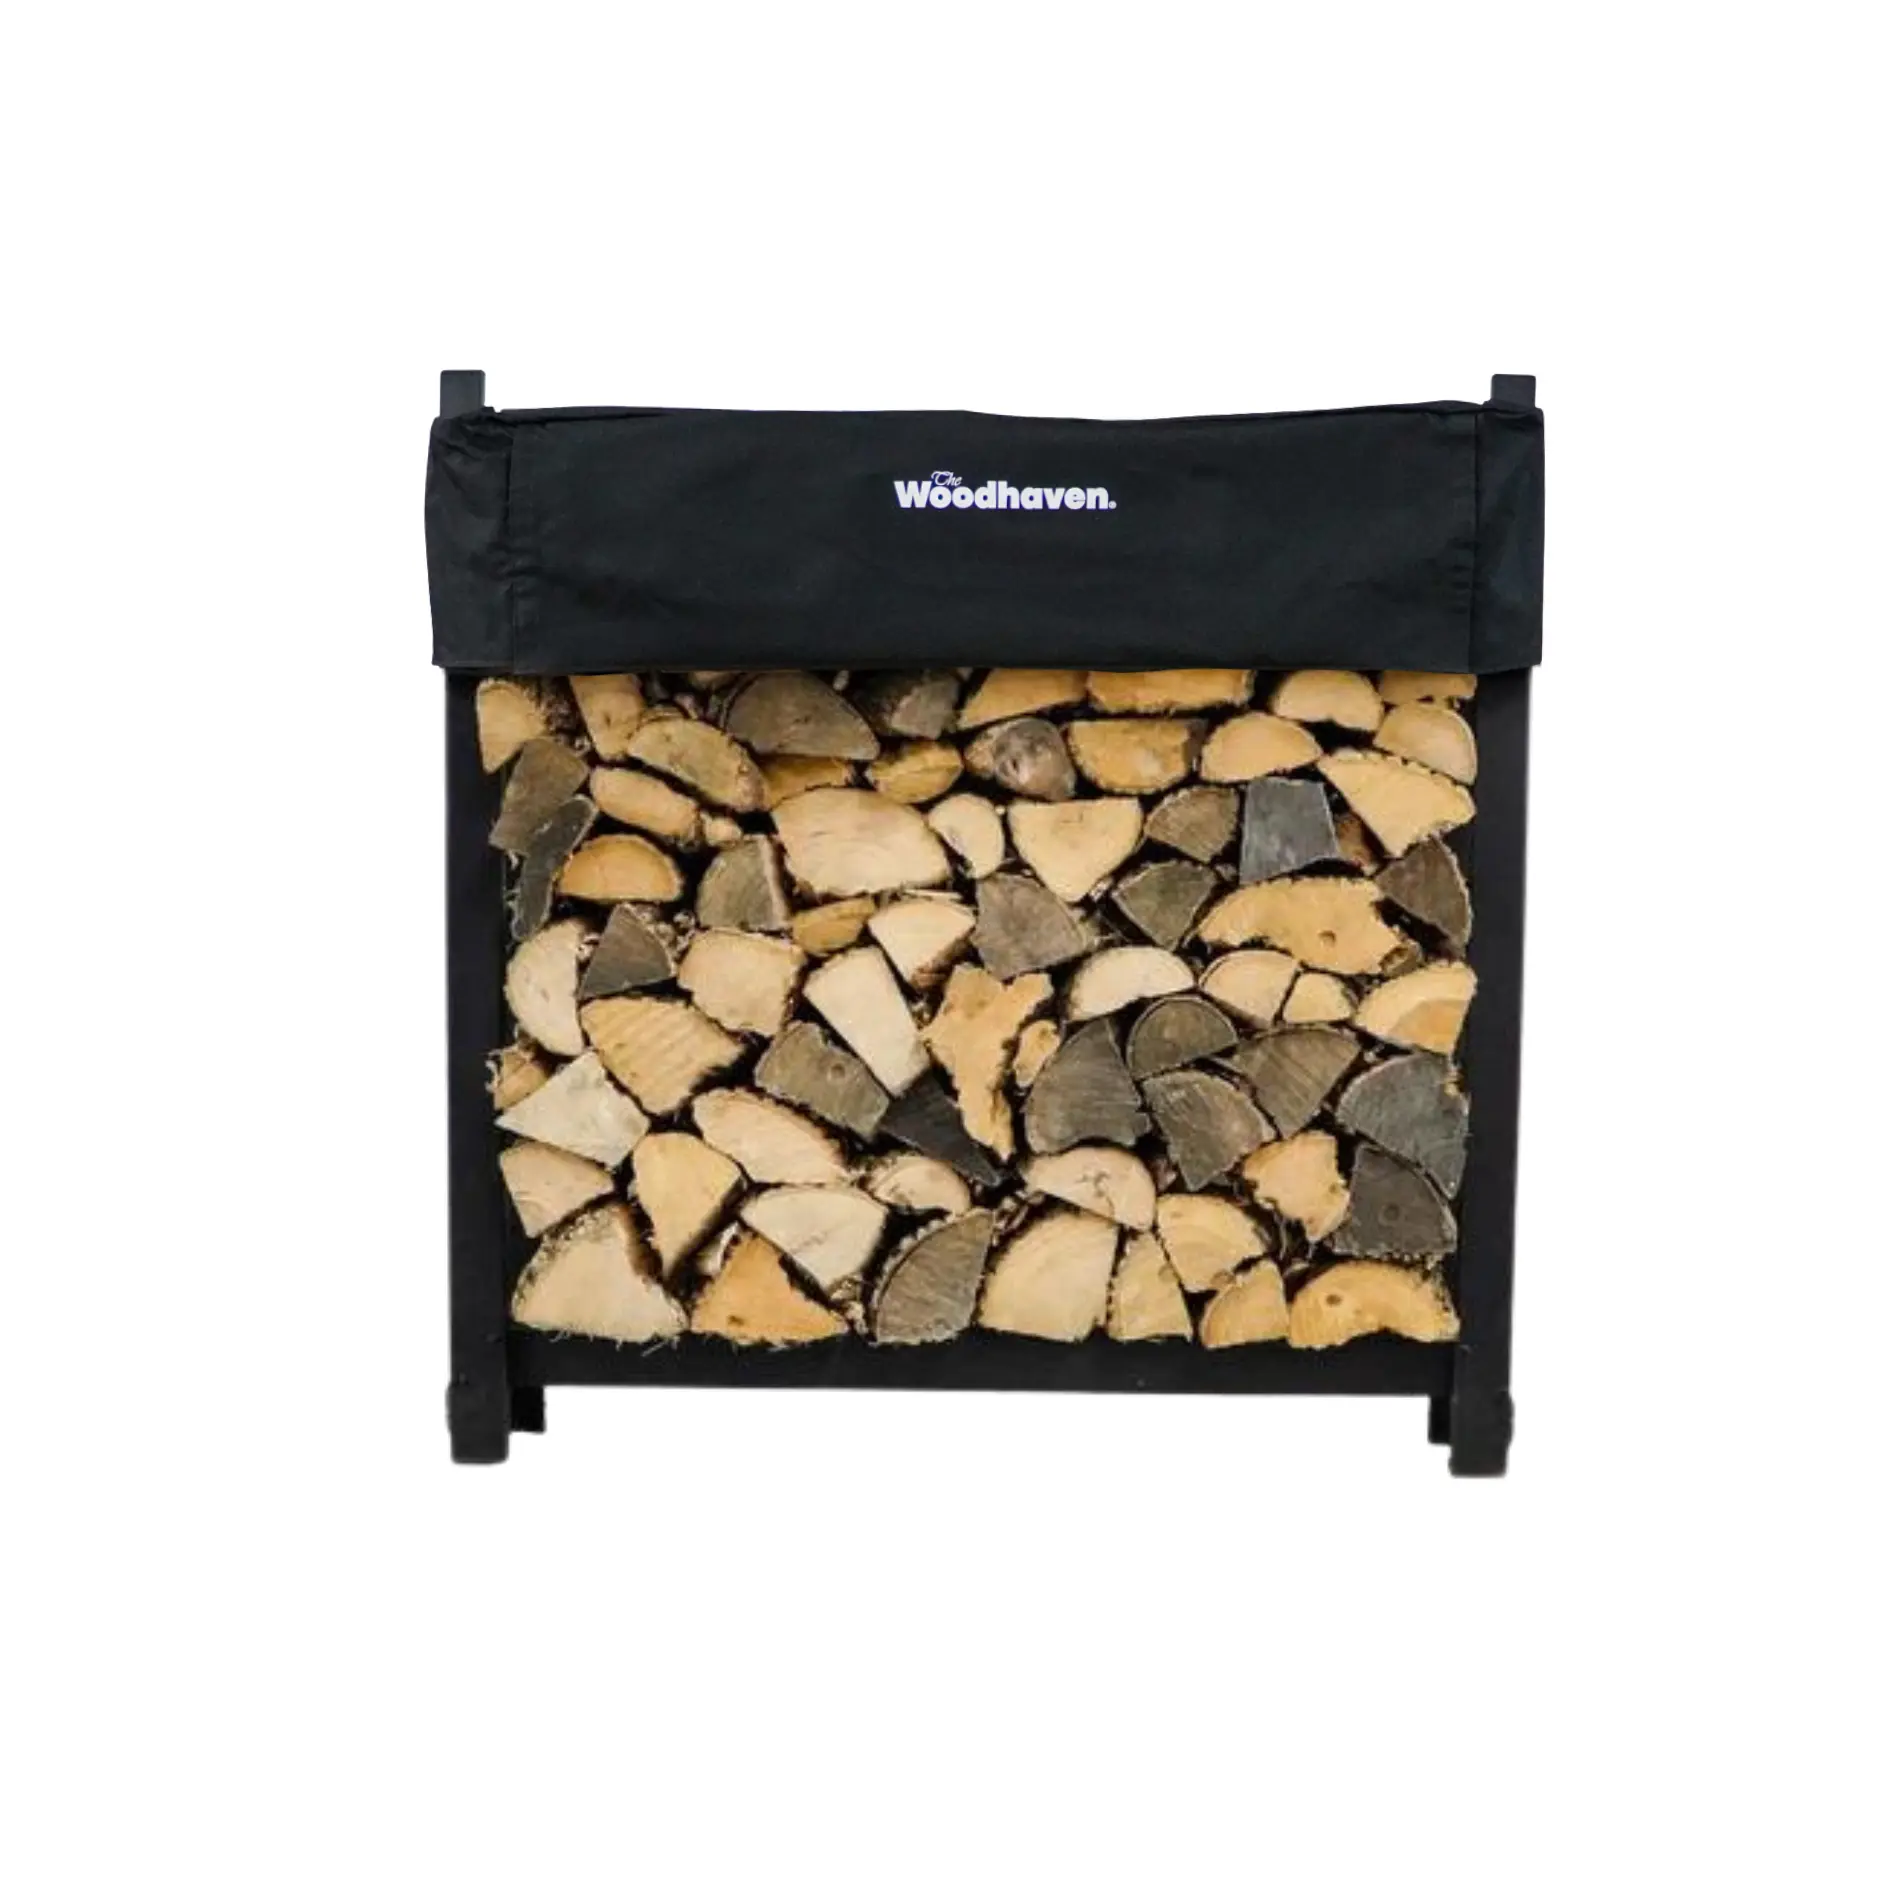
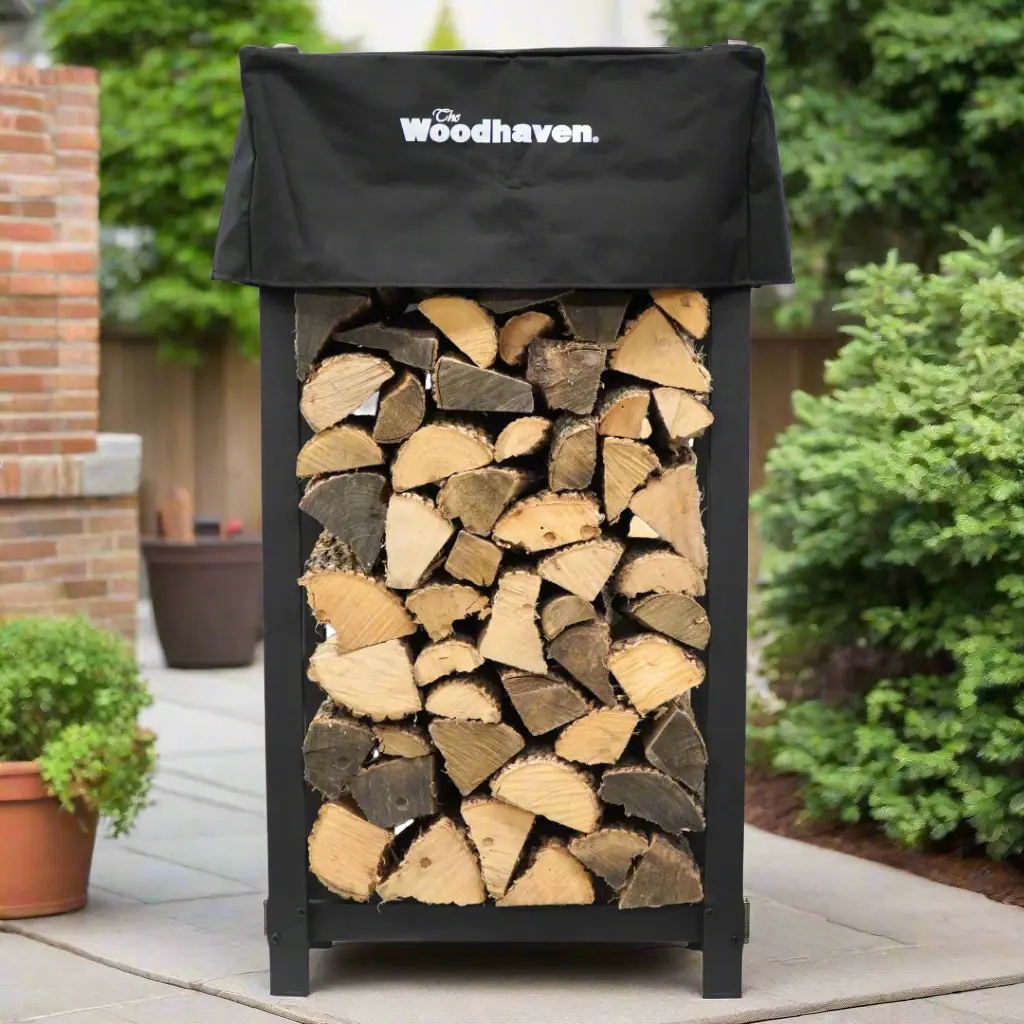
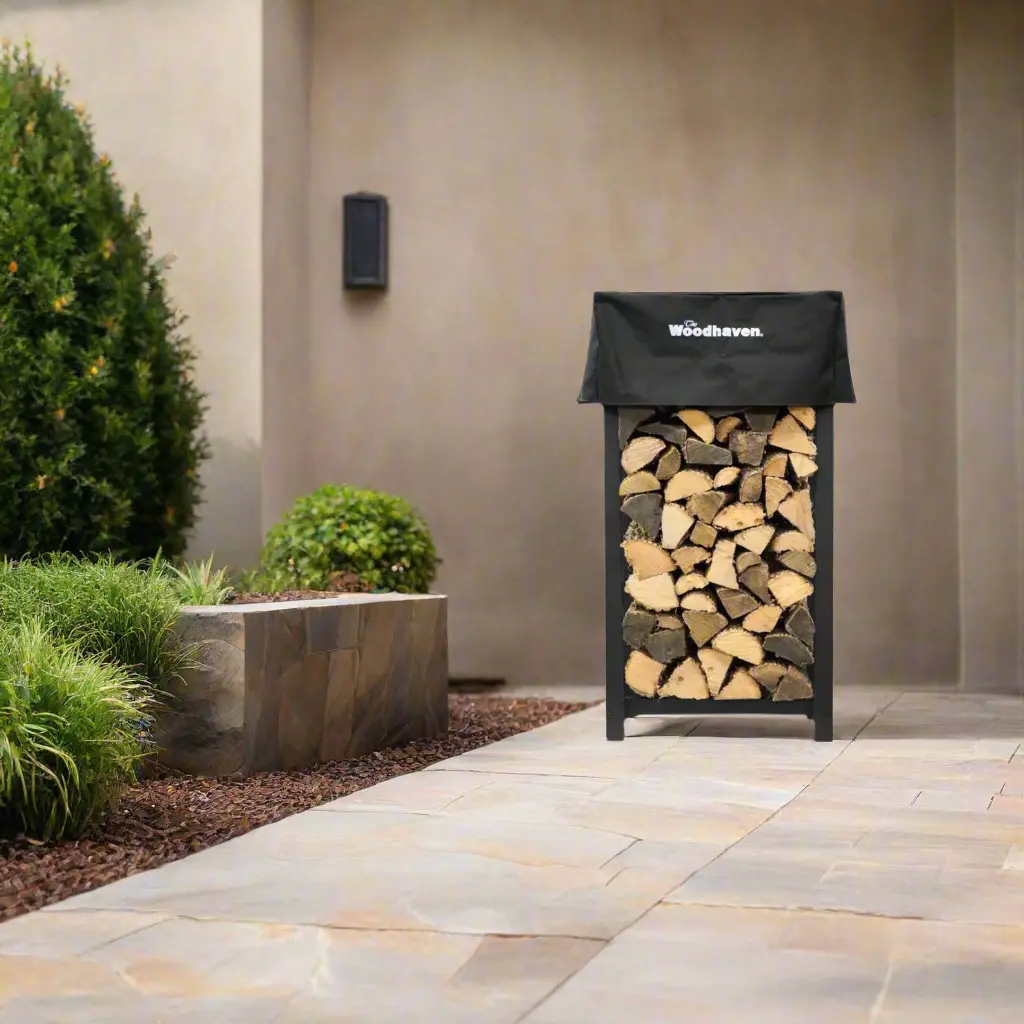
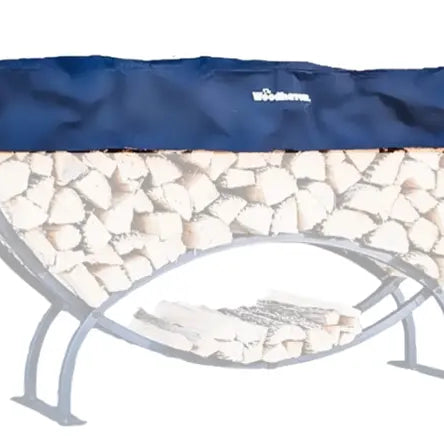
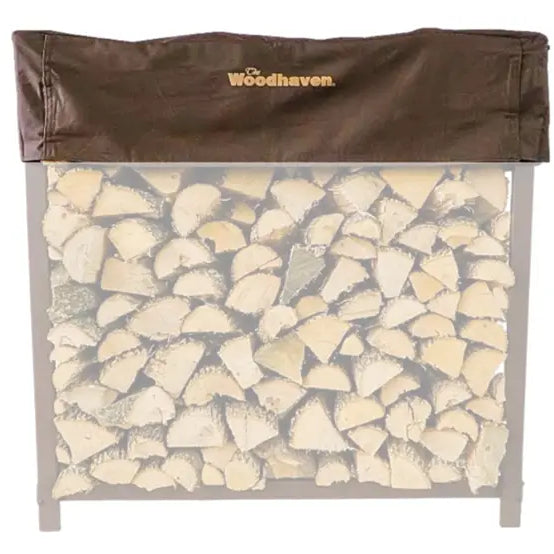
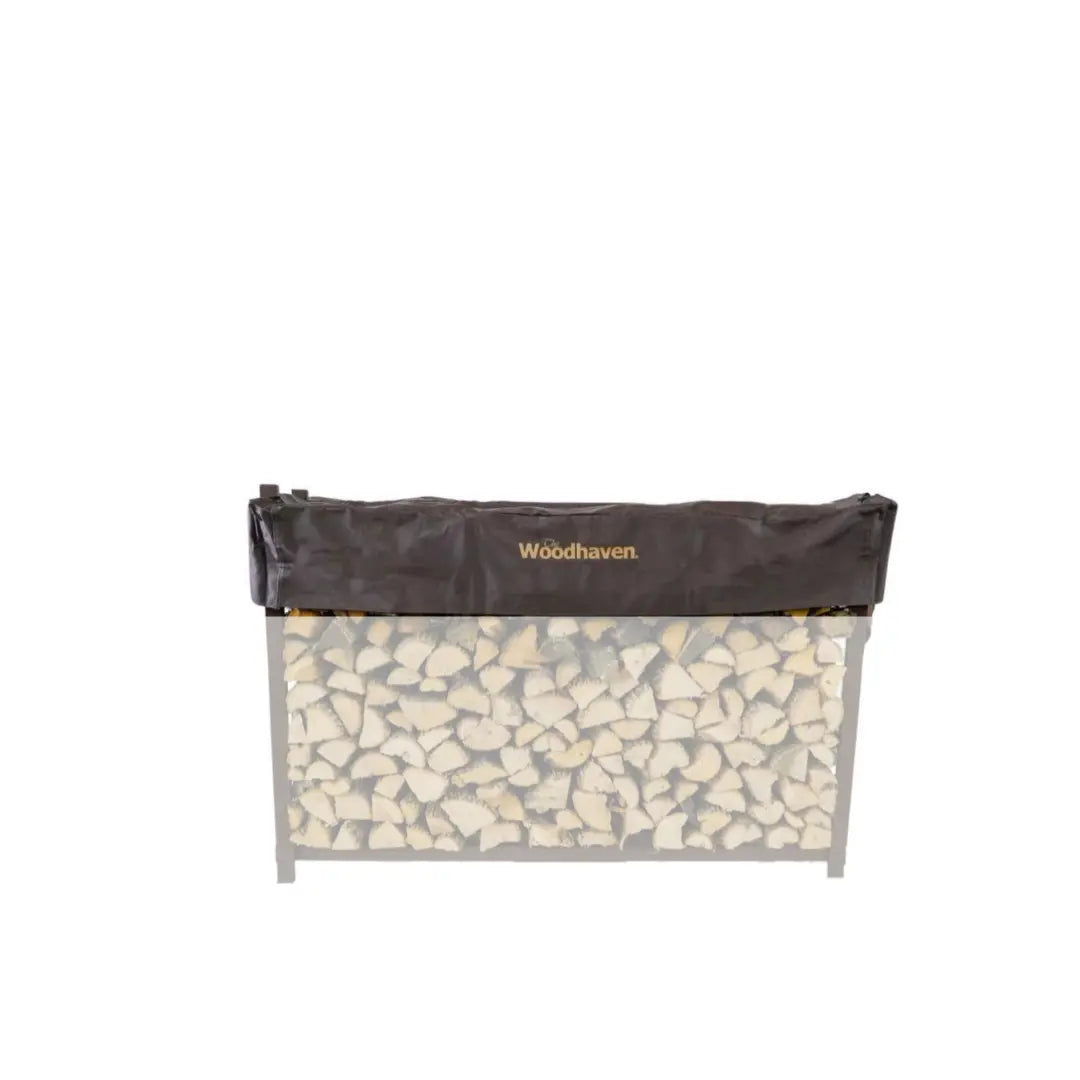
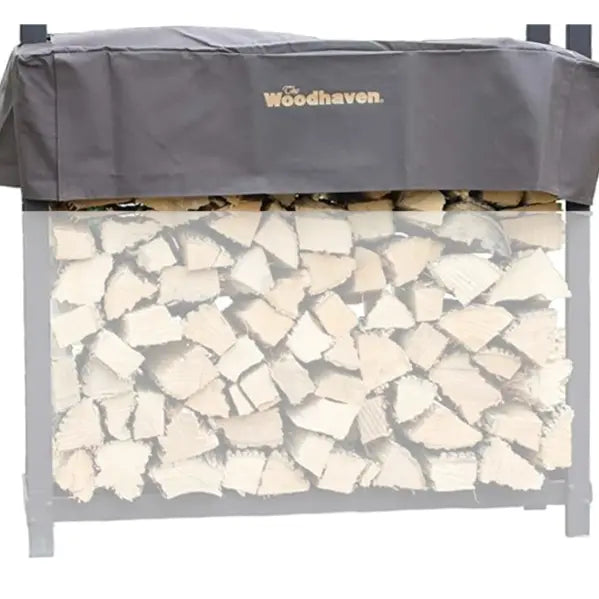
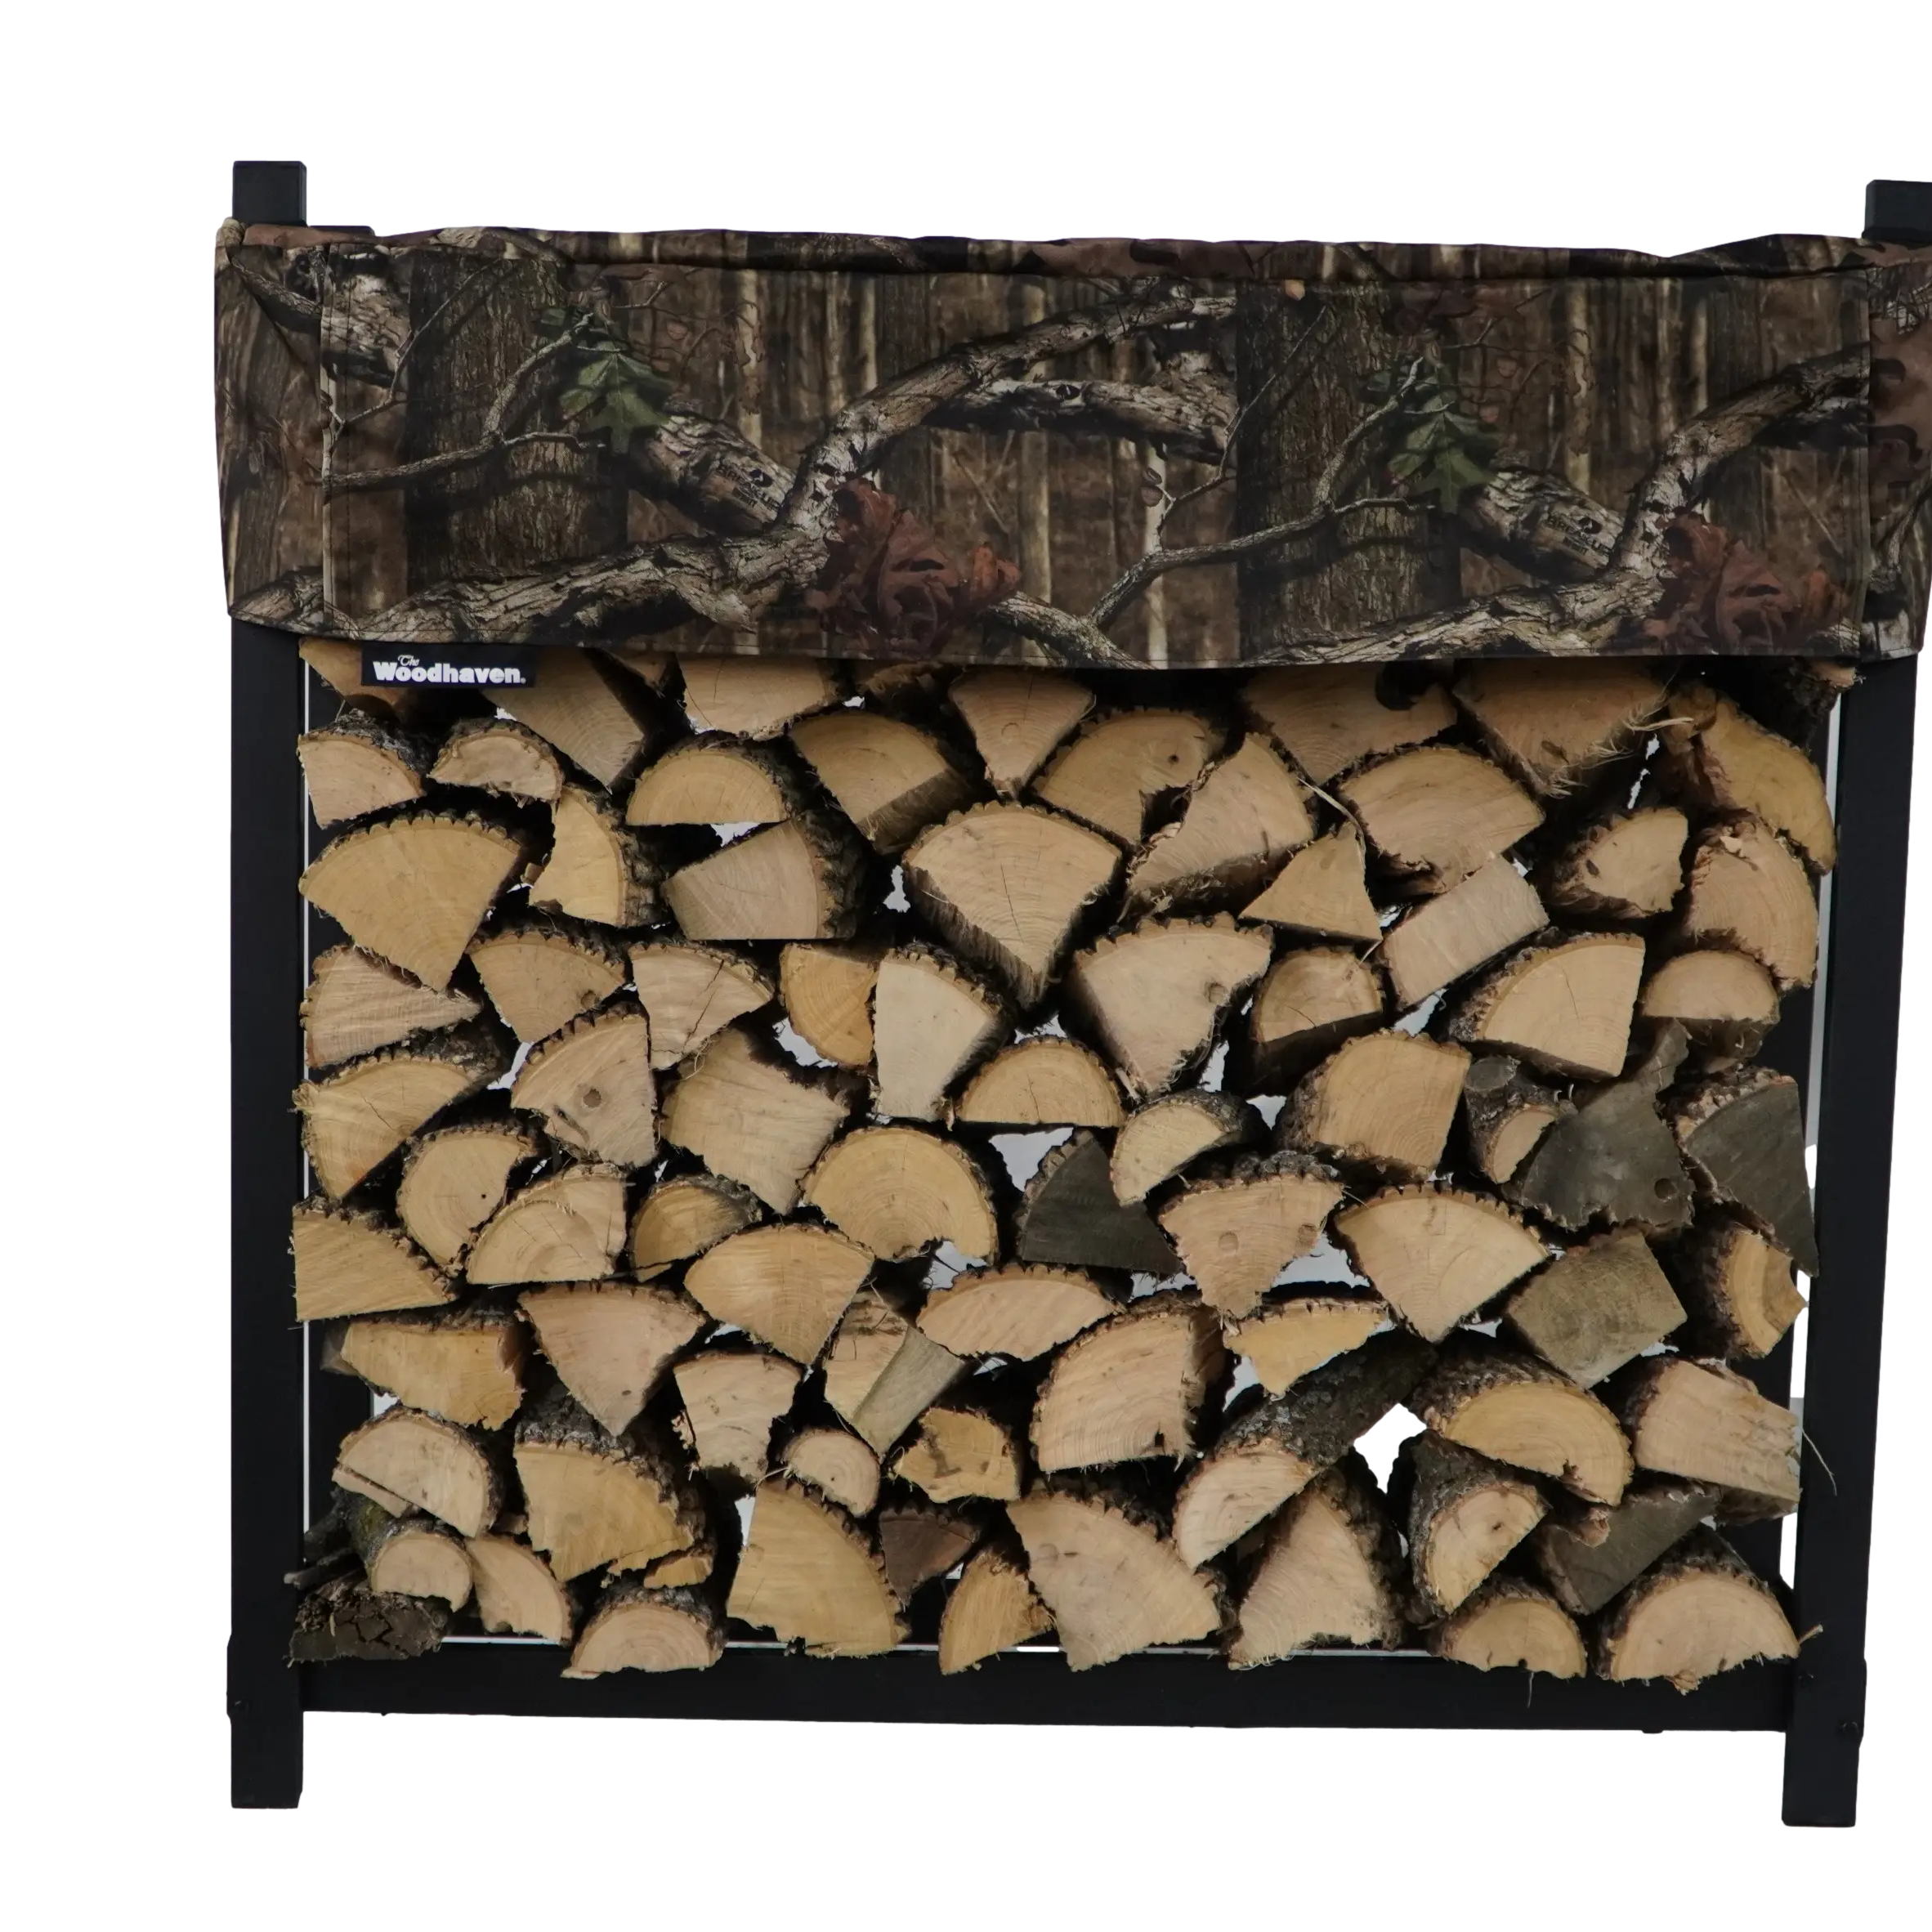
How to Cover Your Woodpile
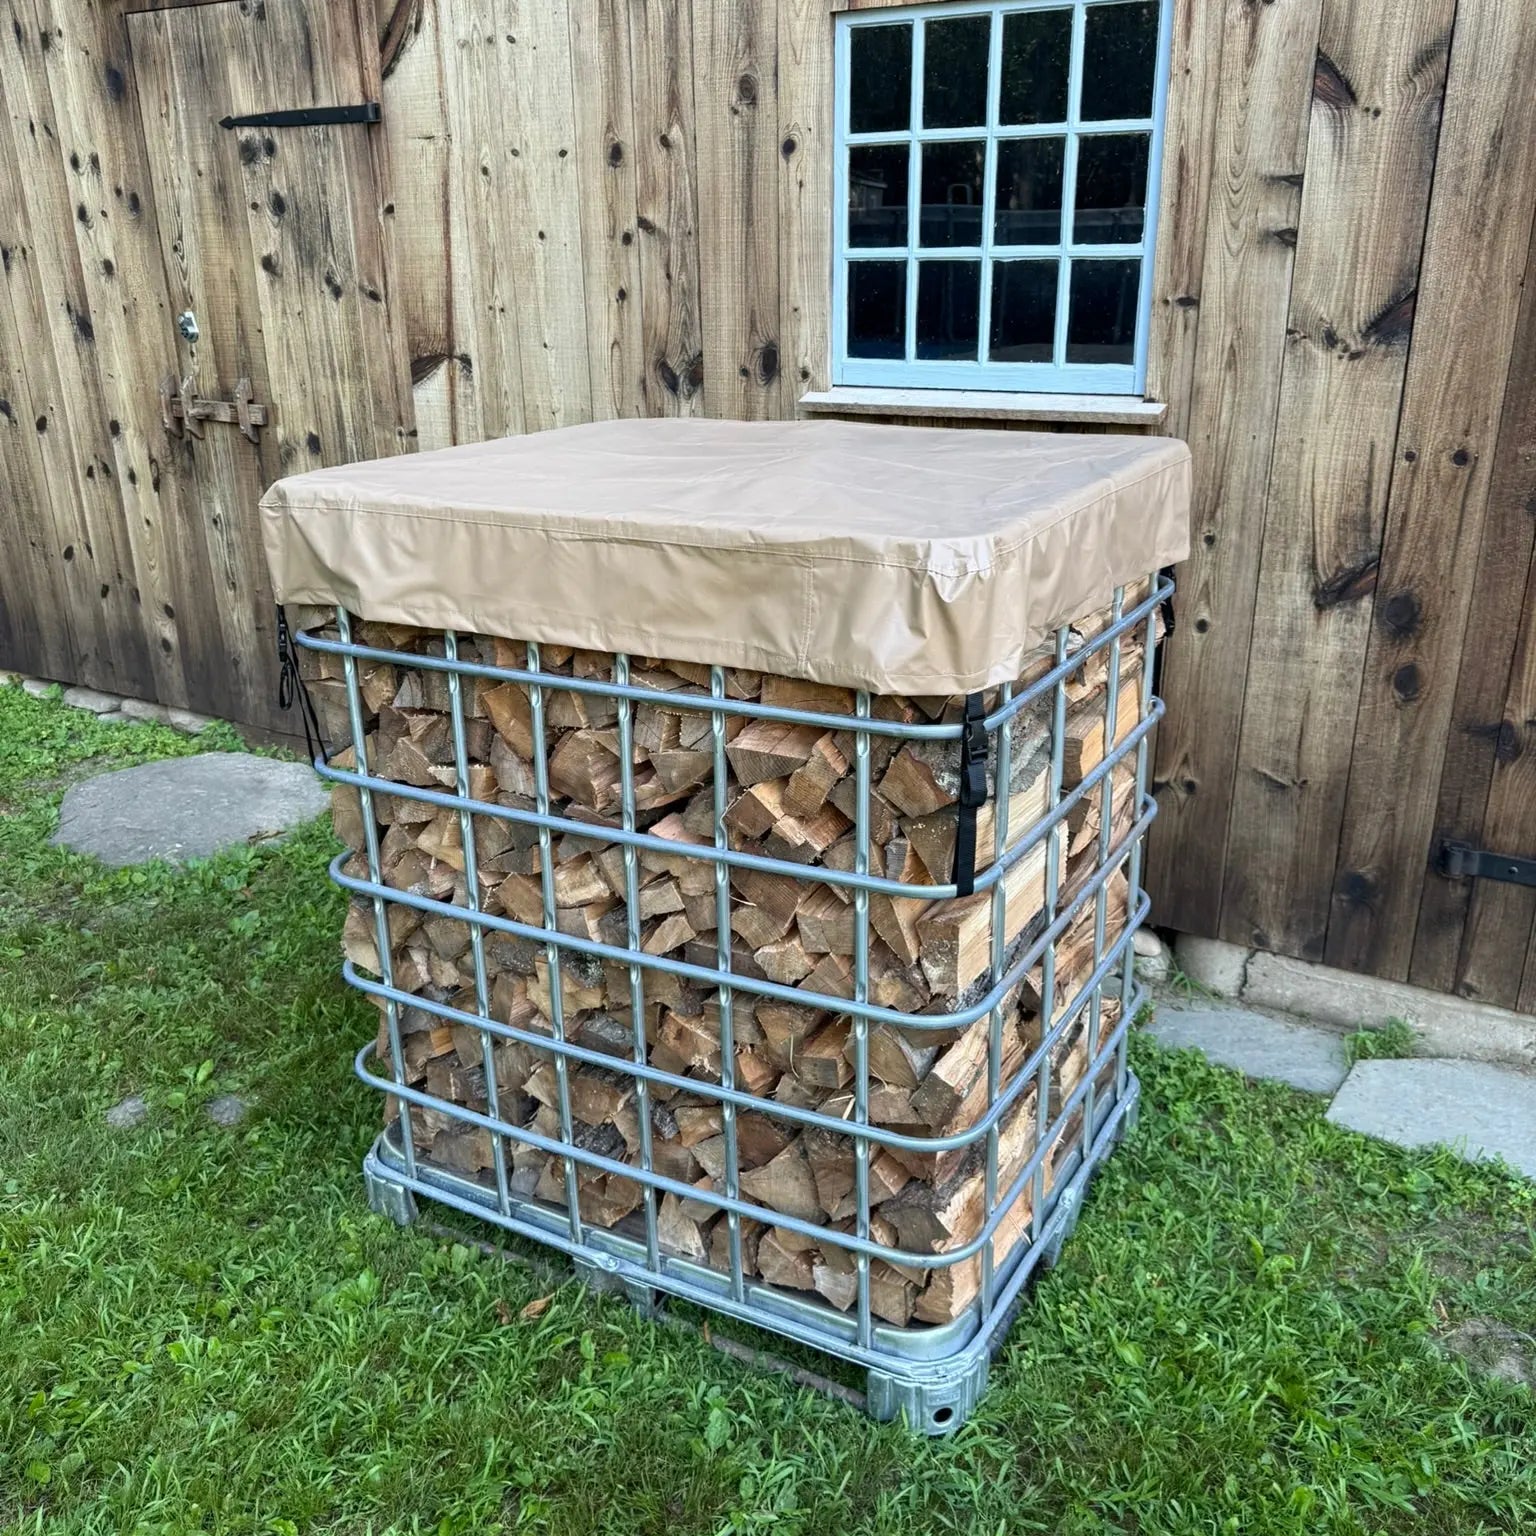
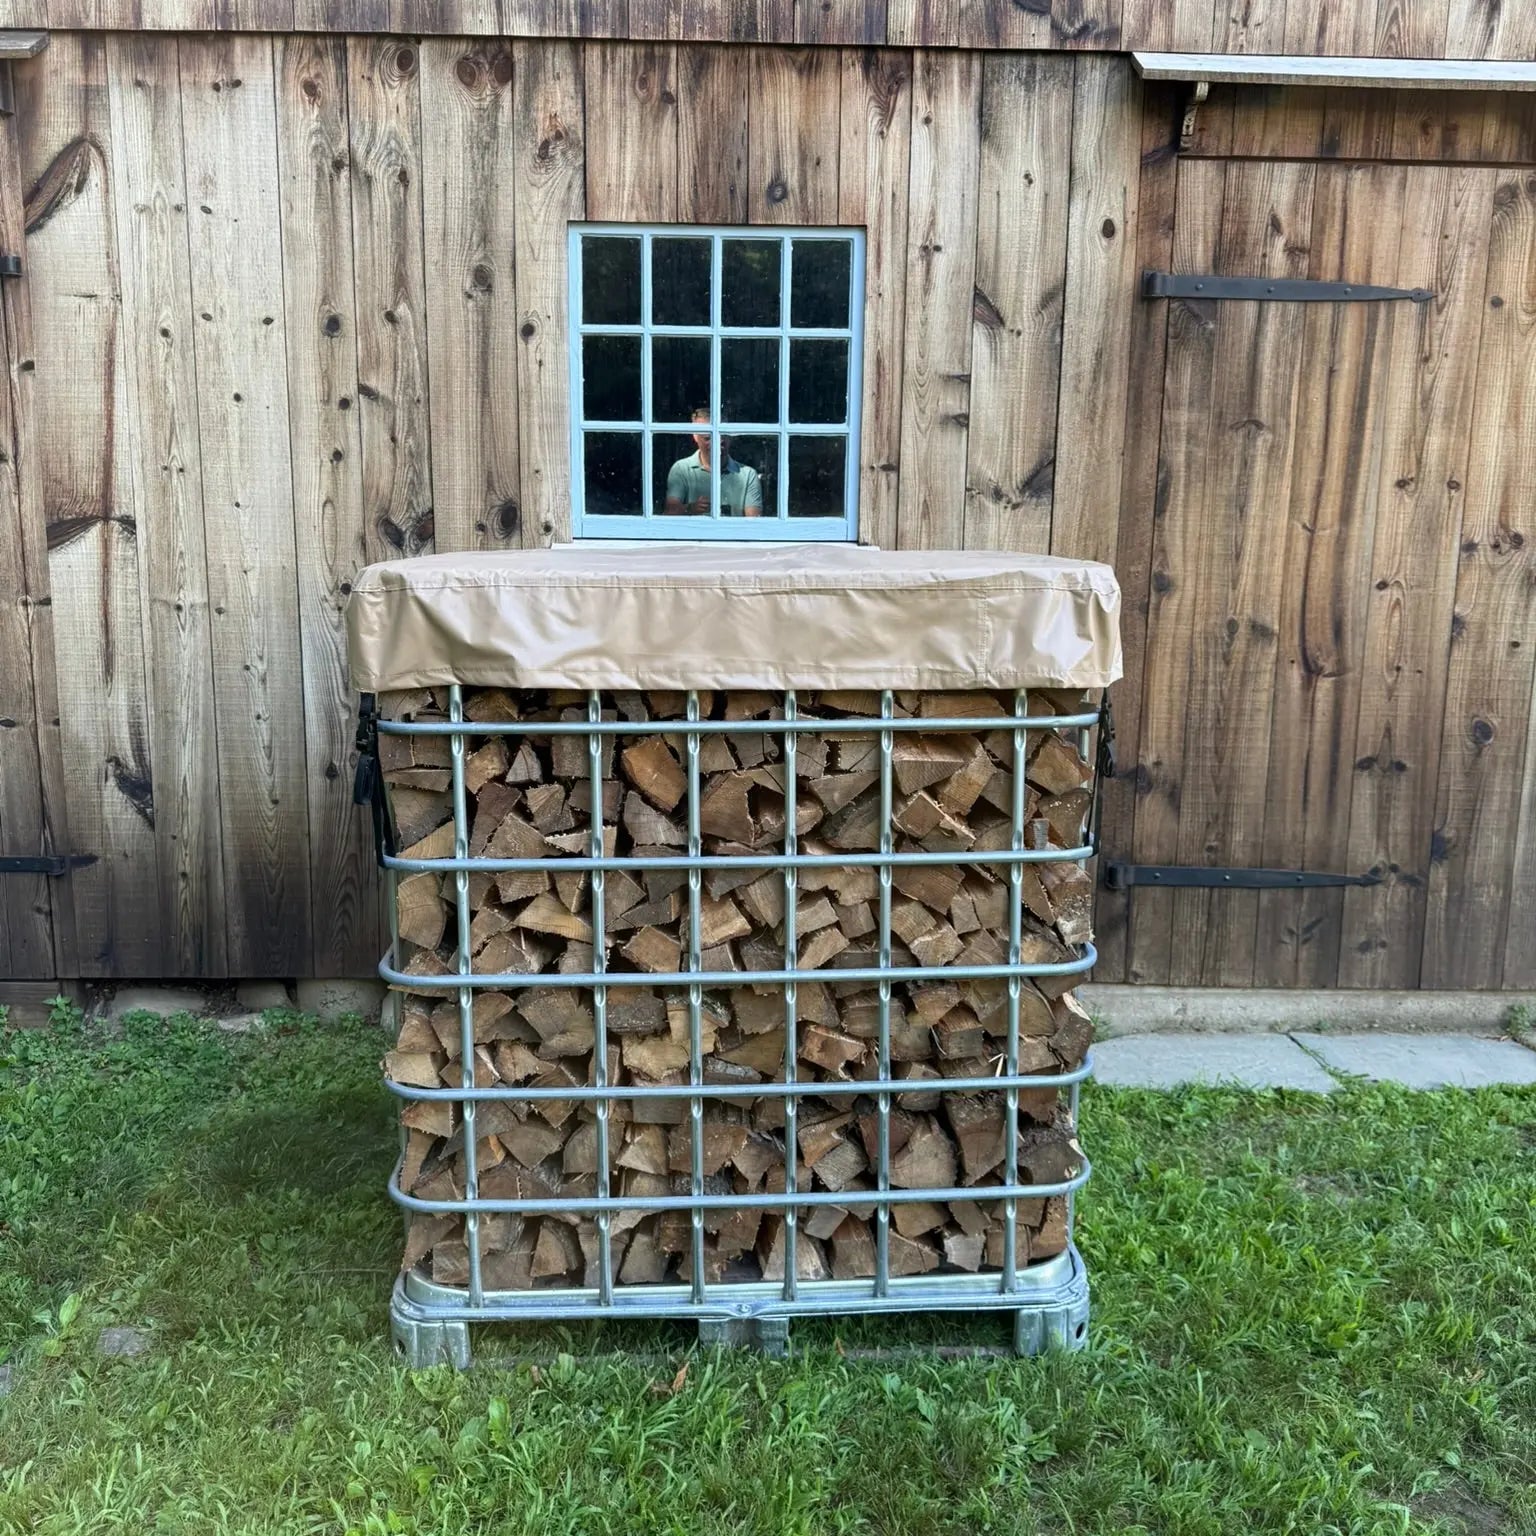
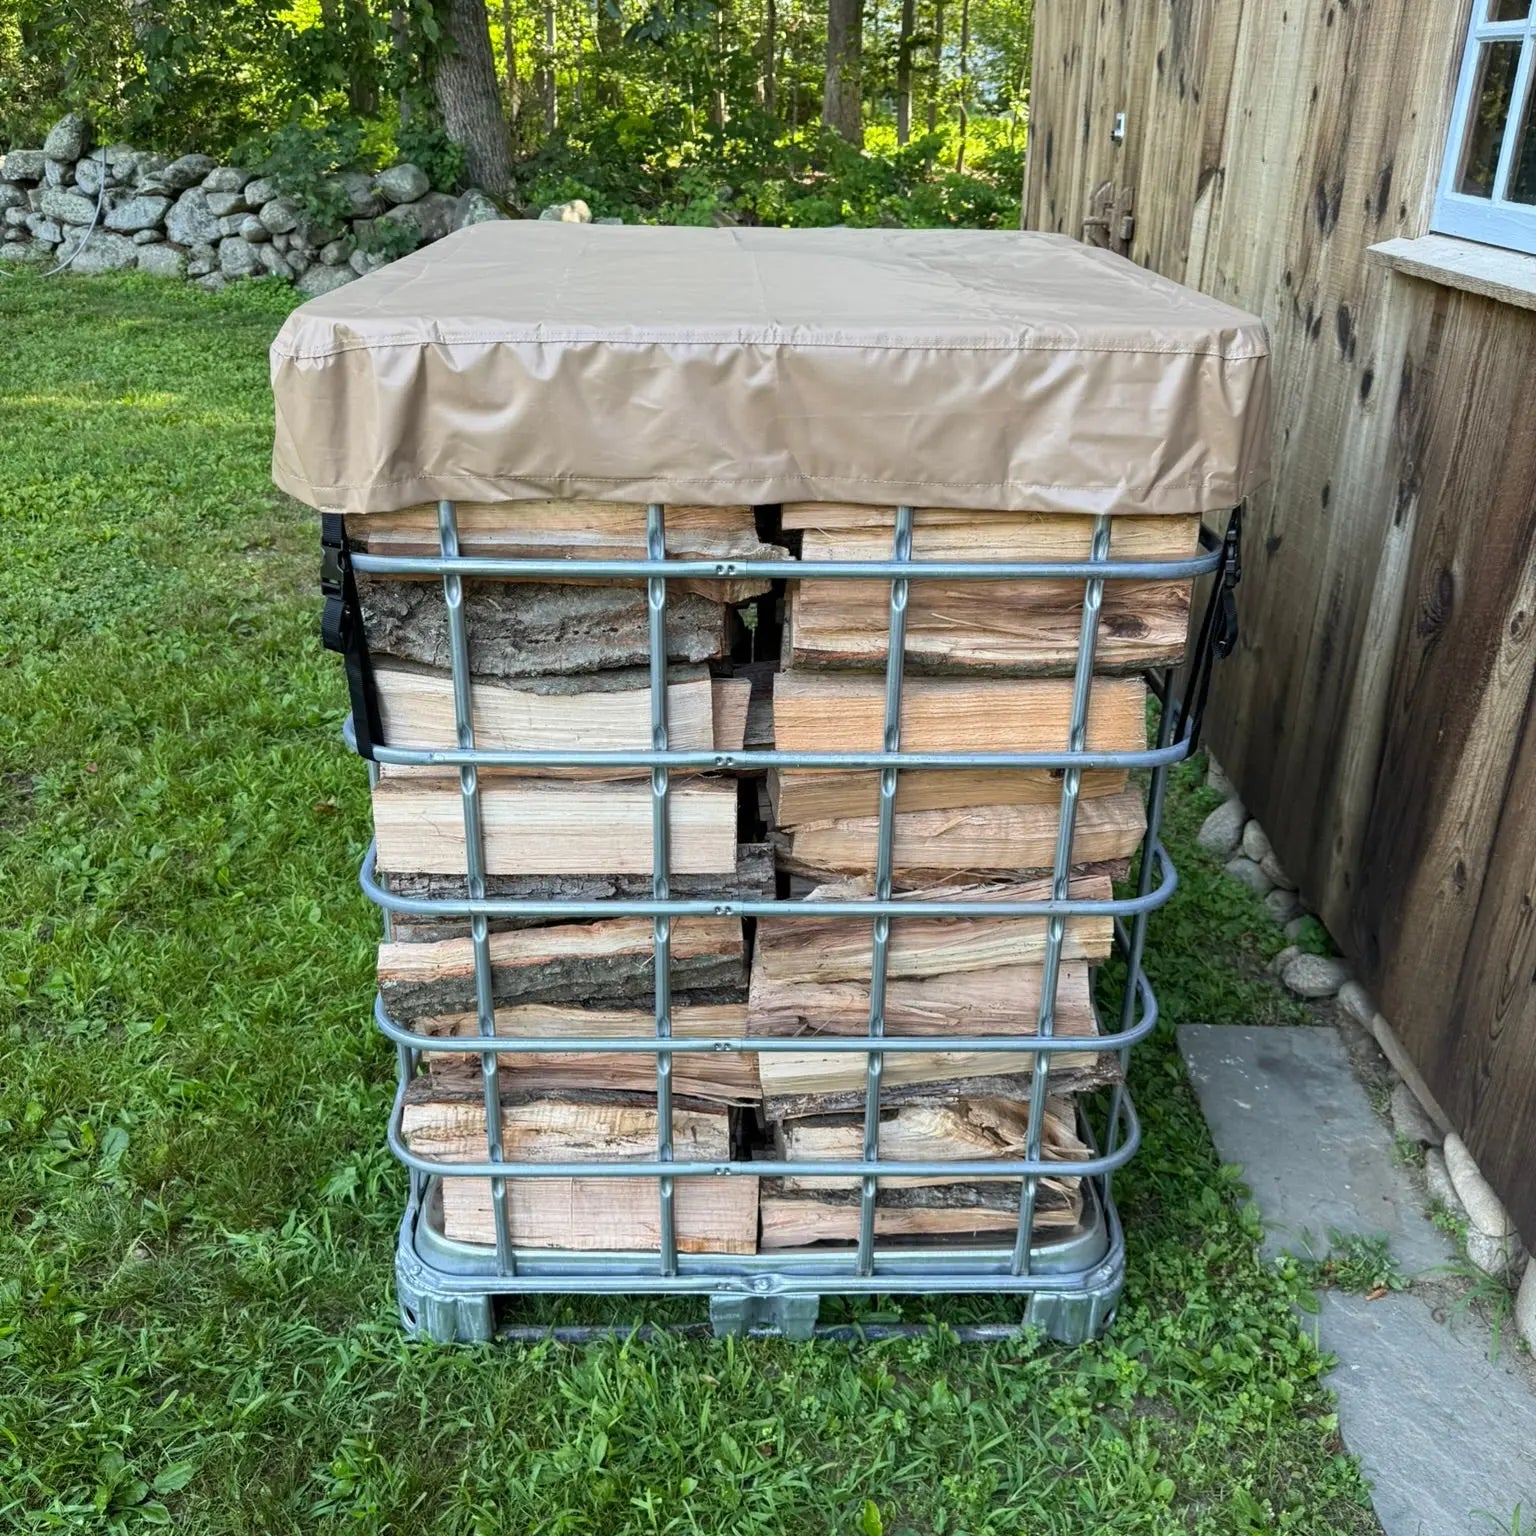
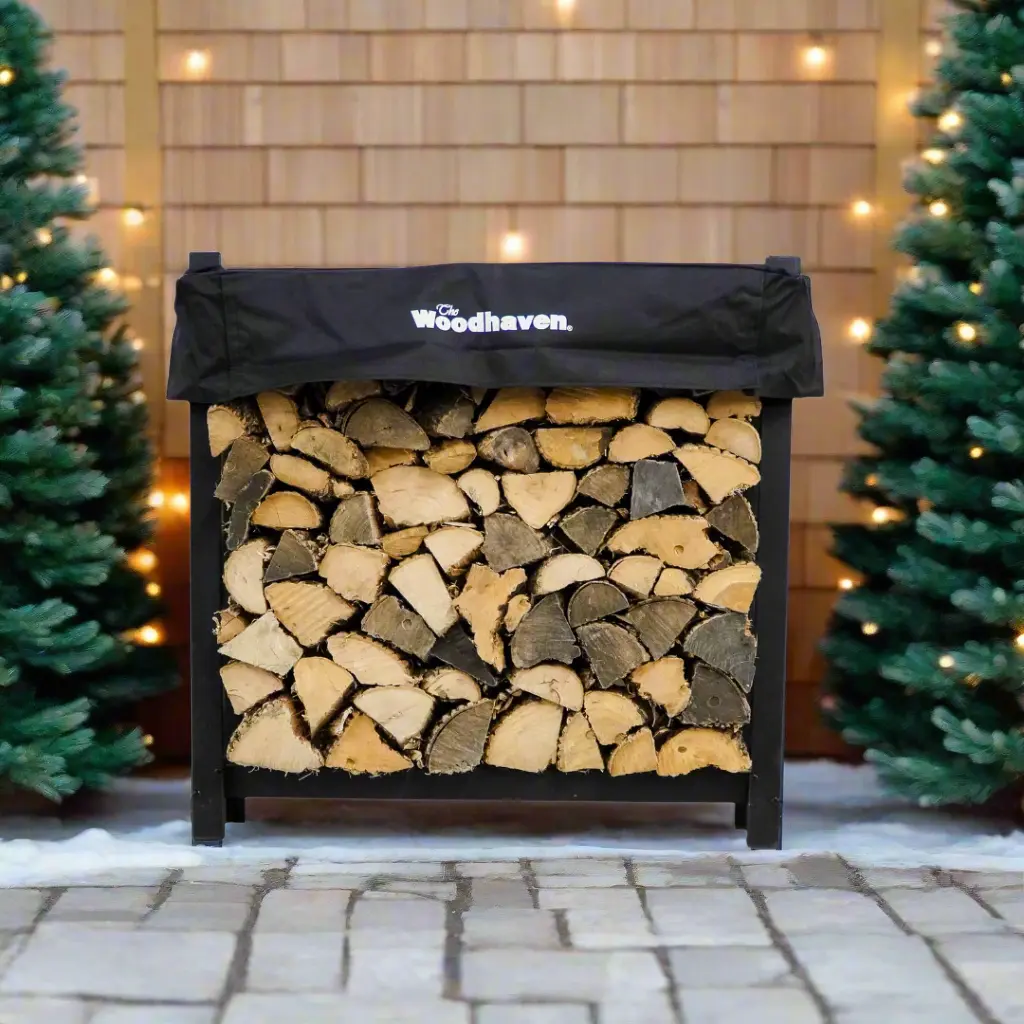
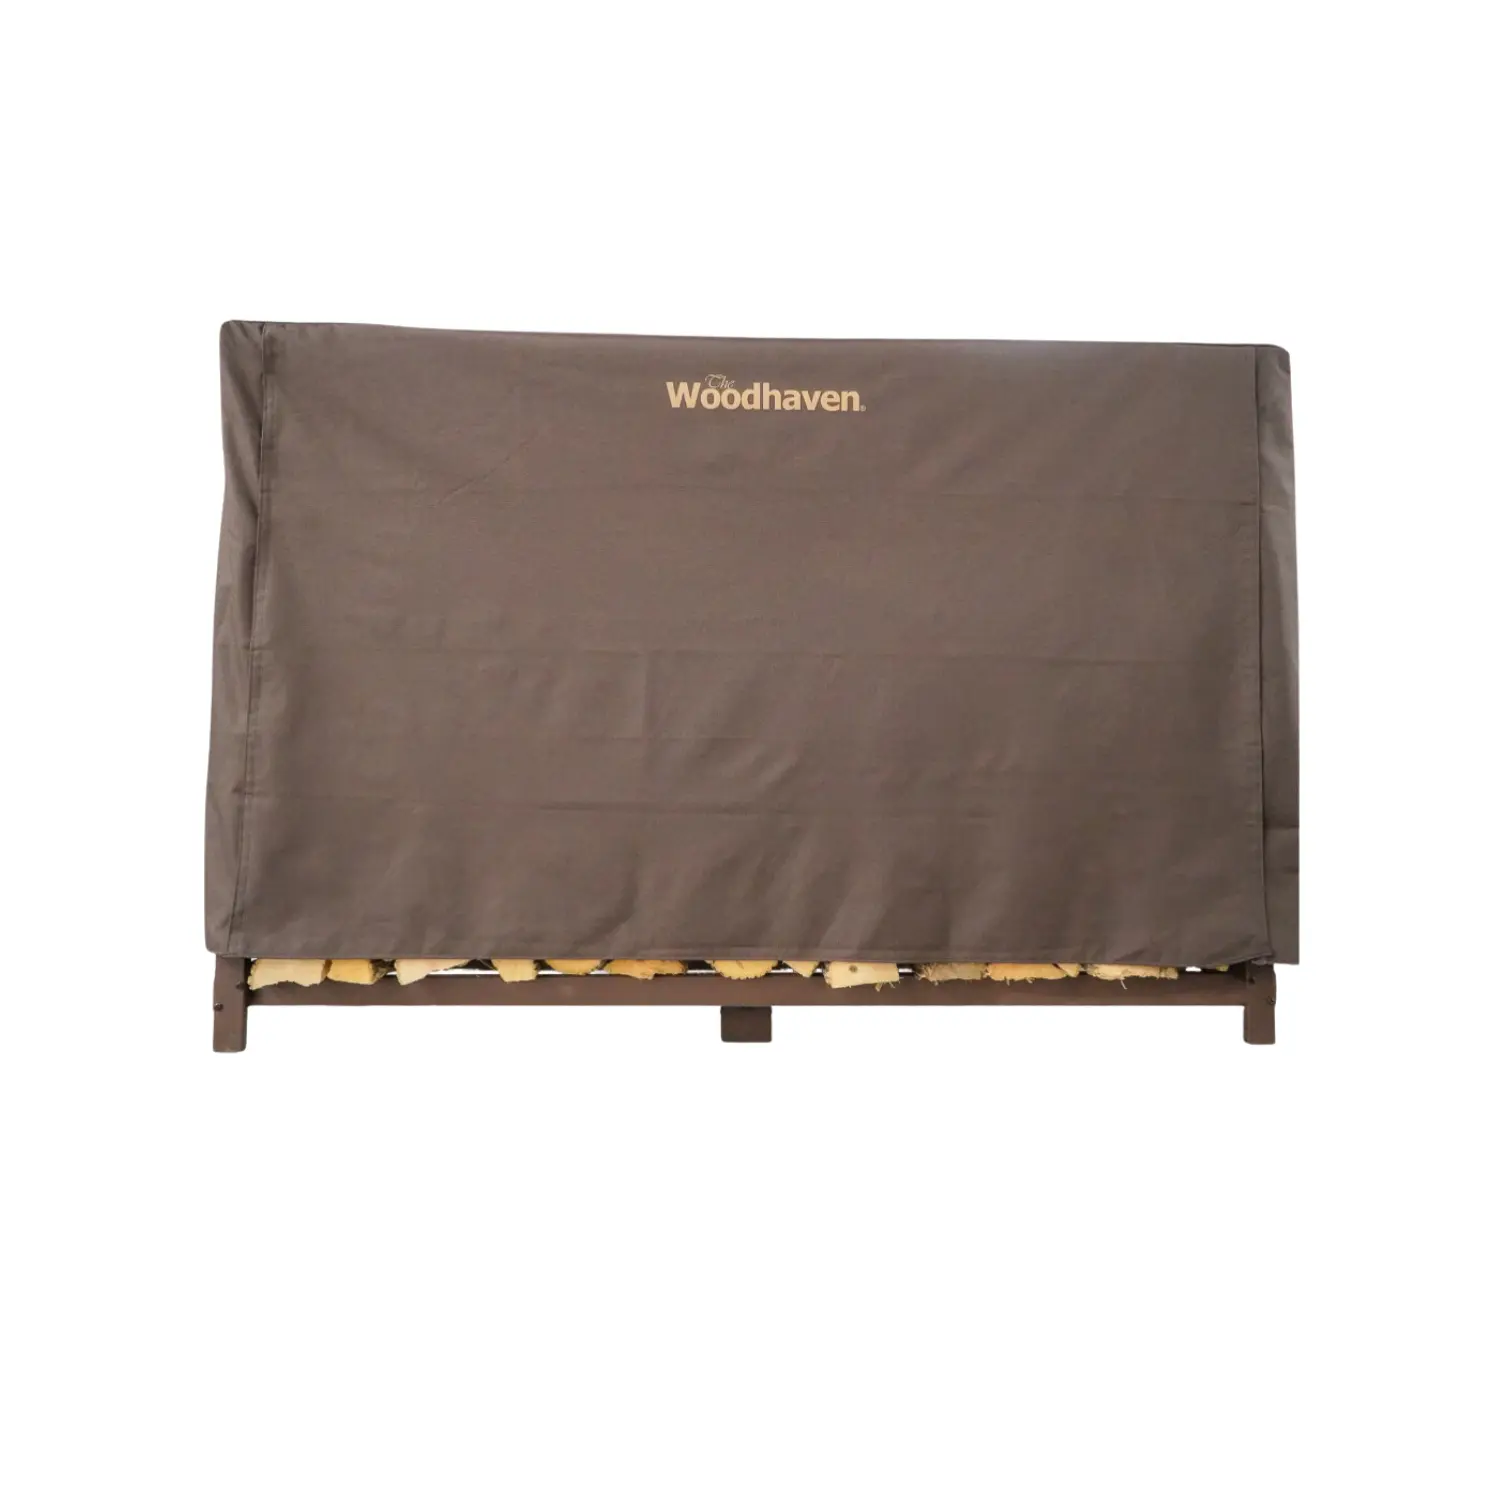
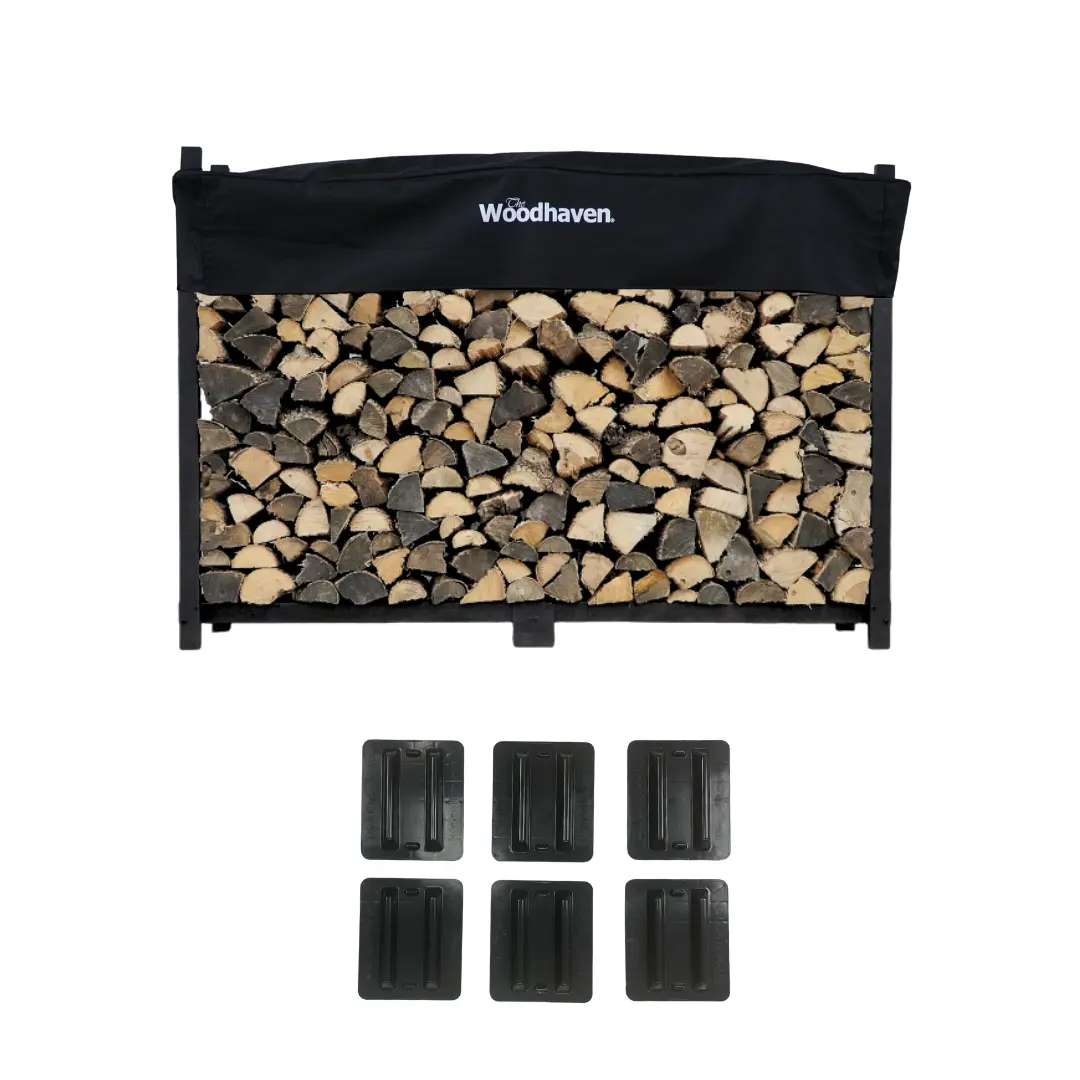
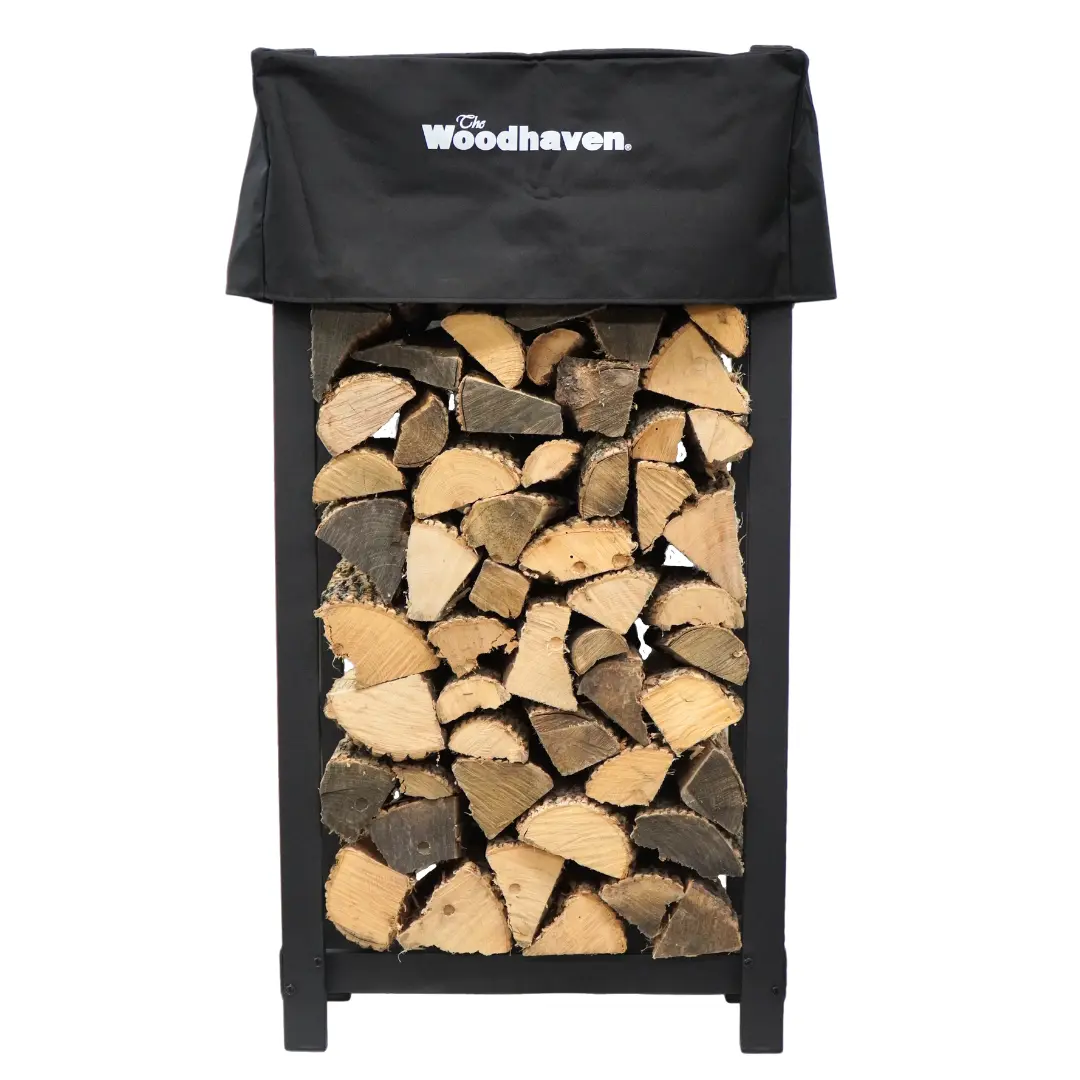
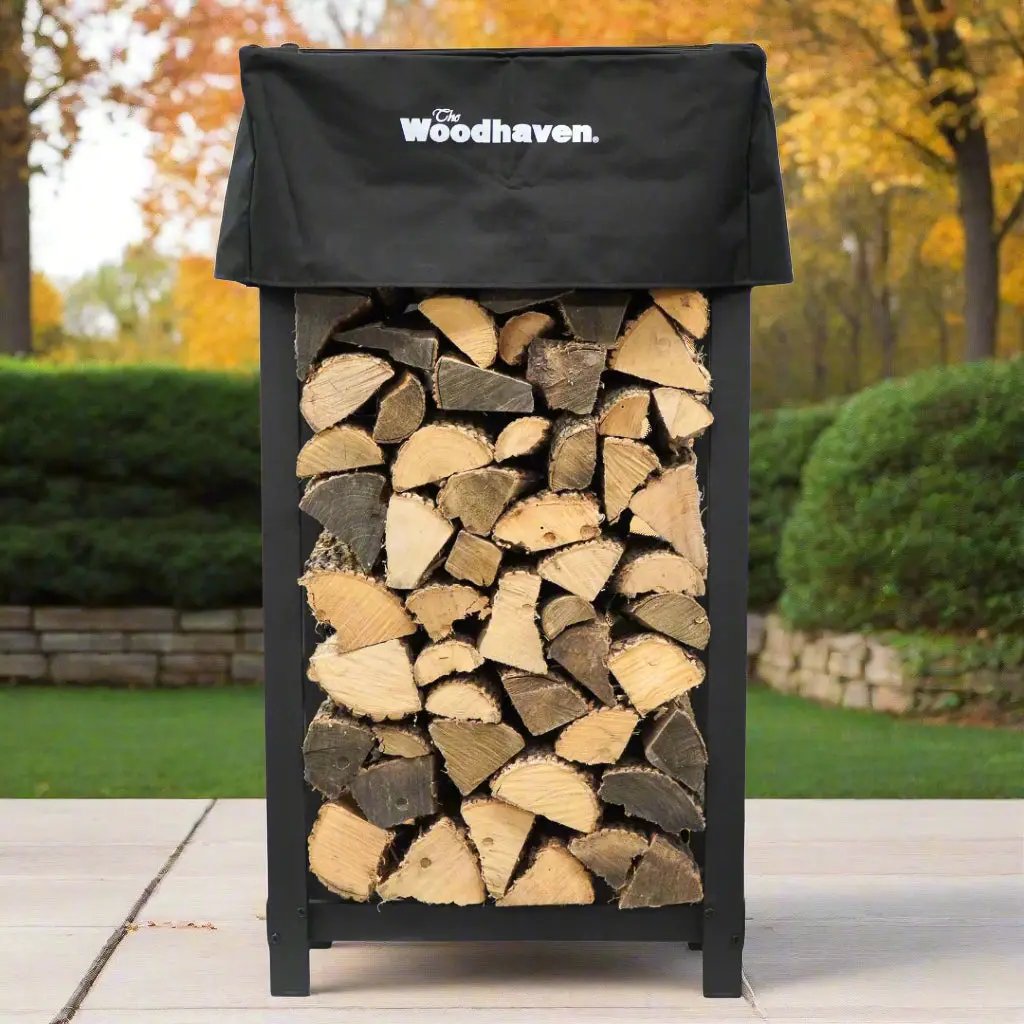
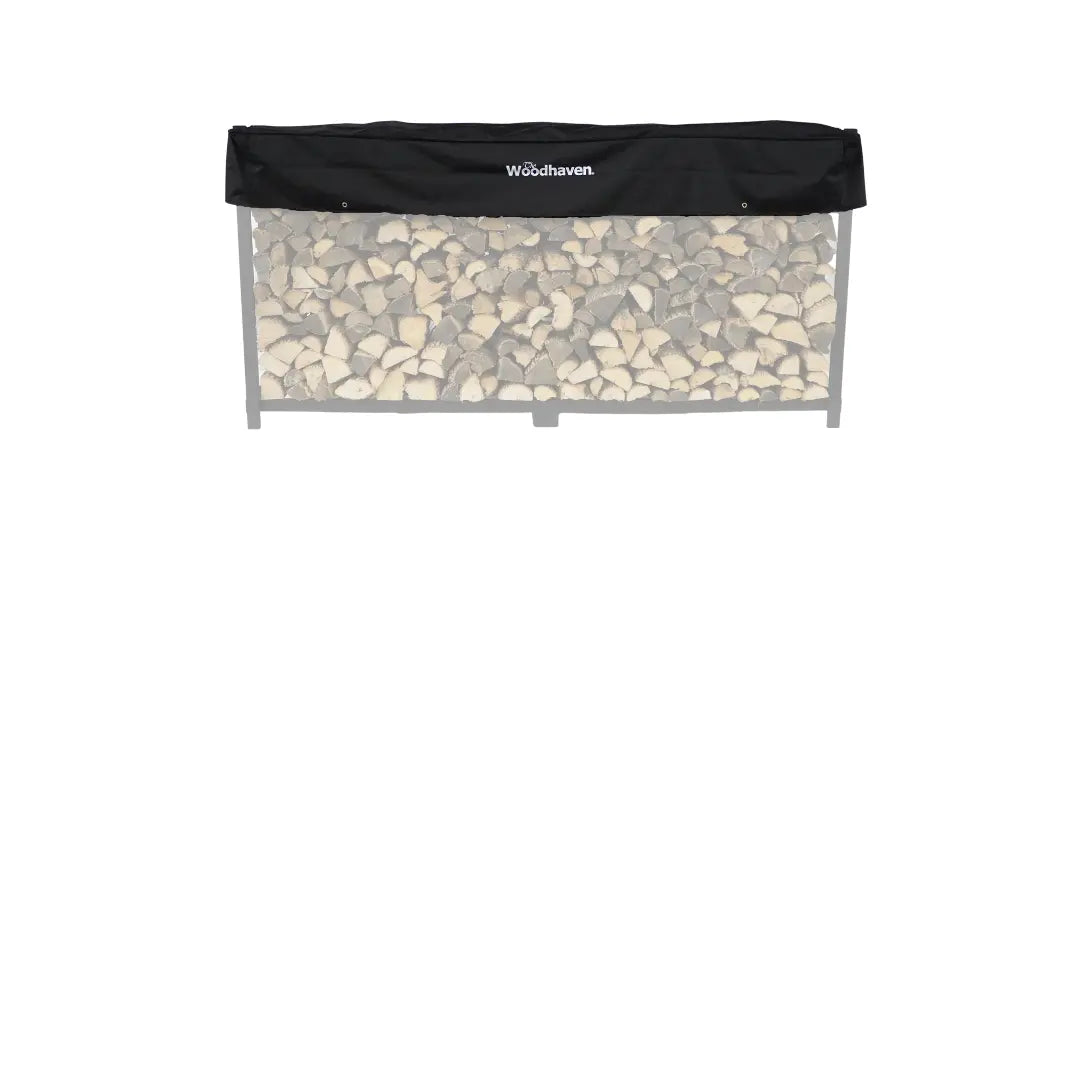
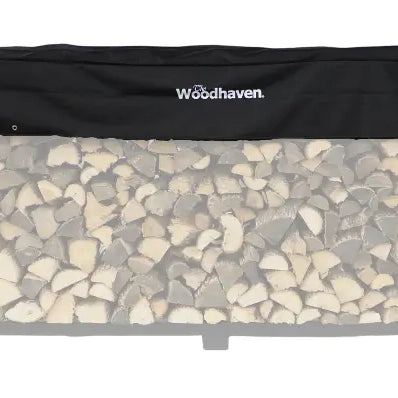
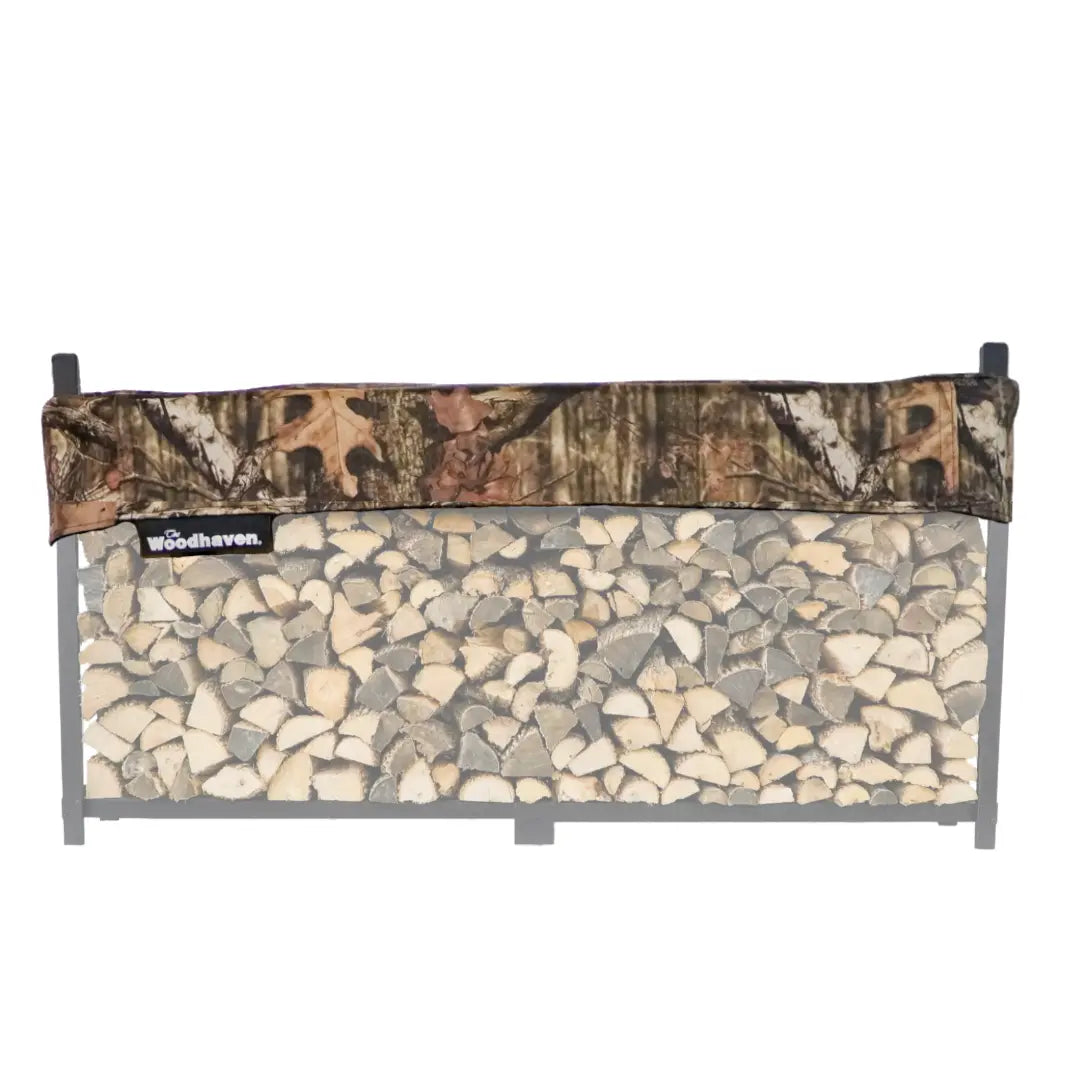
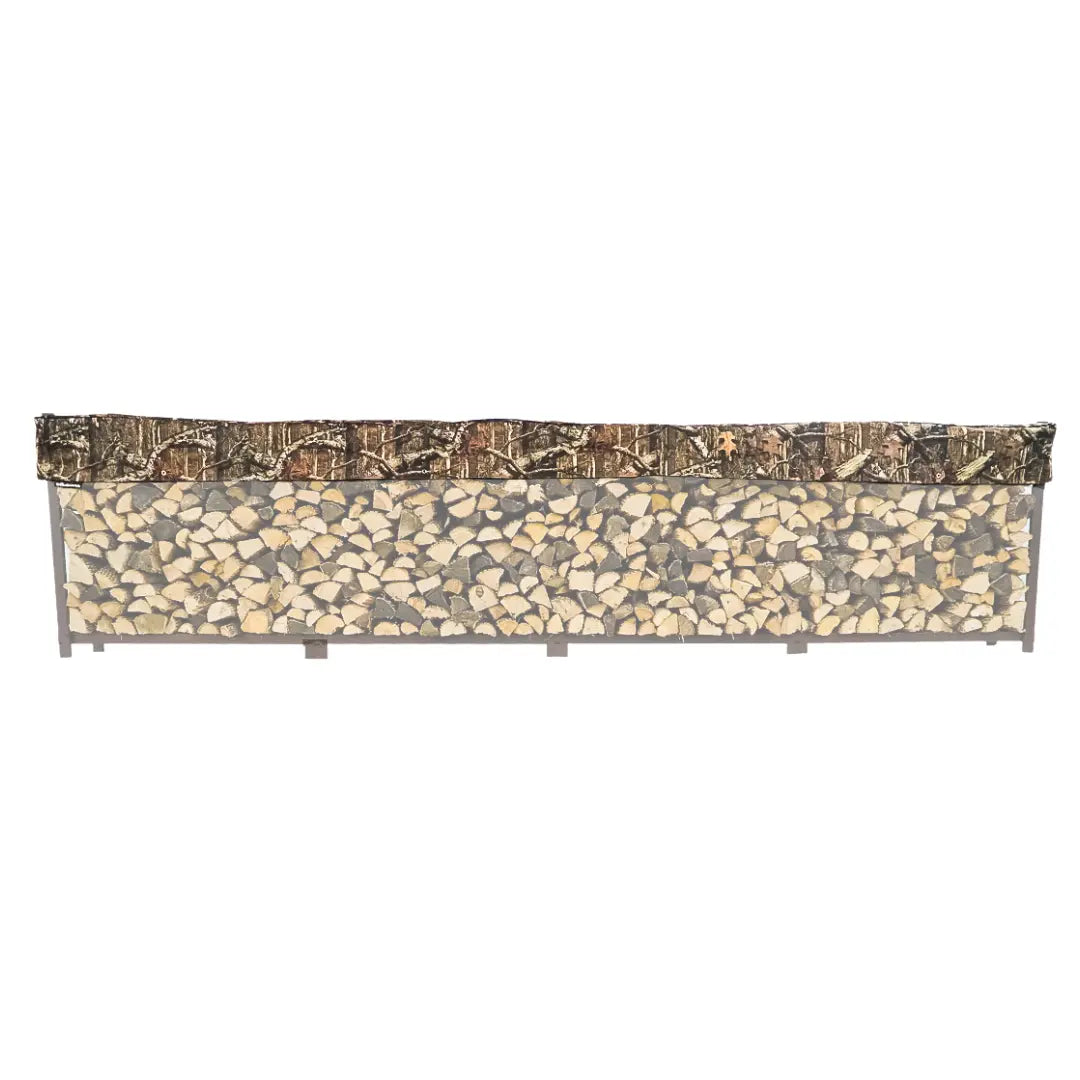
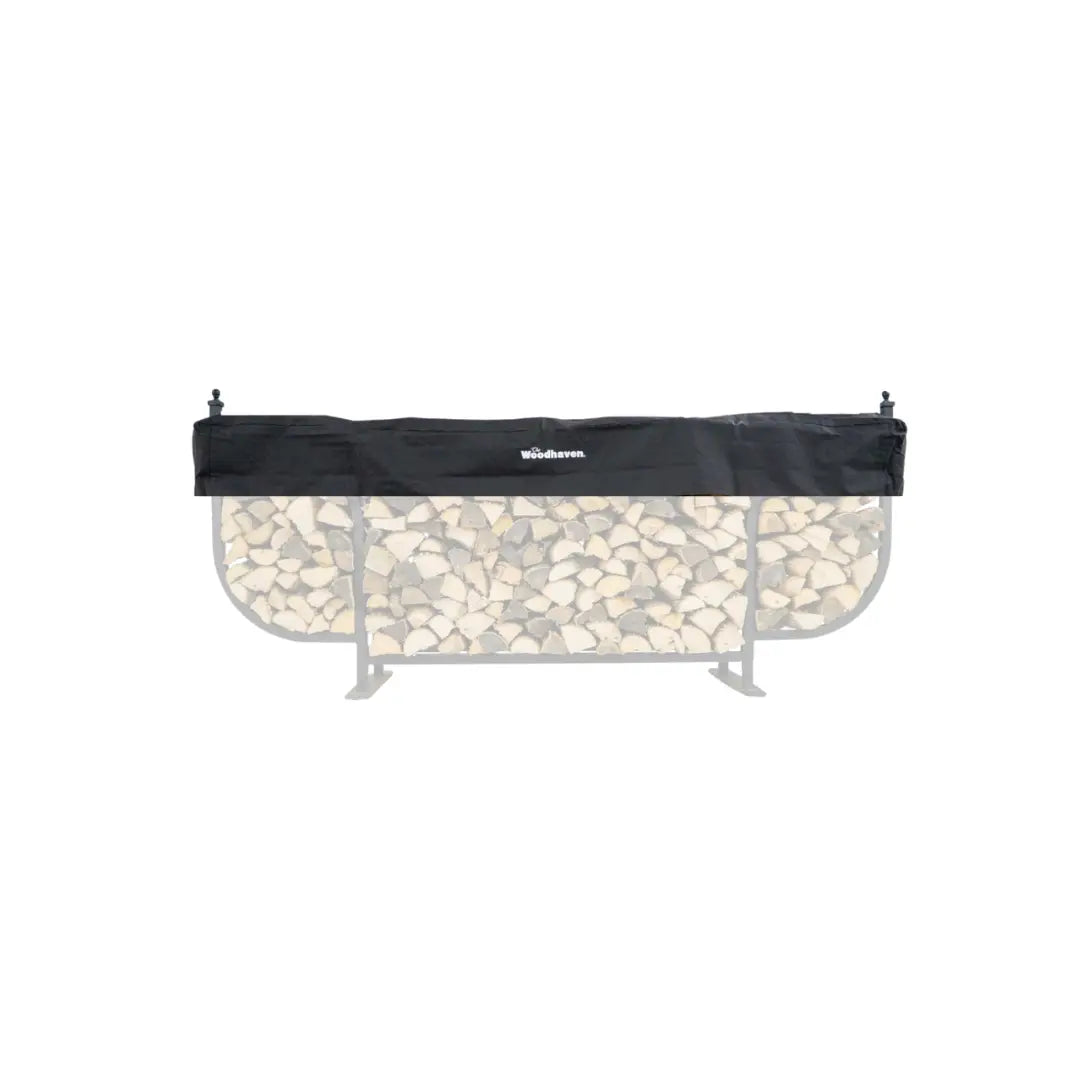
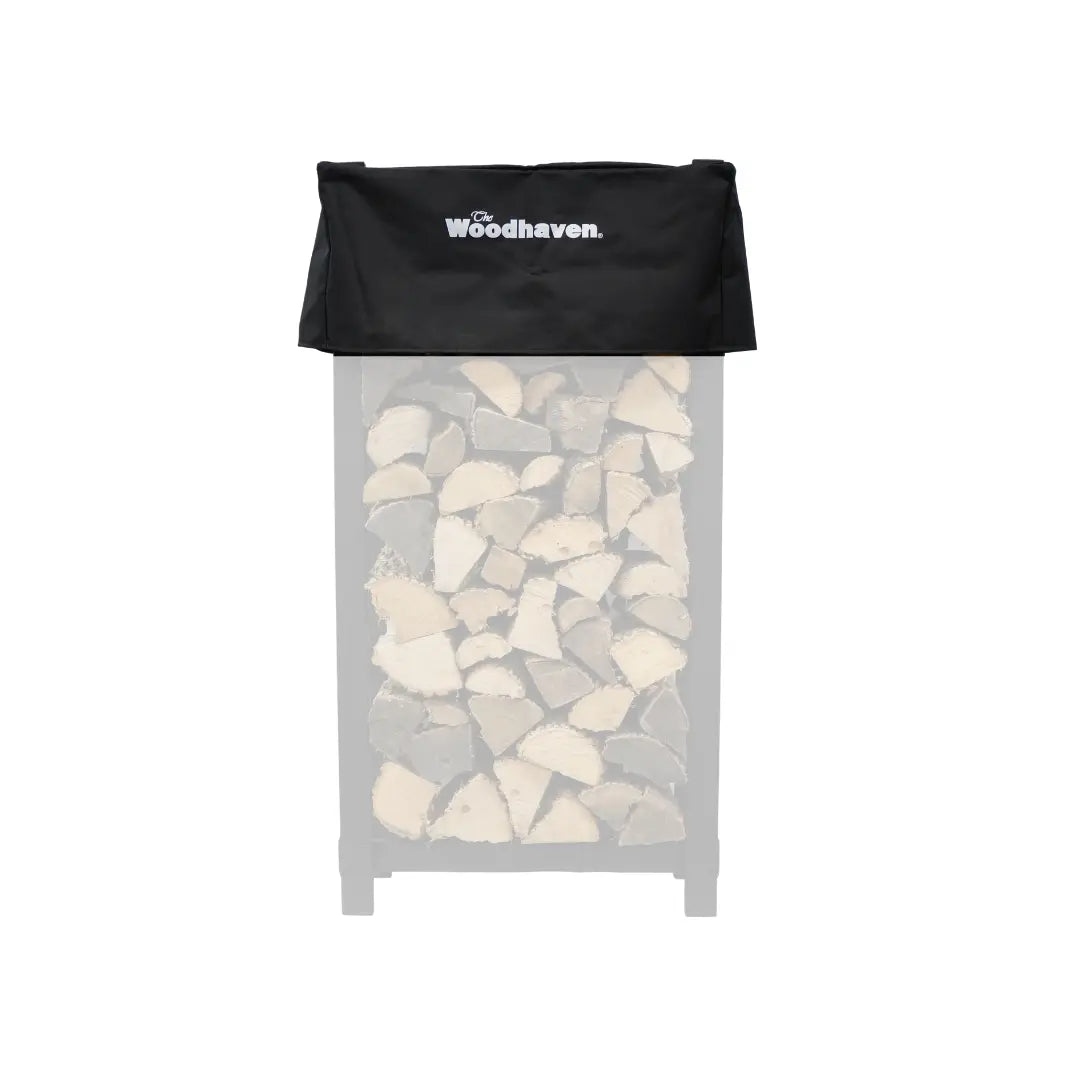
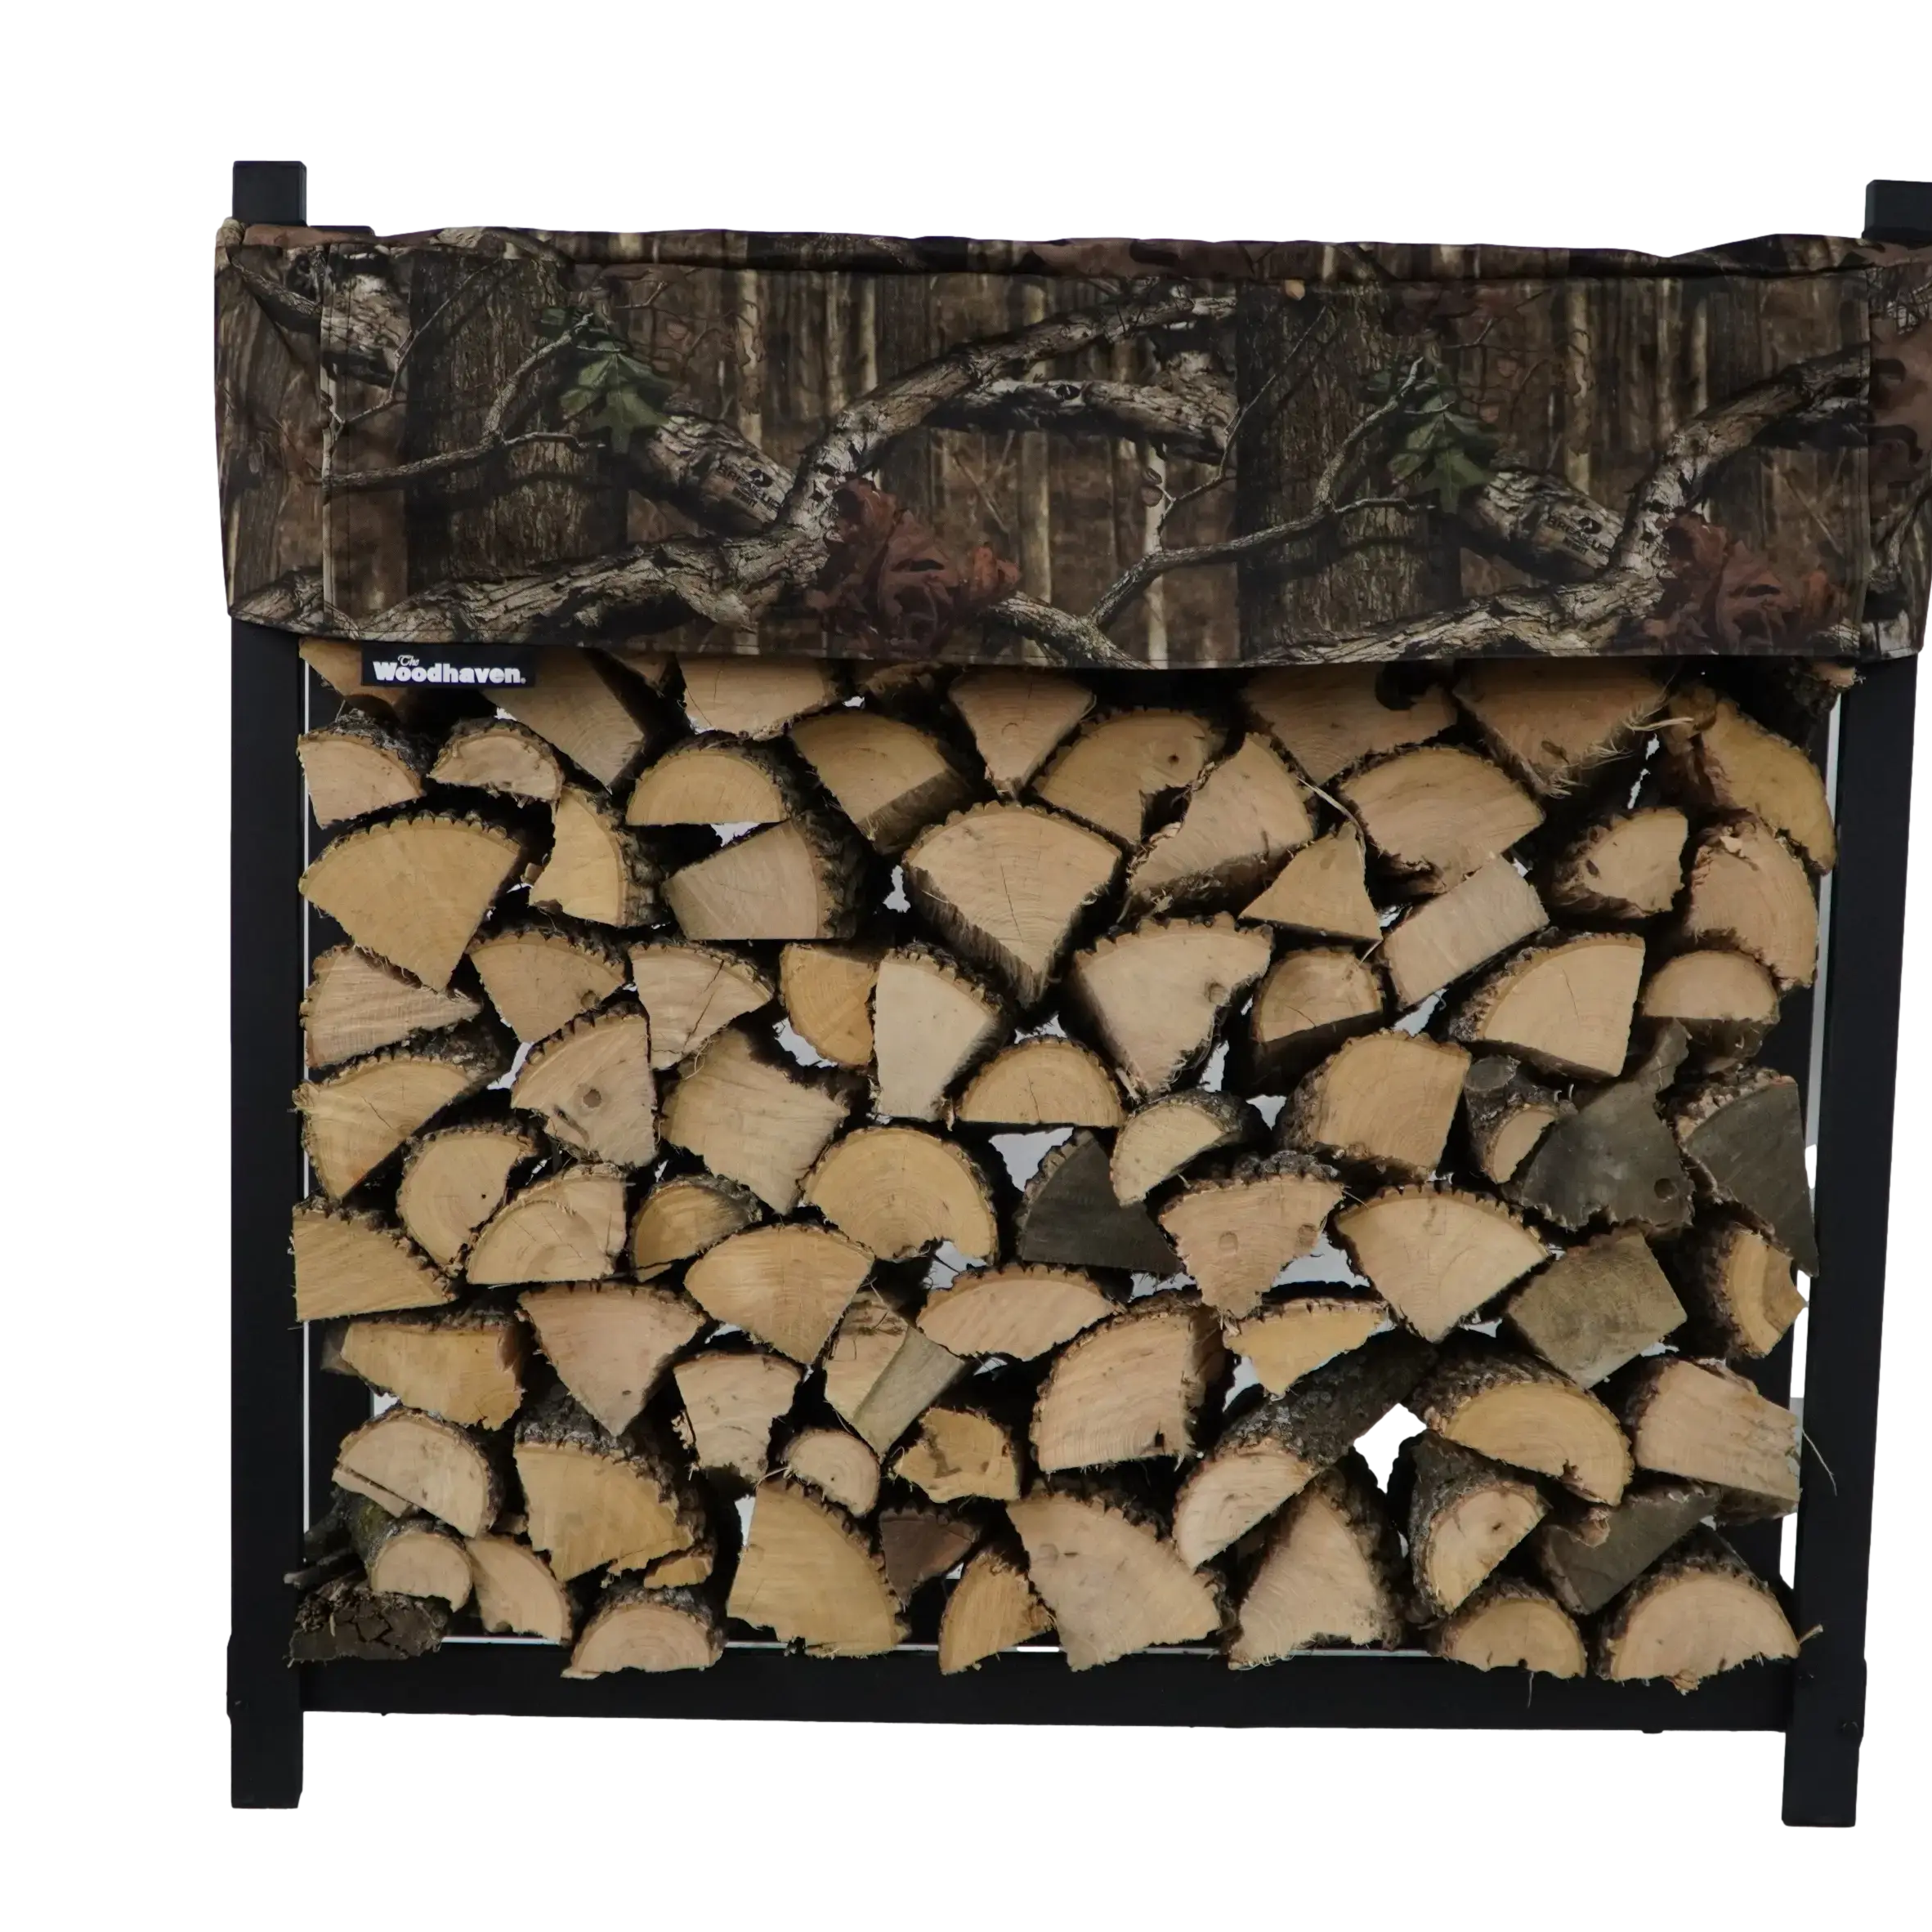
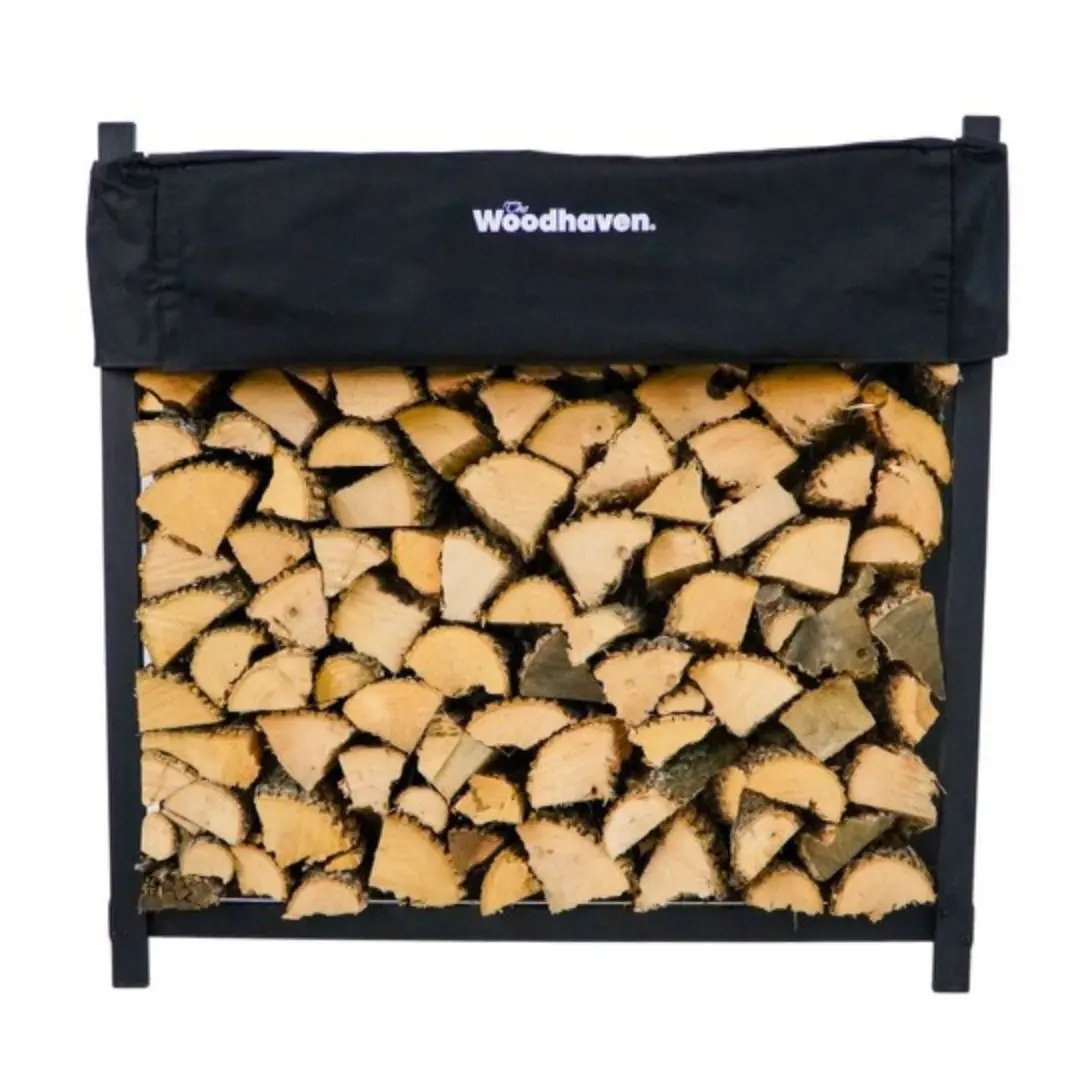
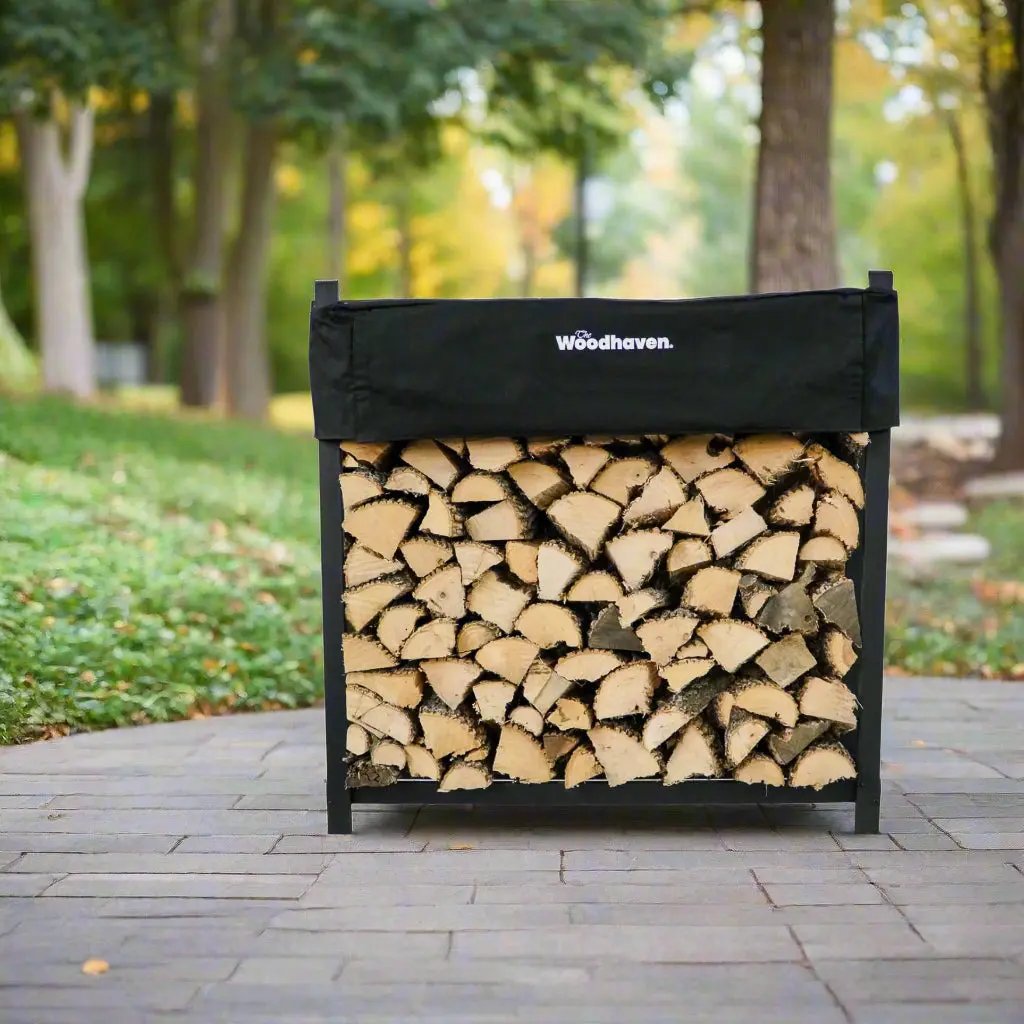
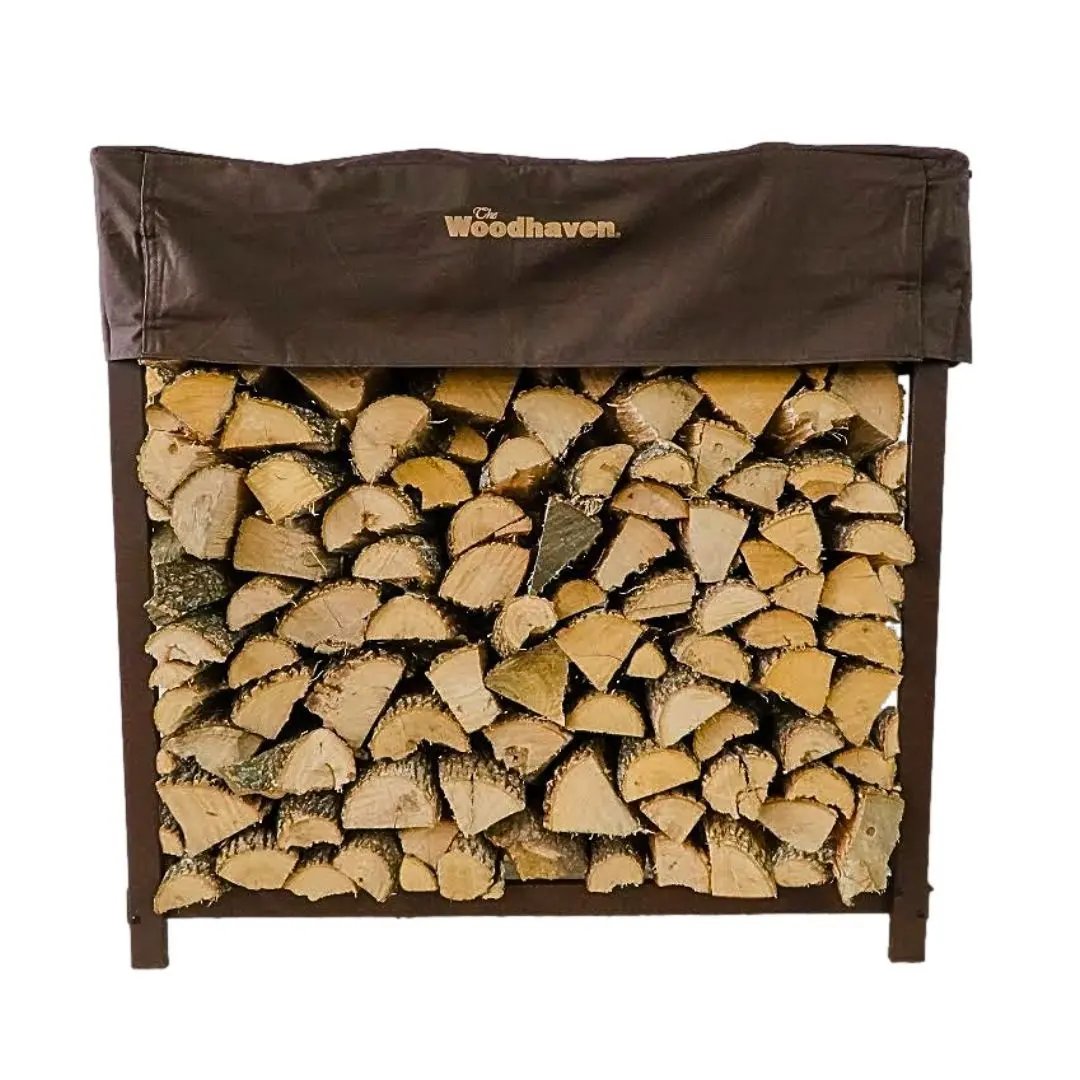
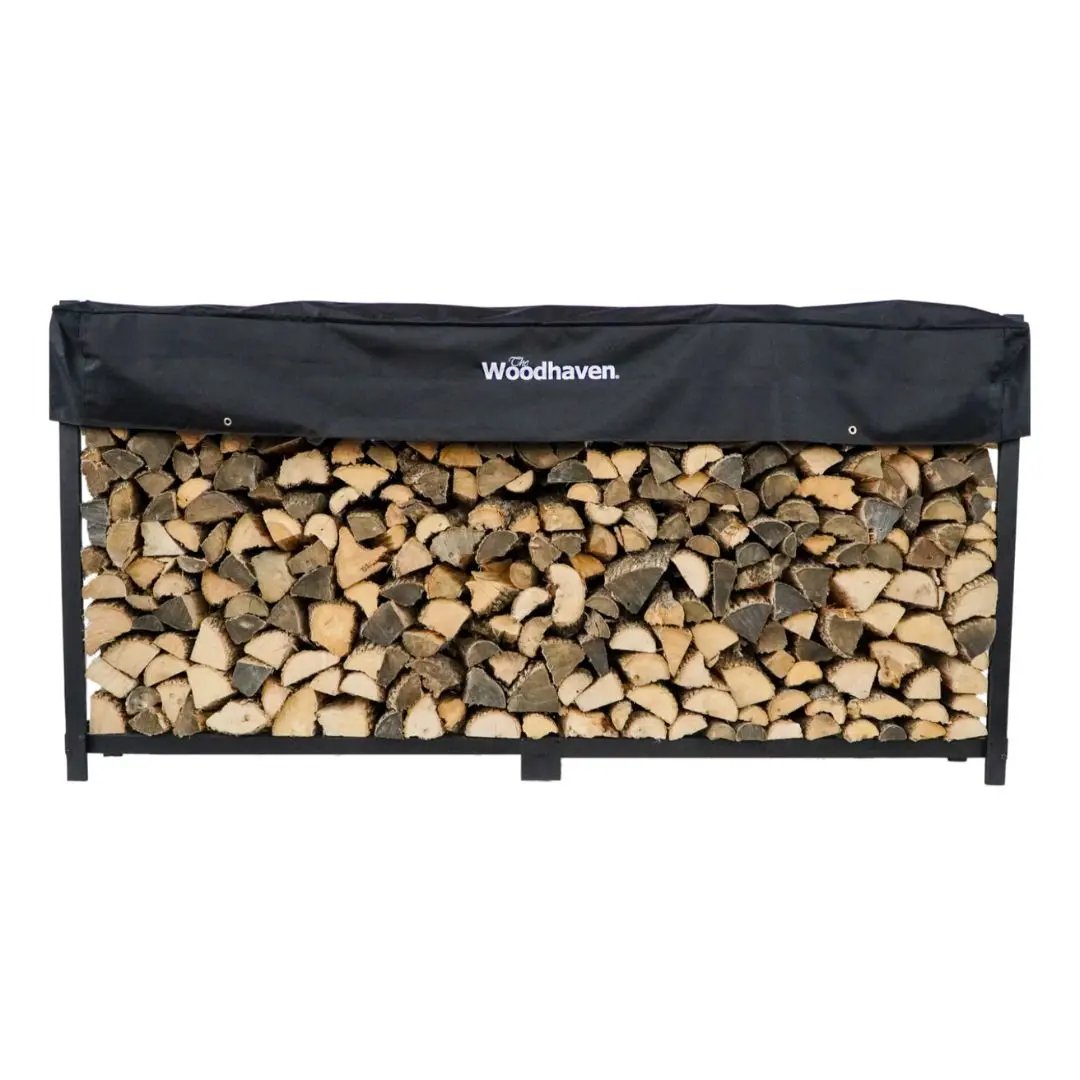
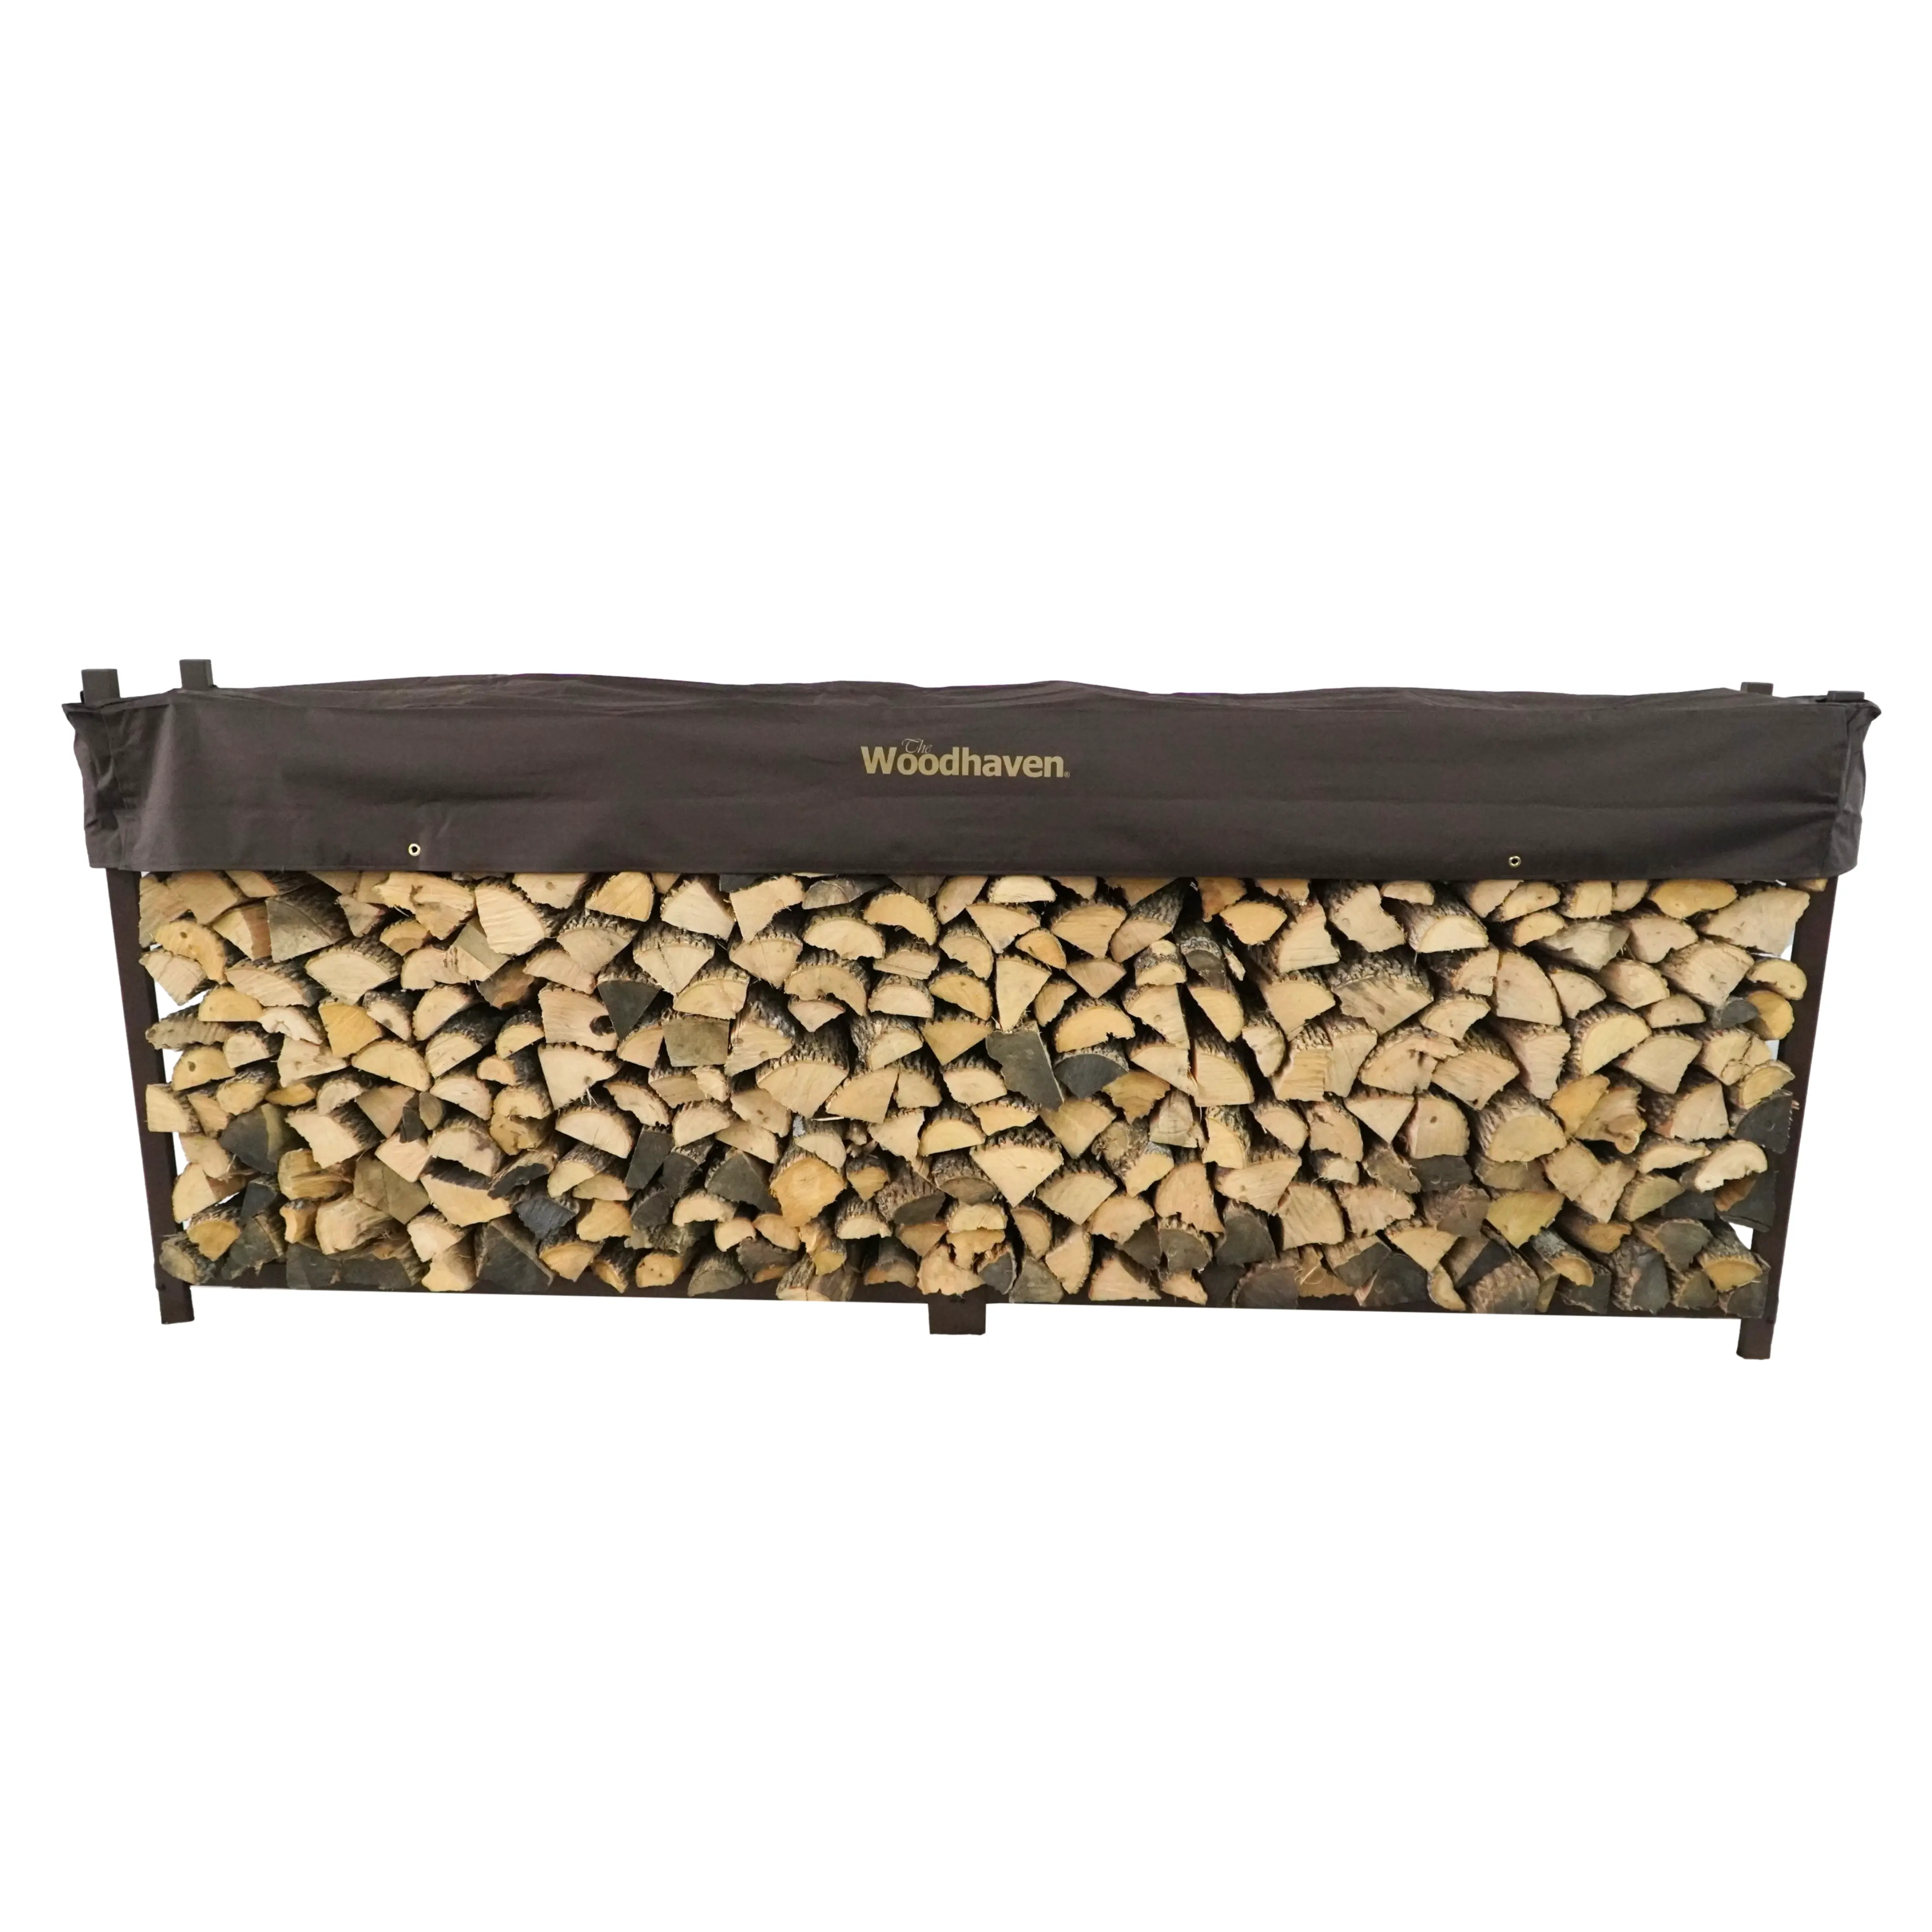
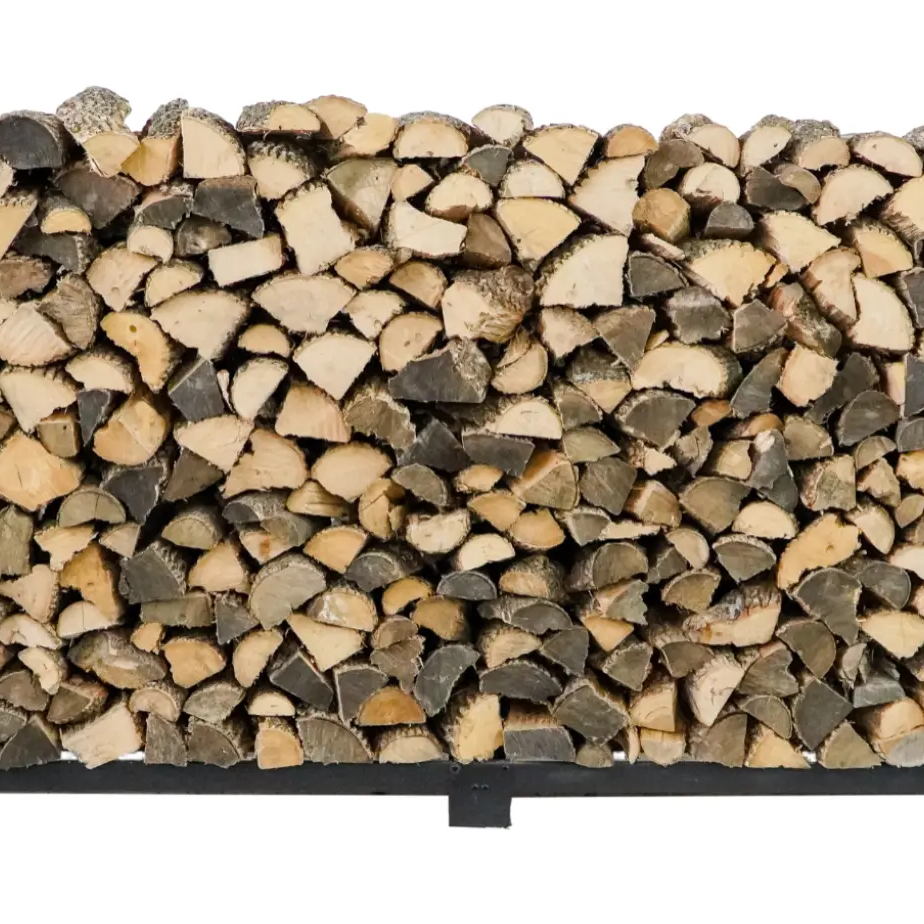
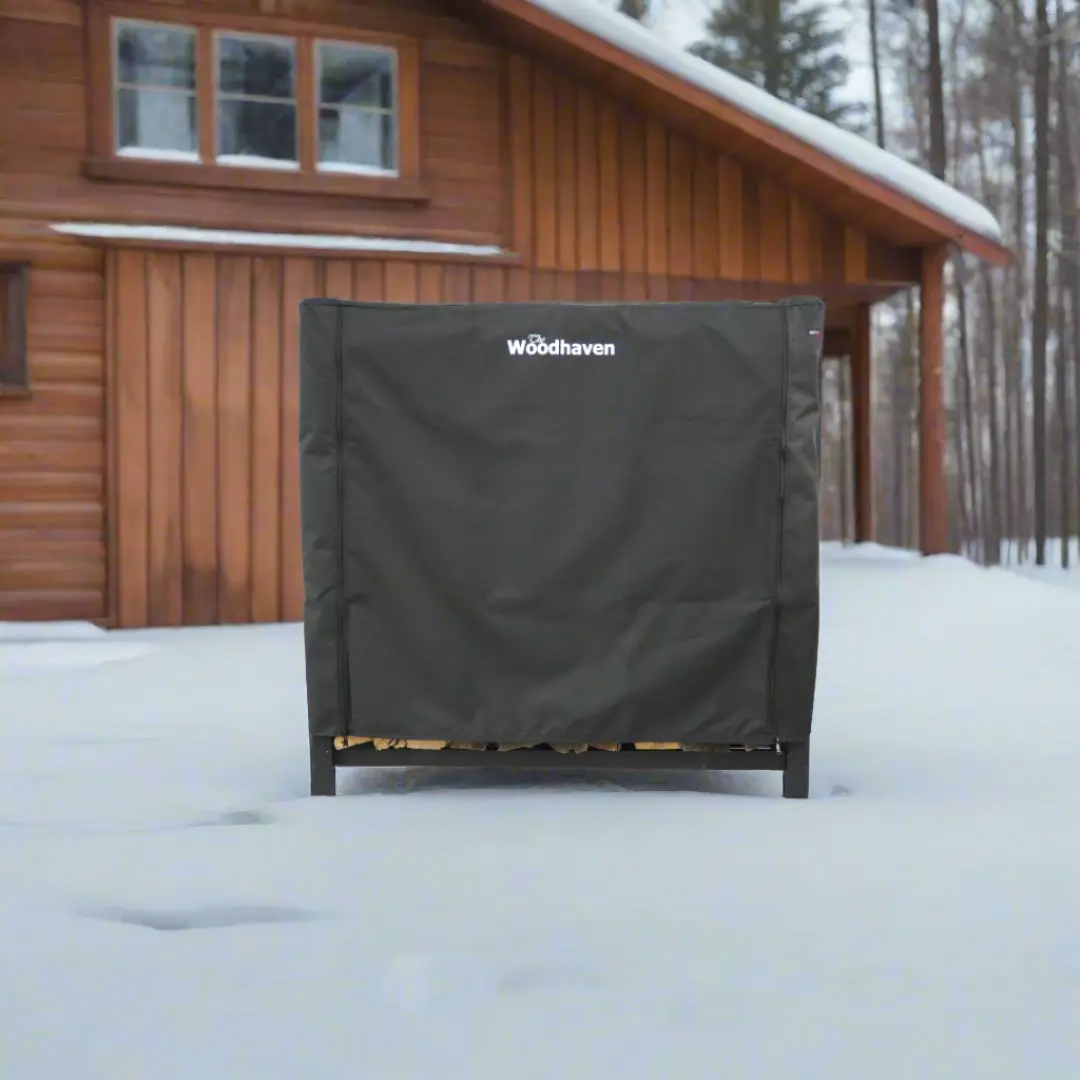
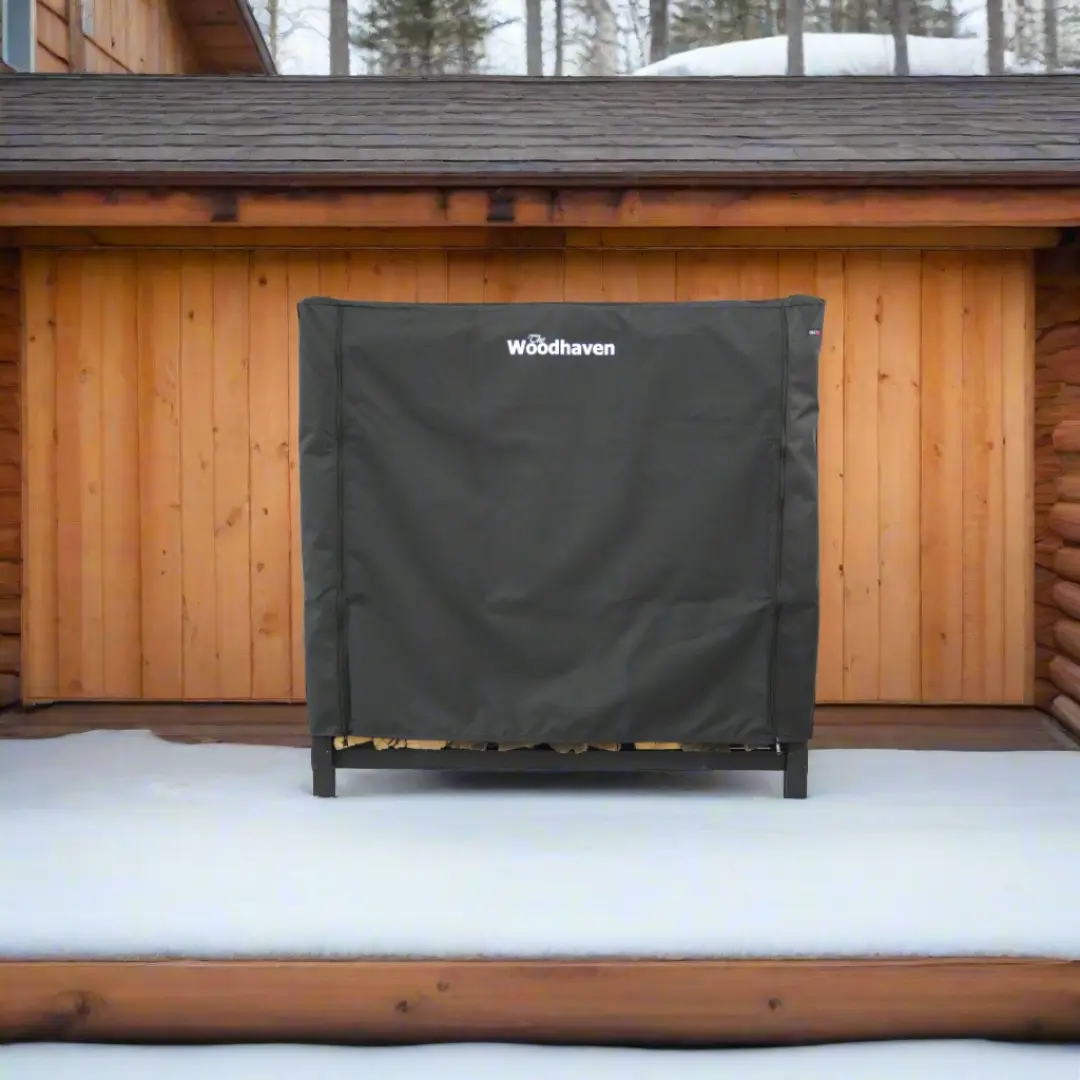
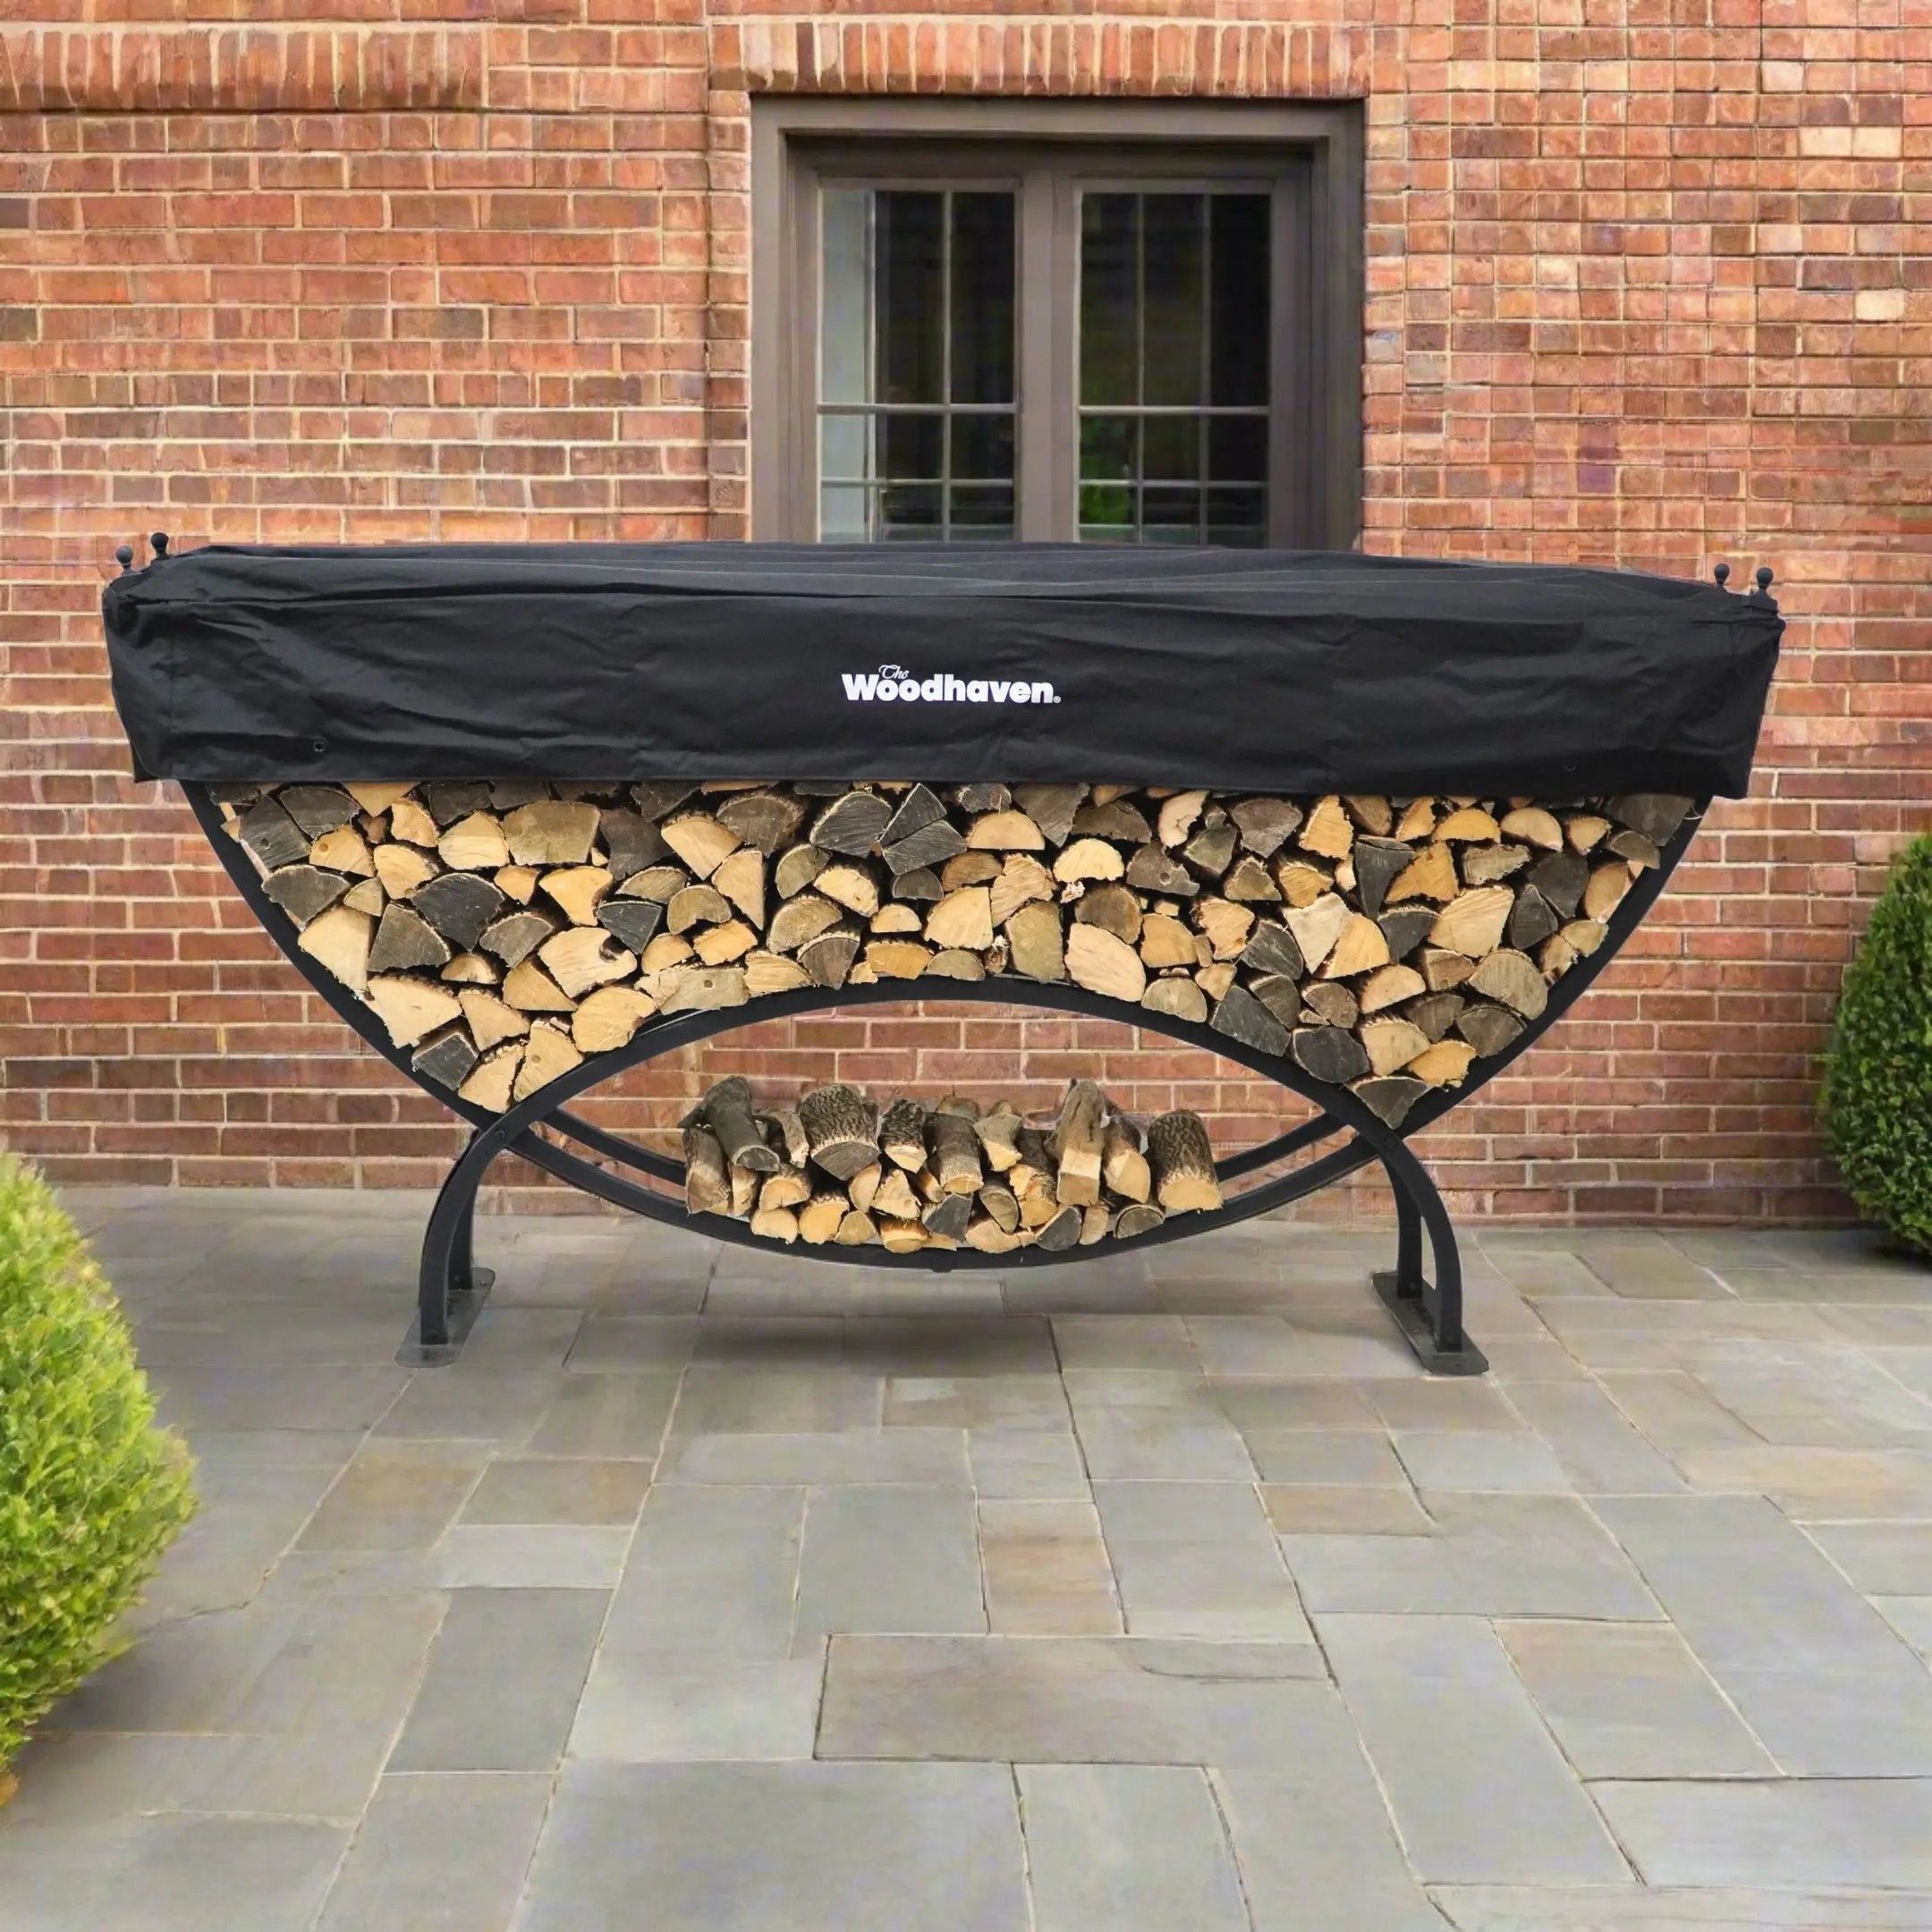
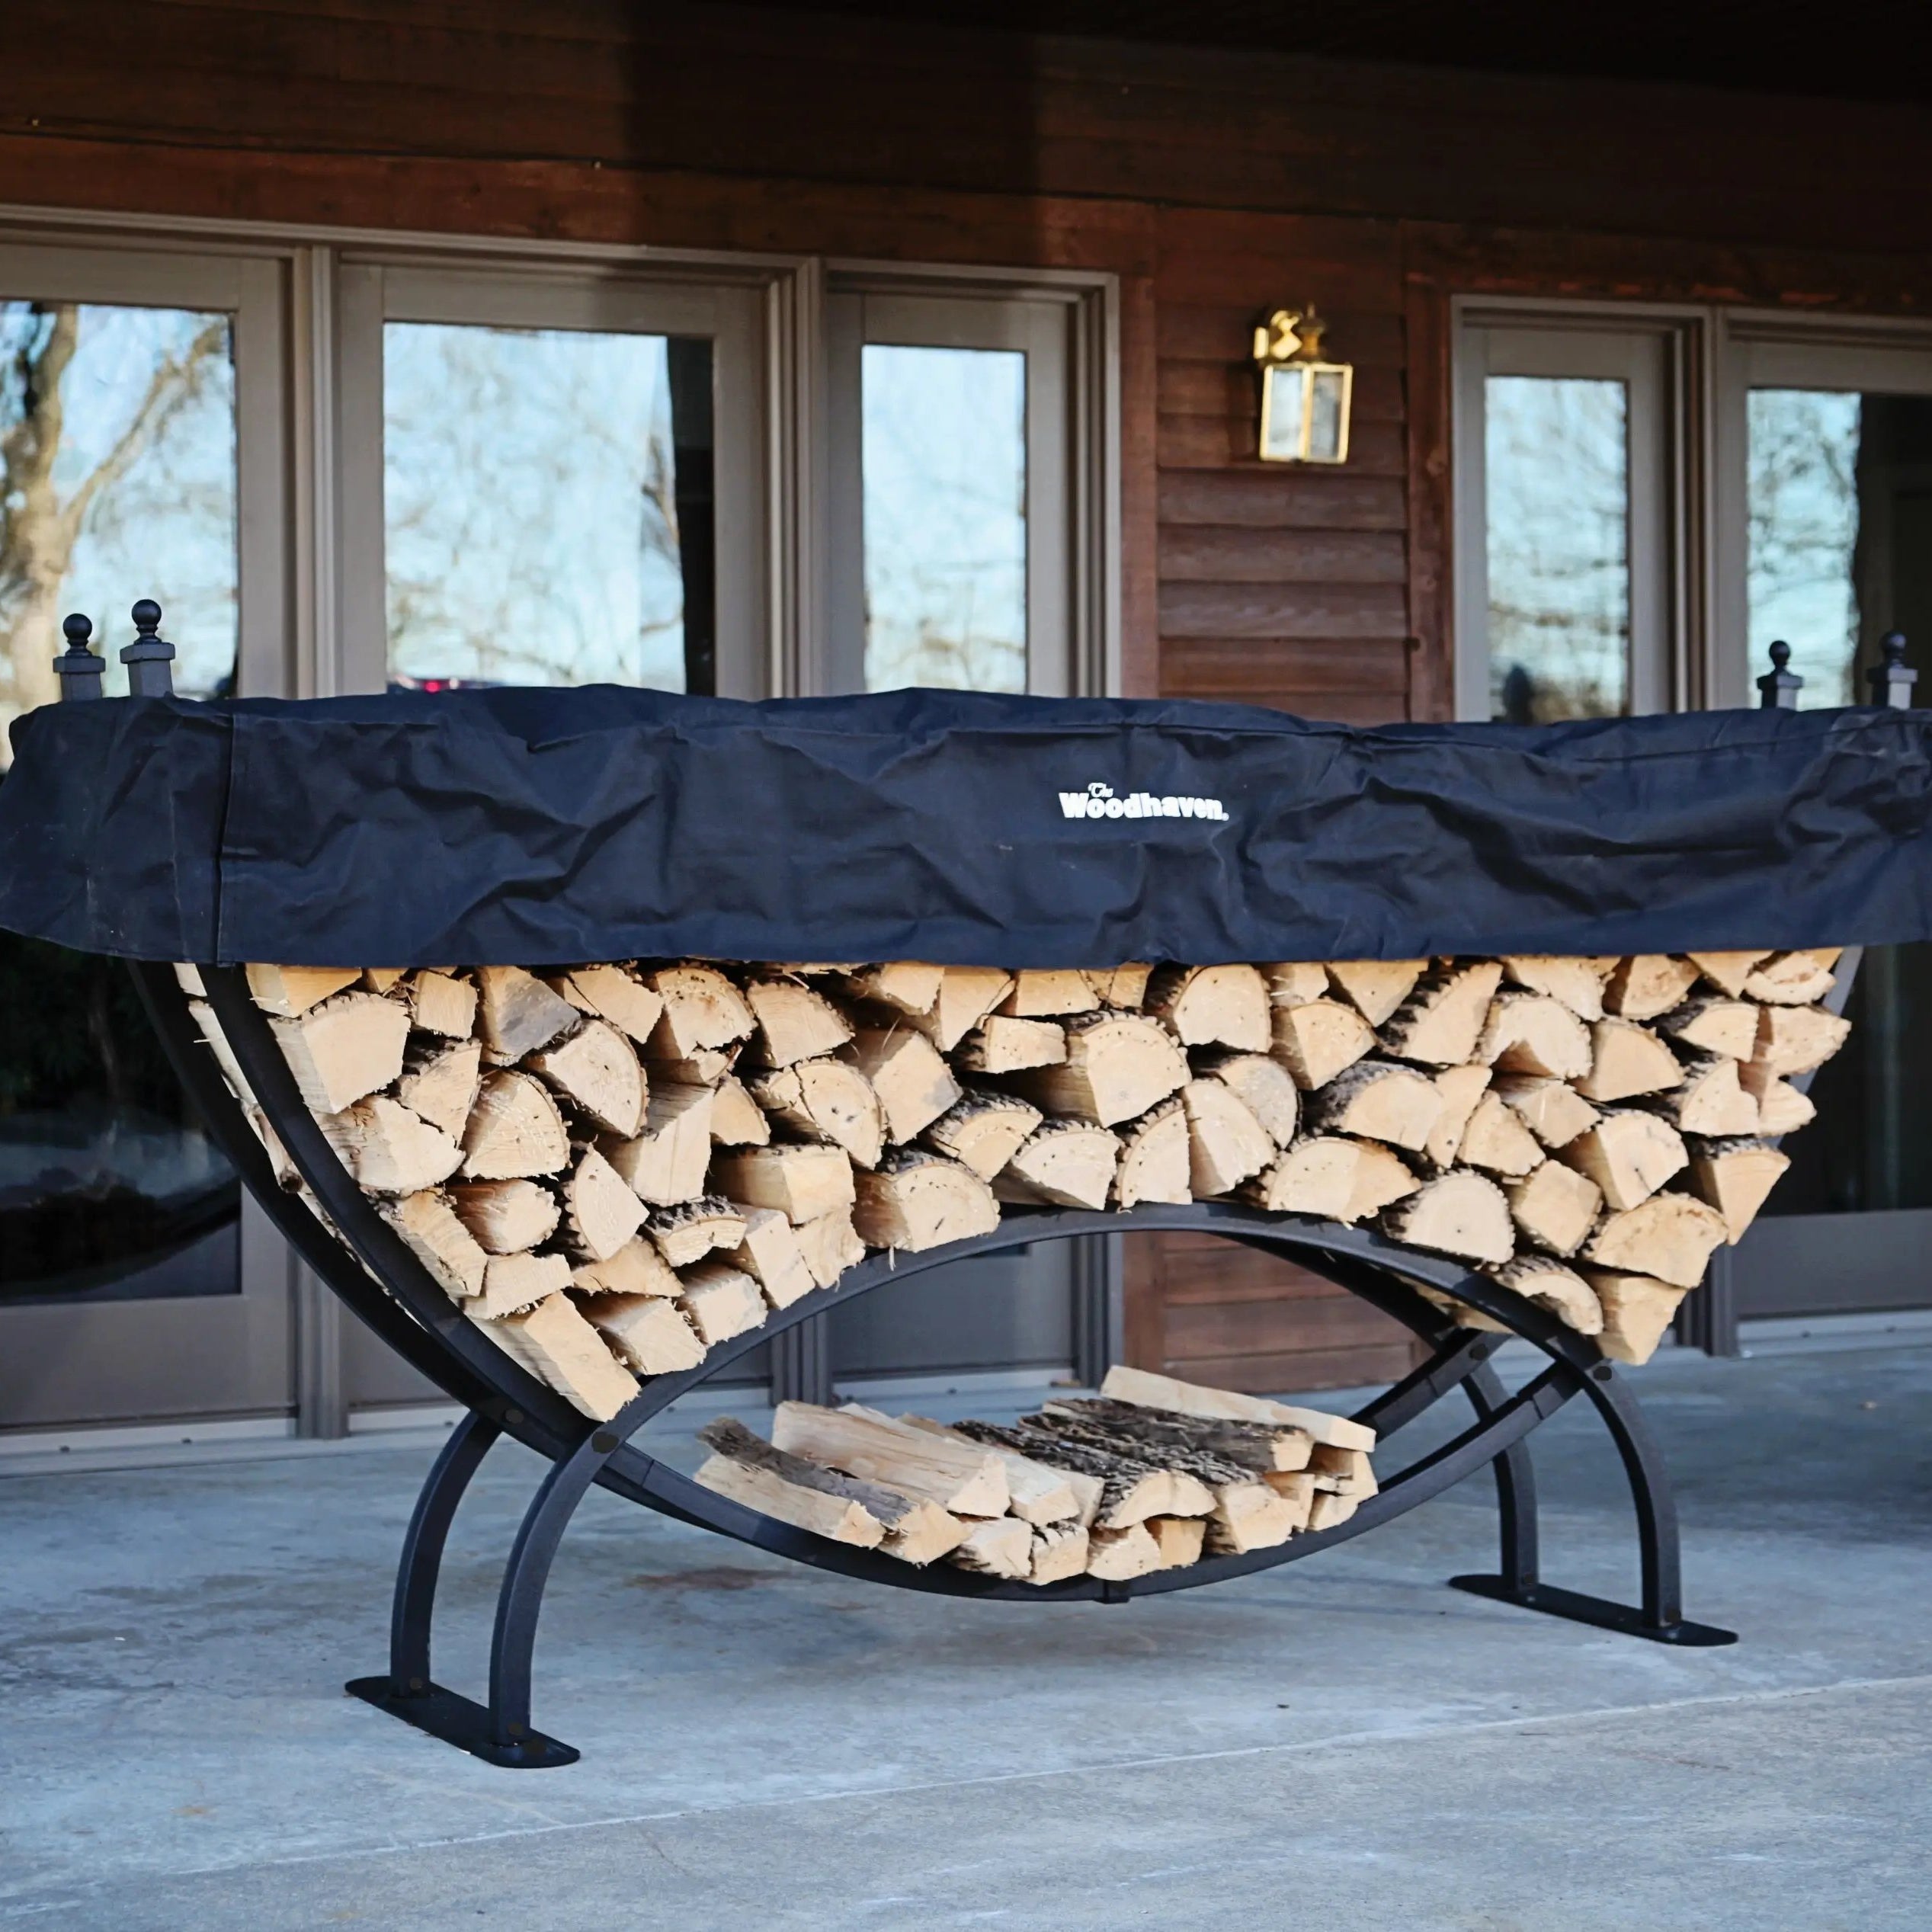
Regardless of the type of stack you build, the final step is to properly cover the wood so it is both protected from the elements while at the same time providing enough ventilation to dry, also known as seasoning. If you are stacking firewood for the long term, the goal is to store firewood in a way that keeps rain off the top while still letting the sides breathe.
Using a Tarp or Plastic Sheet
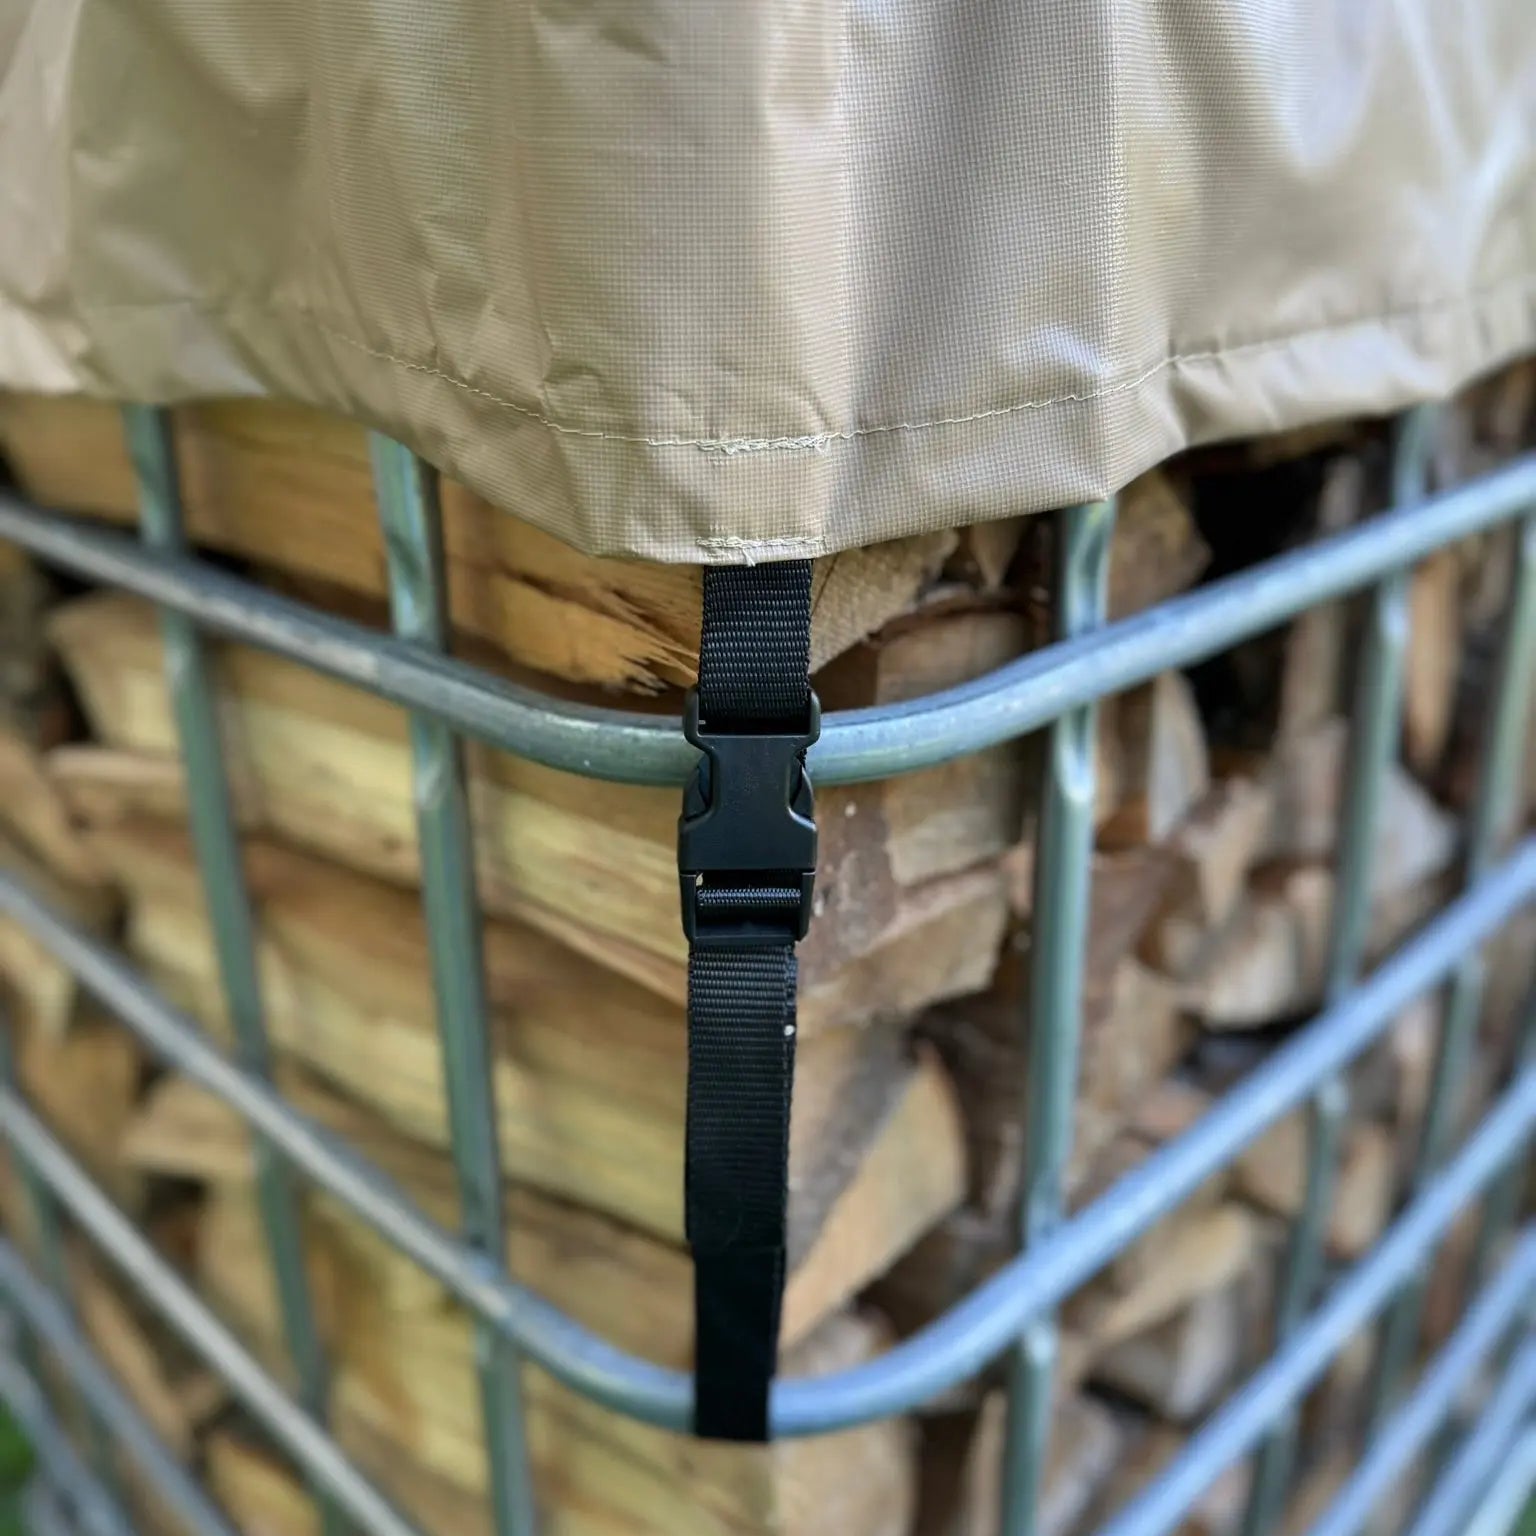
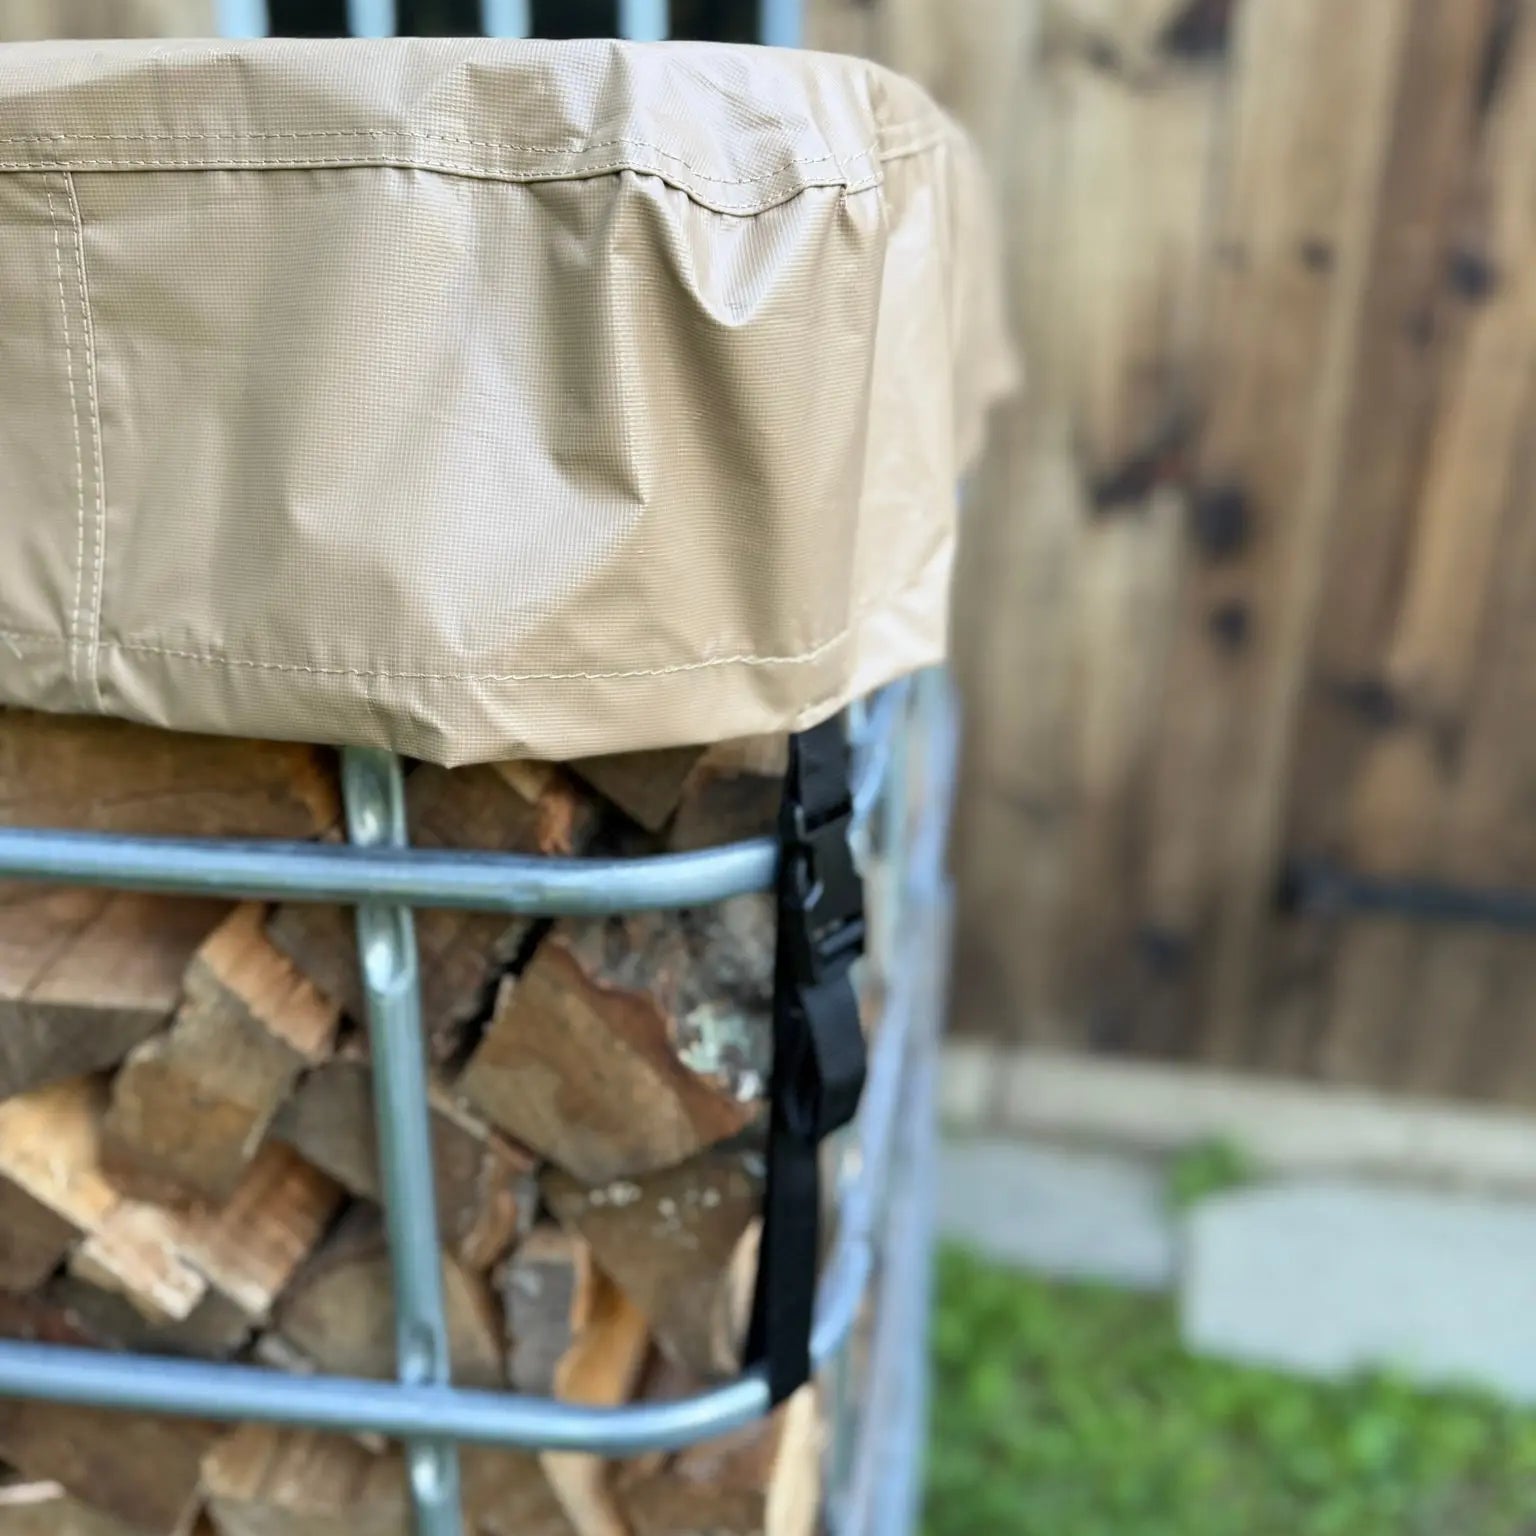
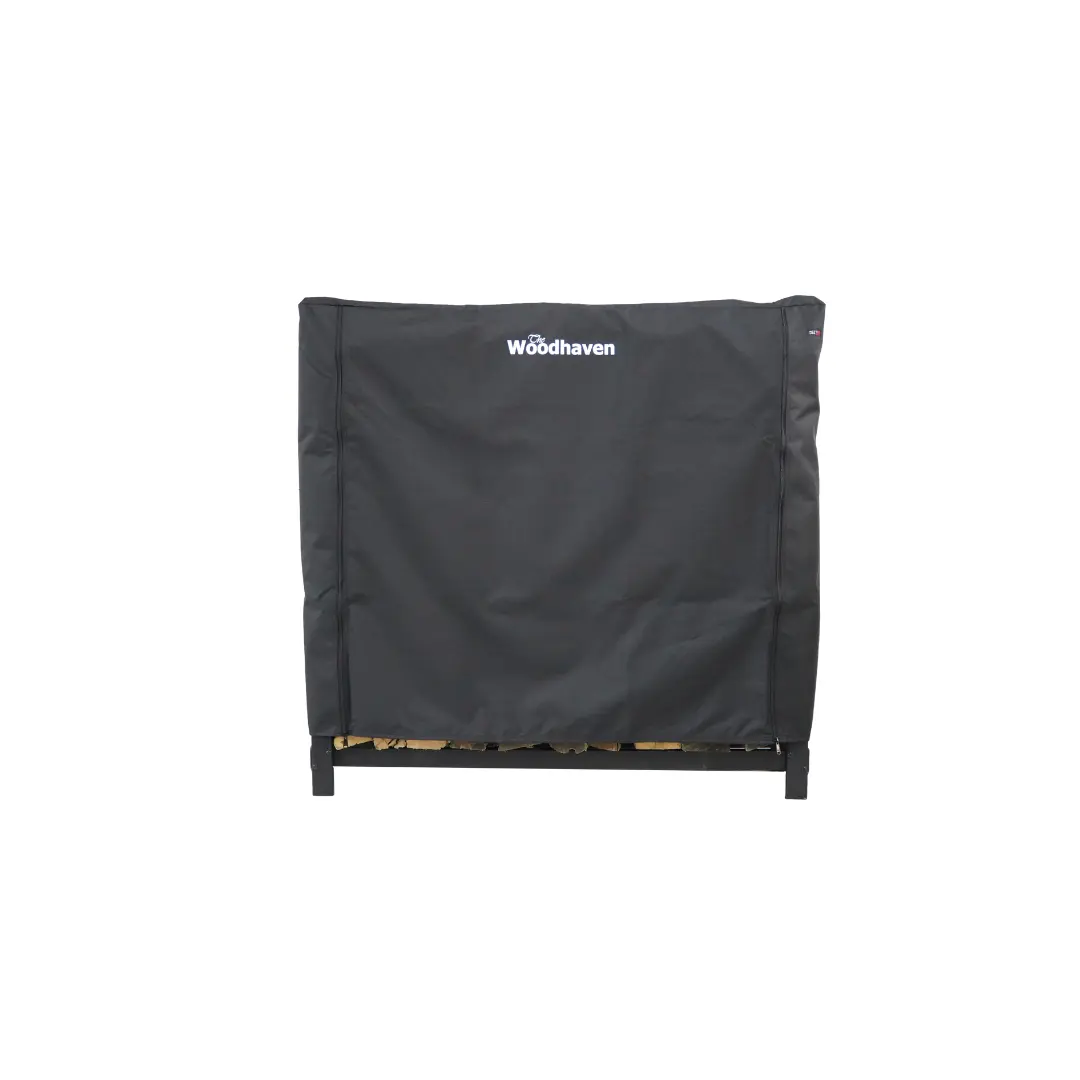
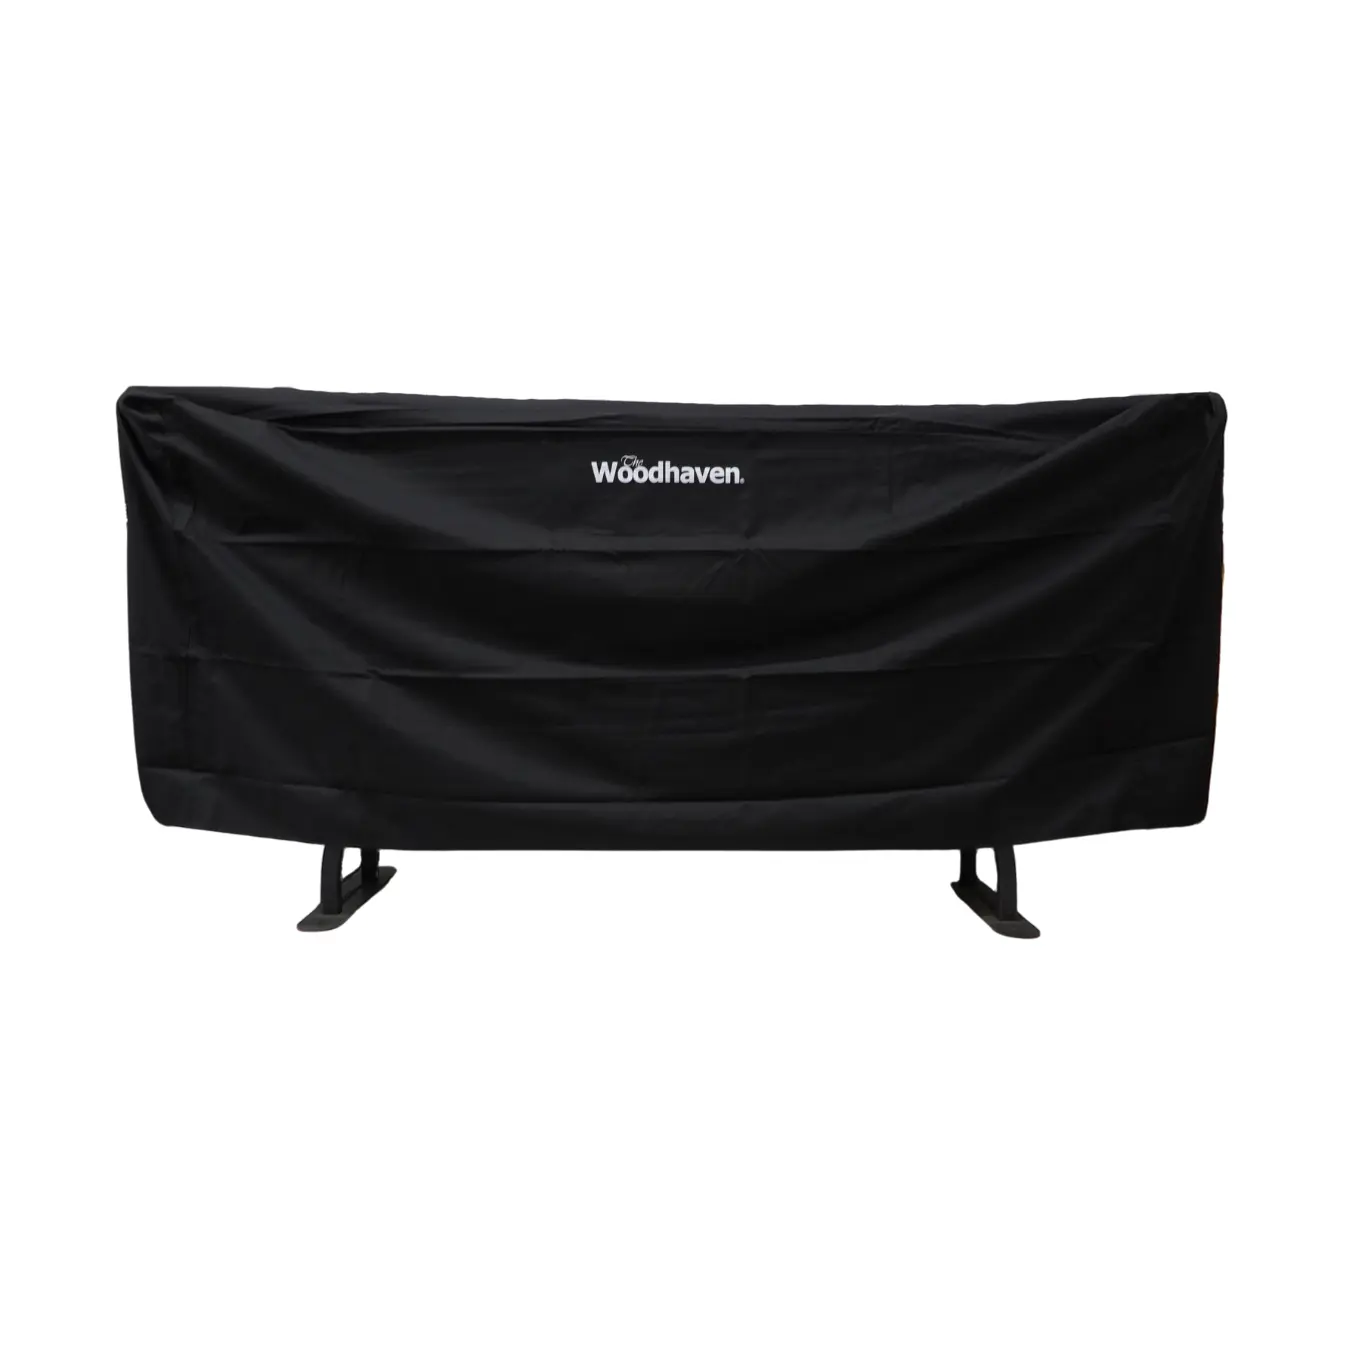
The simplest way to do this is by using some type of tarp or plastic sheet. Most tarps come with grommet holes that will allow you to attach a rope to tie down the tarp to a secure tie-off point. One of the biggest challenges with the approach is what to tie the tarp to! If you do not have a rack, you don't have a structure to tie it off to. If this is the case, one trick is to slide a small branch between the logs down low, leaving it protruding from the stack. This will allow you to tie the rope to it using a half hitch or similar knot. When you want to lift the tarp to remove the wood, you can slide out the stick, remove some logs and then reposition the stick without having to untie the knot.
Lastly, we would avoid just placing a log on top of the tarp to secure it. Although this seems the like the simplest solution, that log will be exposed constantly to the rain and will ultimately become rotten over time. Over time the wind will most likely flip up the parts of the tarp that overhang and possibly allow the wind to blow it completely off your woodpile.
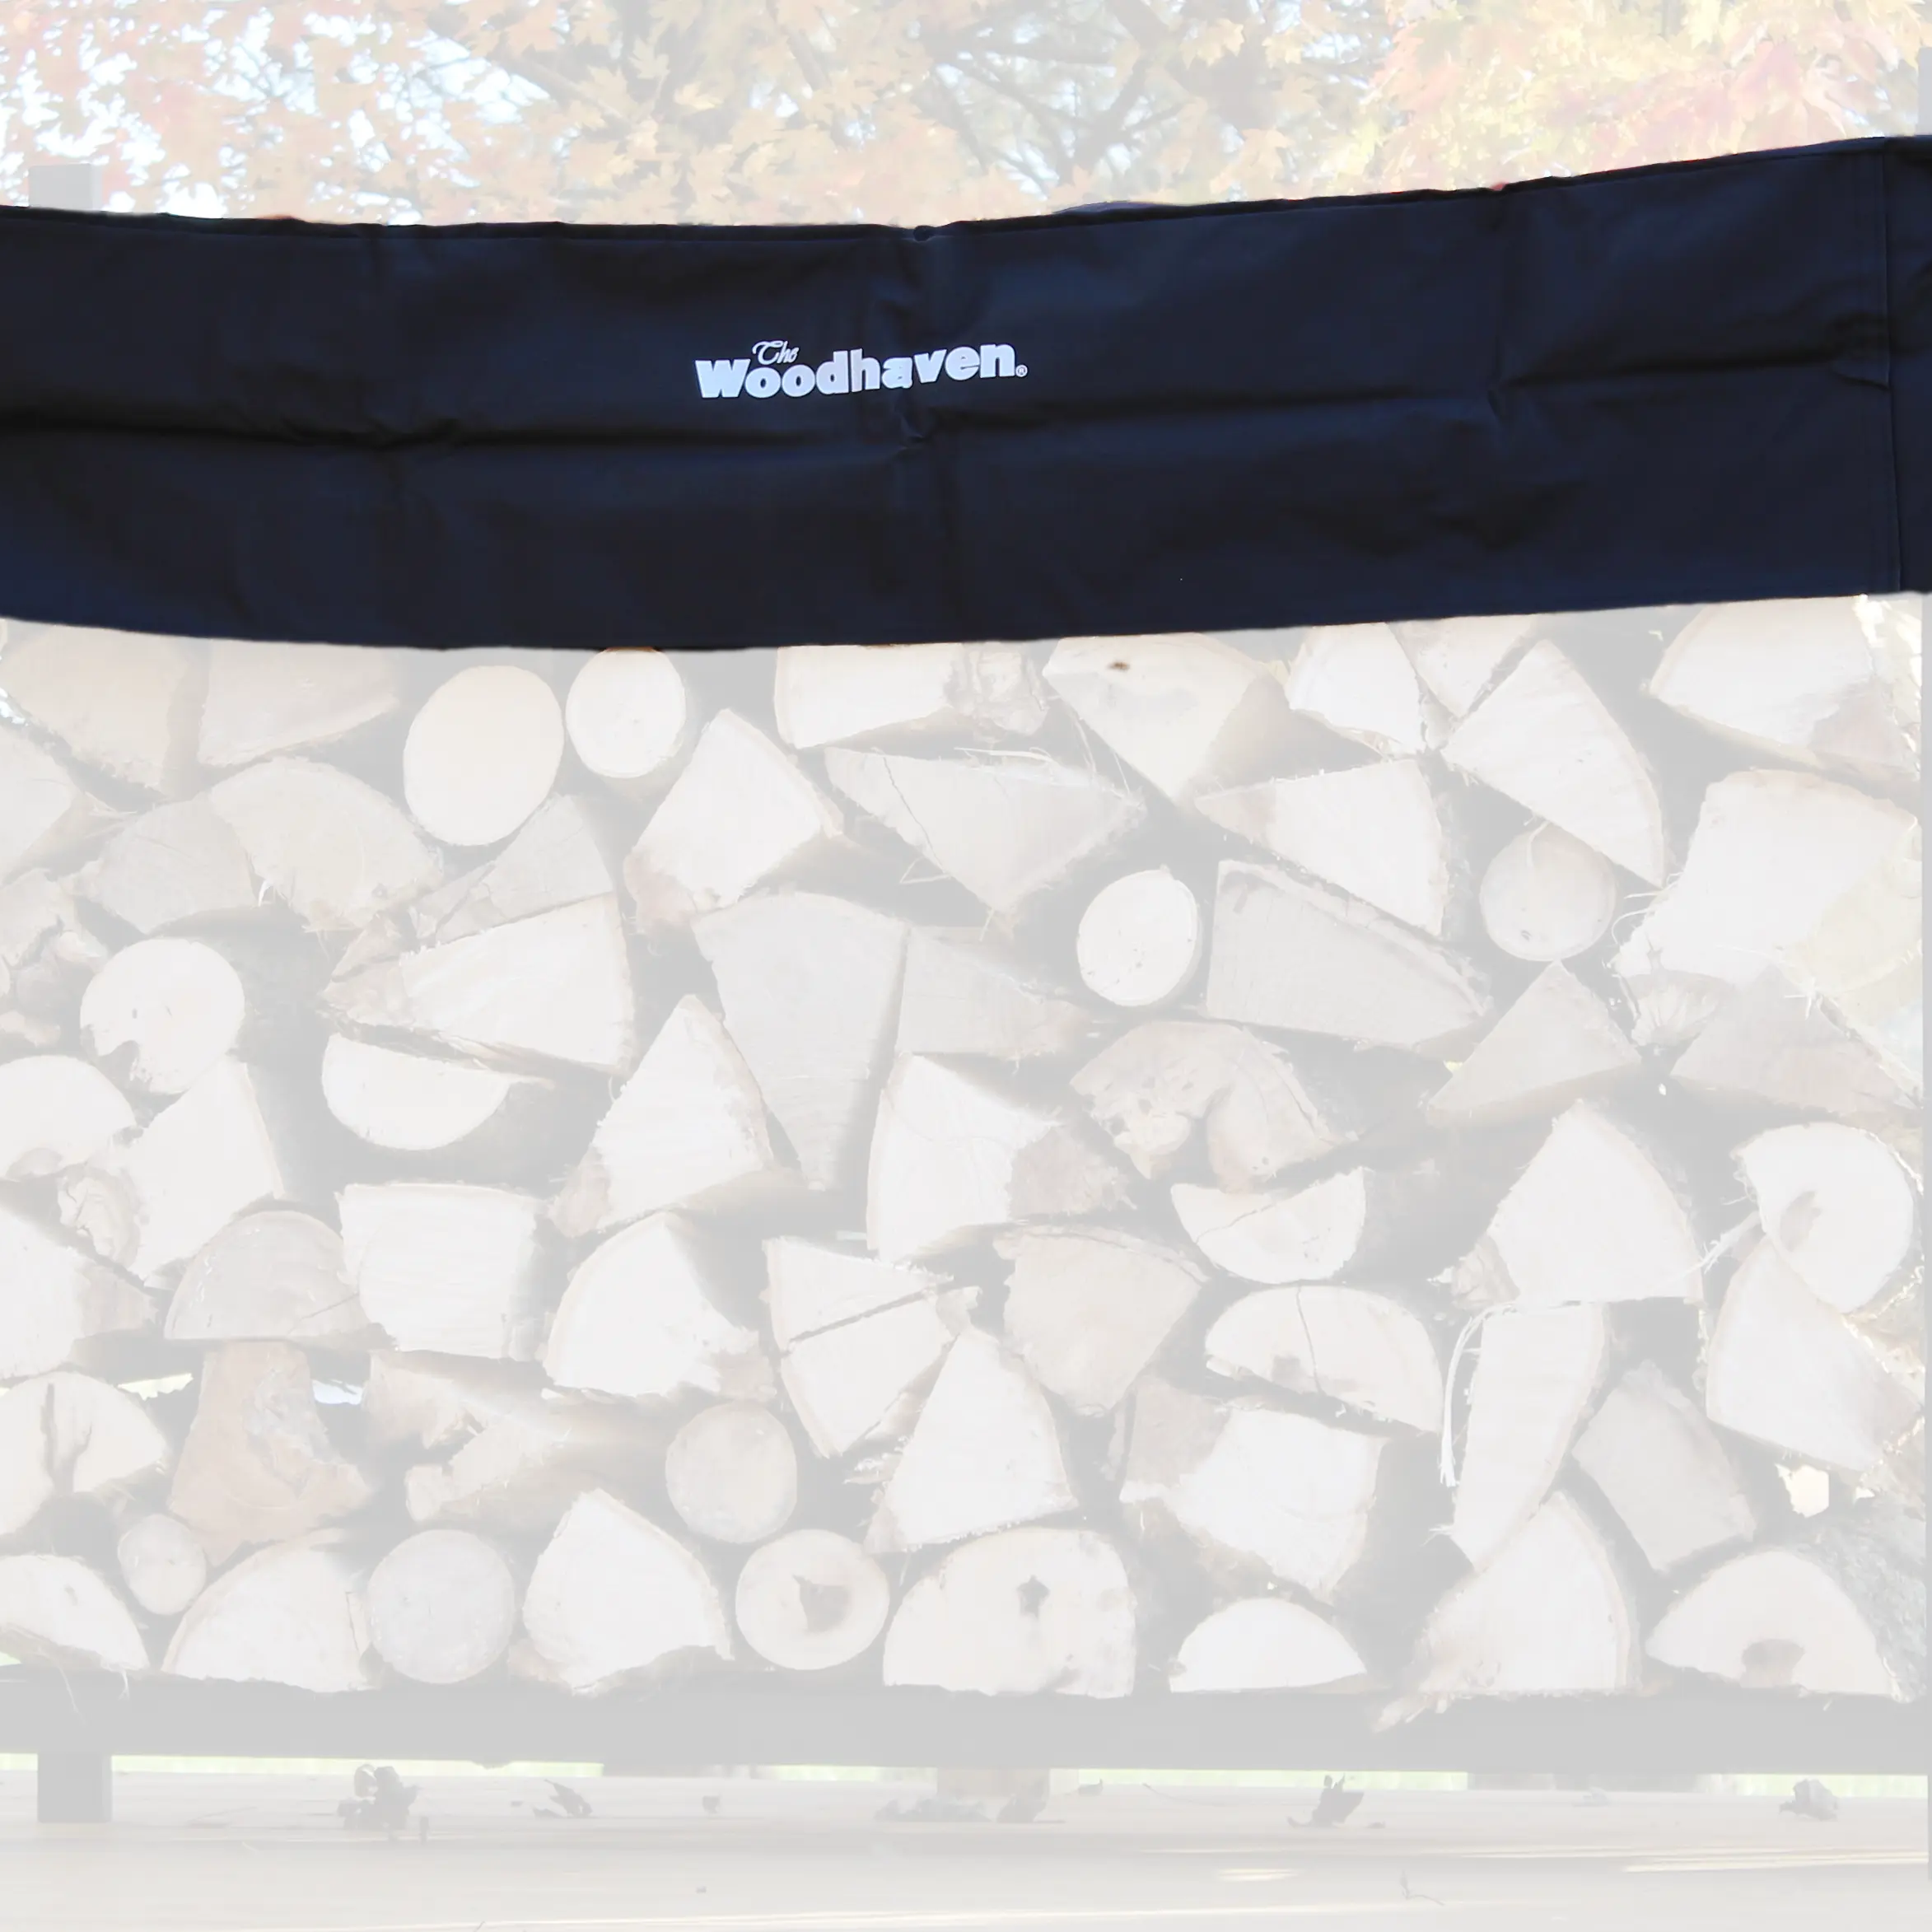
Proper Tarp Sizing and Placement
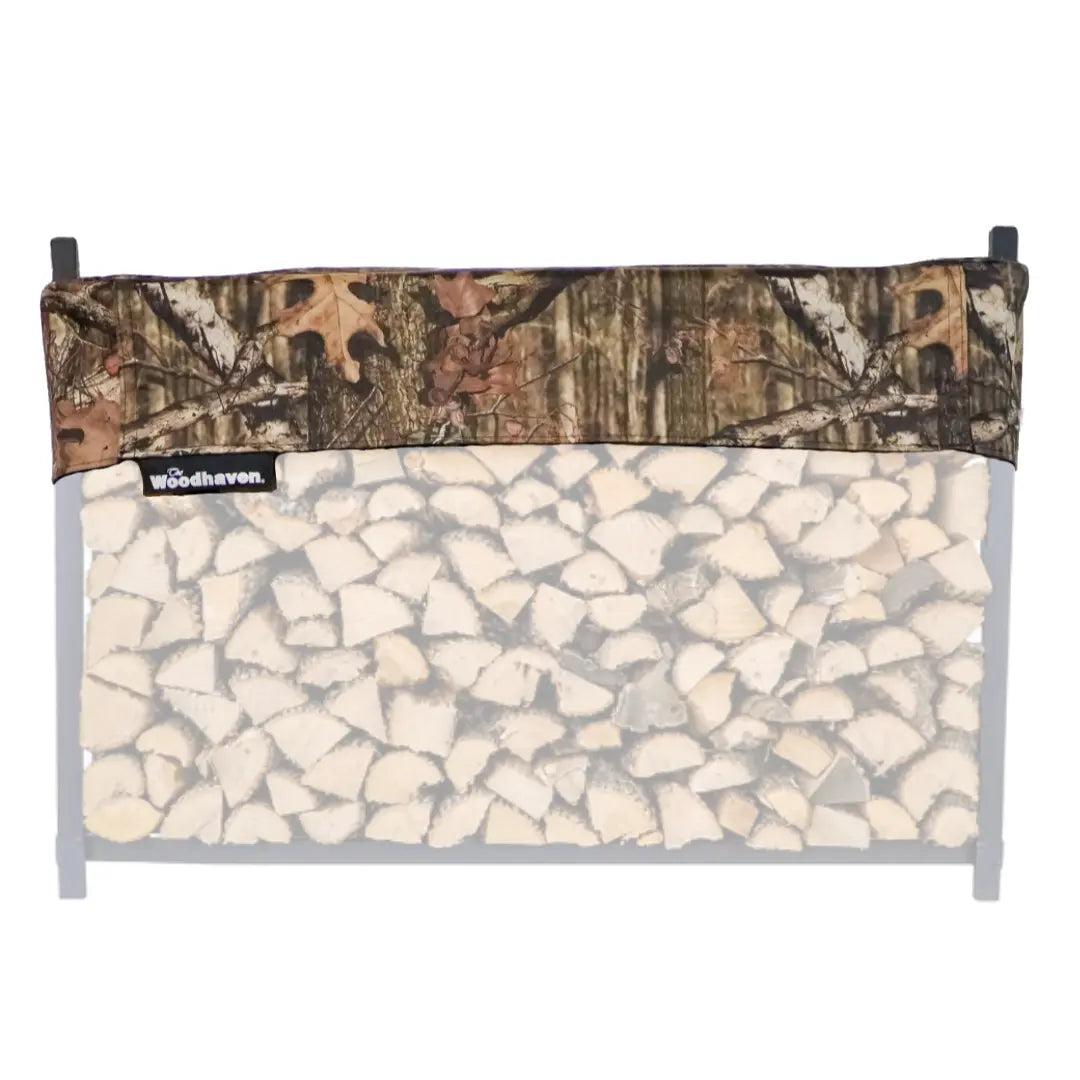
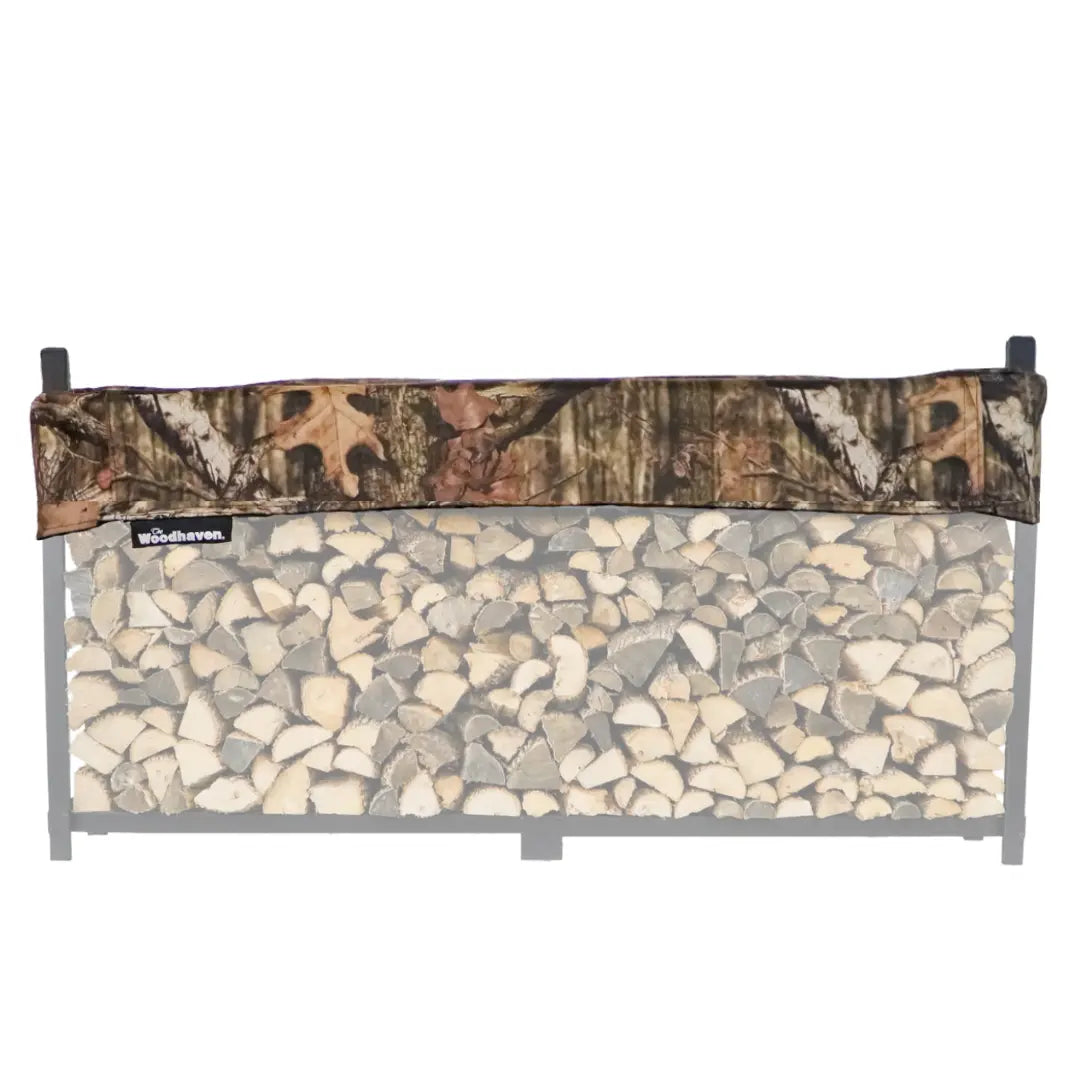
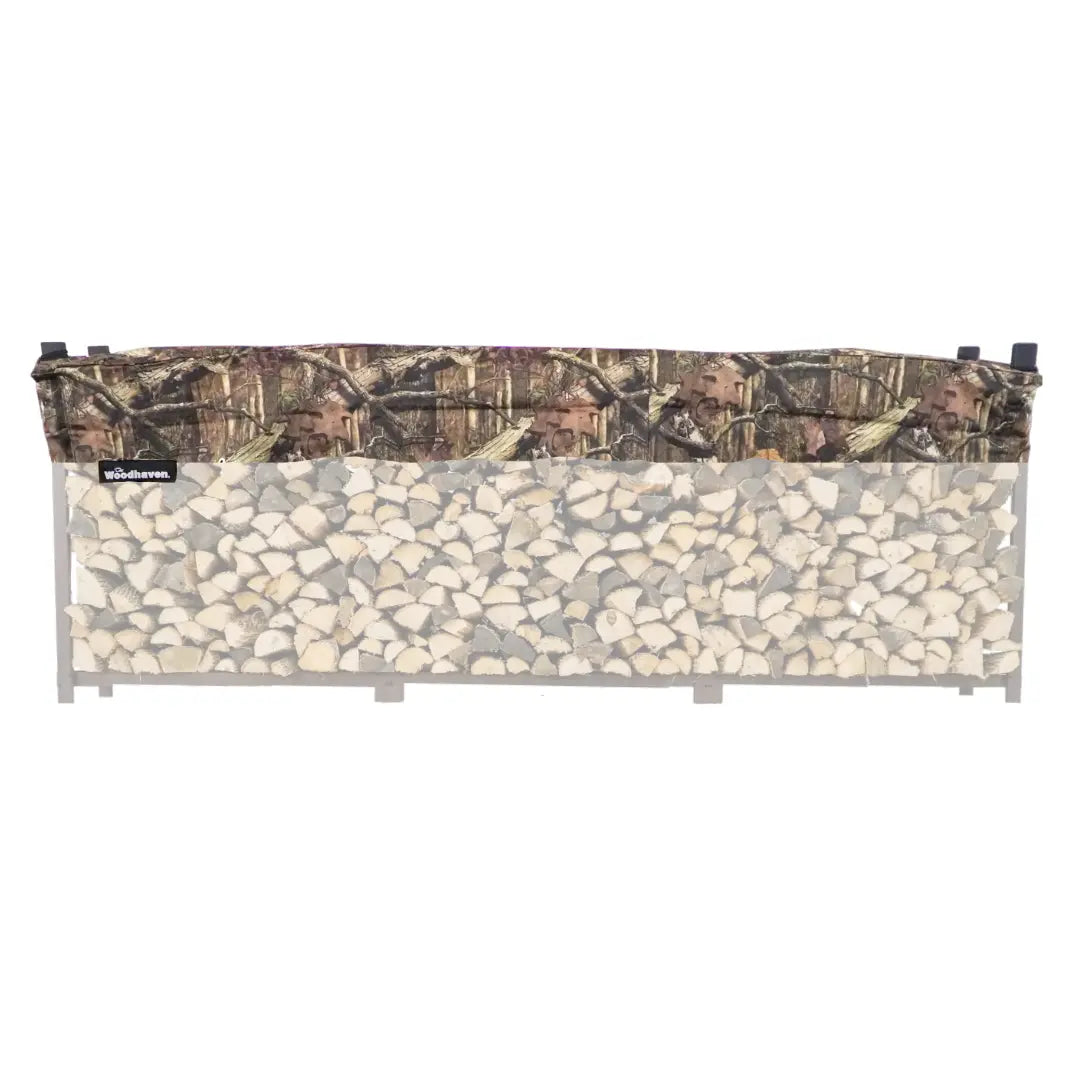
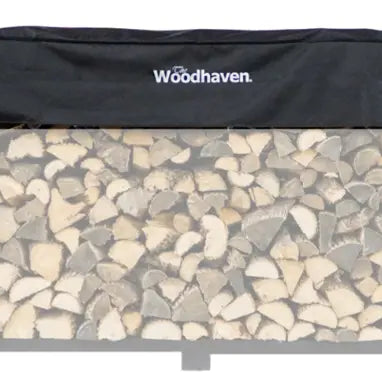
When choosing the size of your waterproof cover, it's important to not completely enclose the pile under the cover. This would prevent airflow and slow down the ability for the wood to dry out. The best approach is to make sure you obviously cover the top of the wood pile and leave approximately nine inches hanging over the sides. This will allow any rain that falls on the tarp to drip off the overhang while still leaving the sides of the pile exposed to the sunlight and wind for proper drying. Keep in mind that although during a rainstorm, the exposed woodpile may get wet, it is only on the surface and will quickly dry once it stops raining. The key is to keep the water off the top of the woodpile so that it does not soak into the inside of the woodpile which would lead to wet and soggy wood that would never dry out properly.
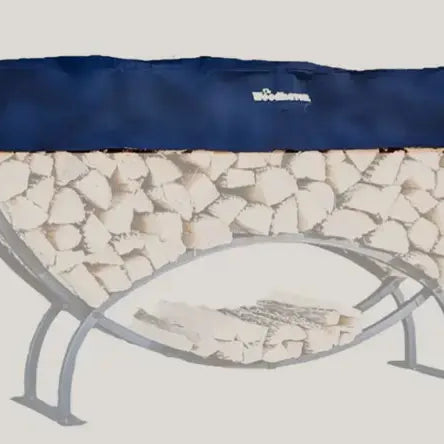
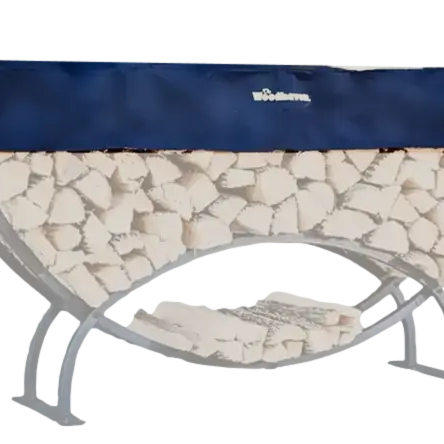
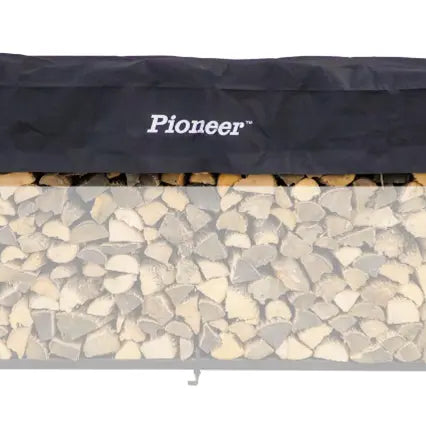
Covering Round Woodpiles
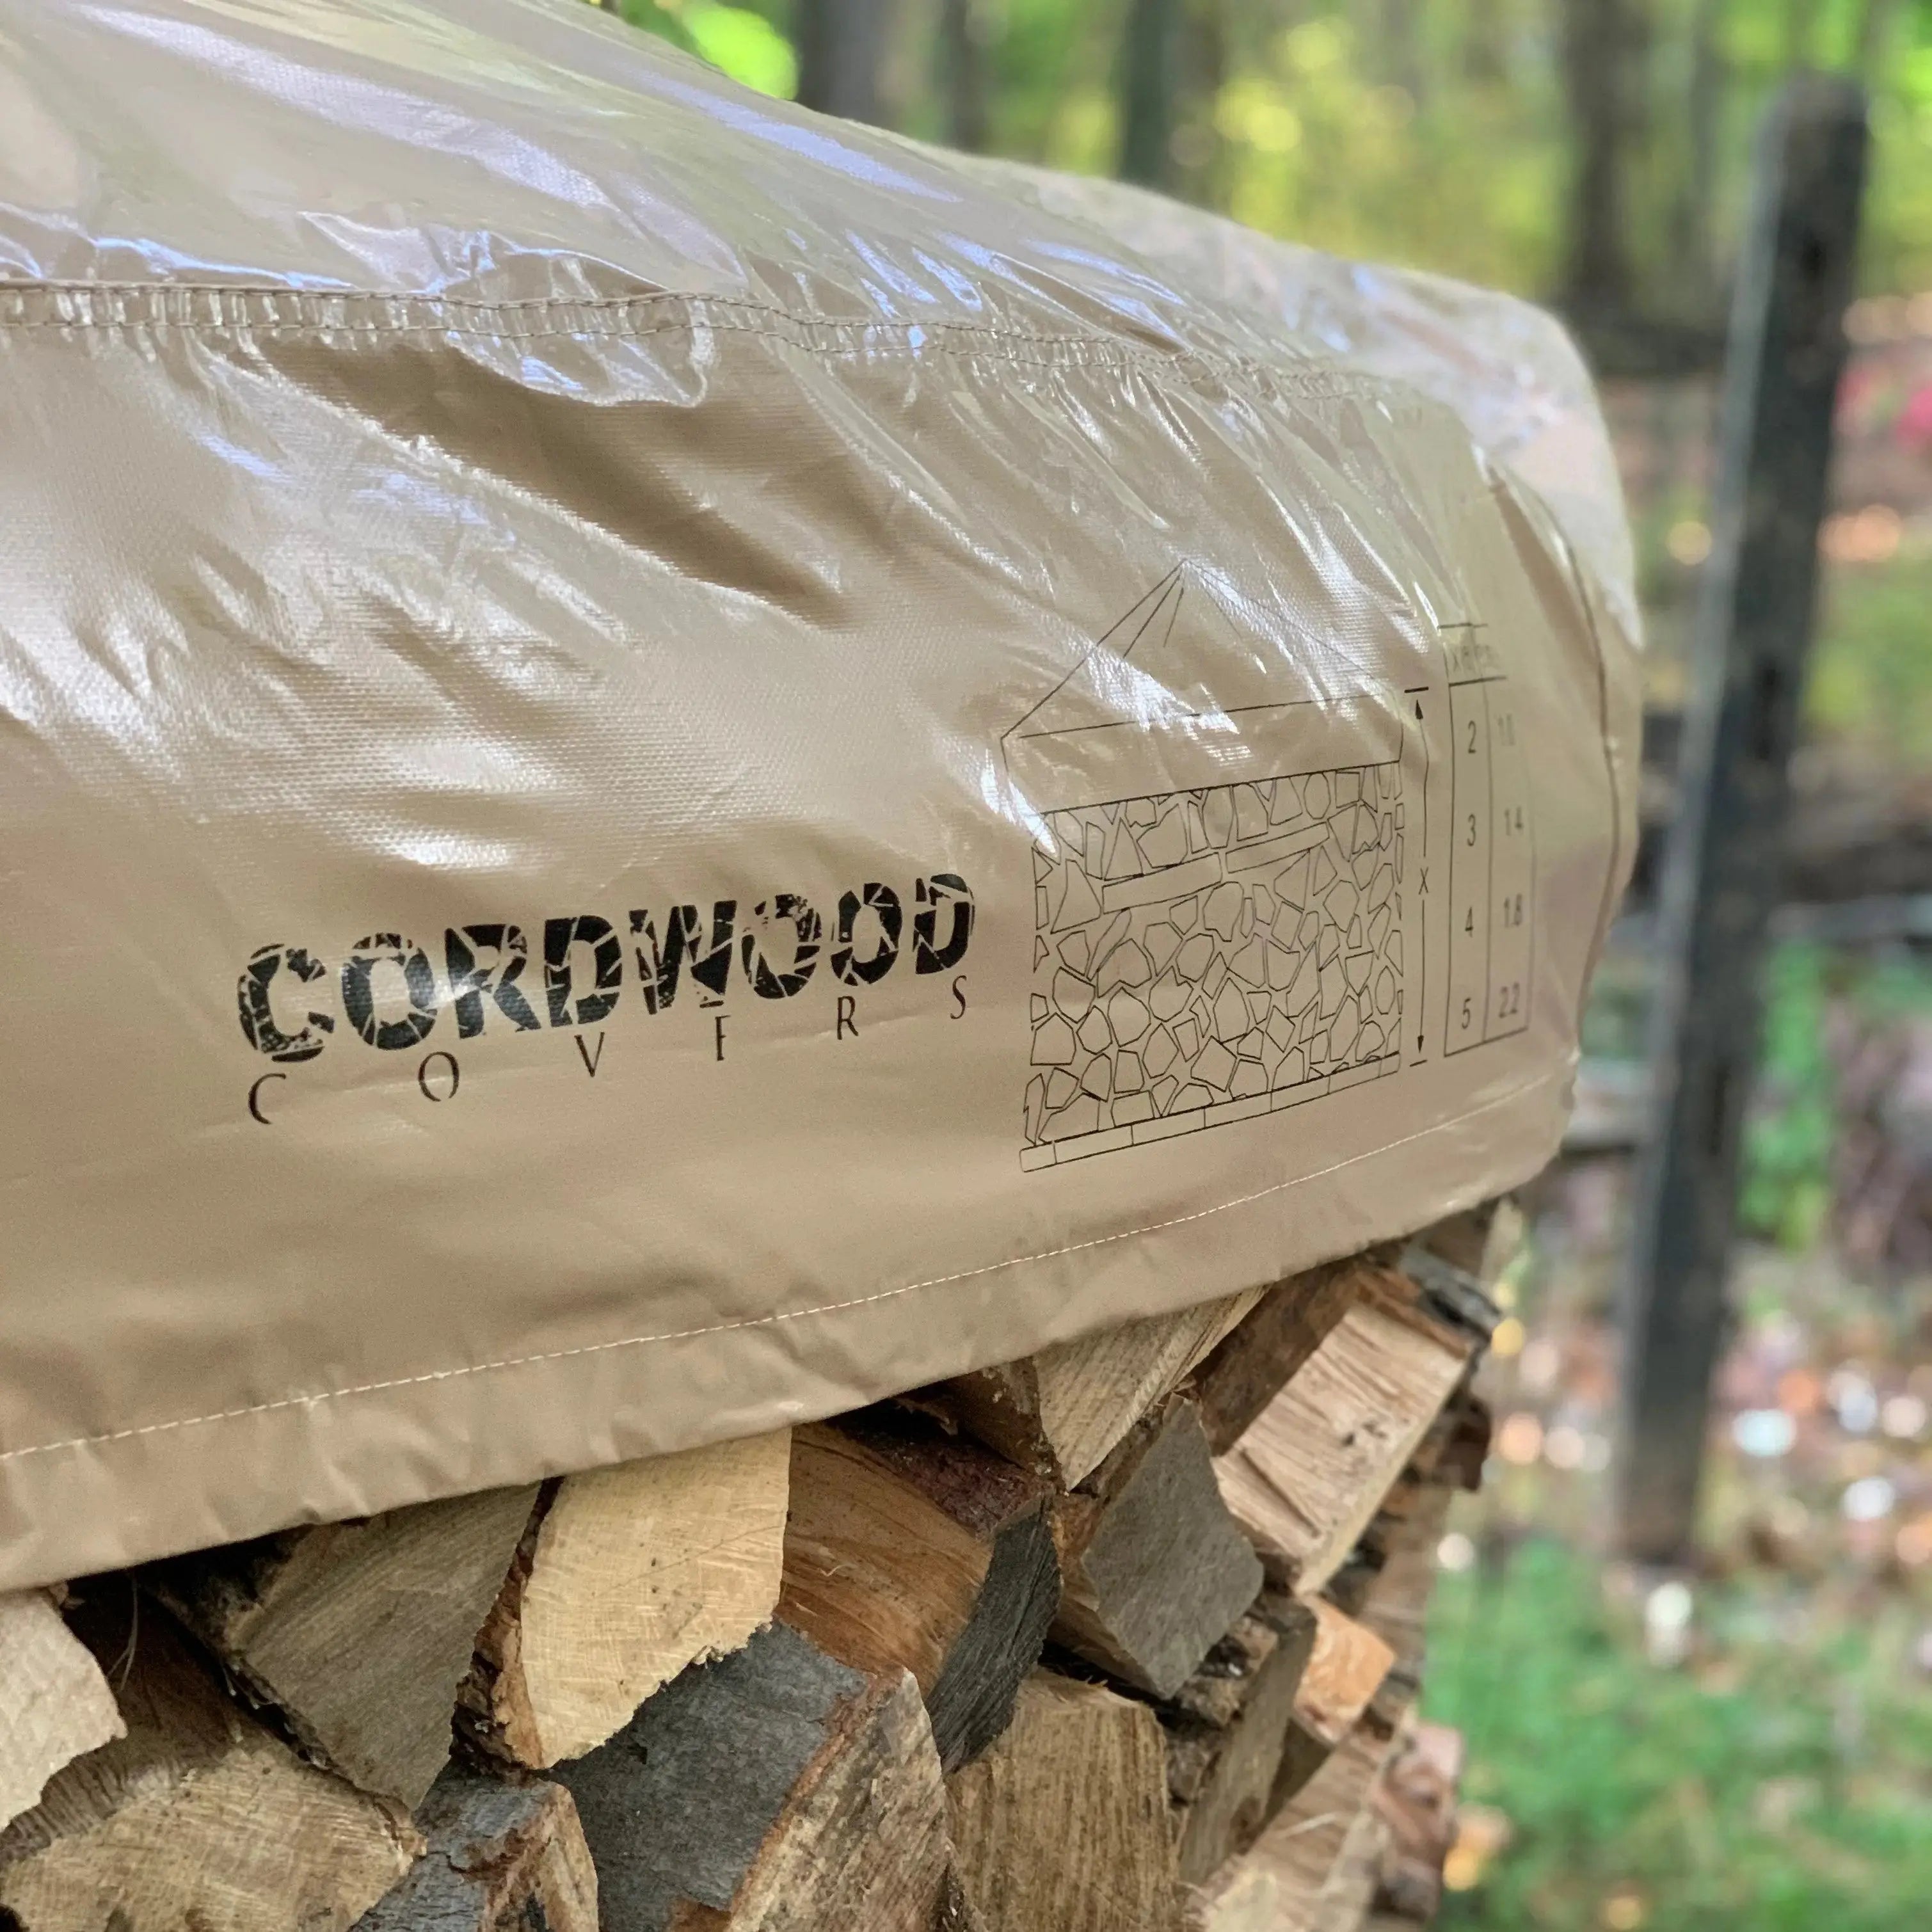
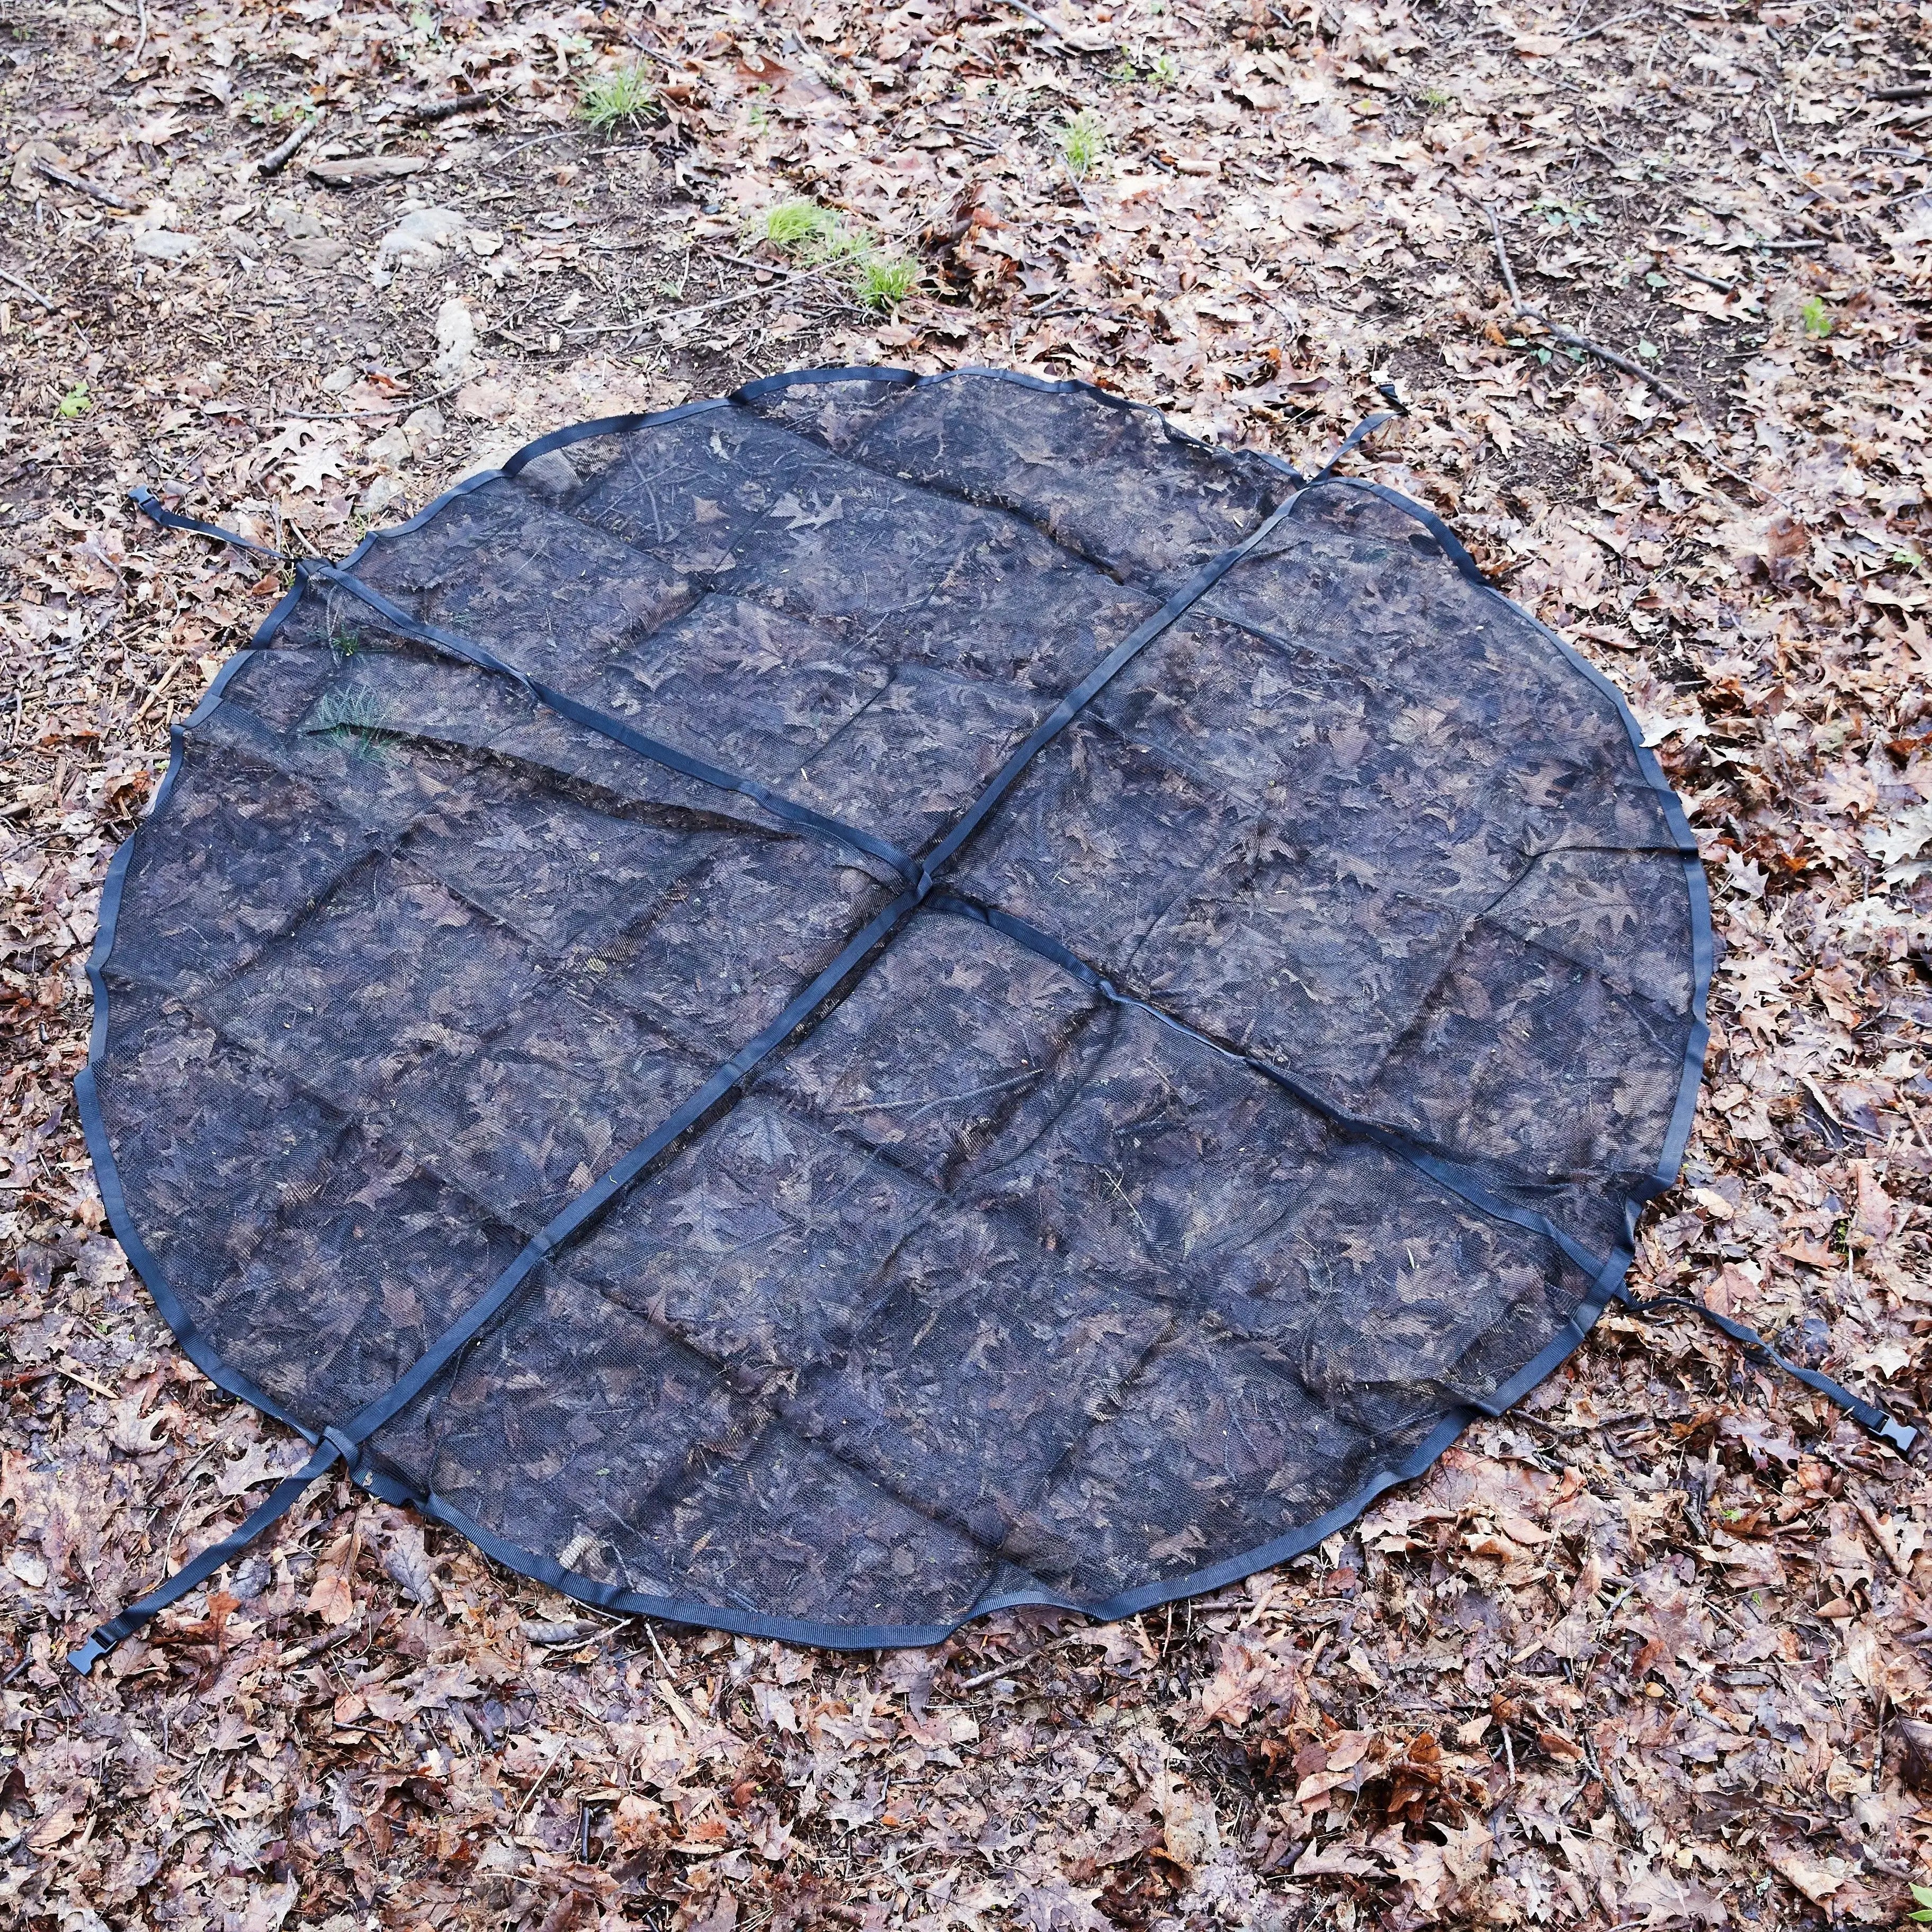
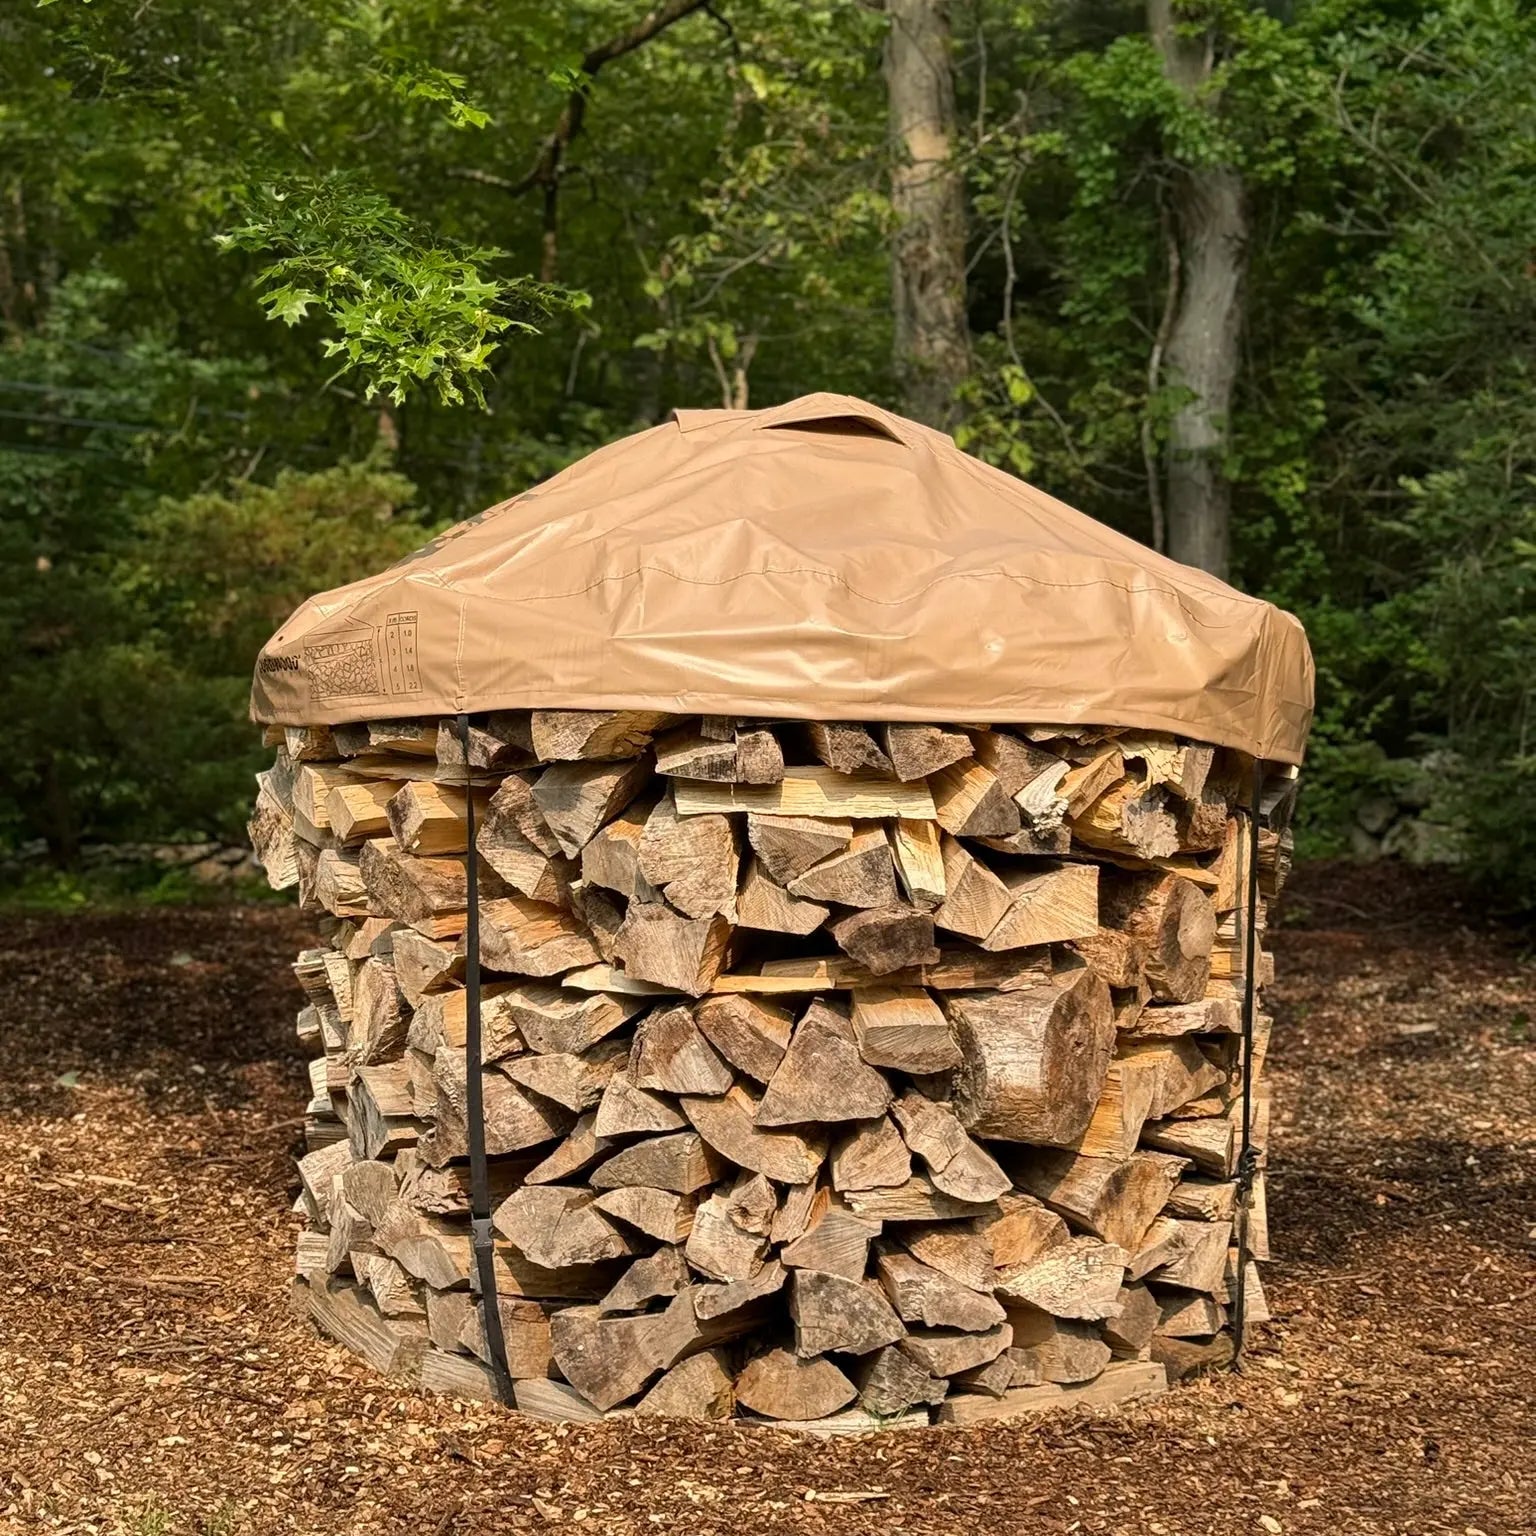
These tarp tips can also be applied to a round Holz hausen-type woodpile. If using a square or rectangular tarp with a round woodpile, the corners will hang down low to the ground. This is less than ideal because it covers the sides of the woodpile that should be exposed to the sun and air. In addition, the flaps tend to act like a sail on windy days, trying to pull it off your woodpile. One of the nice parts of building a holz hausen is the pleasing look of the finished stack. Unavoidably, when using a standard tarp, the cover corners will hang down and hide your nice work!
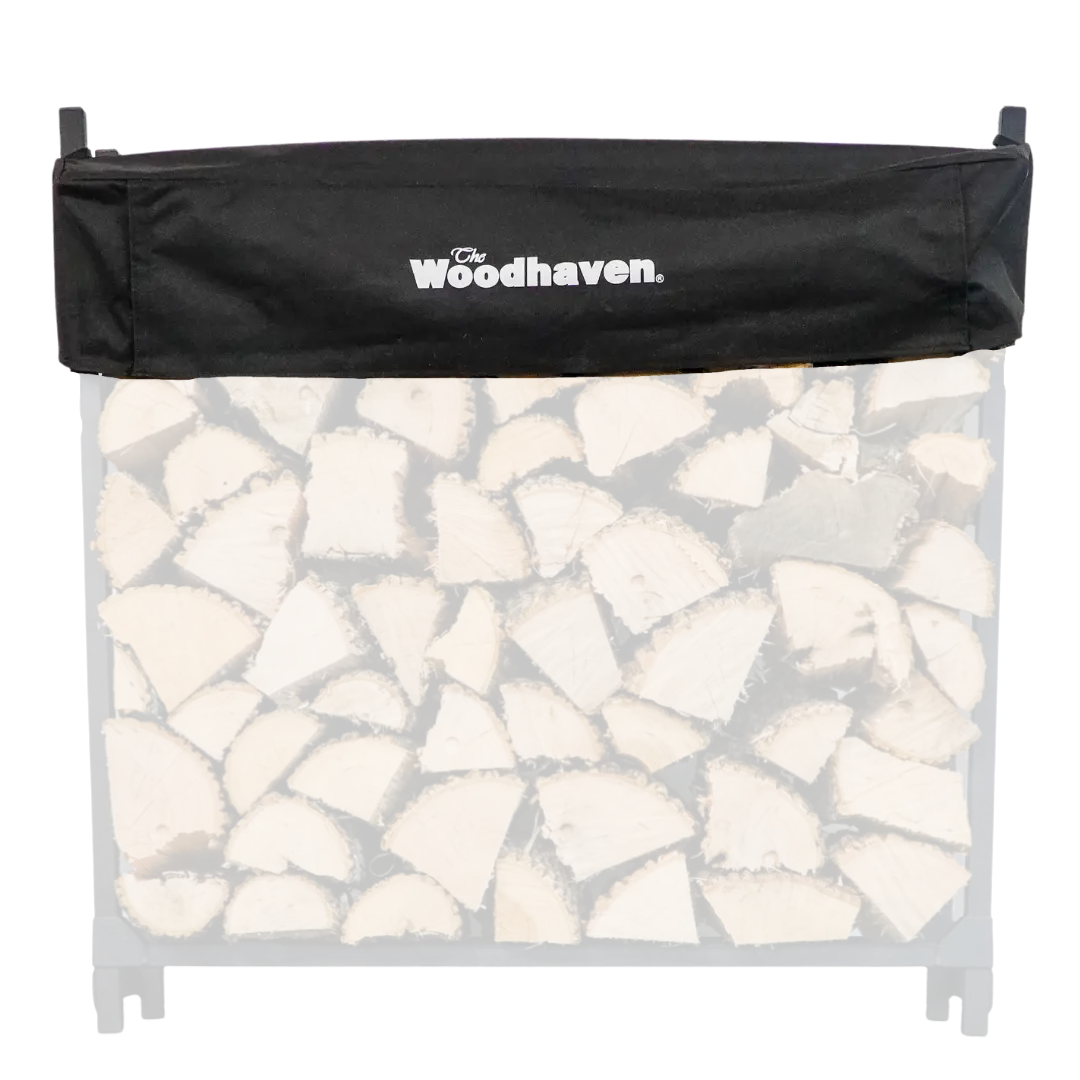
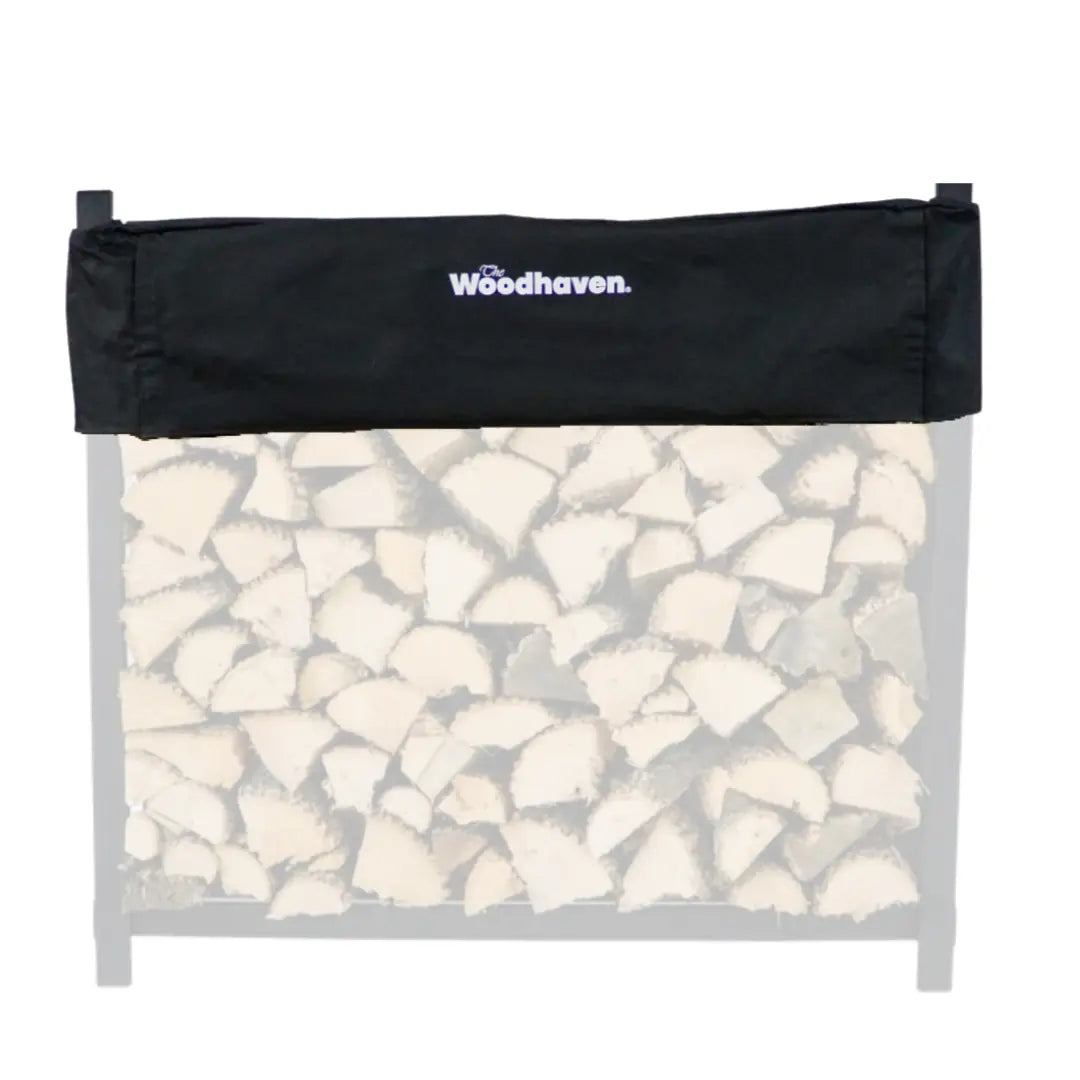
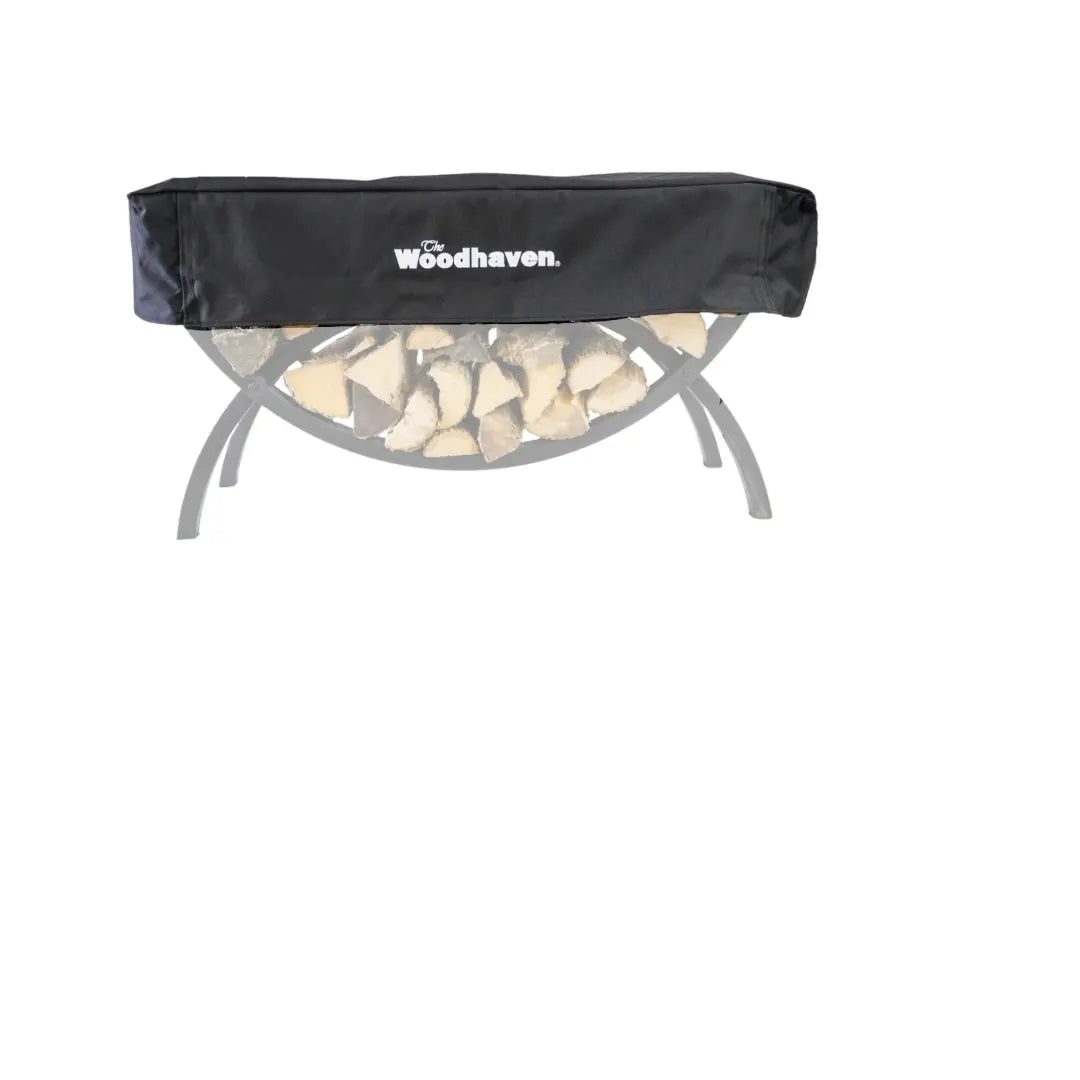
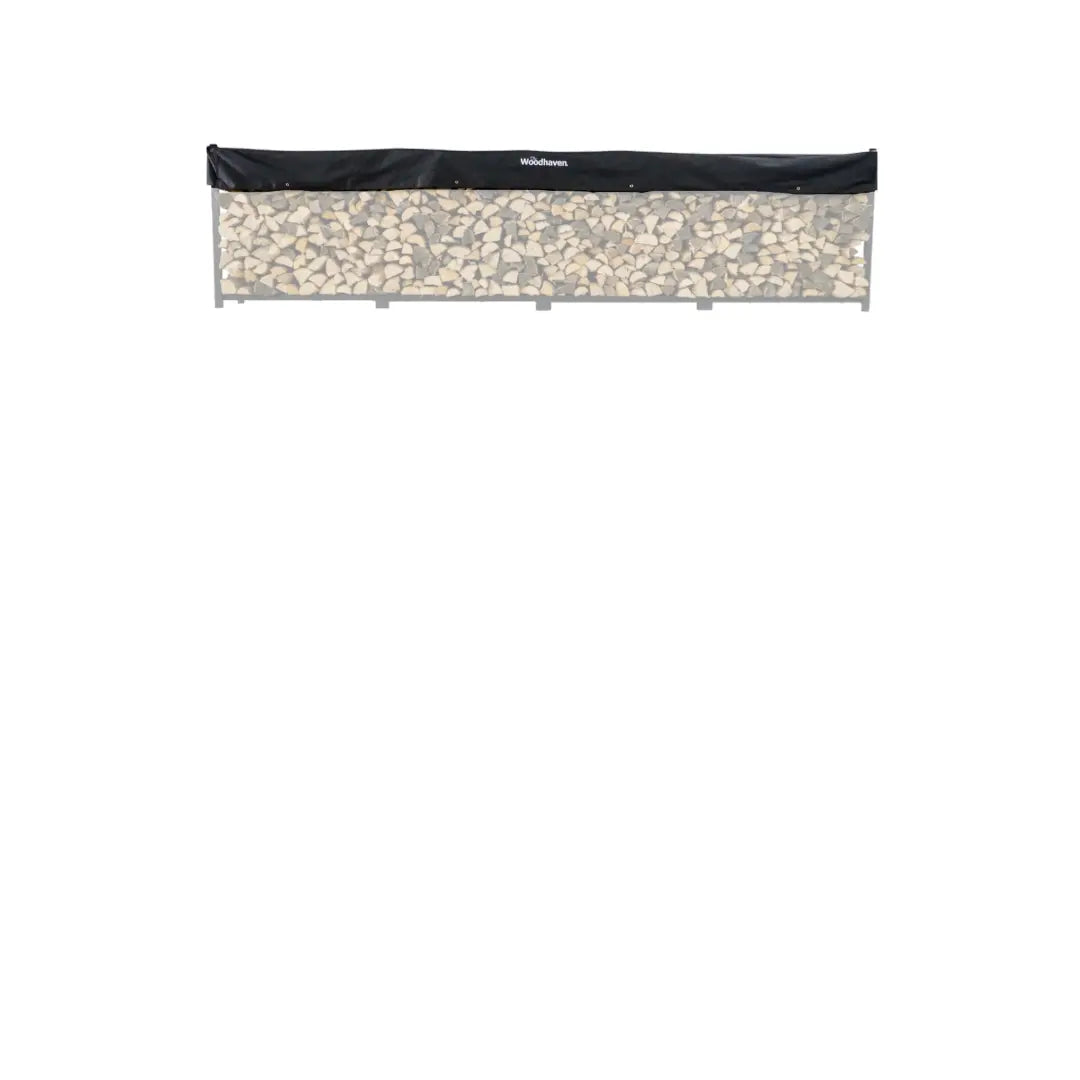
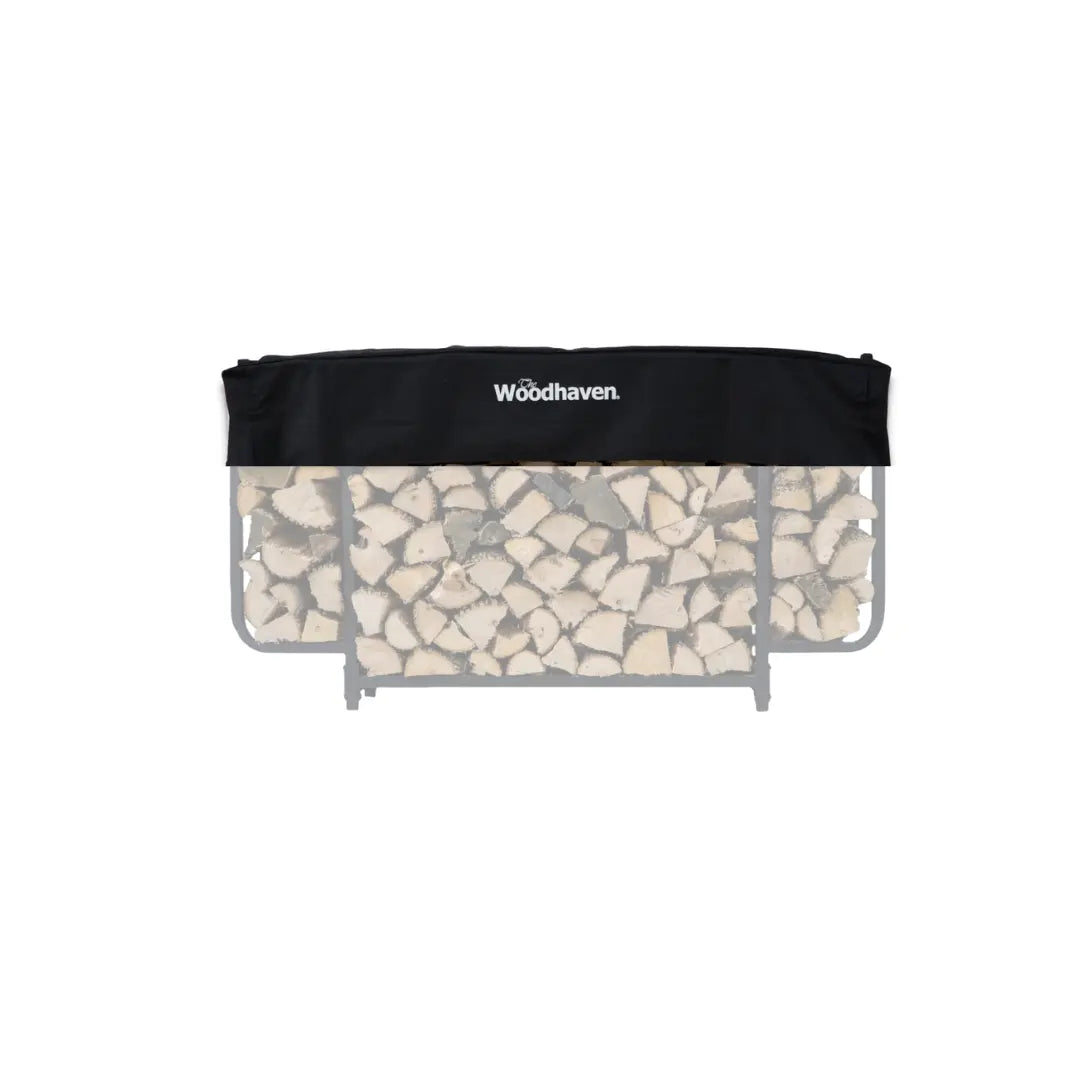
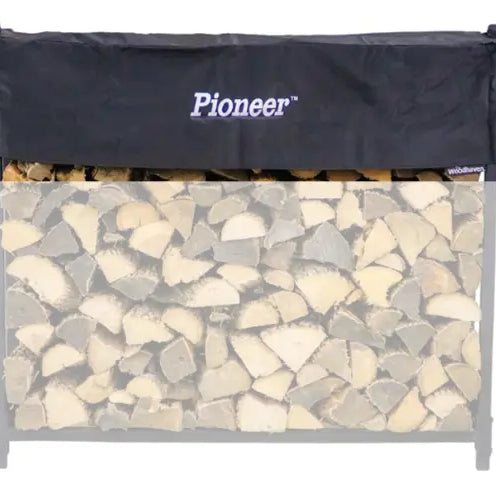
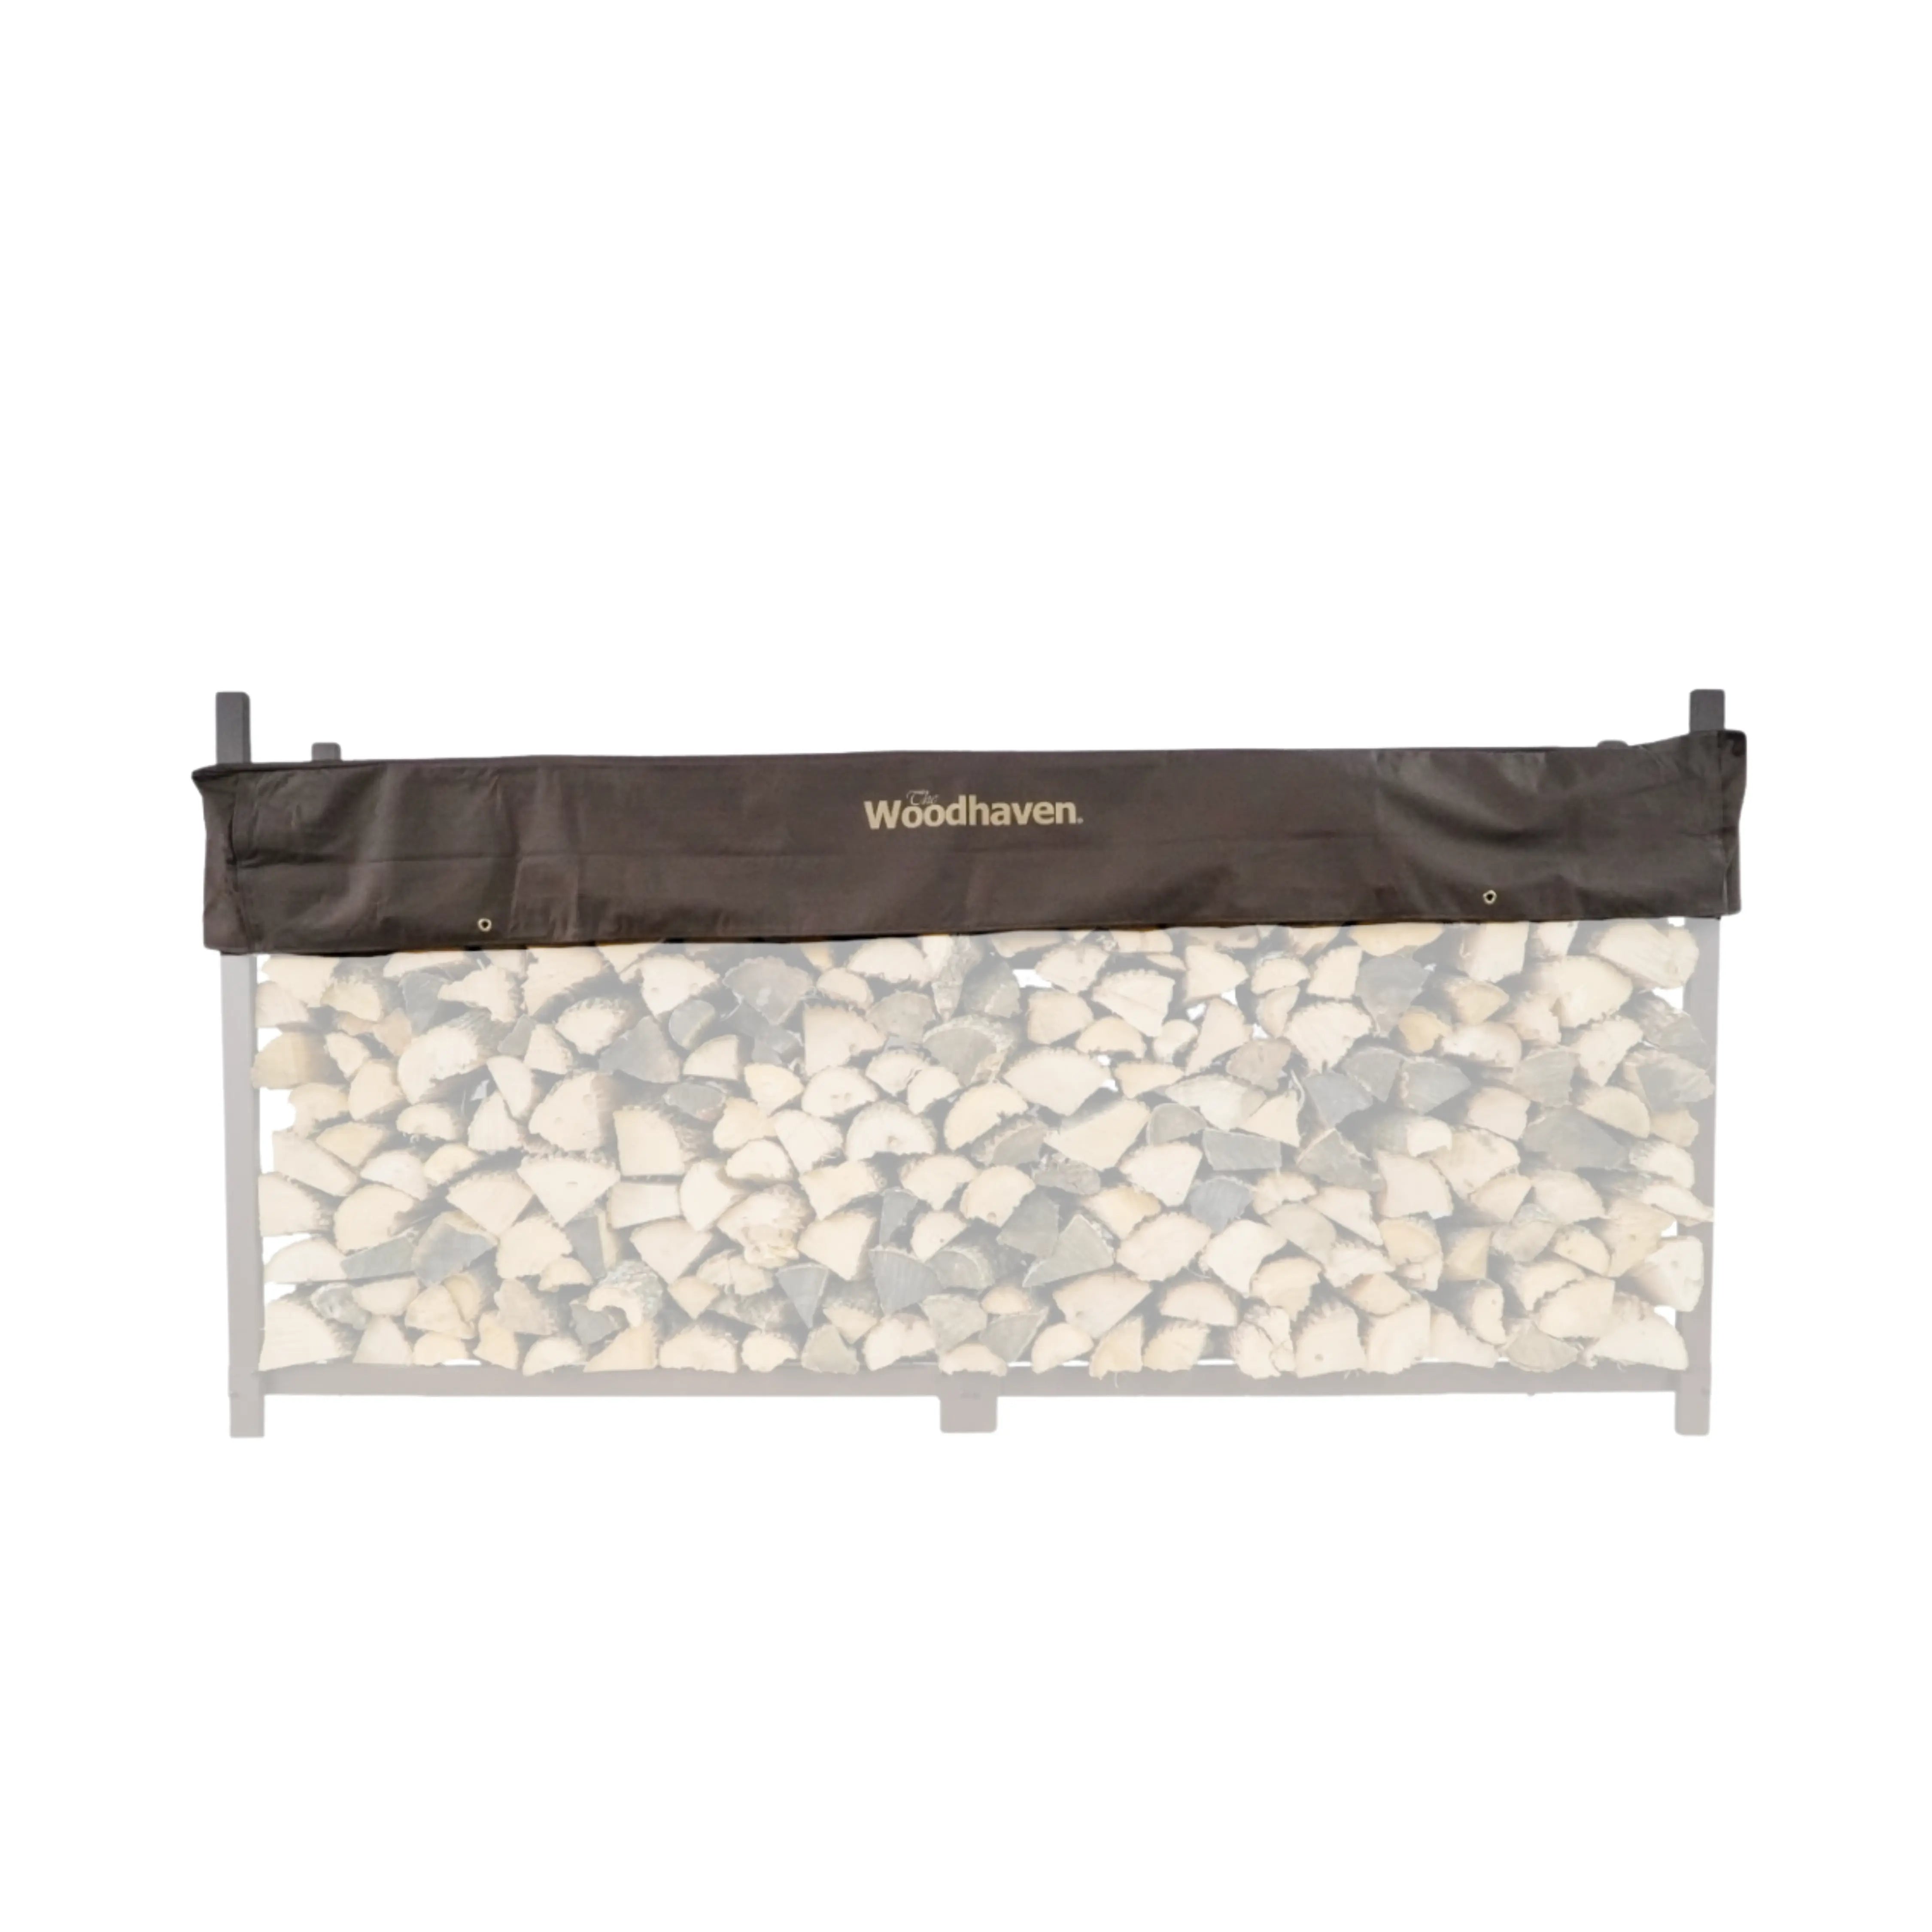
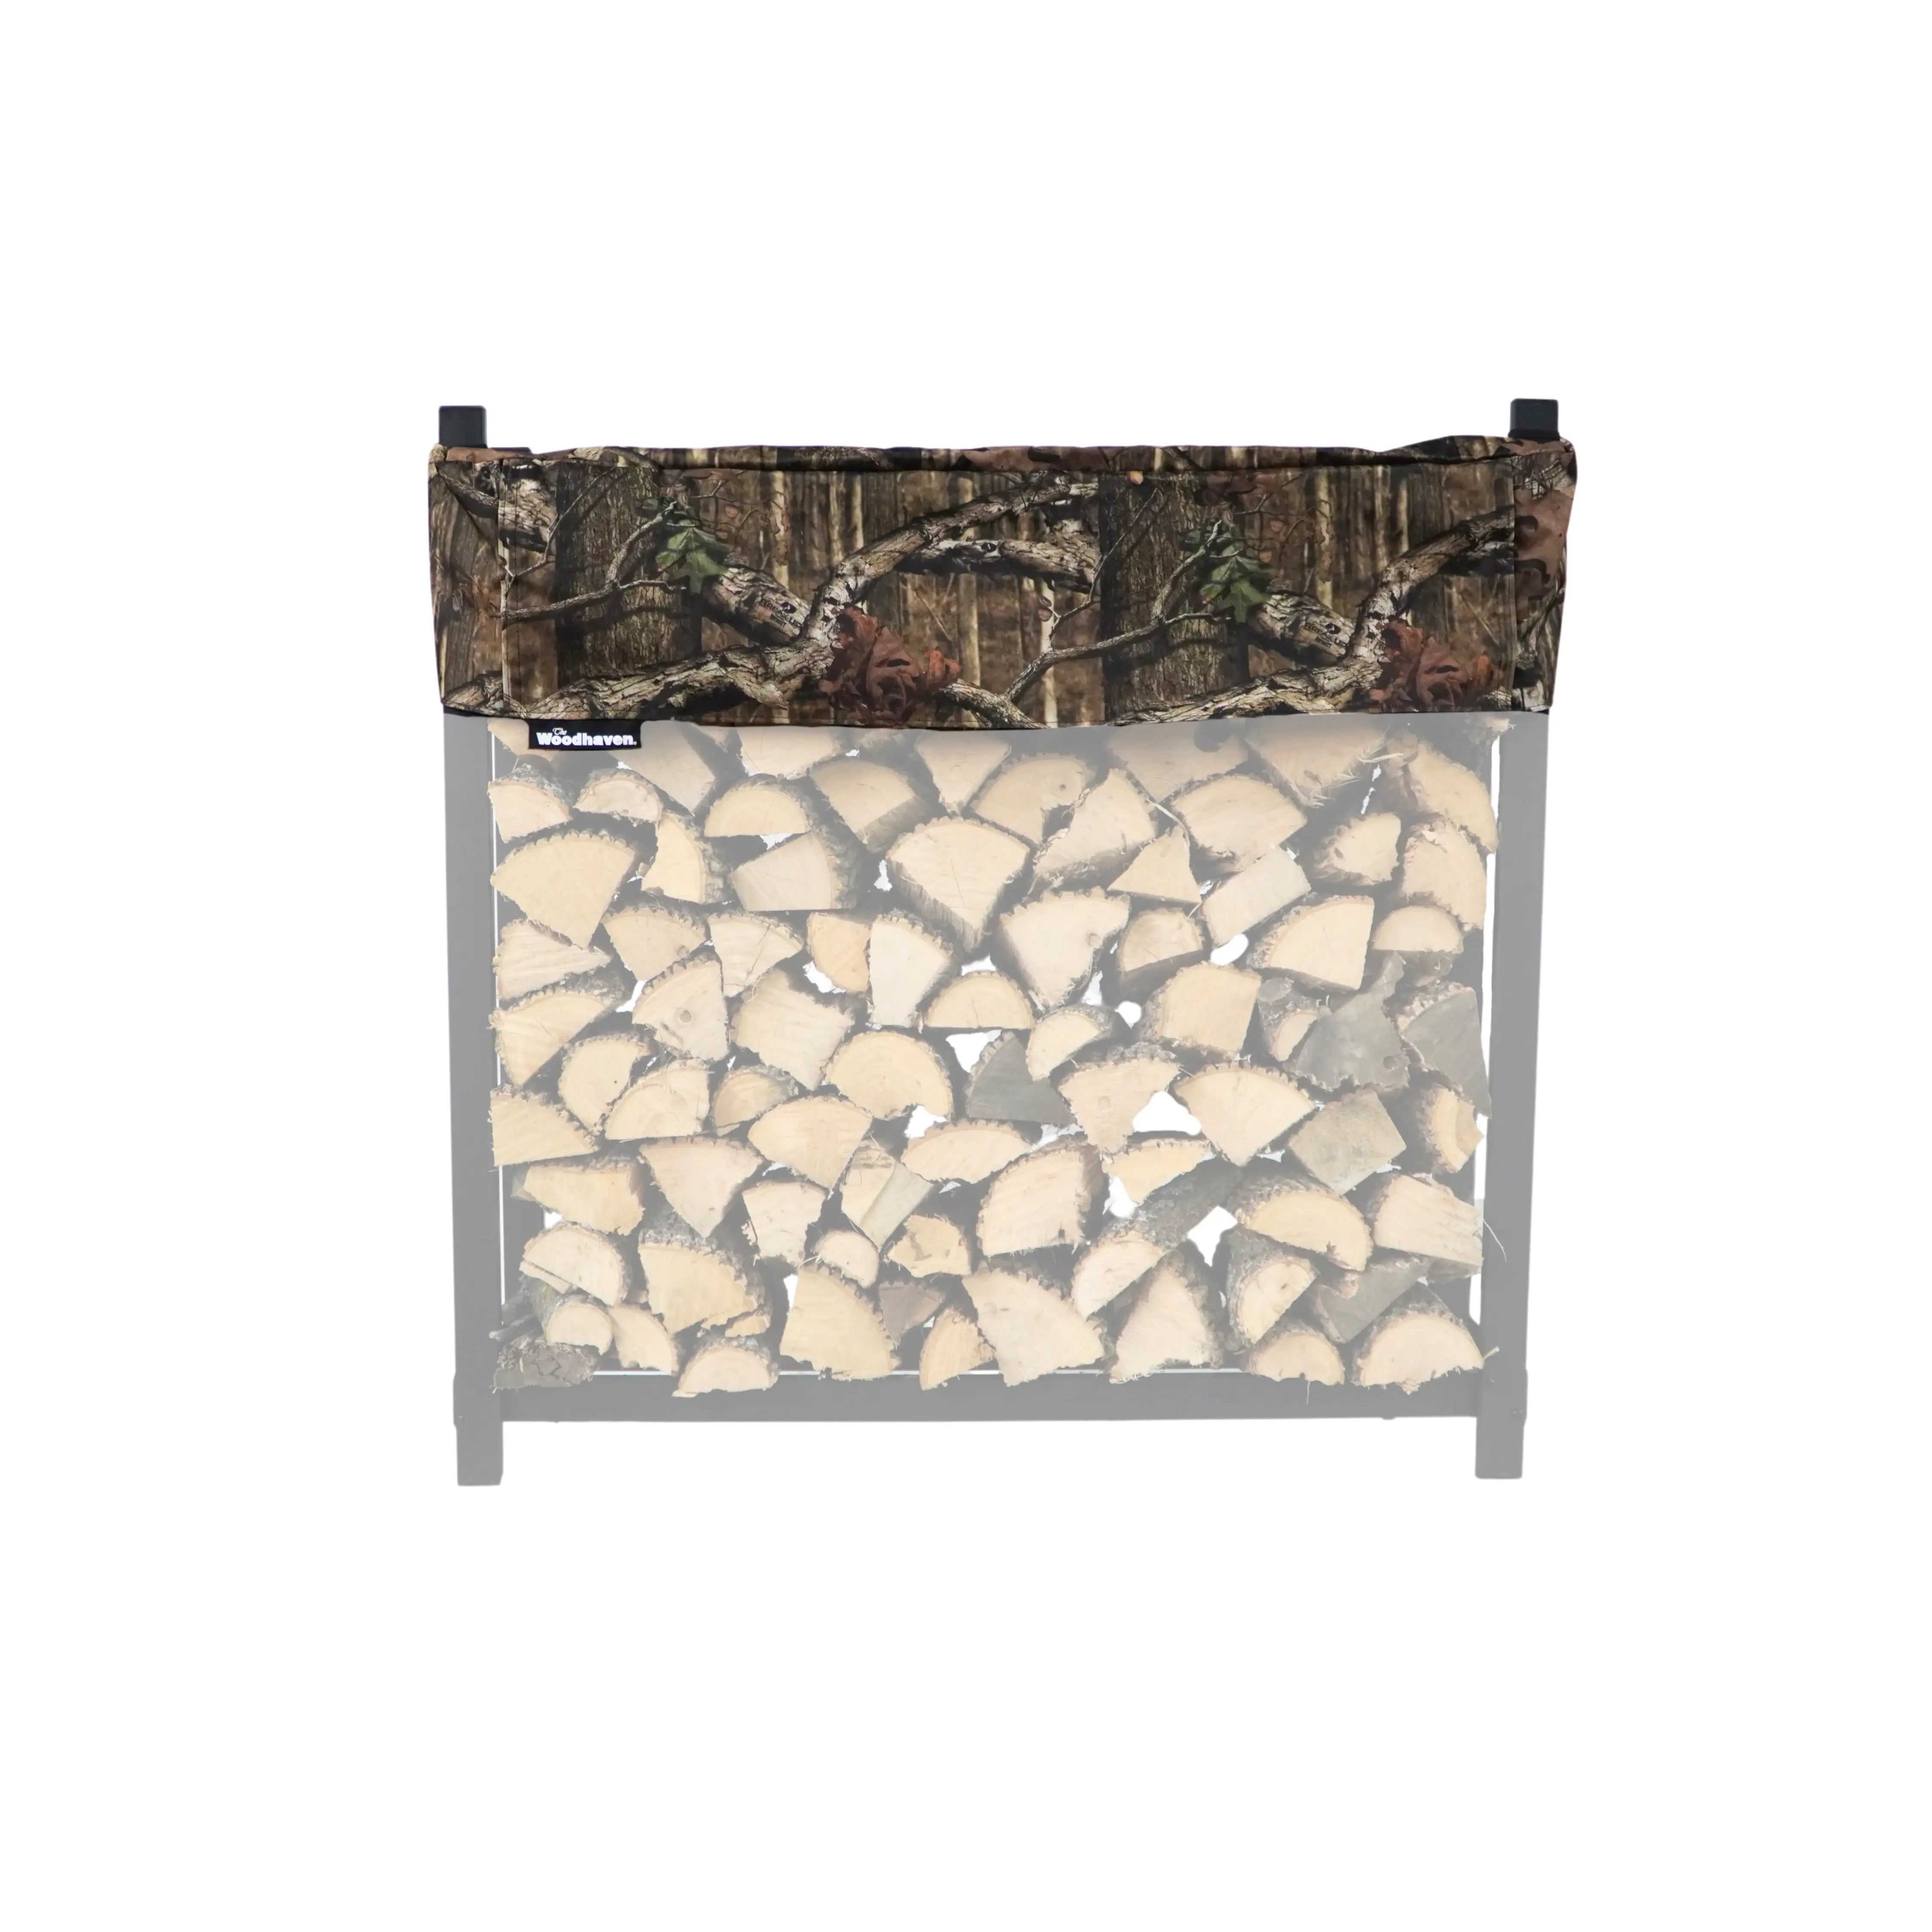
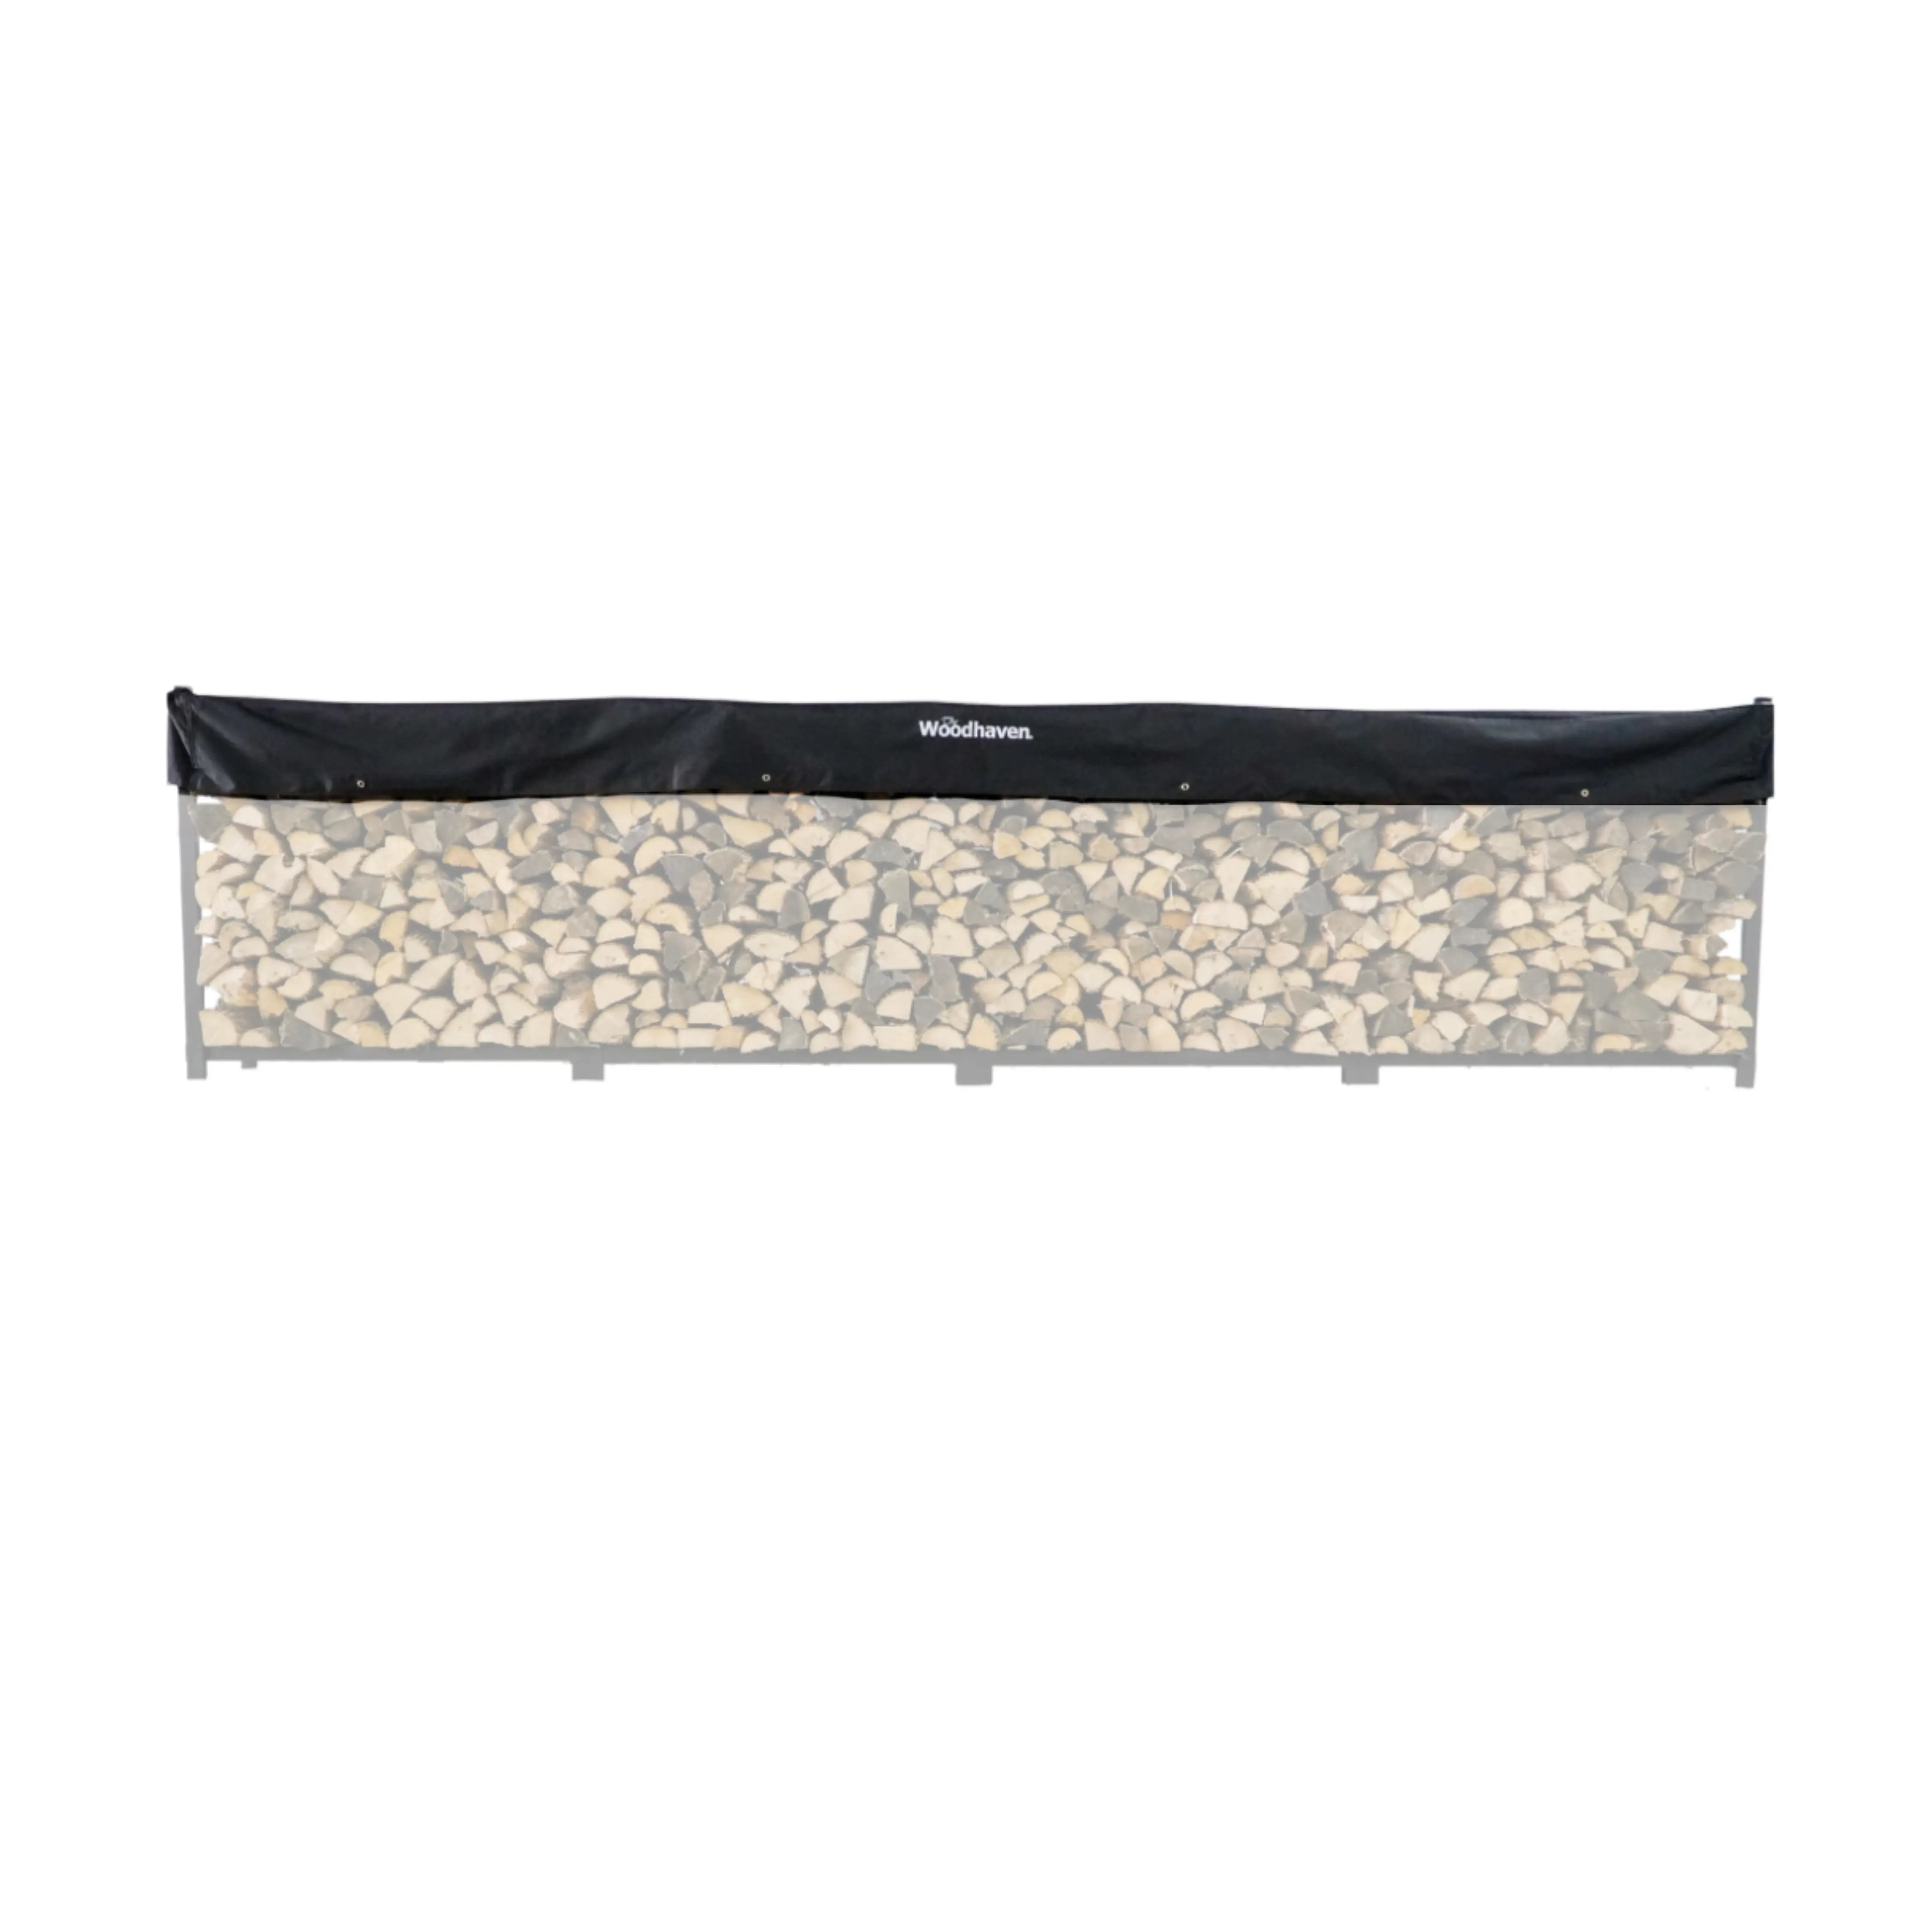
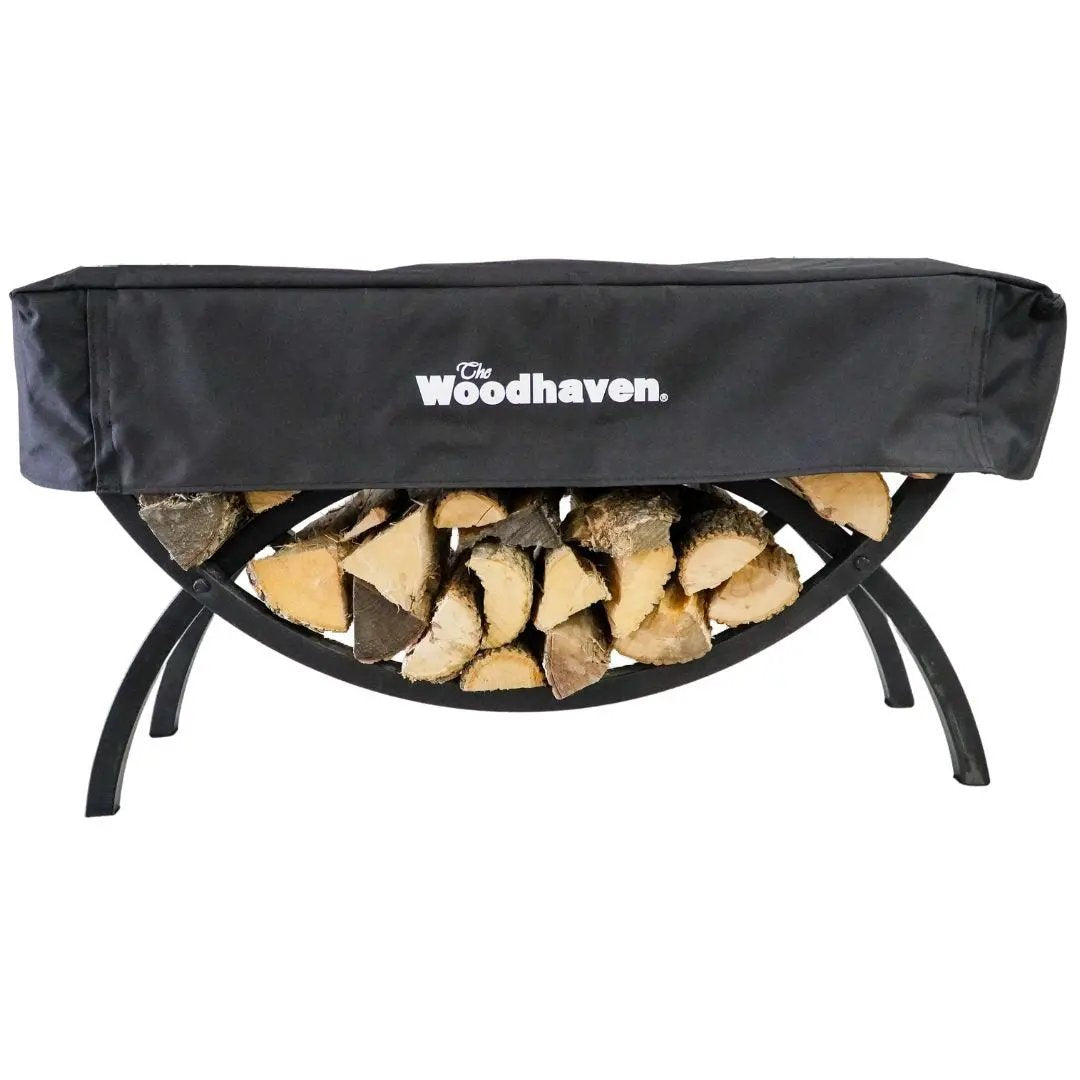
A more refined solution for a round woodpile is to use a product we sell, called a Cordwood Cover®, that solves all of these problems.
Frequently Asked Questions
What are the main ways to stack firewood?
The primary methods include building a shed, using a firewood rack system, constructing a round woodpile (holz hausen), or creating a rectangular-shaped stack. Each has different advantages depending on your space, budget, and drying needs.
How do I support the ends of a rectangular woodpile?
You have three main options: purchase a rack with rigid end supports, use a deep stake driven firmly into the ground, or build pillar stacks at each end using alternating perpendicular log rows.
What is a pillar stack?
A pillar stack is built by laying two or three logs parallel to each other, then placing the next row perpendicular to the first. You continue alternating the direction of each row until you reach your desired height. These pillars can support the ends of a rectangular woodpile.
Do I need to alternate log directions throughout the entire stack?
No. You only need to alternate directions in the pillar stacks at the ends. The middle section can be stacked with all logs parallel to each other, as long as the cover is properly constructed to allow adequate airflow.
How should I cover my woodpile?
Use a waterproof tarp or plastic sheet with grommet holes for securing. Cover the top of the pile and leave approximately nine inches of overhang on the sides to allow rain to drip off while keeping the sides exposed to sun and wind for drying.
What should I tie the tarp to if I don't have a rack?
Slide a small branch between the logs near the bottom, leaving it protruding from the stack. Tie your rope to this branch using a half hitch knot. This allows you to easily adjust the tarp without untying.
Why shouldn't I place a log on top of the tarp?
A log placed on top will be constantly exposed to rain and will eventually rot. Additionally, wind can flip up the tarp edges and potentially blow the entire cover off your woodpile.
Can I completely enclose my woodpile with a tarp?
No. Completely enclosing the pile prevents airflow and slows the drying process. The sides must remain exposed to sunlight and wind for proper seasoning.
What happens if my woodpile gets wet during a rainstorm?
Surface moisture will dry quickly once the rain stops. The important thing is to keep water from soaking into the interior of the pile, which would create permanently wet and unusable wood.
What are the challenges with using a standard tarp on a round woodpile?
The corners of a rectangular tarp hang down low on a round pile, covering the sides that need exposure to sun and air. The loose flaps also act like a sail in wind, risking the cover being blown away.