


How to Stack a Holz Hausen Firewood Pile (Step-by-Step Guide)
There are many different ways to stack firewood. In this guide, we'll walk you through how to build a woodpile that's effortless to construct, dries wood quickly, and leaves you with a unique, eye-catching stacked wood pile that will impress anyone who sees it — the Holz Hausen.
Benefits of Stacking Your Firewood Correctly
There are real, practical benefits to stacking your firewood the right way. When you stack correctly, you can:
- Dry your wood faster — wood that isn't properly stacked takes longer to season, meaning you'll wait longer before it's ready to burn.
- Keep your woodpile tidy and organized — a well-stacked pile looks good and takes up less space.
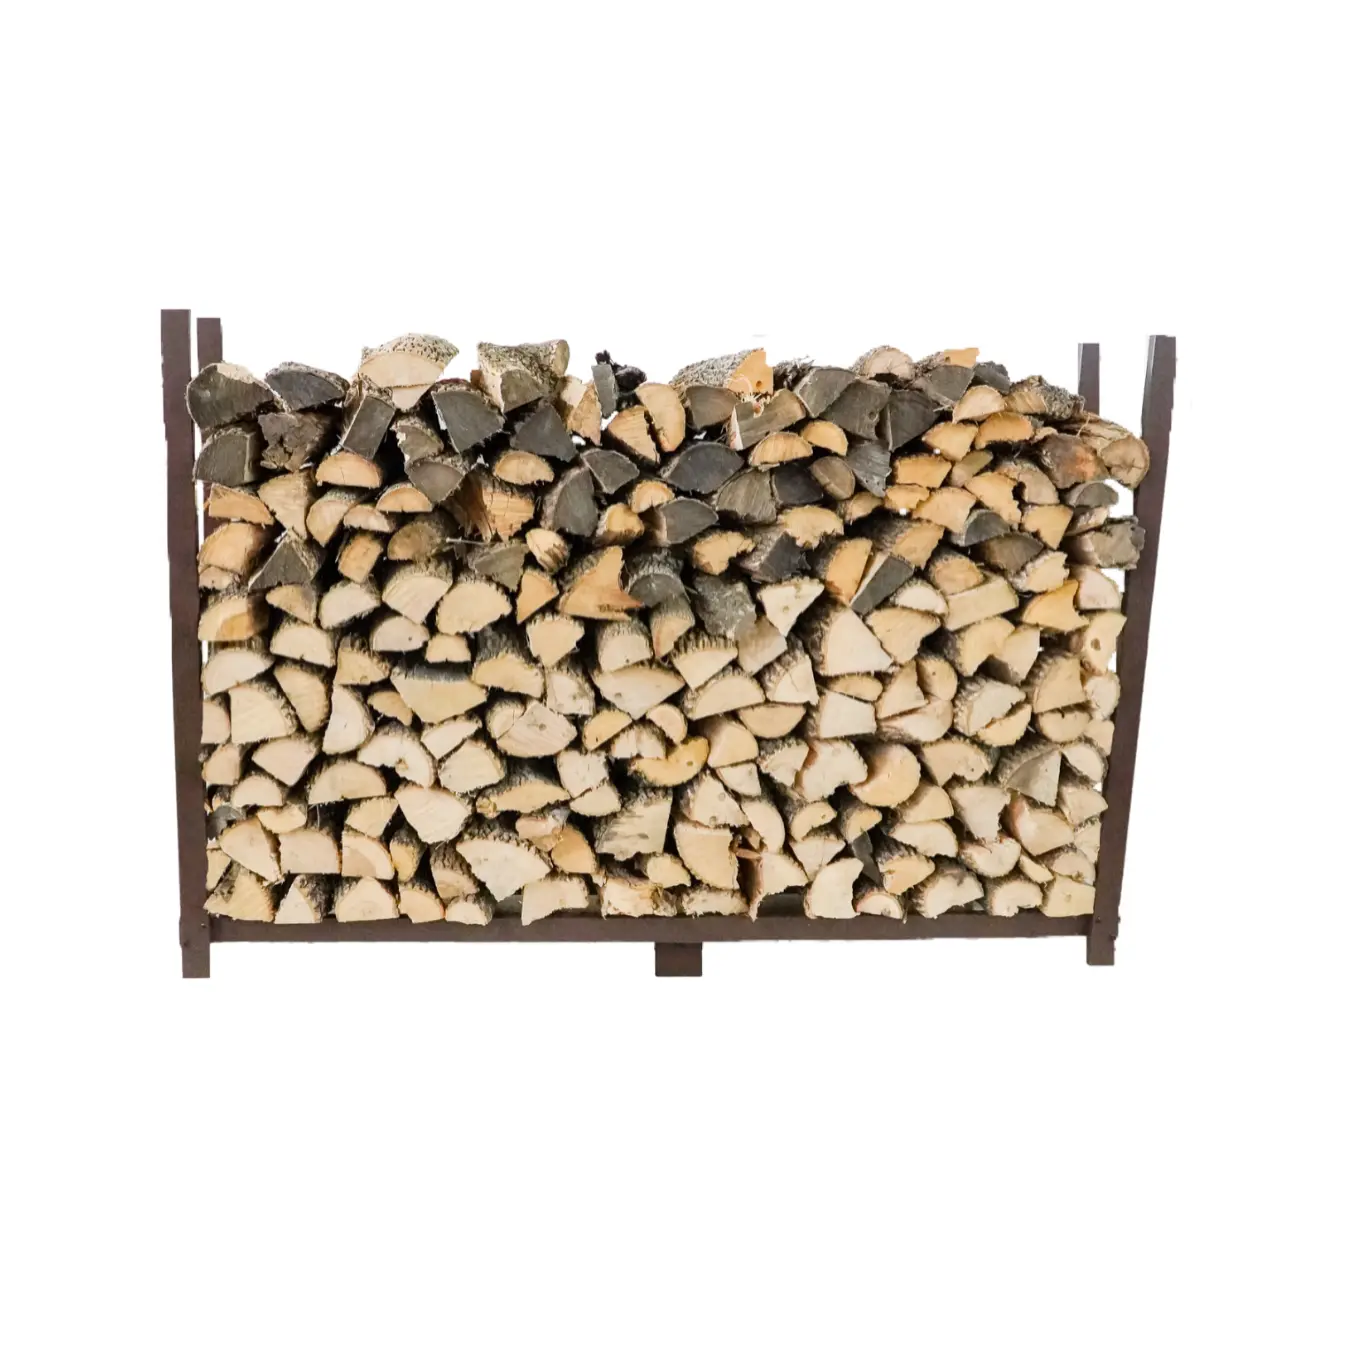
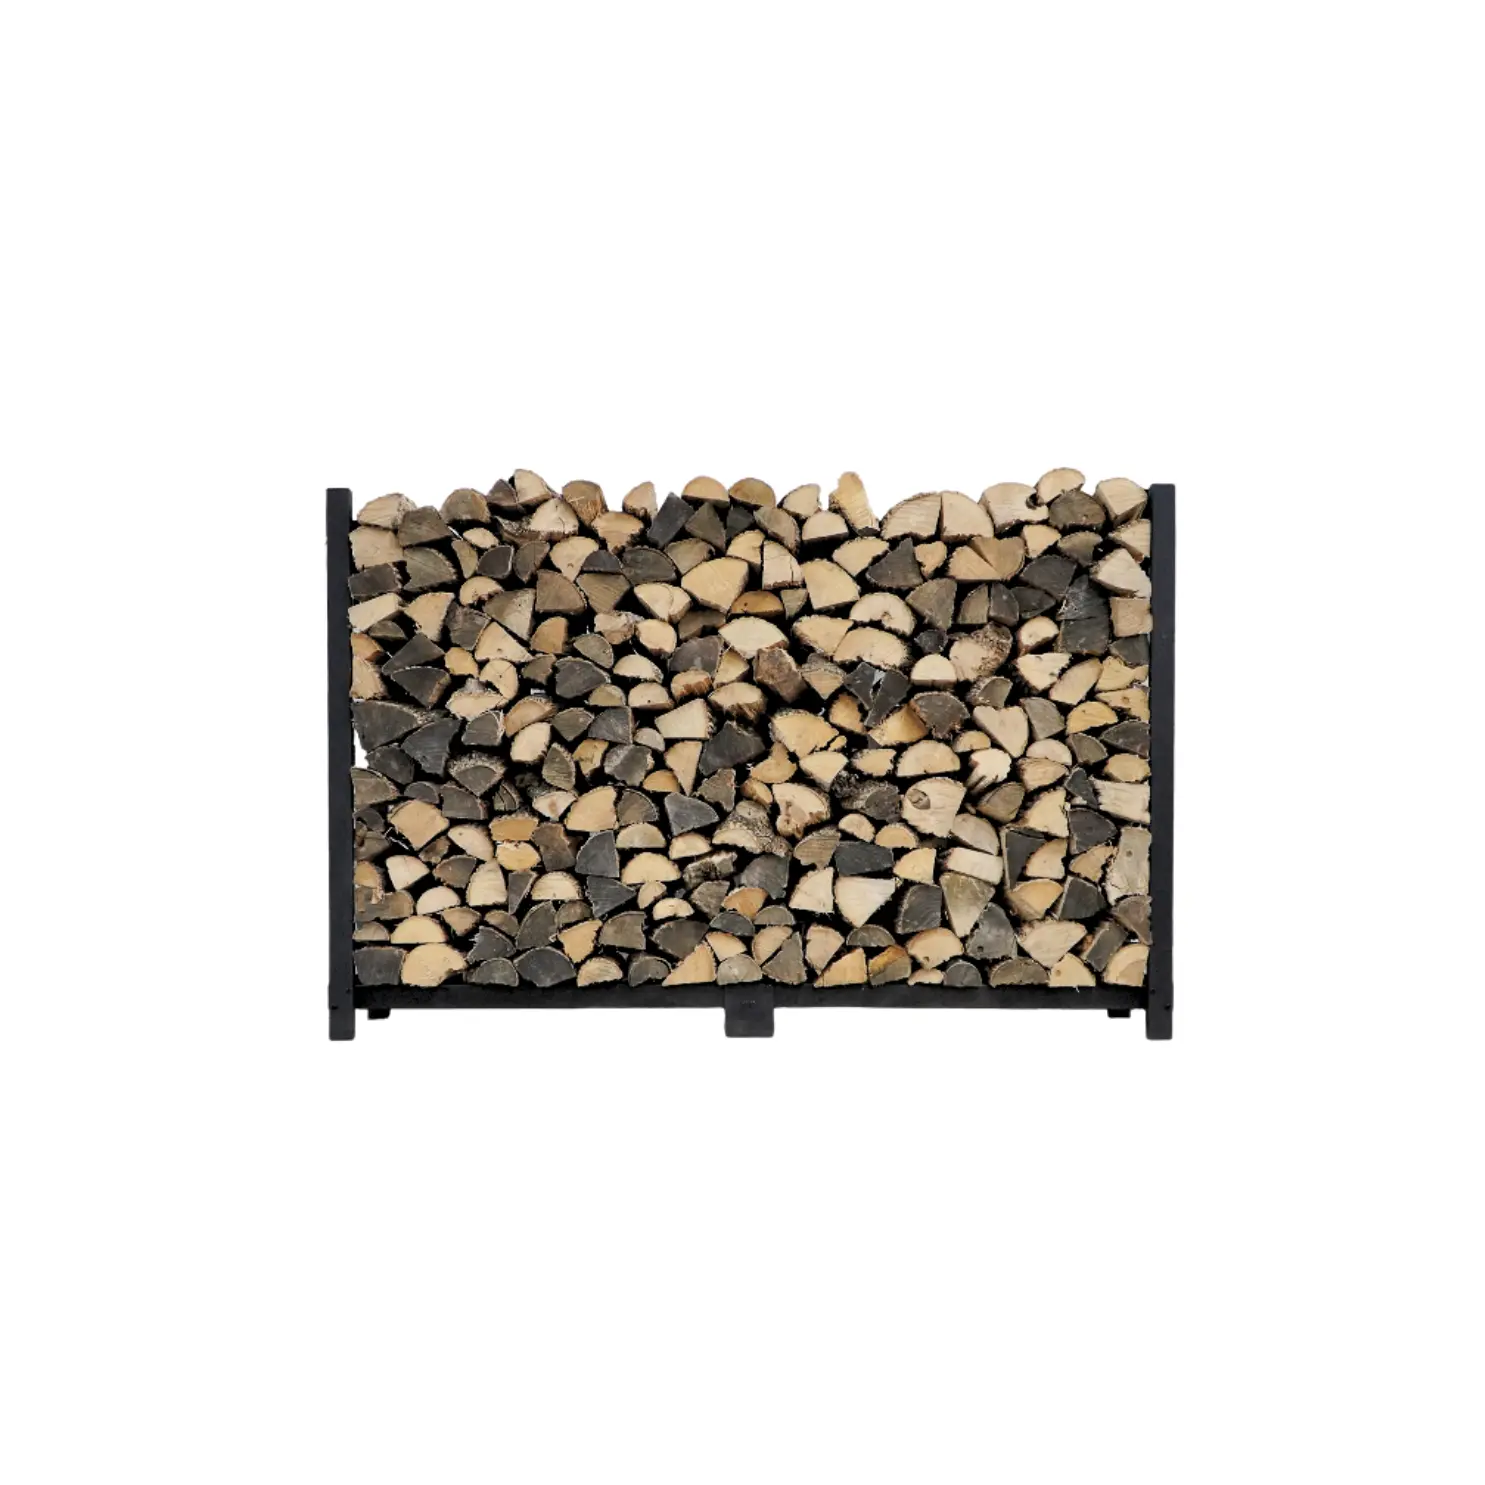
- Cut down on labor — with the Holz Hausen method, there are no posts to drive into the ground and no woodshed to build or maintain.
- Prevent rot and fungus — wood that isn't stacked properly stays exposed to moisture longer, increasing the risk of rot.
- Make it easy to grab wood when you need it — a neatly stacked pile means you can grab a few logs at a time without digging through a mess.
Of the many firewood stacking techniques out there, the Holz Hausen is one of the easiest, most efficient, and best-looking methods you can use.
What Is the Holz Hausen Method?
The Holz Hausen is a traditional German method for stacking firewood. It's a simple, efficient technique that results in an attractive, freestanding traditional woodpile that holds up season after season.
This style of woodpile goes by several names — Holz Hausen, Holtz Hausen, Holden Hausen, round stack, or beehive stack — but they all describe the same thing: firewood stacked in the shape of a round cylinder. Stacking wood this way creates a natural stack-effect airflow that rises through the center of the pile toward the peak, helping the wood dry evenly from the inside out.
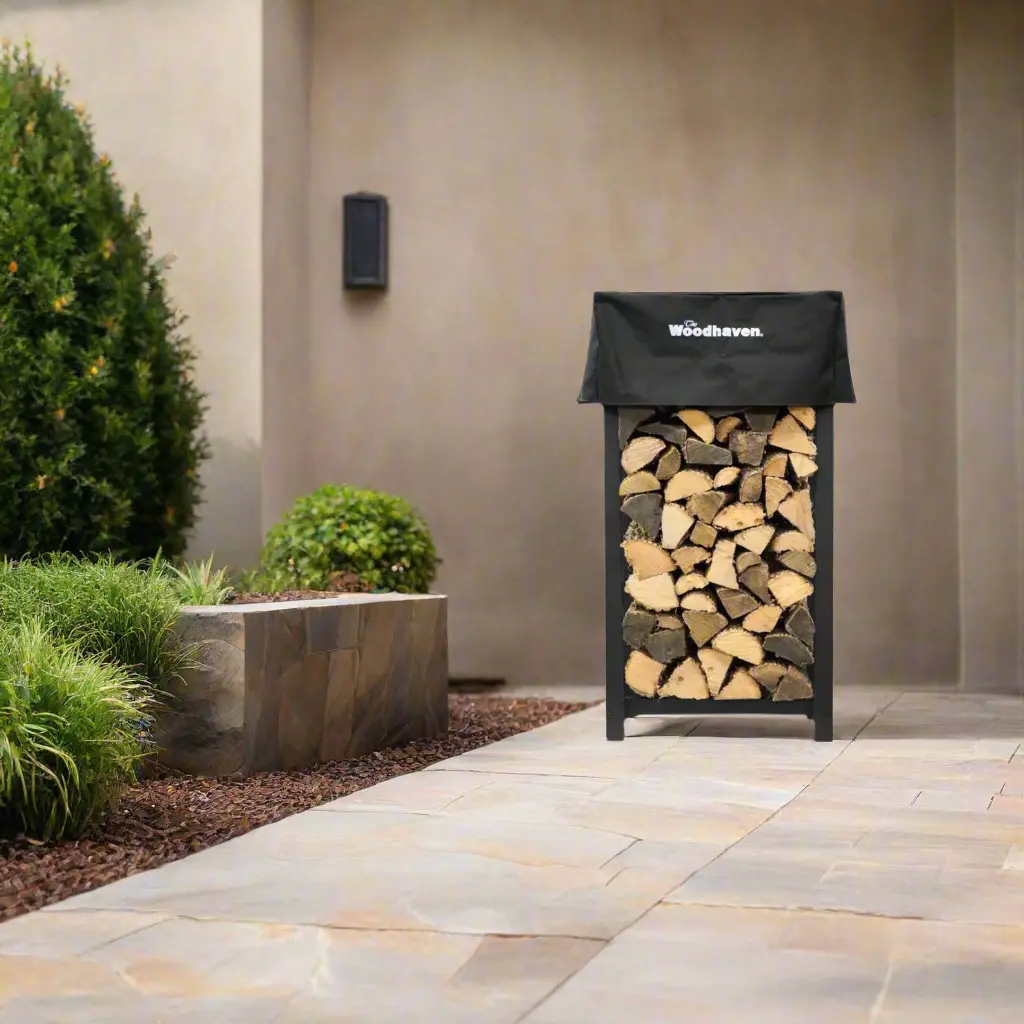
The Holz Hausen advantage: Unlike linear stacking methods, the Holz Hausen is a stand-alone woodpile that doesn't need a firewood rack or shed. As the saying goes, "the stack is the rack." You won't need to build something that will rust or fall apart in a few years — and if you have a large wood supply, you can simply build multiple piles instead of constructing a woodshed.
Why Choose This Stacking Method Over Others?
The right stacking method for you depends on a few factors:
- How much wood you have
- How much space you have available for storage
- The climate where you live
- How quickly you want your wood to dry
- Whether you already have a shed or rack
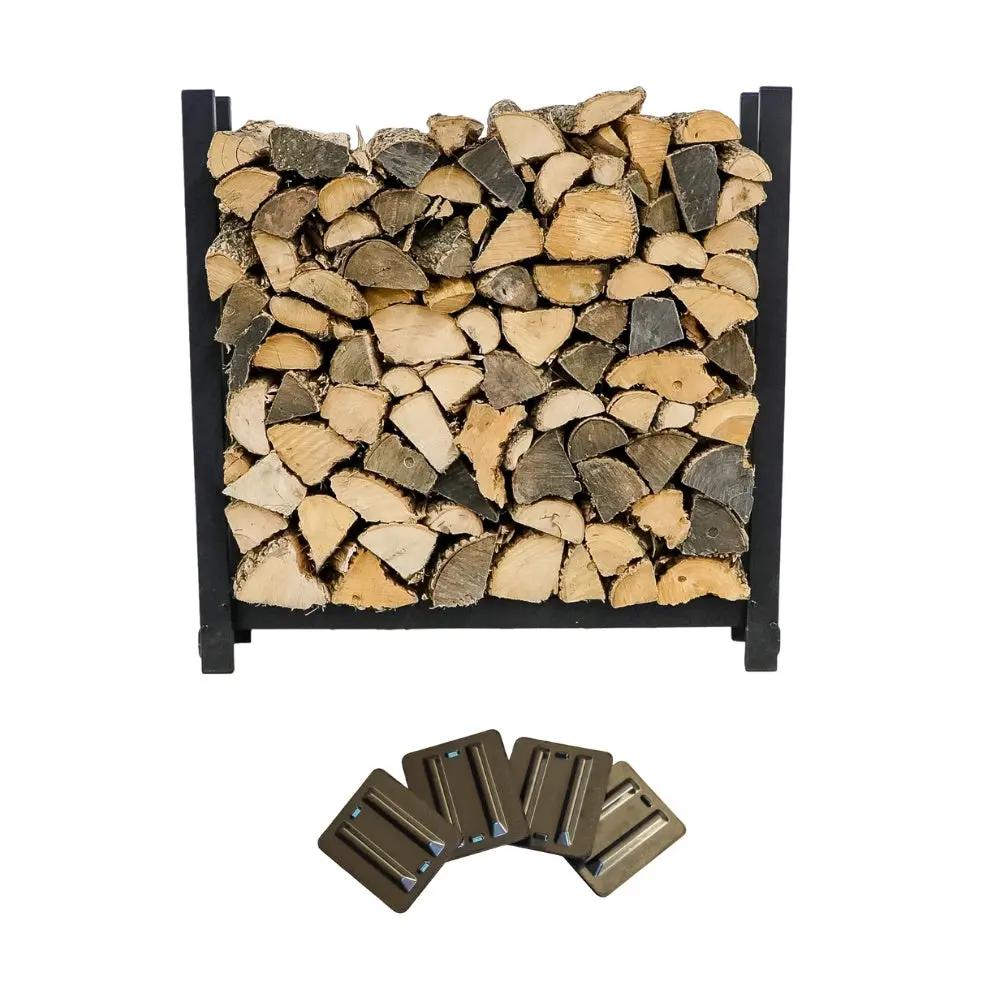
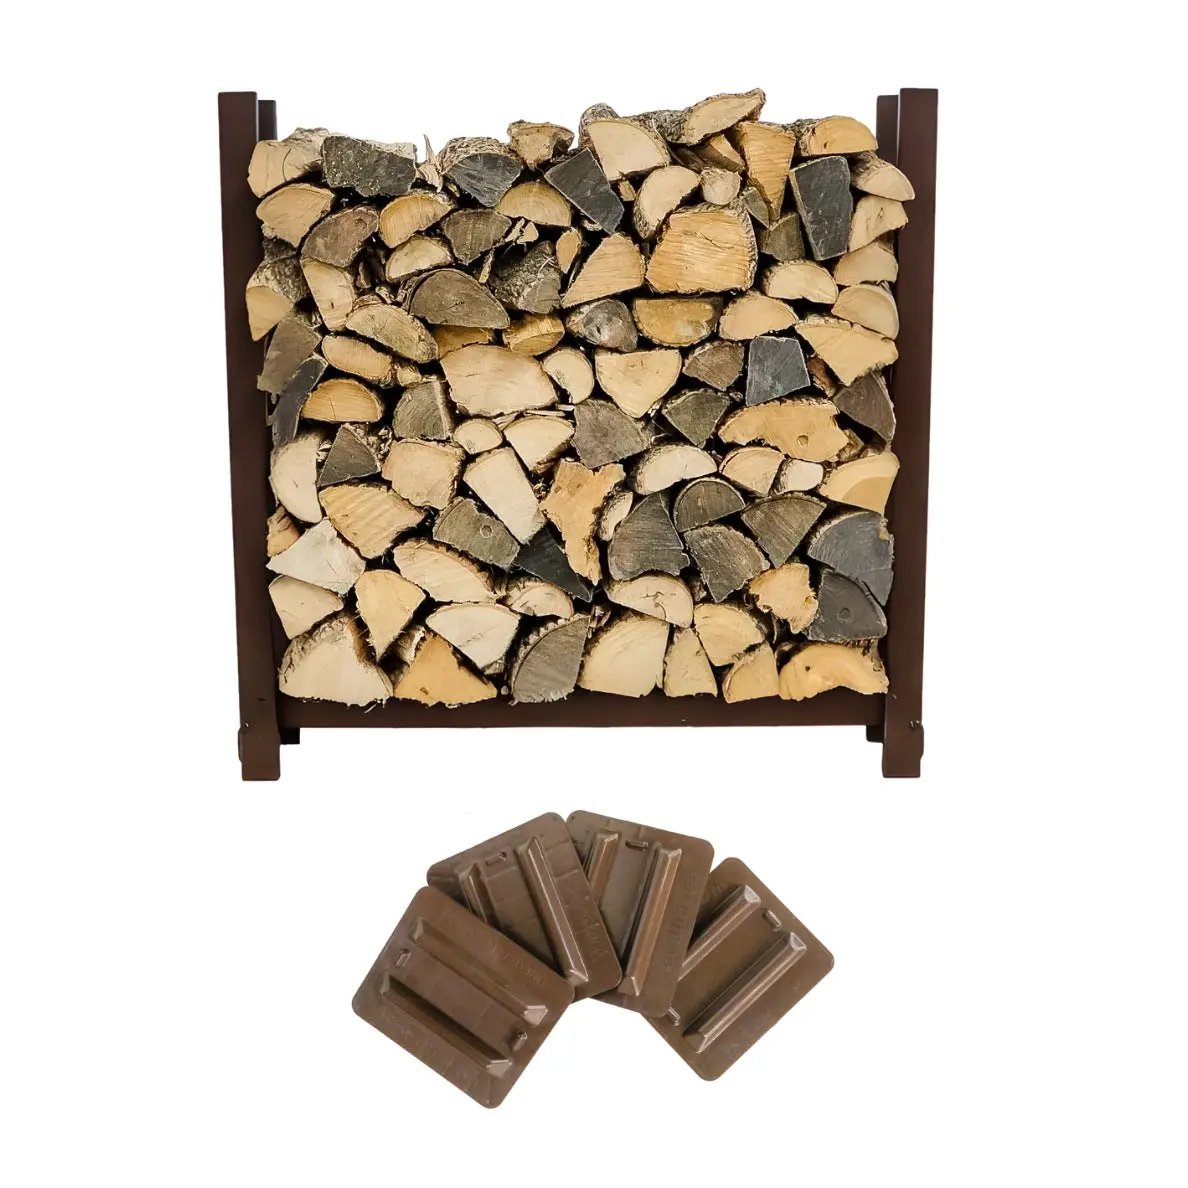
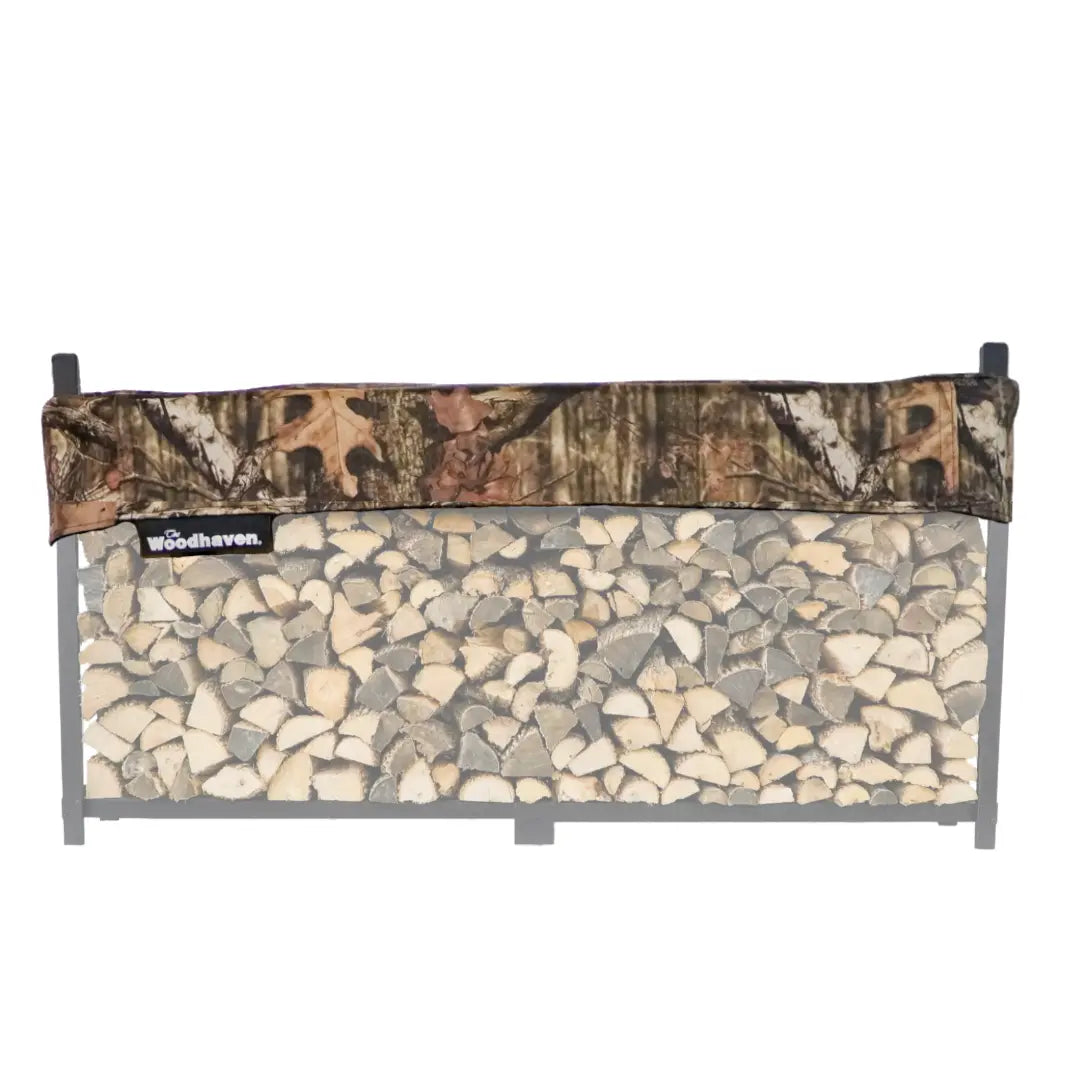
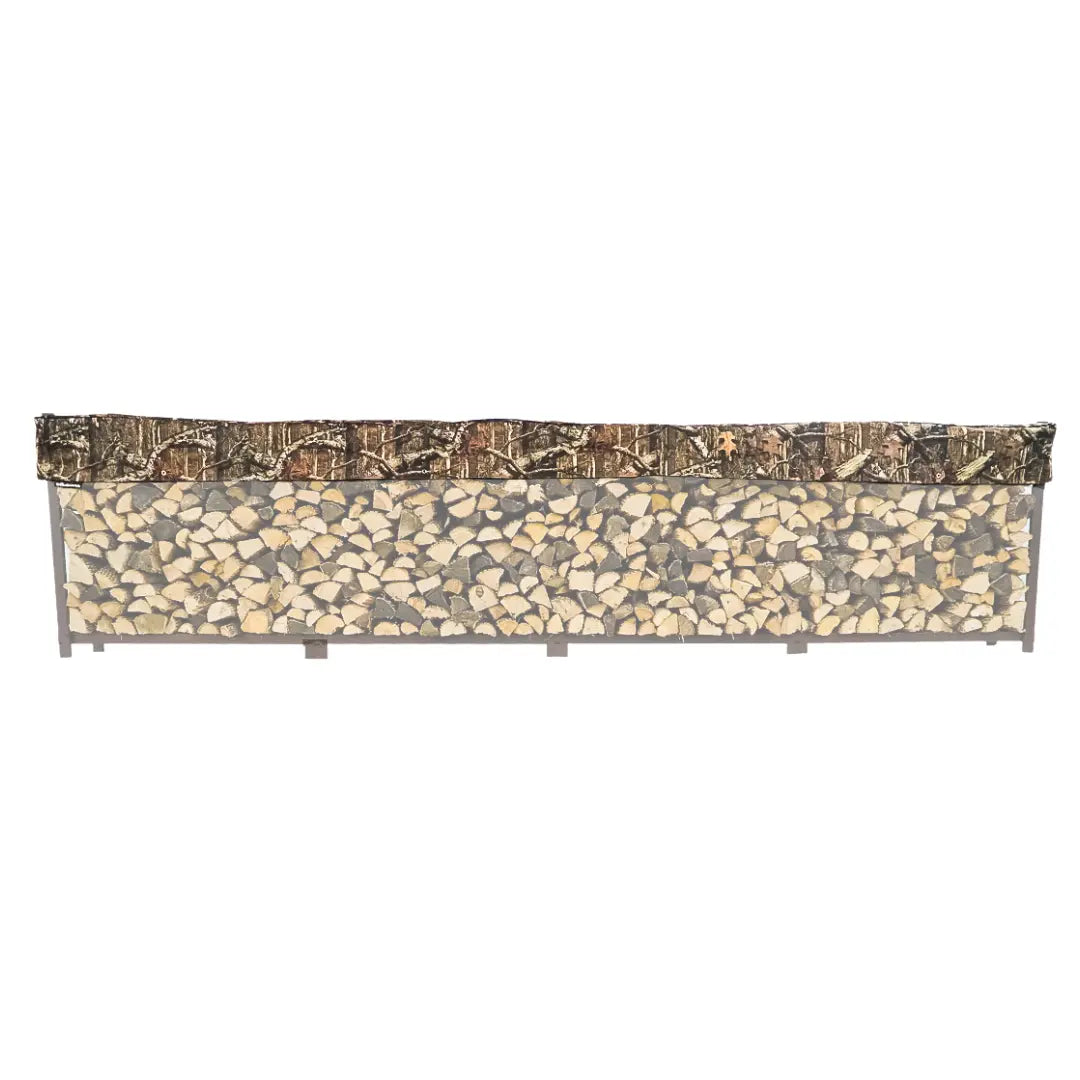
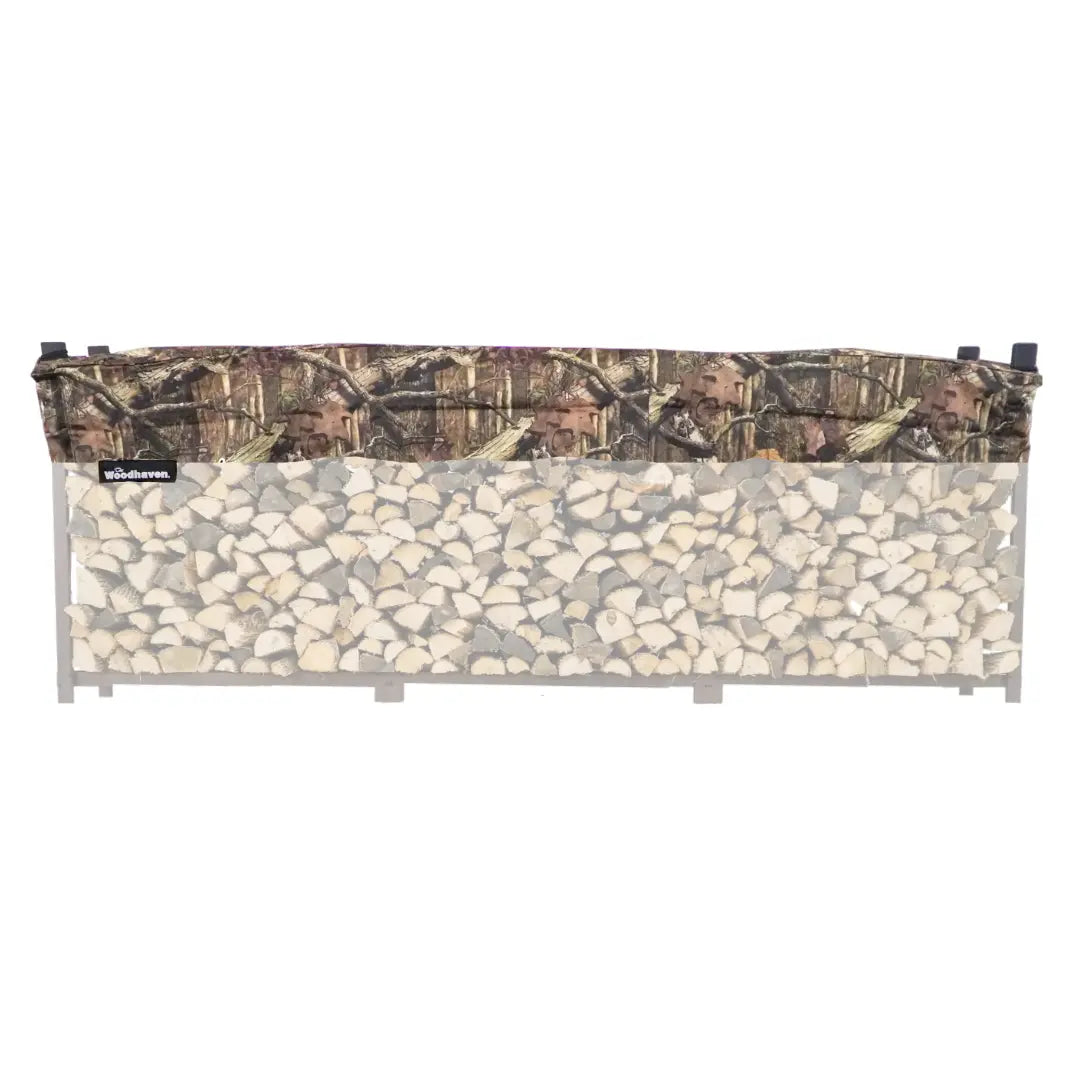
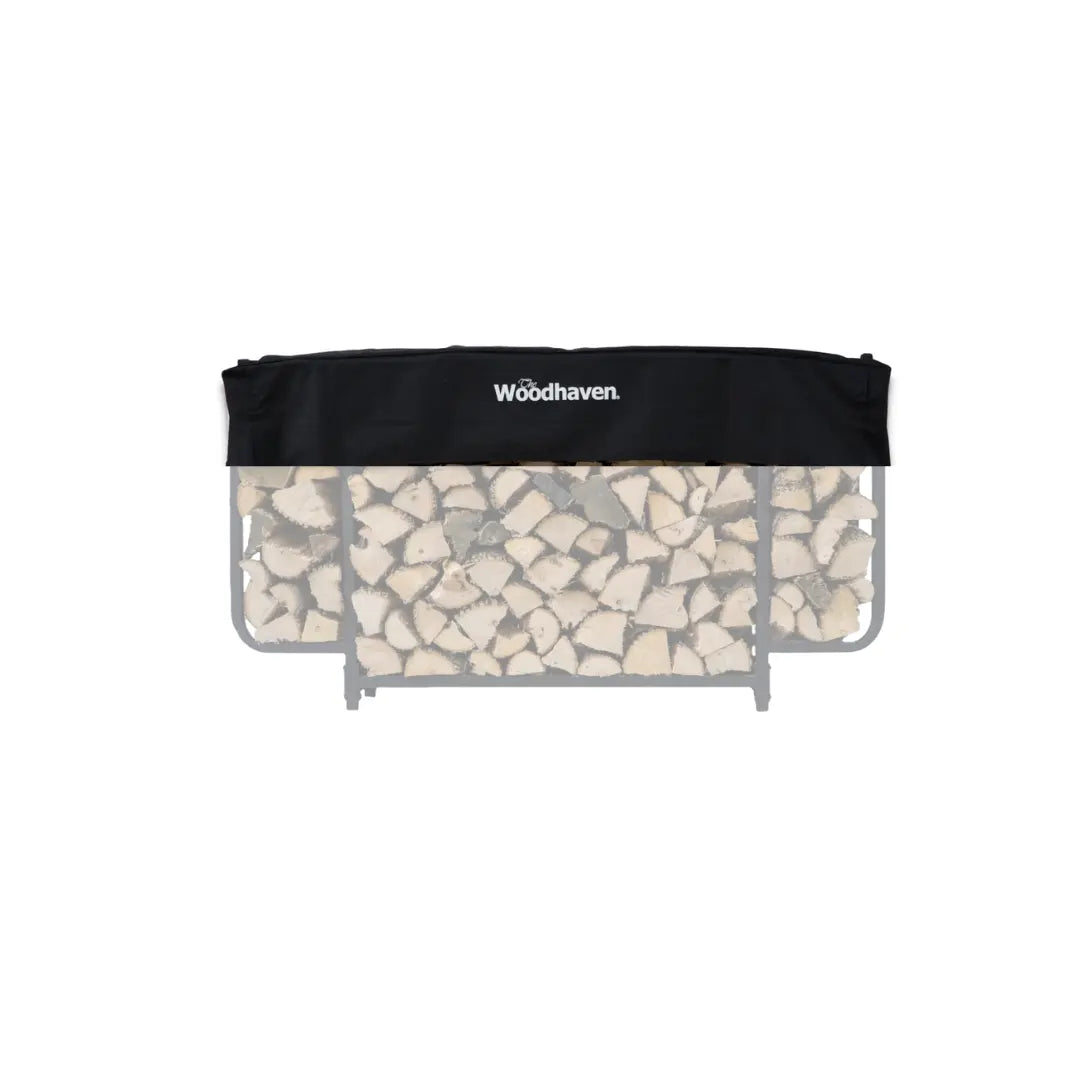
- Whether you plan on using a Cordwood Cover
The Holz Hausen is worth considering because it's a simple method that doesn't require any additional shelter, equipment, or posts to construct.
Before you get started, keep these basics in mind:
- The base of your woodpile needs to be stable and level so it won't topple.
- Stack the wood tightly to minimize air gaps between logs.
- The outside of your pile will dry faster than the inside if airflow isn't sufficient.
- Leave a small opening at the top of the pile to allow airflow to escape.
Below, we'll walk you through every step, tip, and consideration for building your own Holz Hausen.
Step 1: Choose Your Location
Pick a spot that's out of the way but still easy to access — somewhere you can haul split wood to without much hassle. Ideally, the location should be relatively dry and open to natural breezes.
Also think ahead to when it's time to burn the wood. You may want to stack your pile closer to the house so you're not trekking far through the snow for another load. If you have an outdoor firepit or pizza oven, locating your pile nearby can make access even easier.
Once you've picked your spot, make sure the ground is level, solid, and reasonably clear of debris. Move aside any leaves or sticks before you start building.
Step 2: Decide on Your Diameter
Next, decide how big you want your woodpile to be — both in diameter and height. These two dimensions determine how much wood you'll ultimately be able to stack.
An 8-foot diameter is a common, manageable size for a Holz Hausen. You can build larger, but reaching the center of a 10-foot diameter pile becomes difficult. On the flip side, smaller diameters — like 6 feet — actually require more skill to stack properly, so it's worth gaining some experience before attempting a smaller pile.
Step 3: Start the Base
For this example, we'll walk through building an 8-foot diameter woodpile.
Start by pushing a stick or post into the ground at the spot where you want the center of your pile to be. Tie a string to the post at ground level, then measure and mark the string at 4 feet from the post — this becomes your guide for laying out the base.
Using your string as a guide, lay logs around the perimeter of the circle, keeping the outer edge of each log lined up with the mark on the string. Work your way around until you have a complete ring.
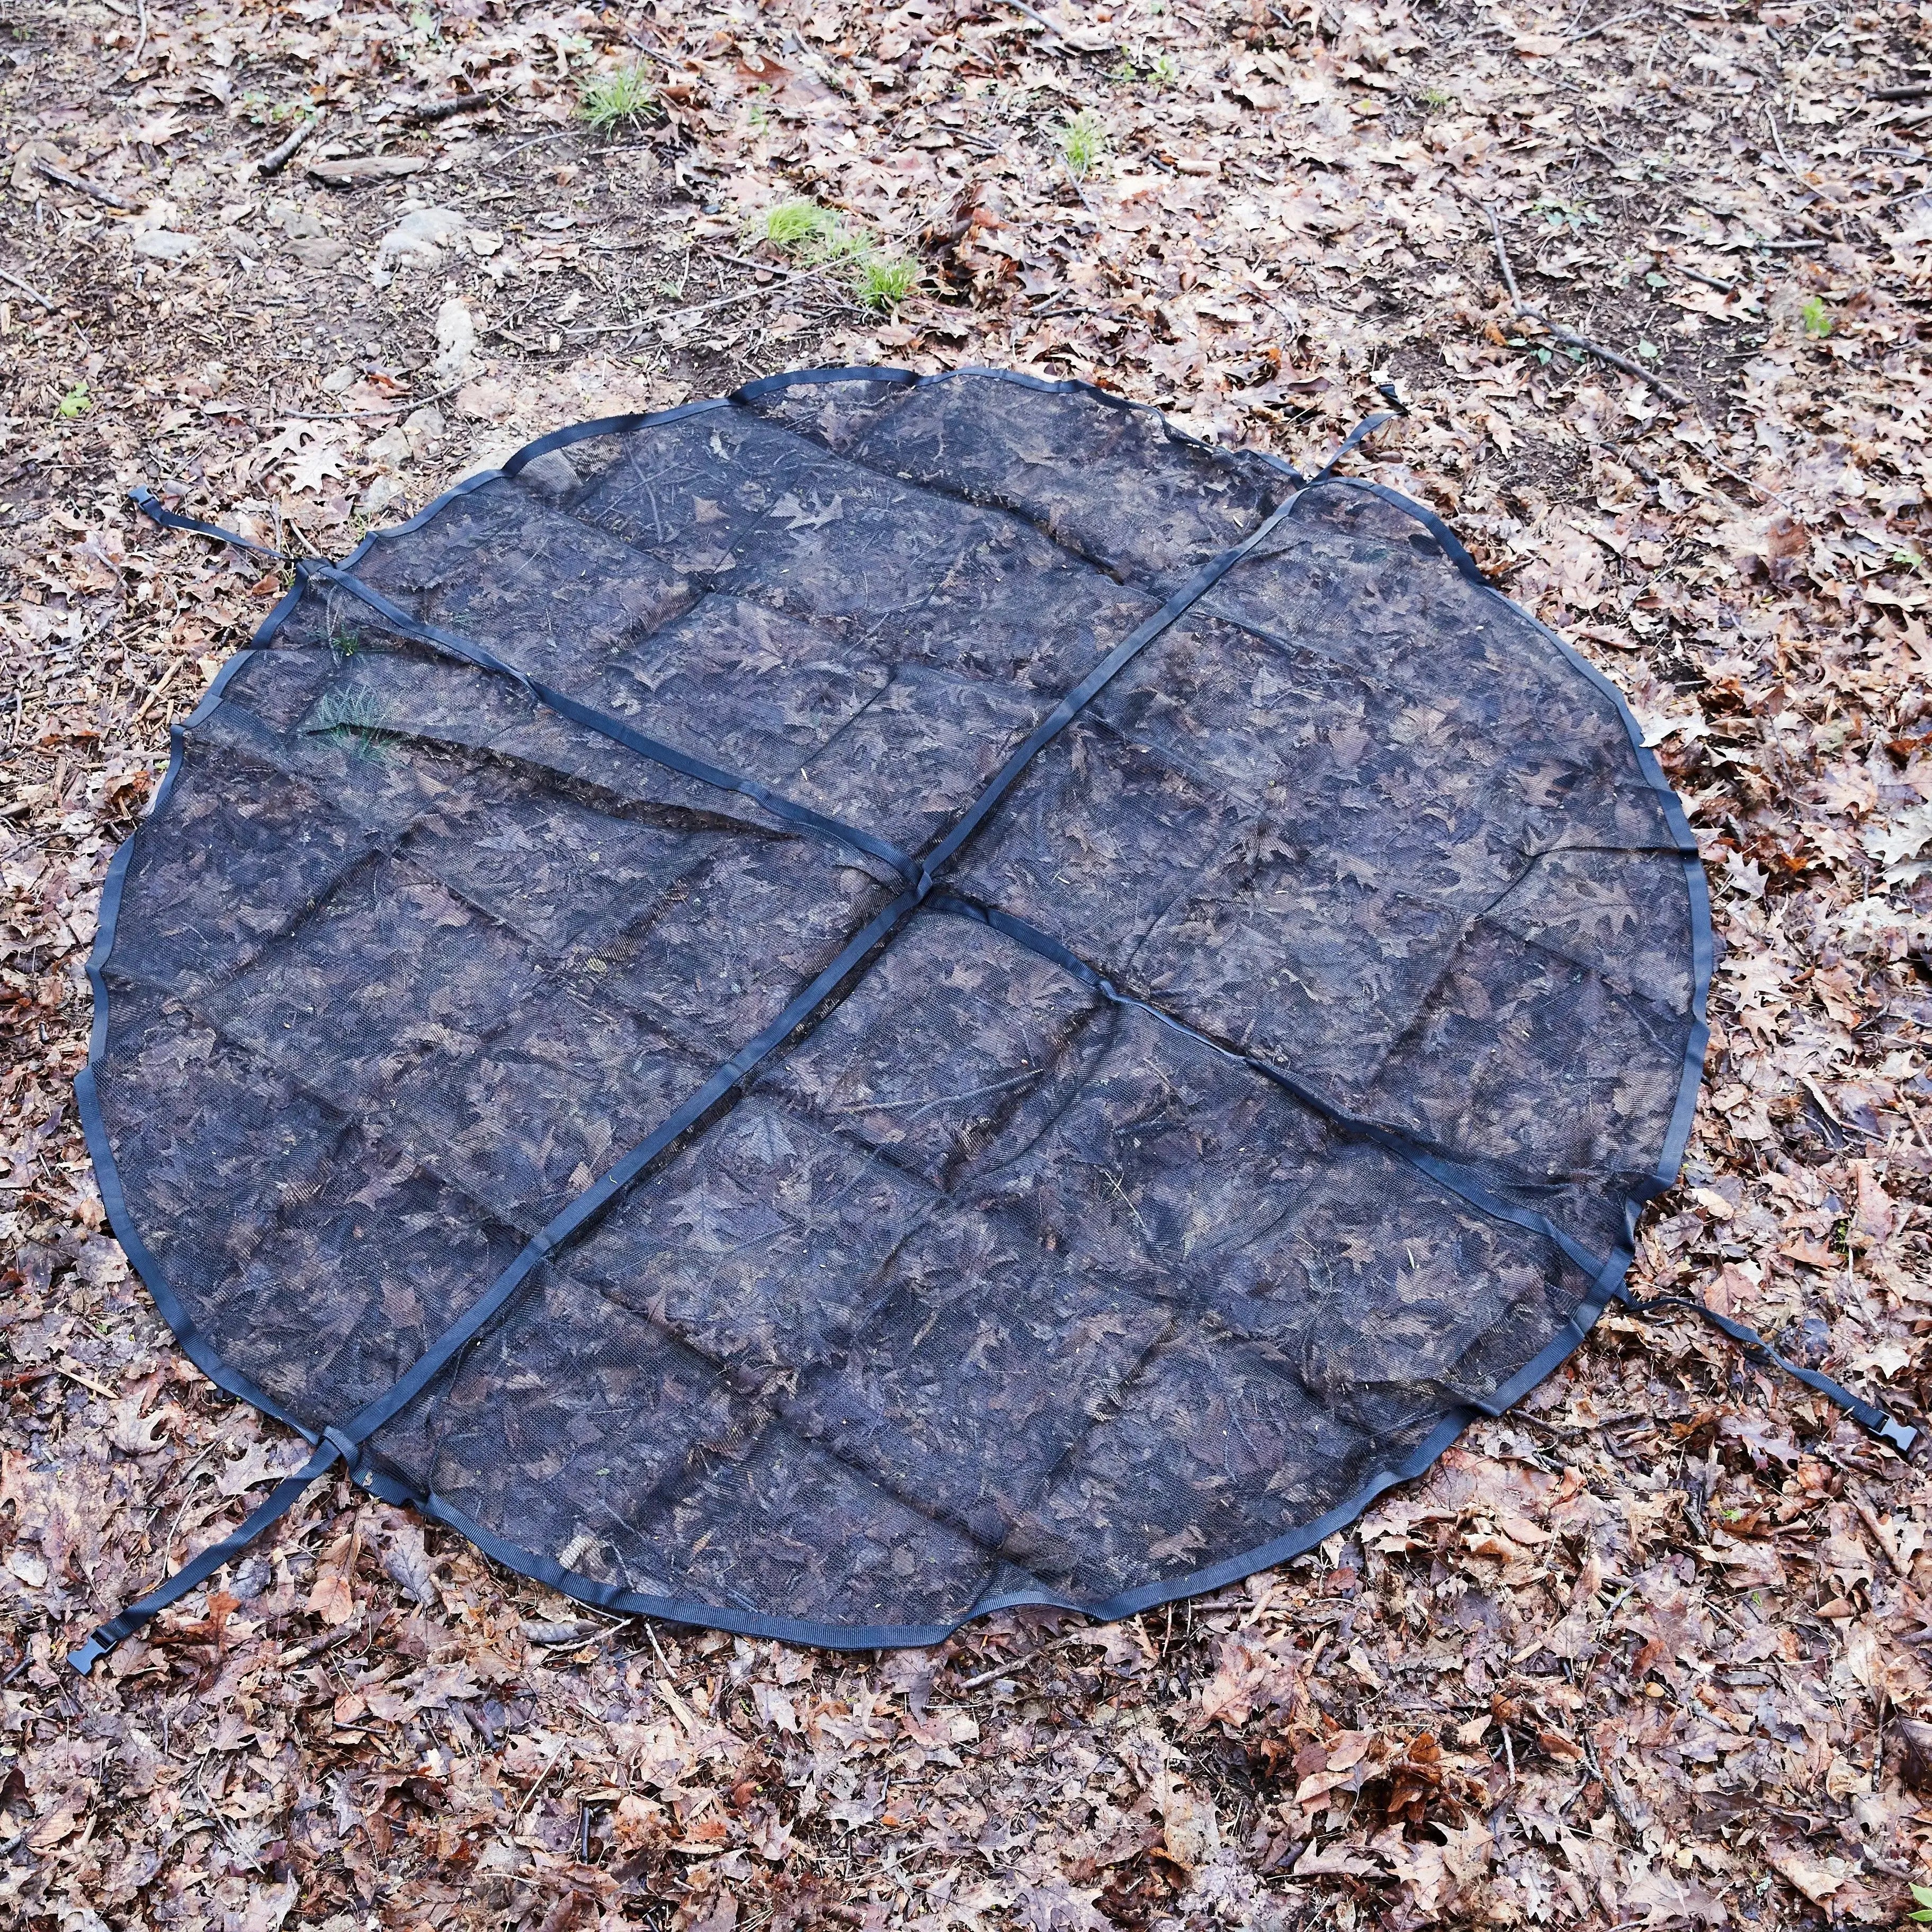
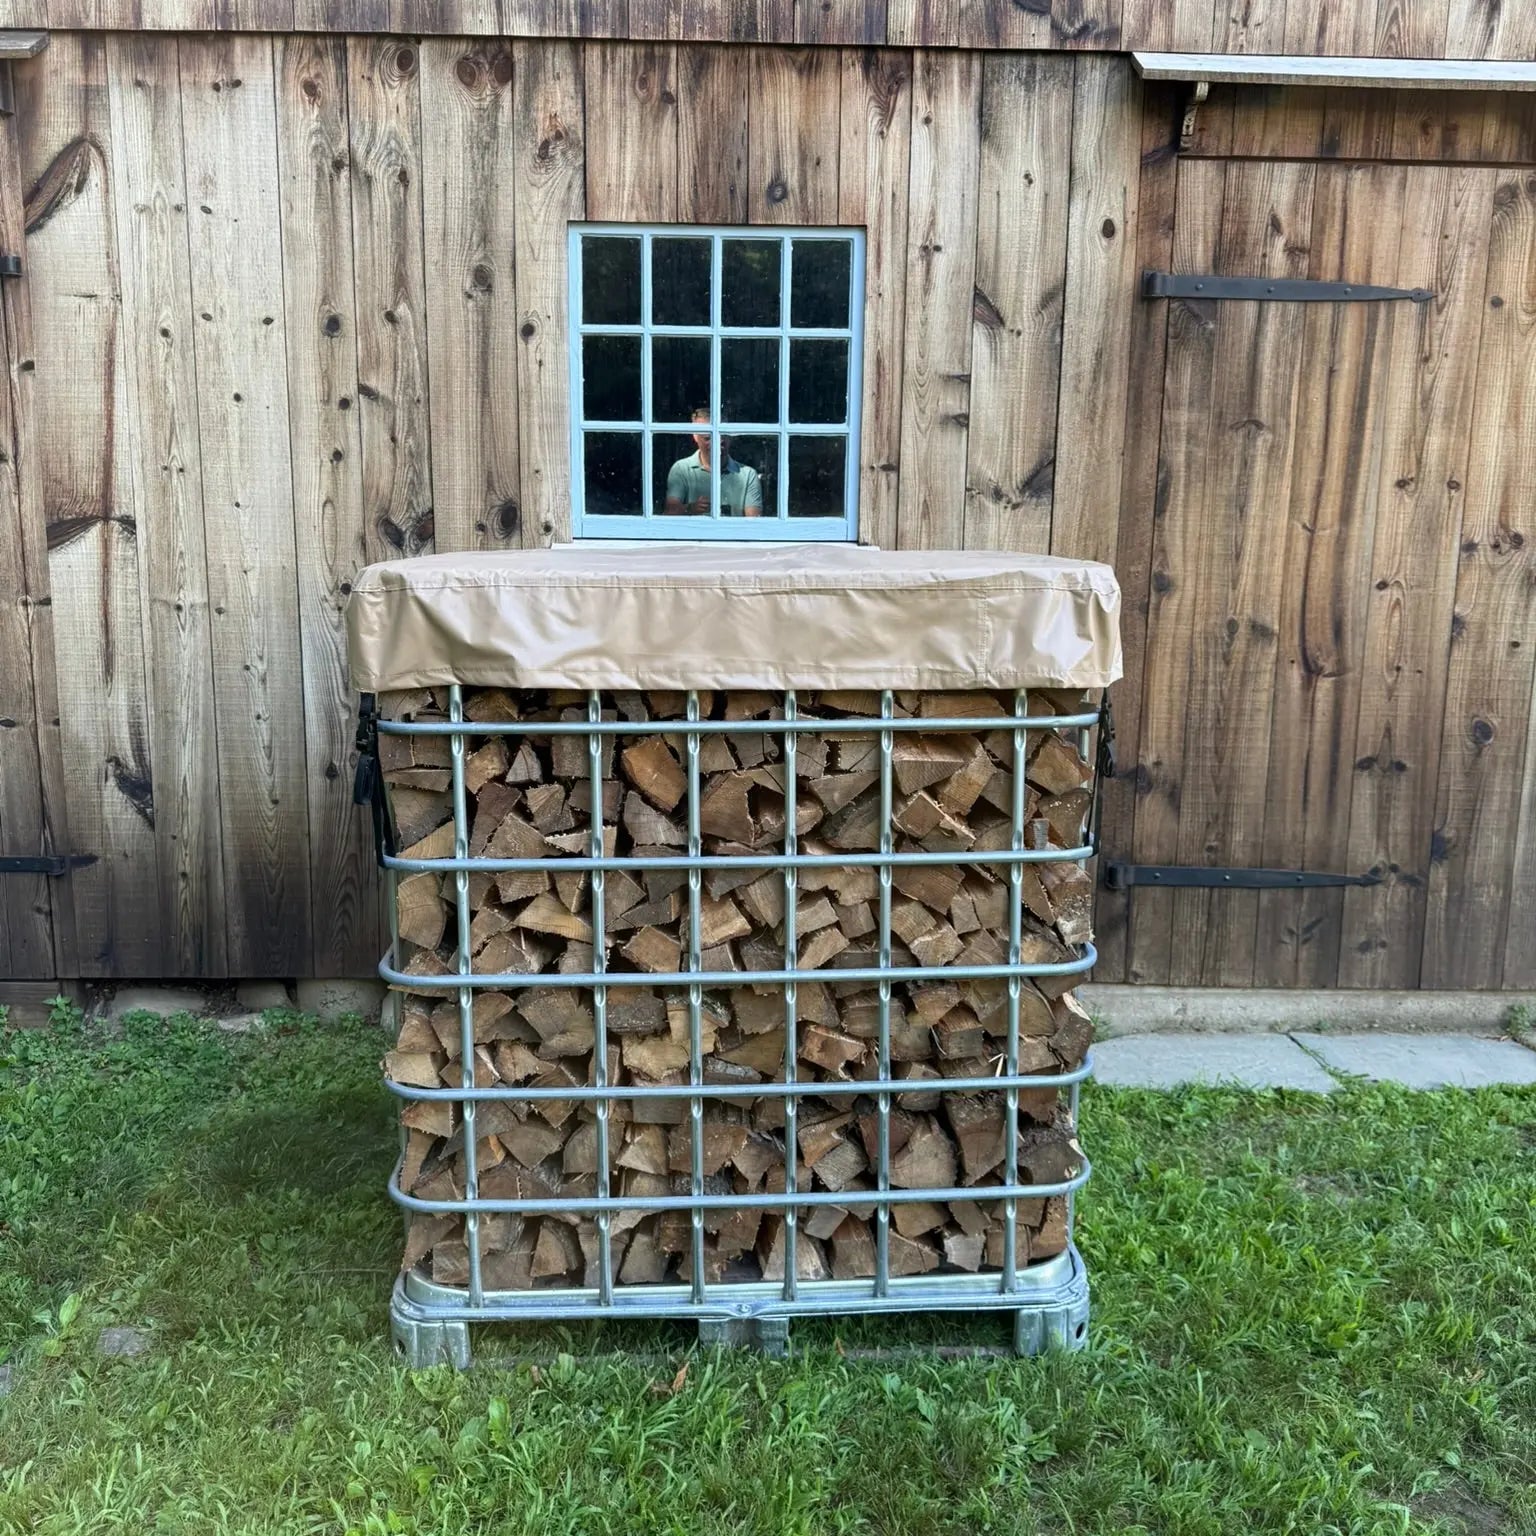
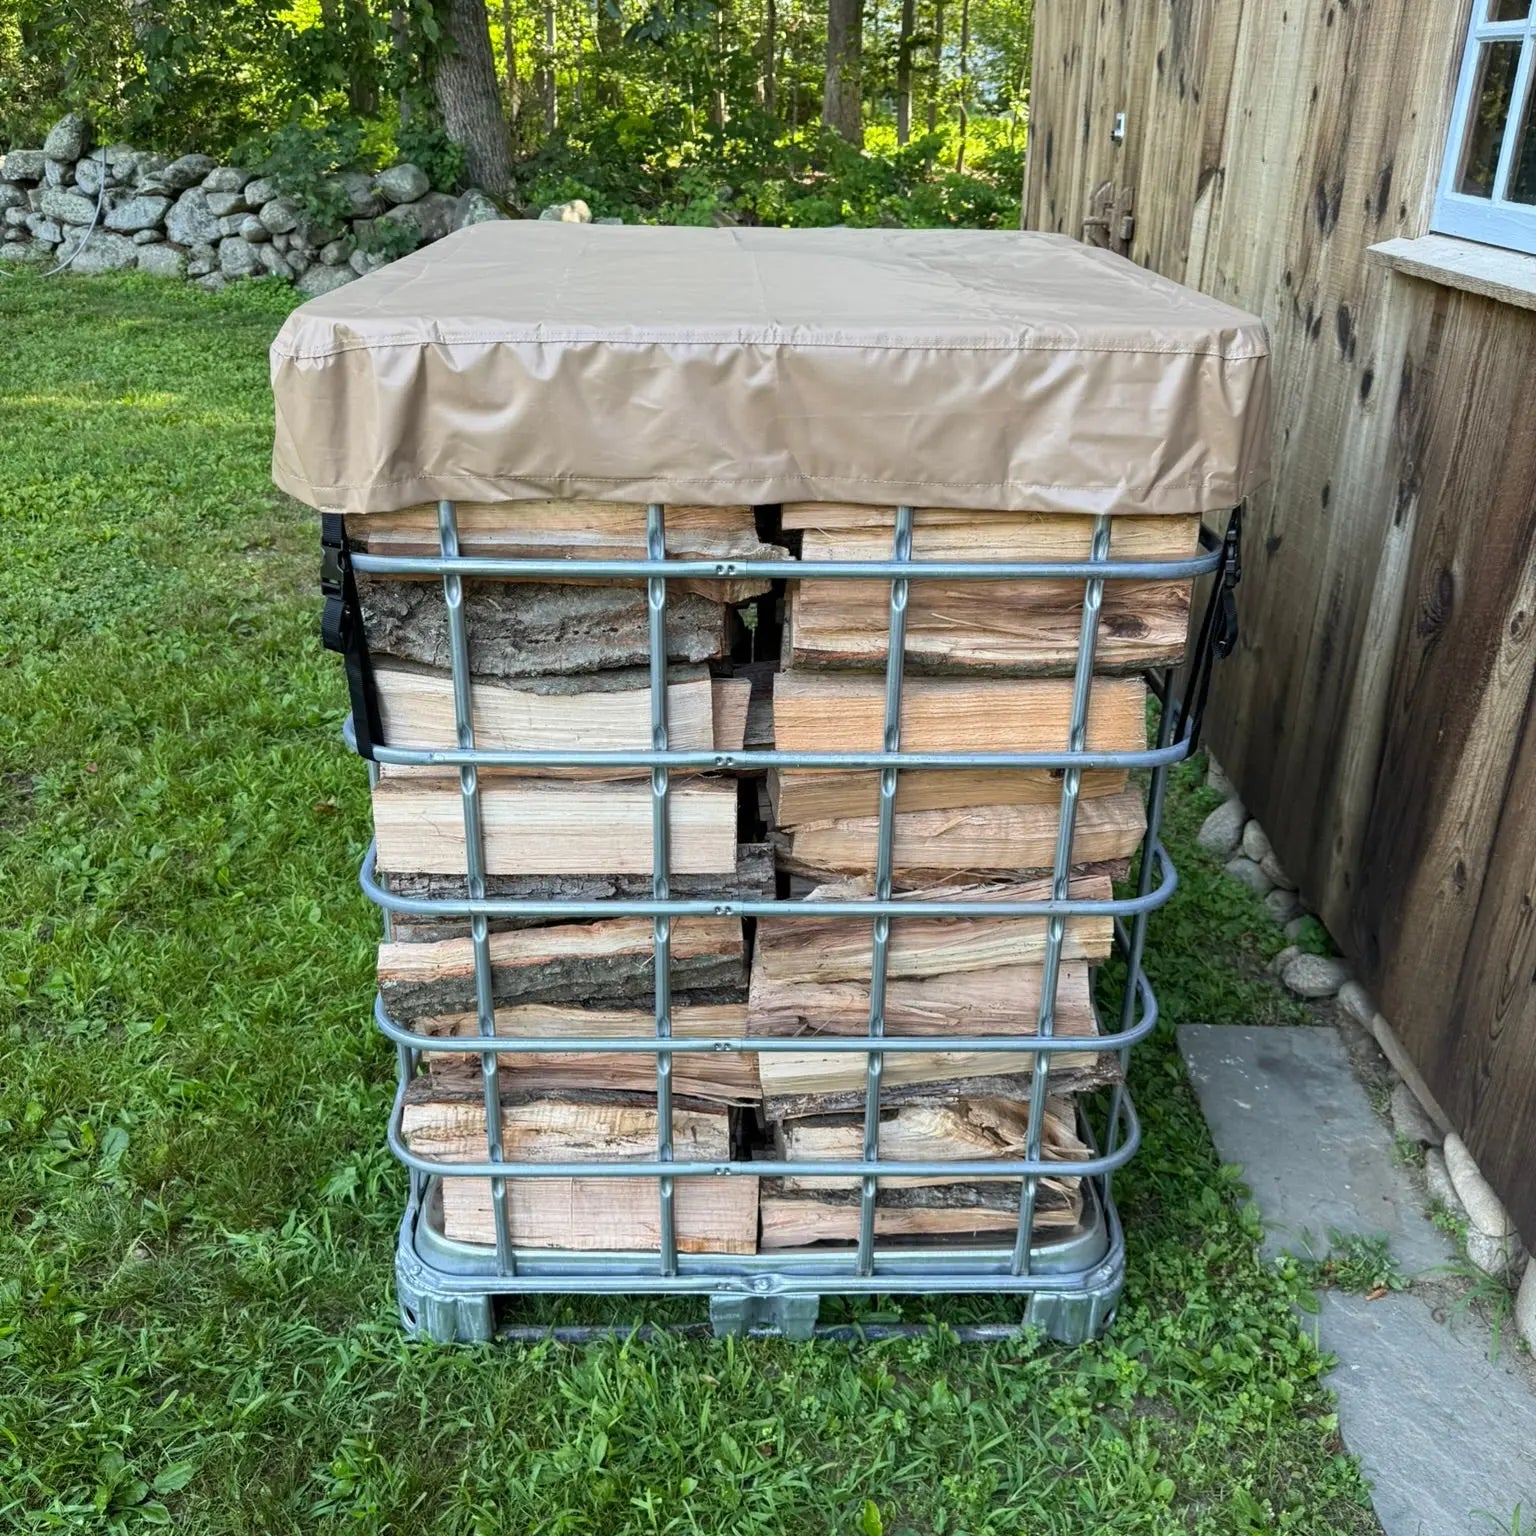
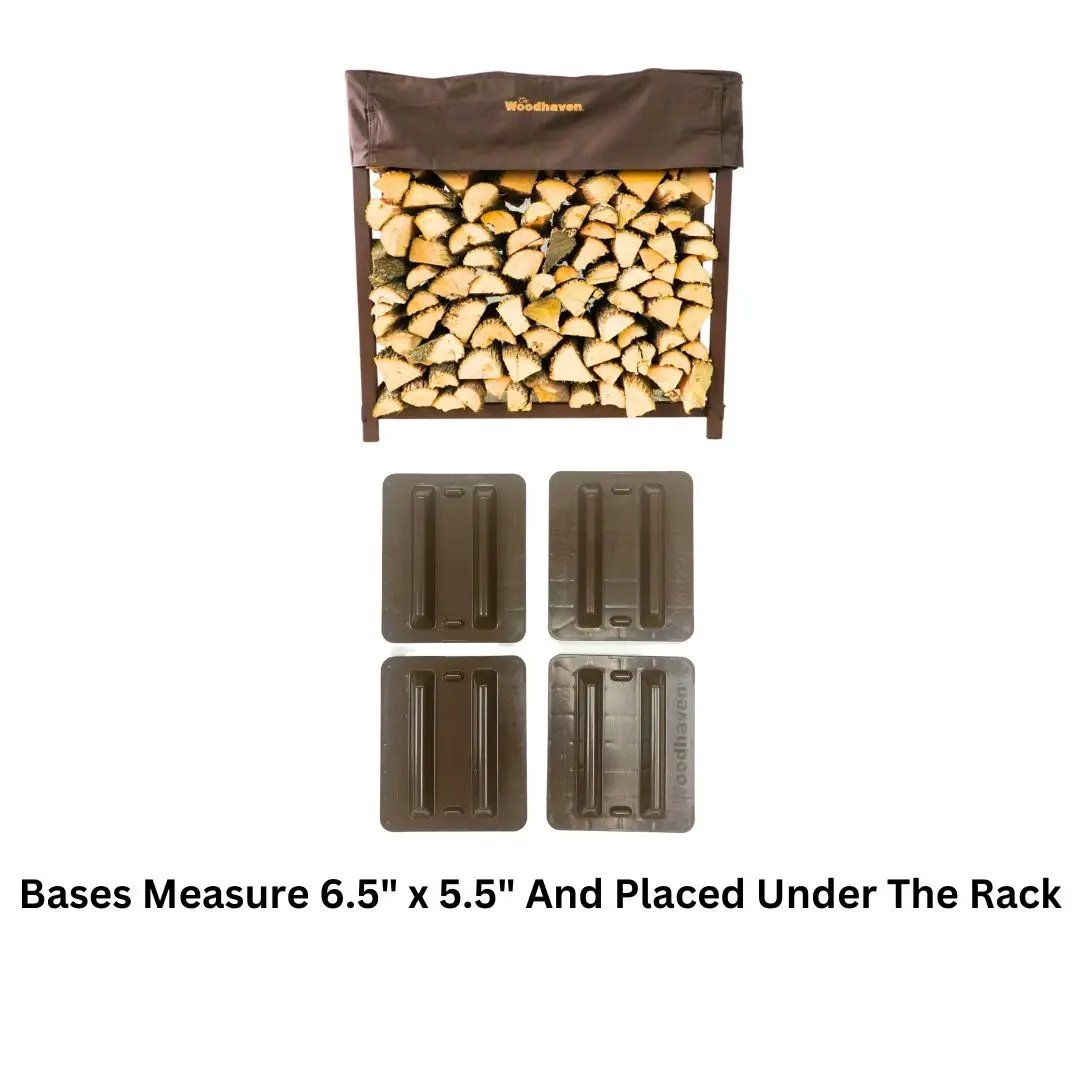
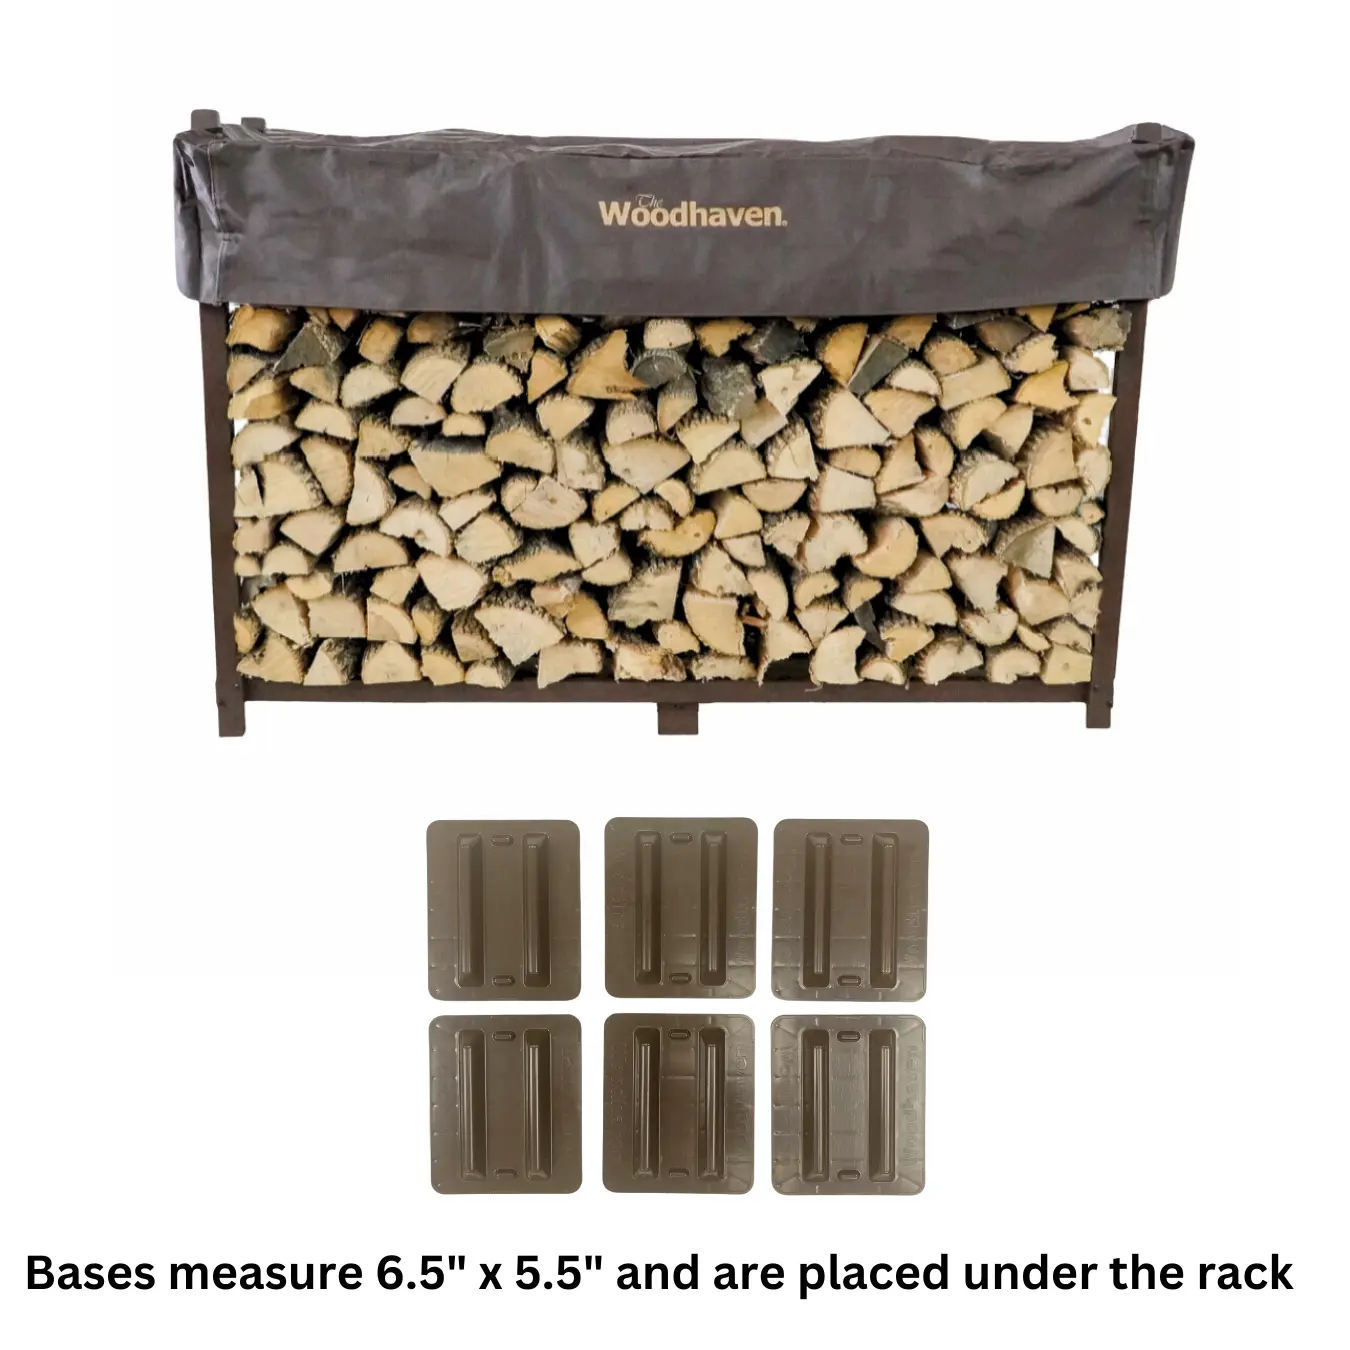
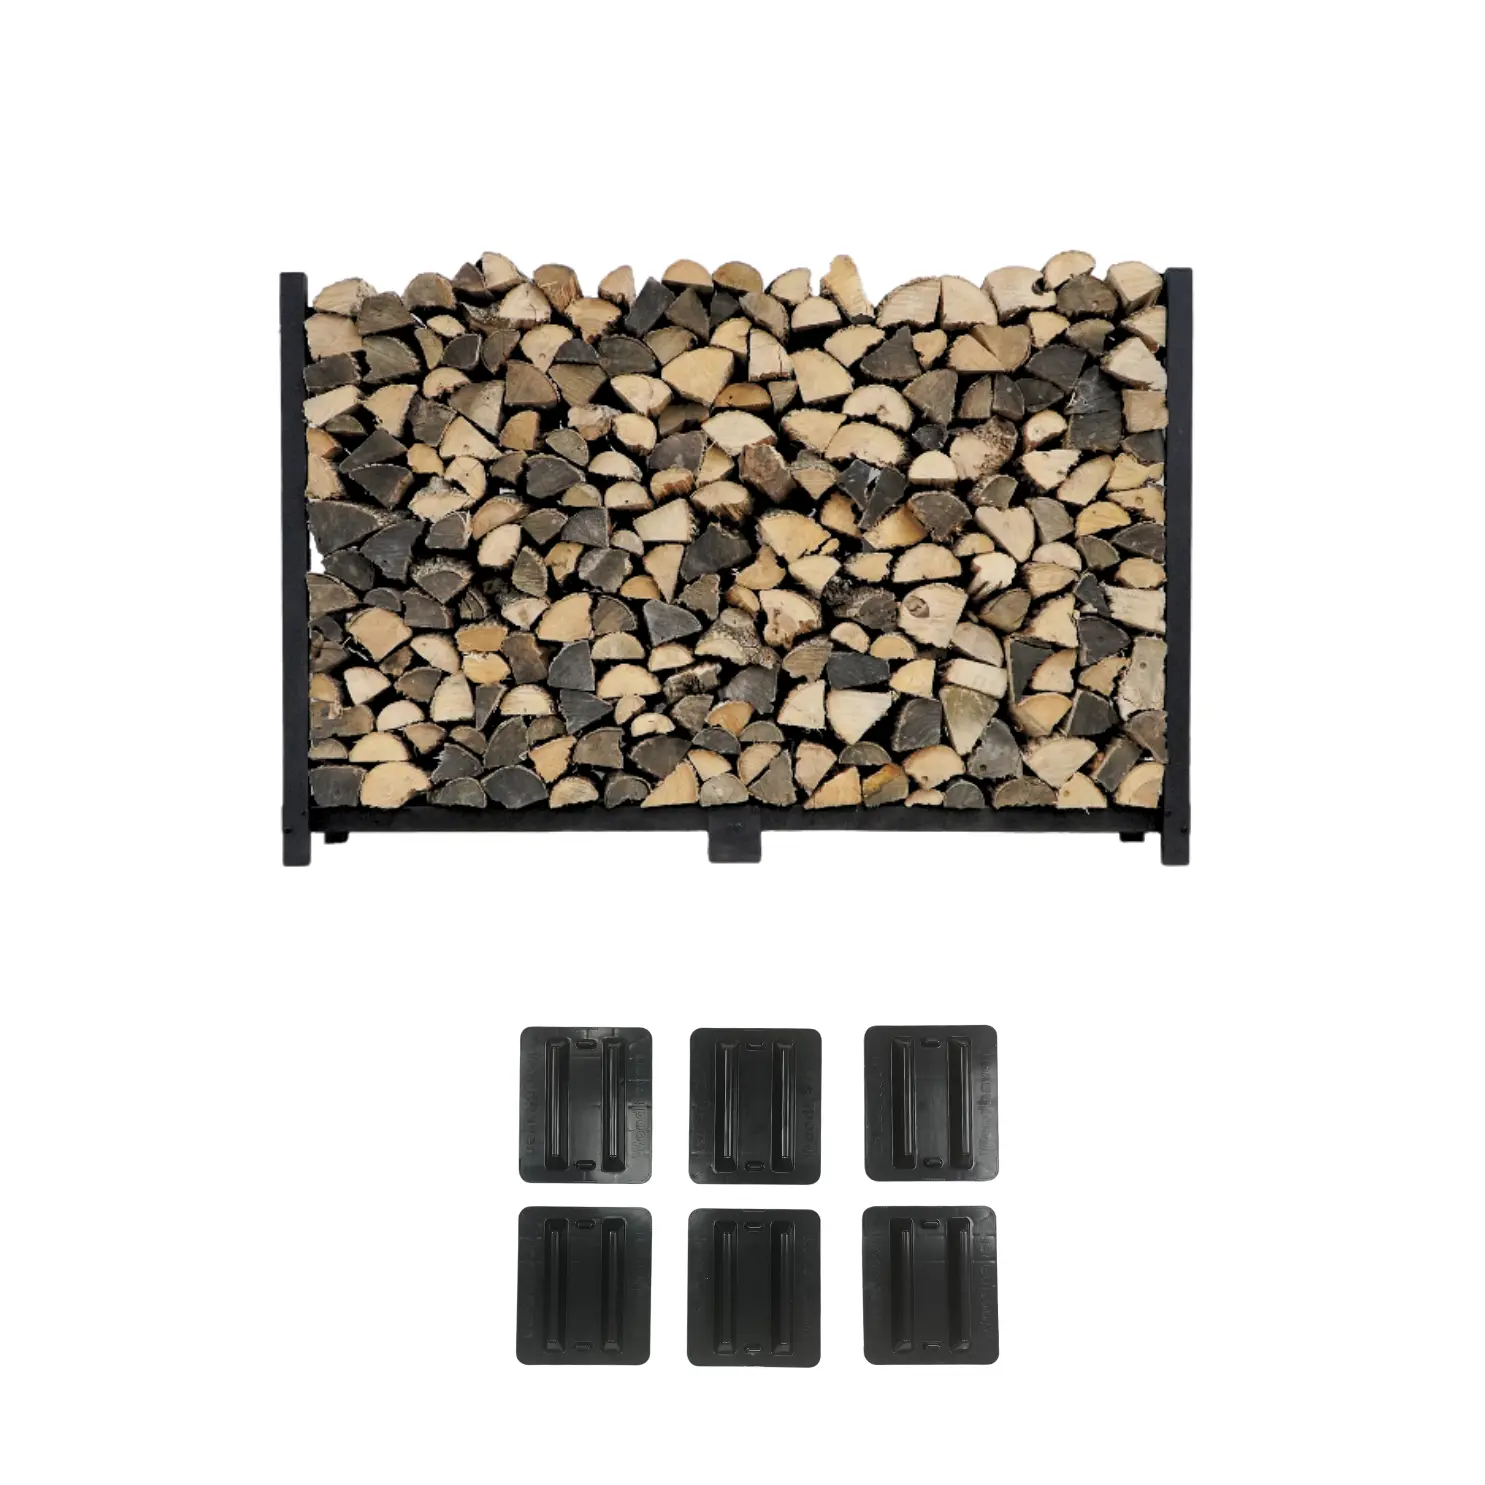
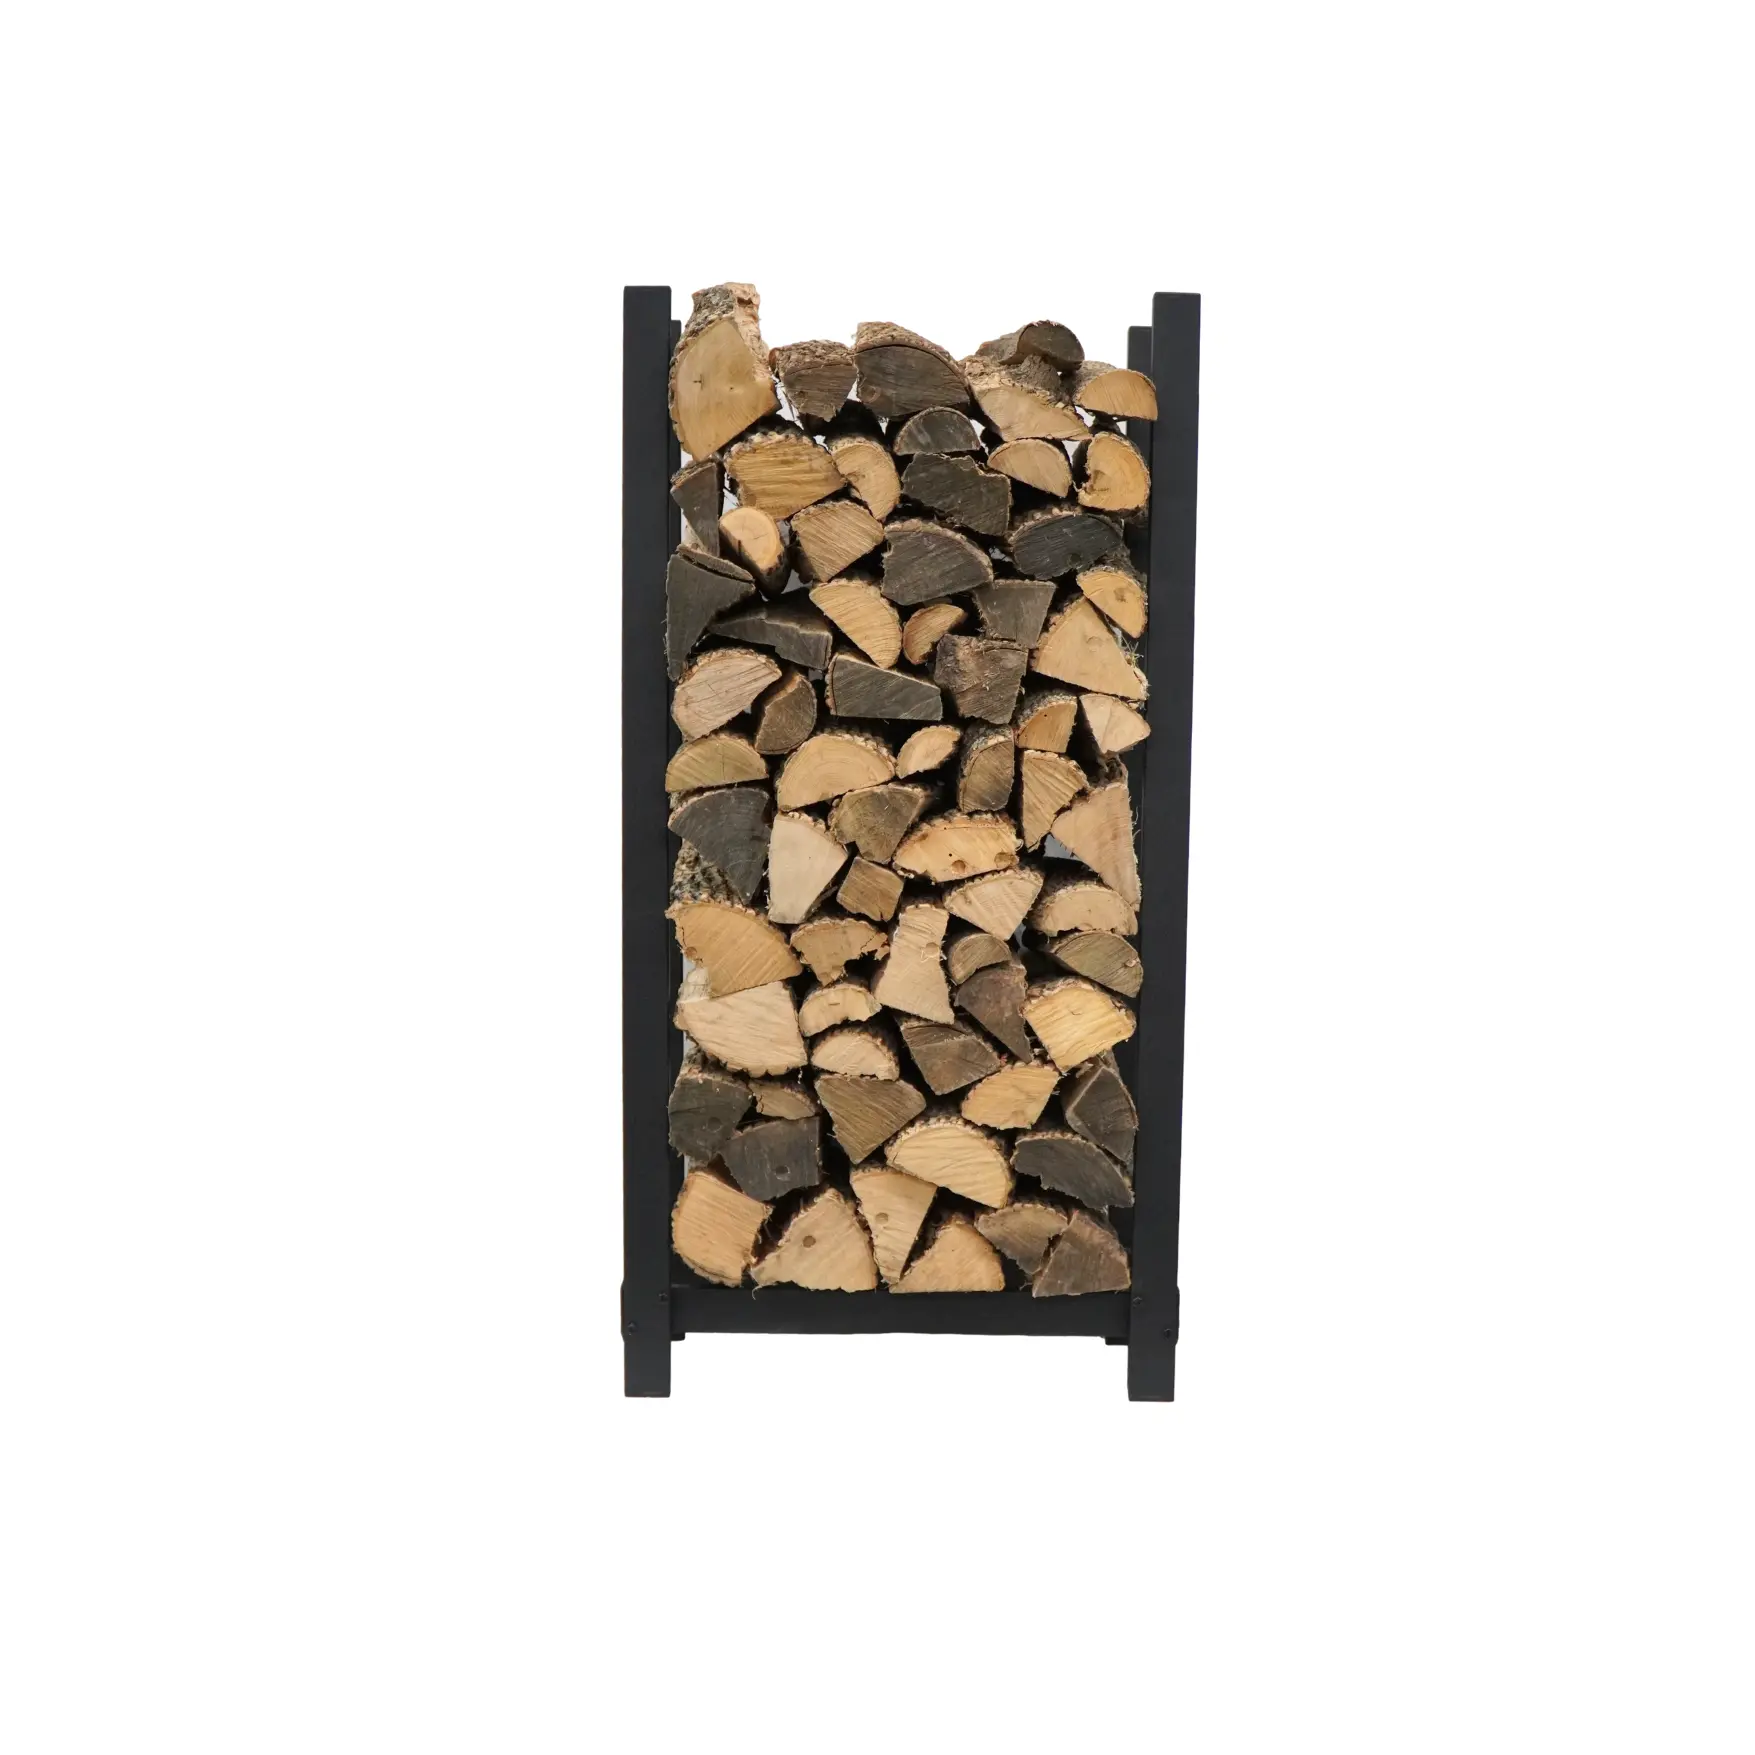
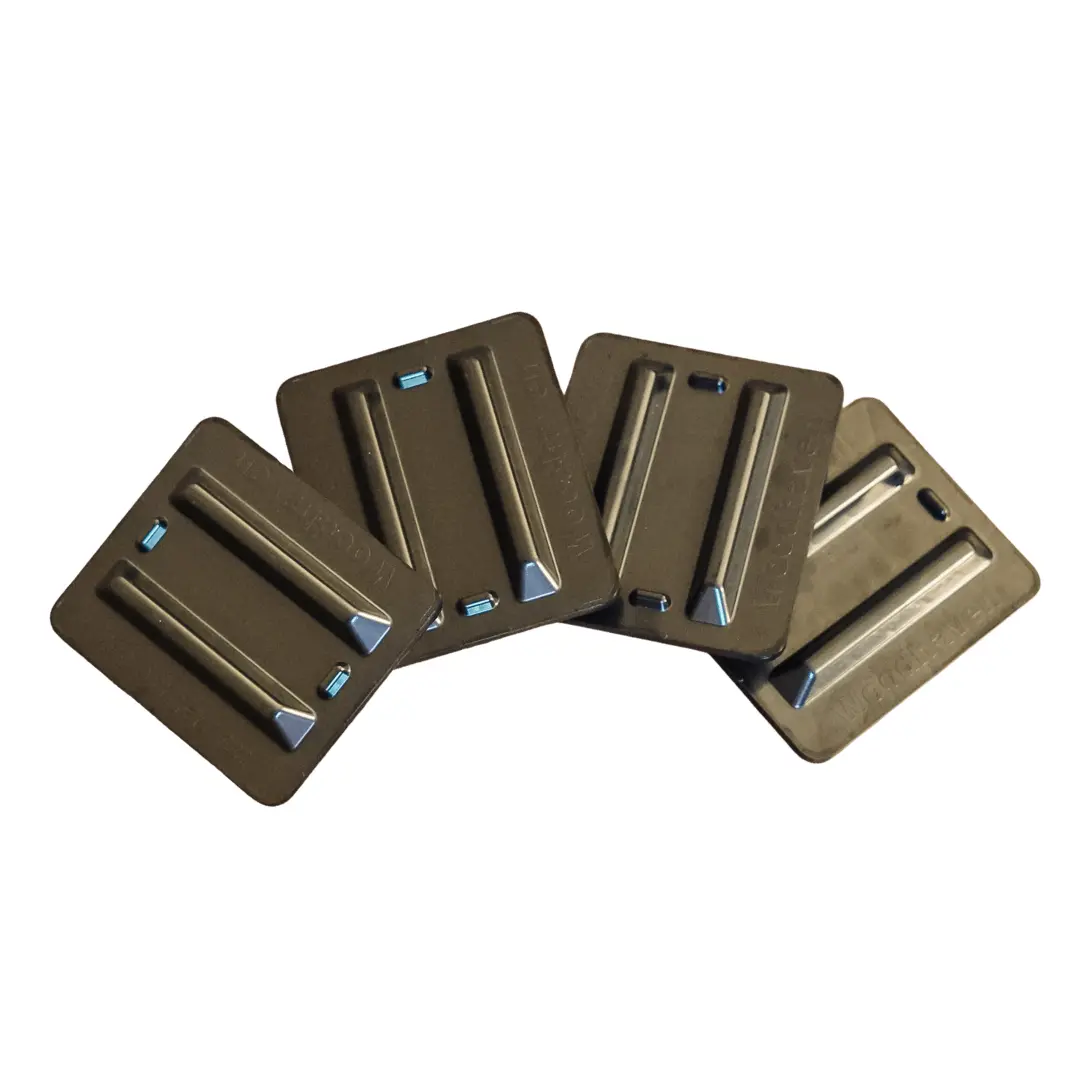
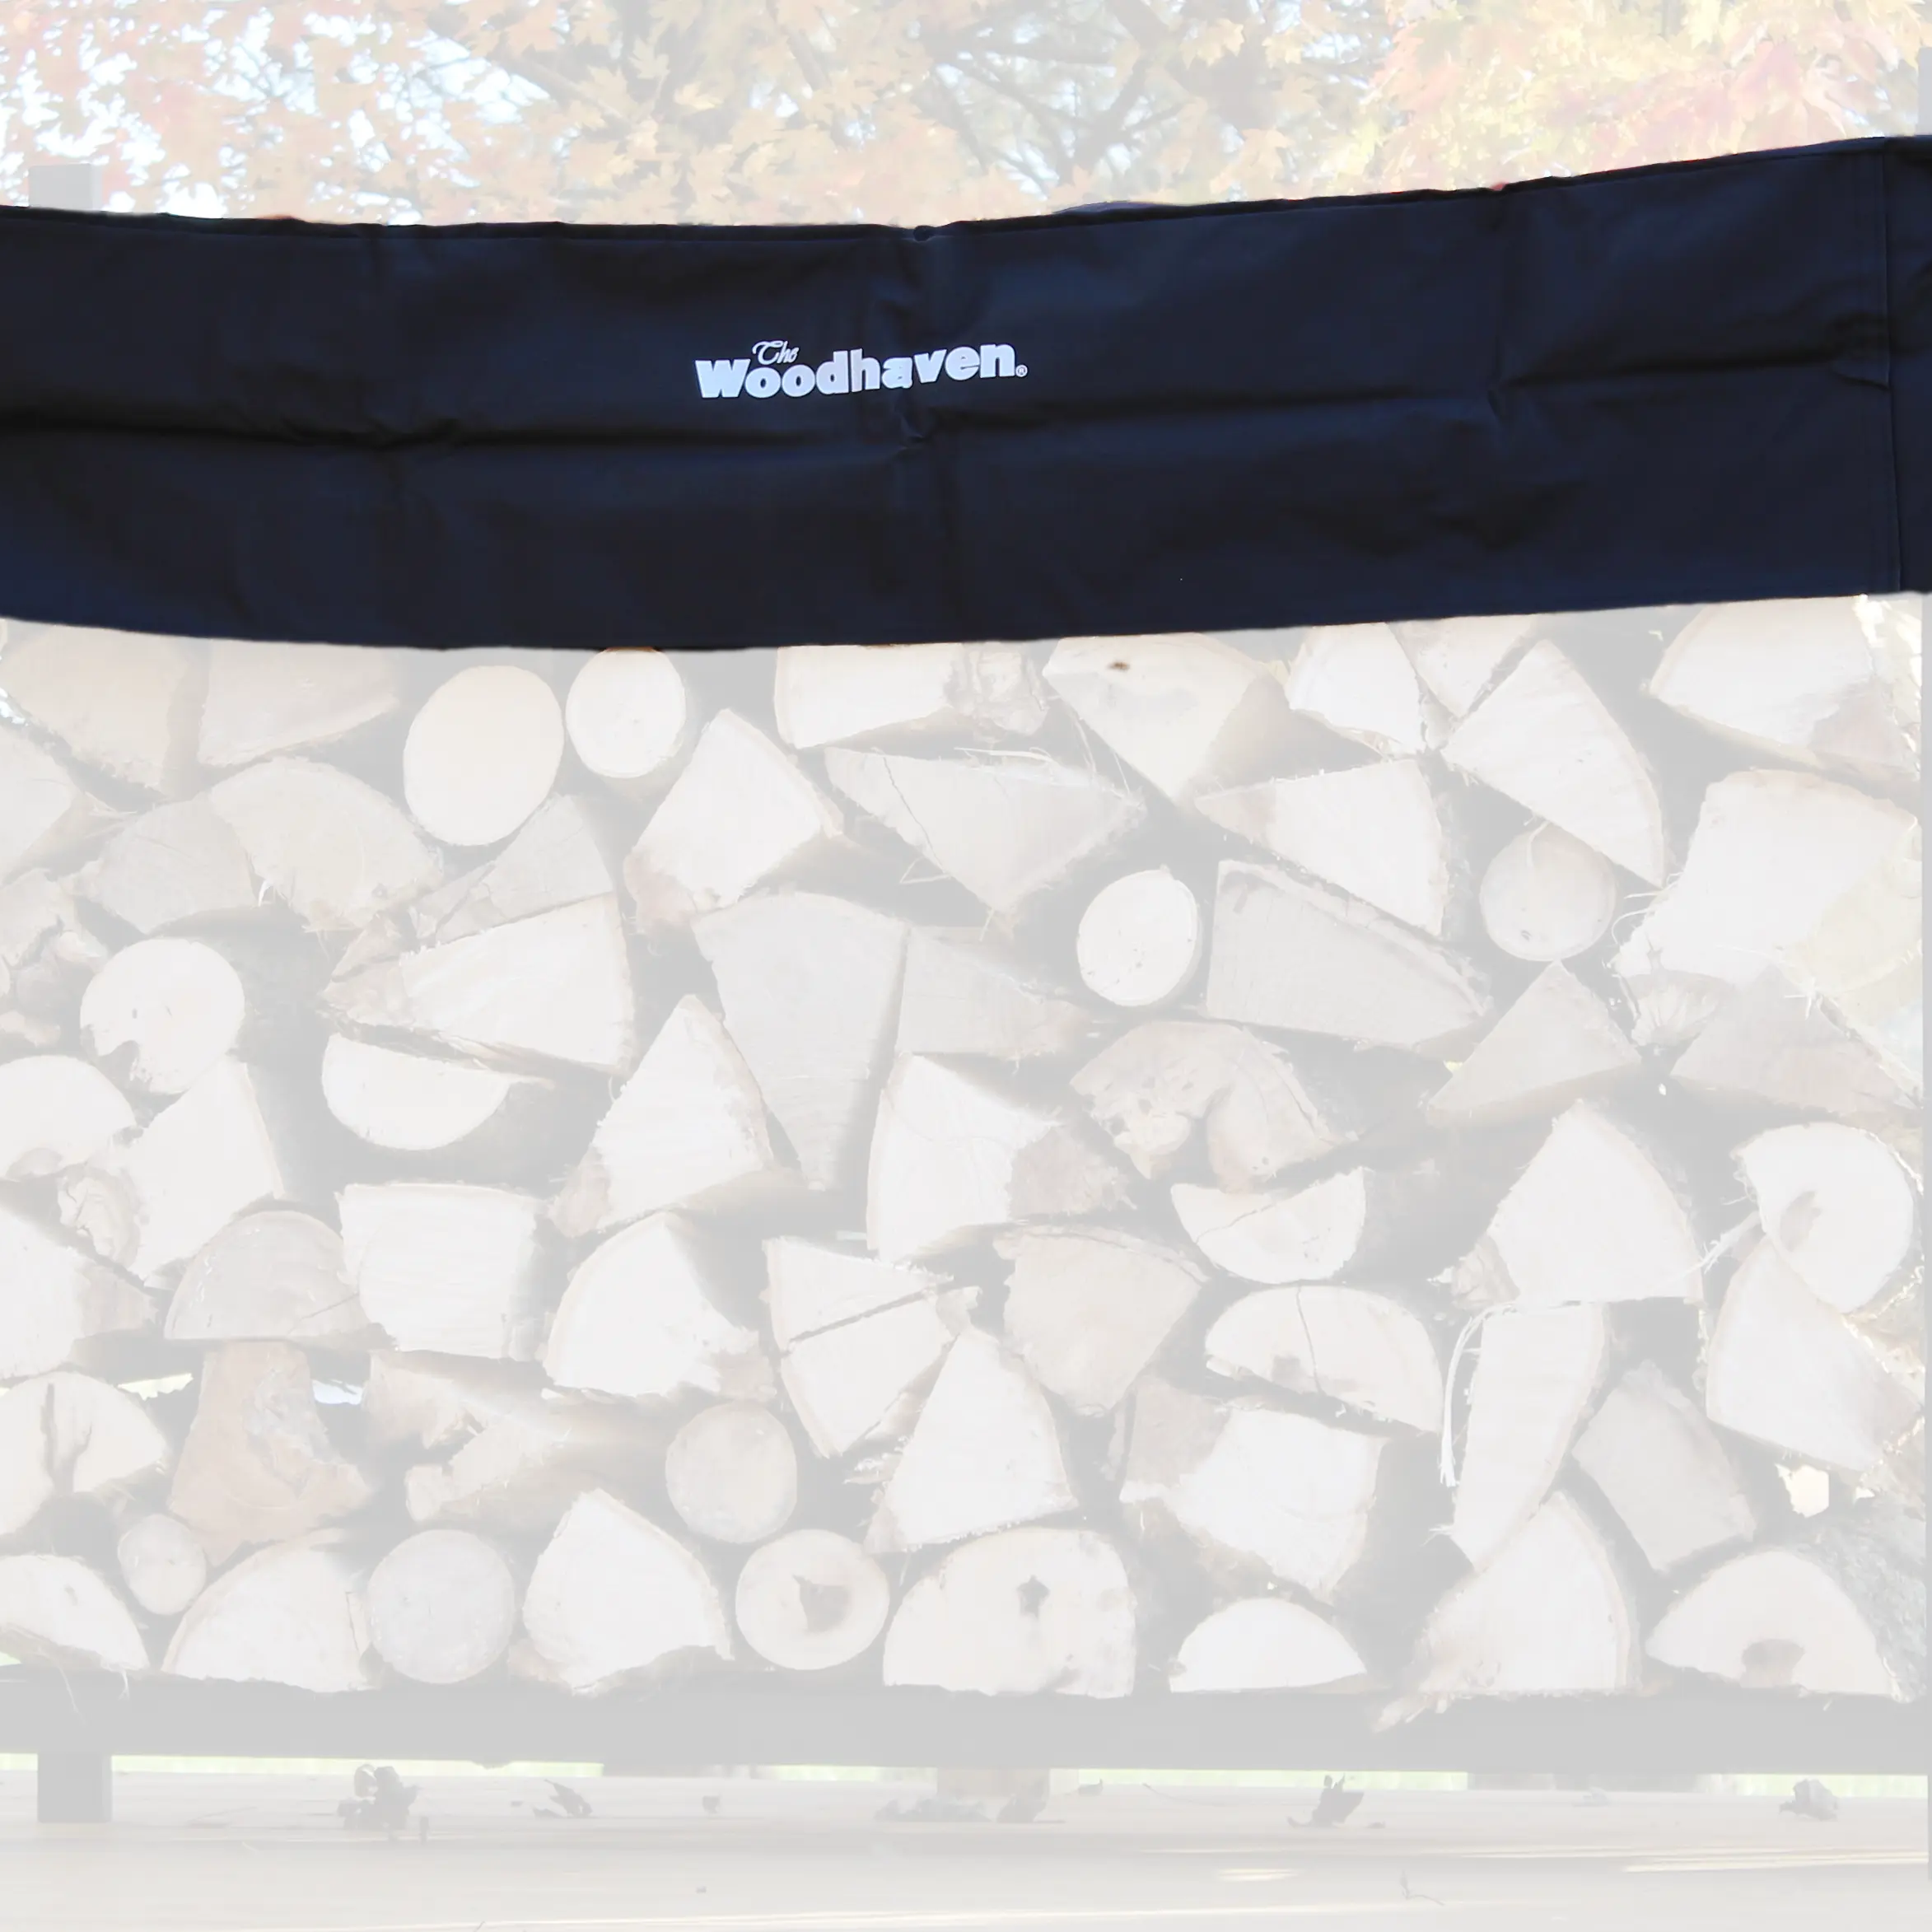
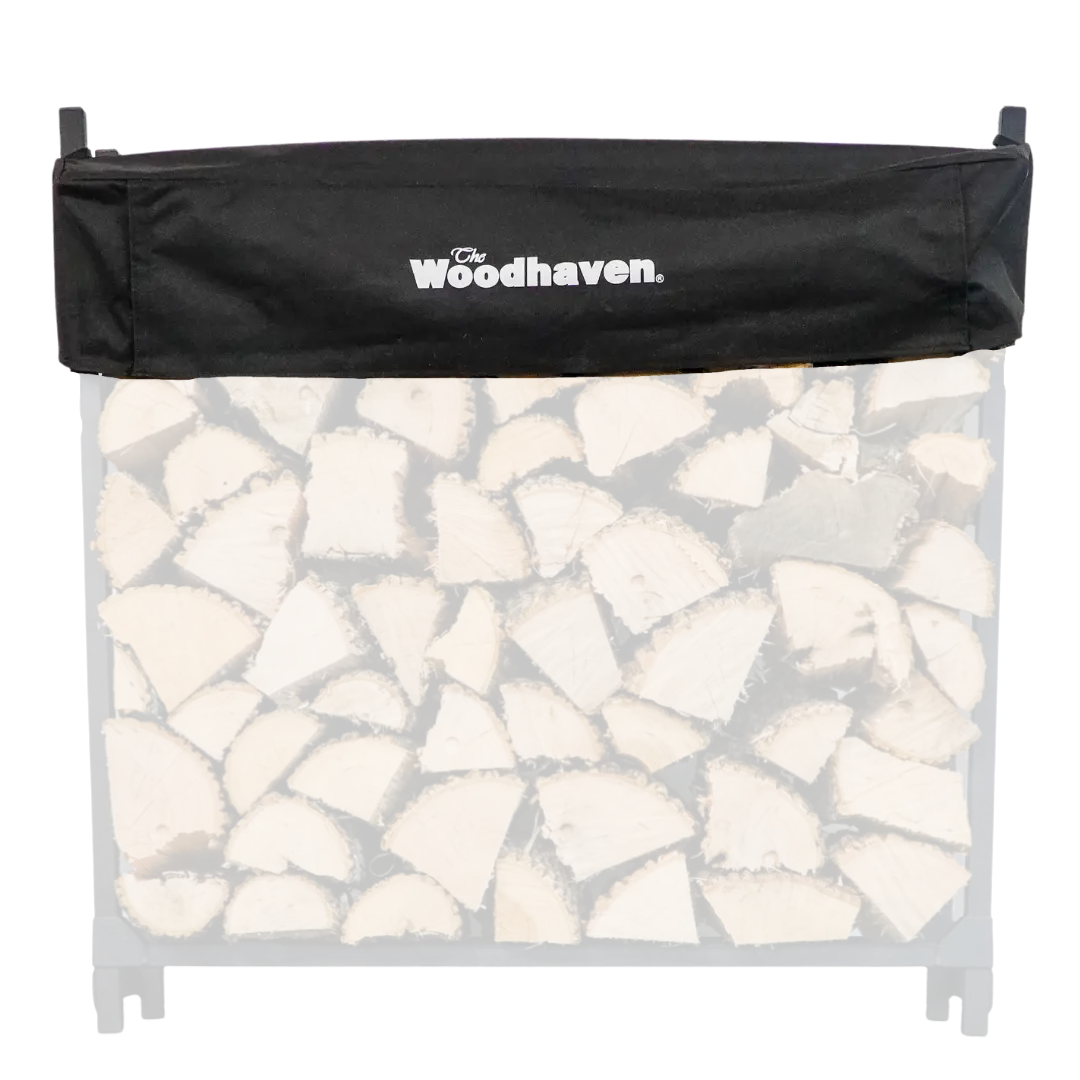
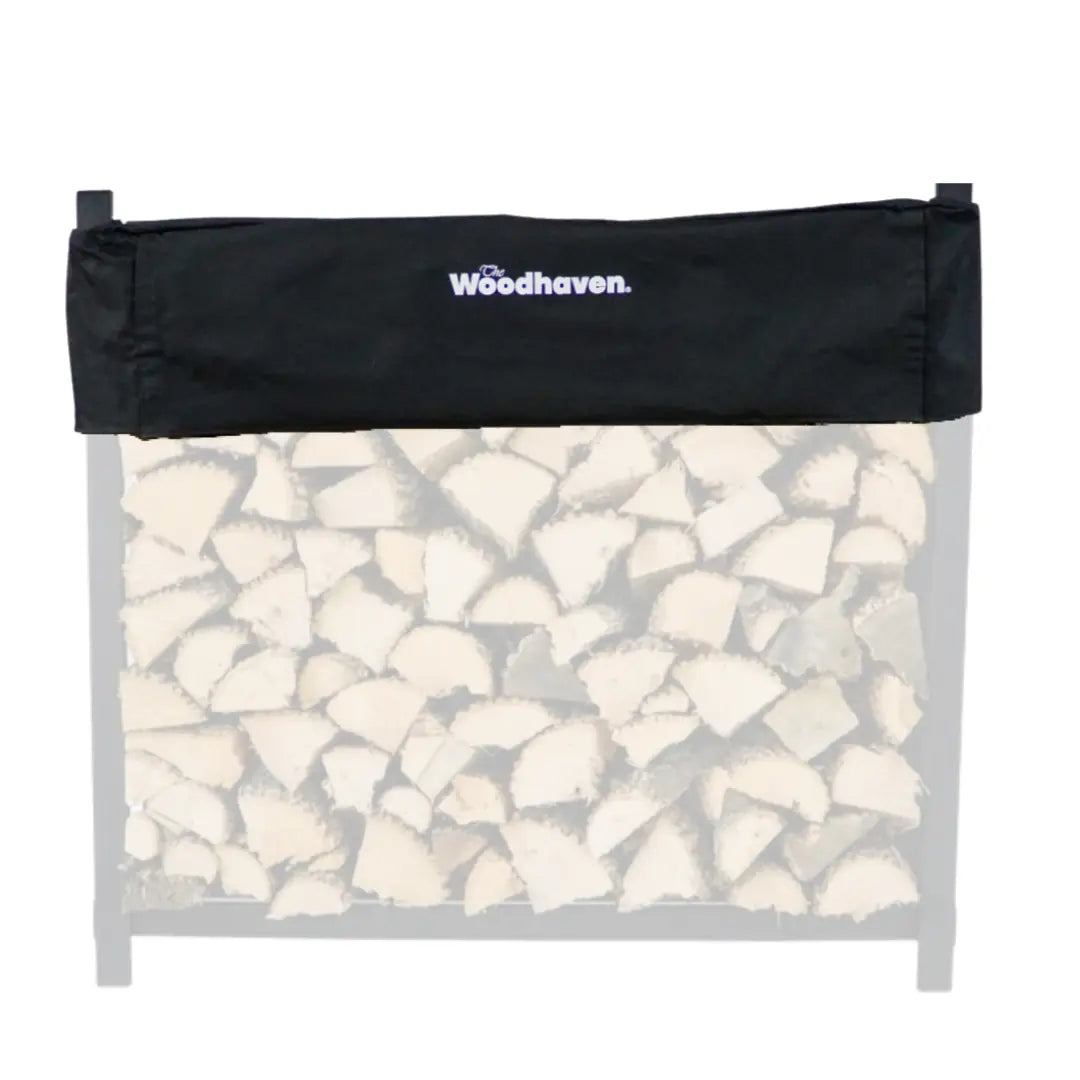
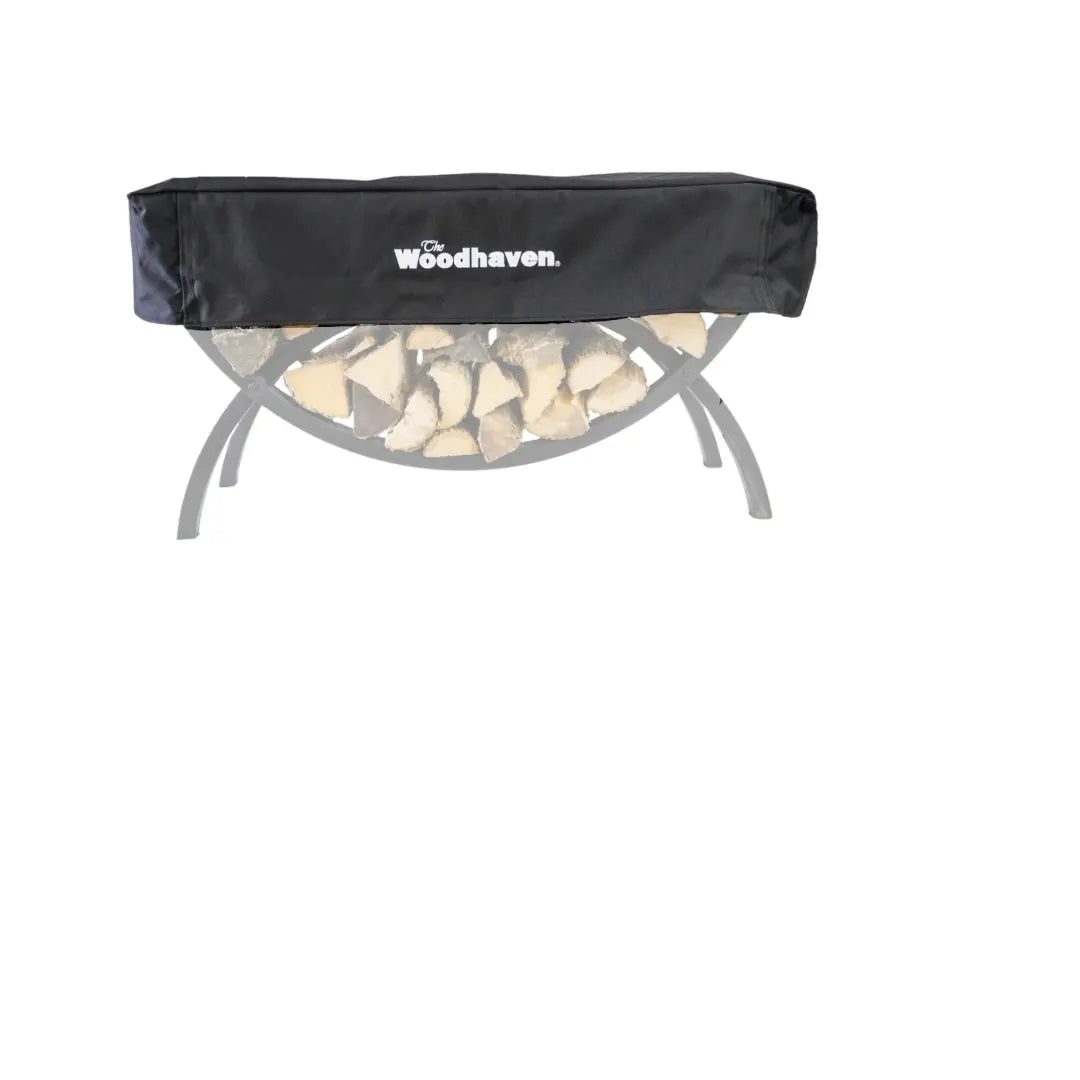
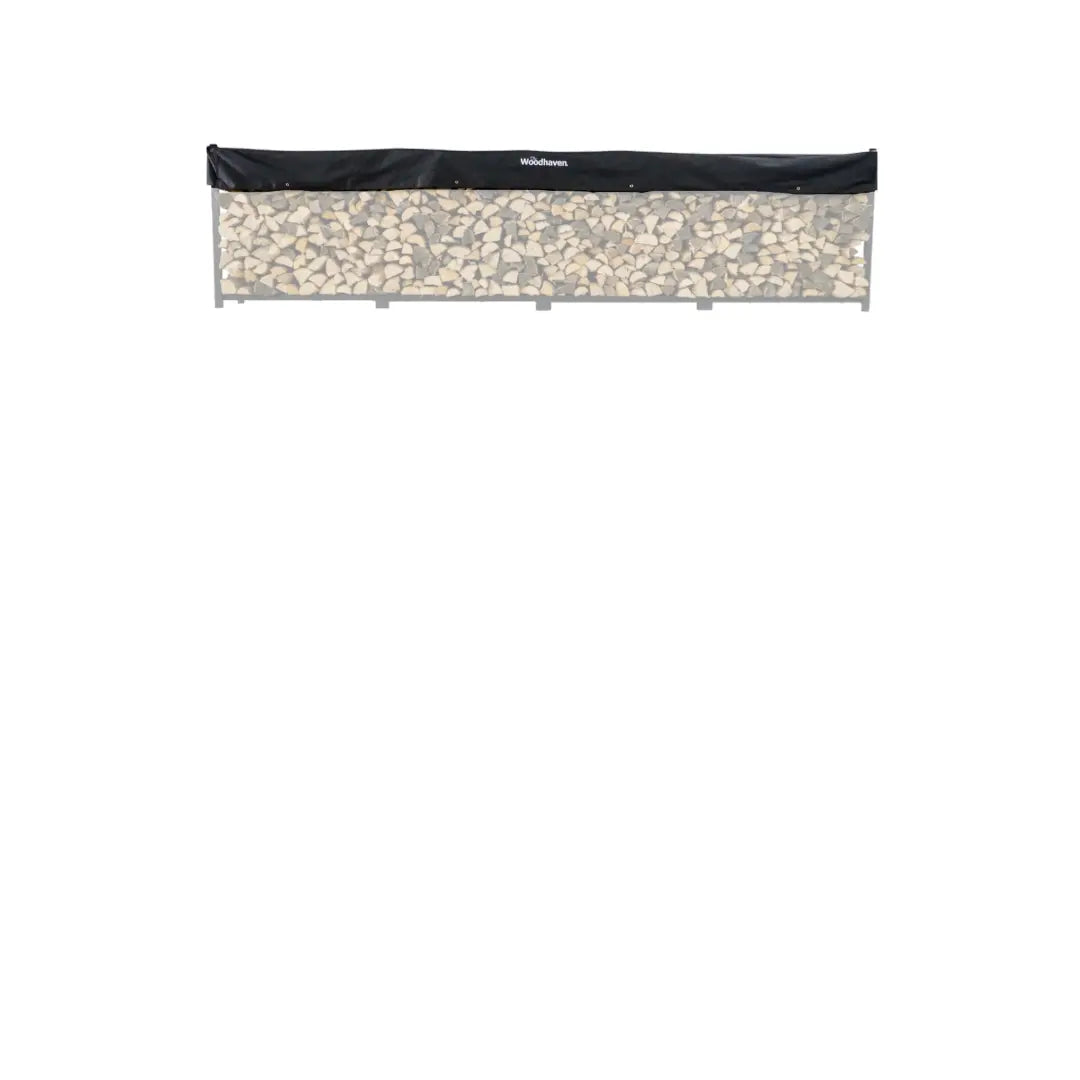
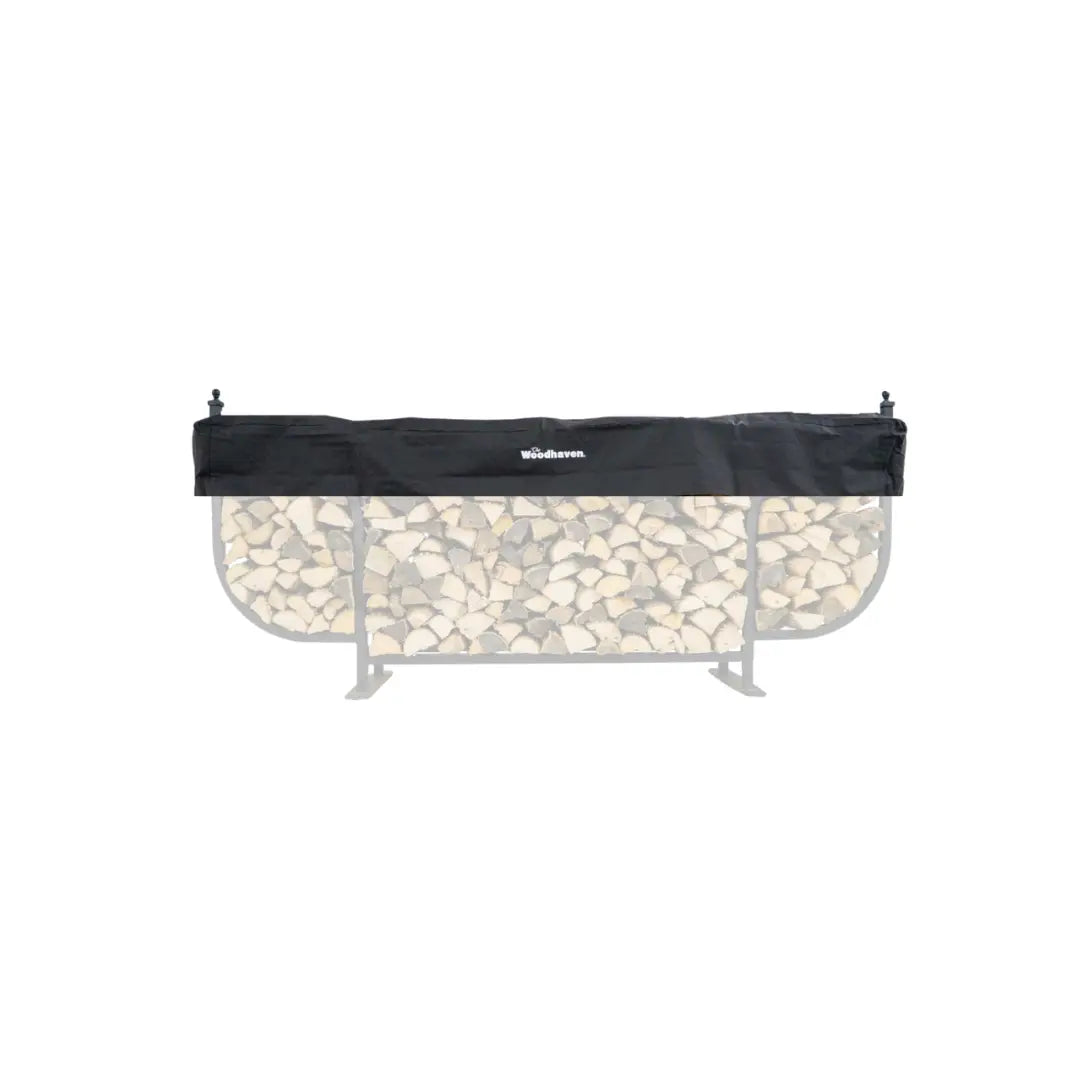
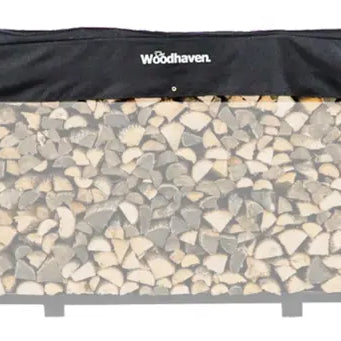
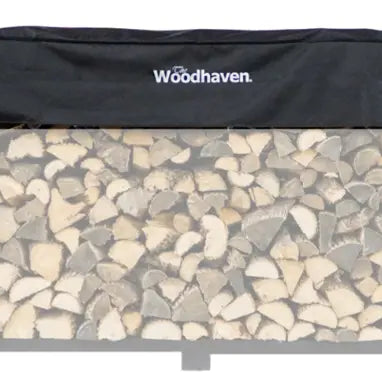
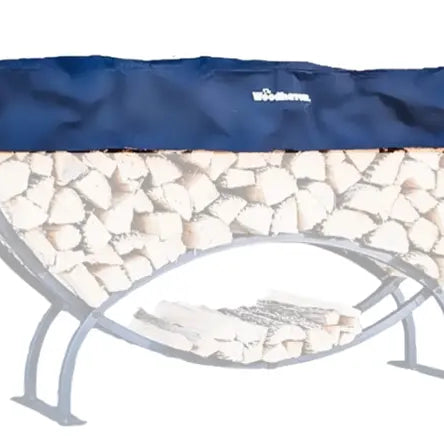
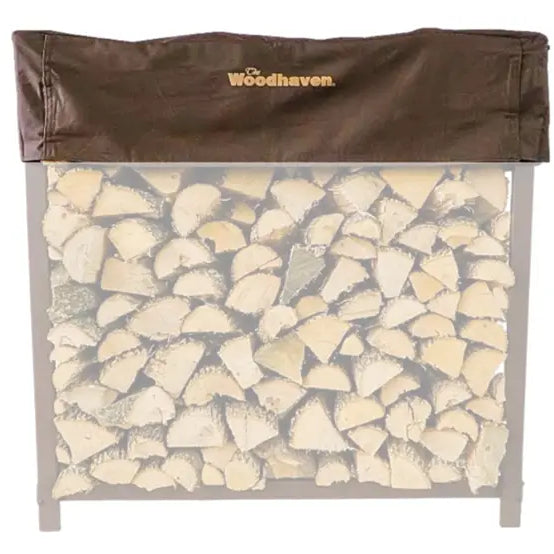
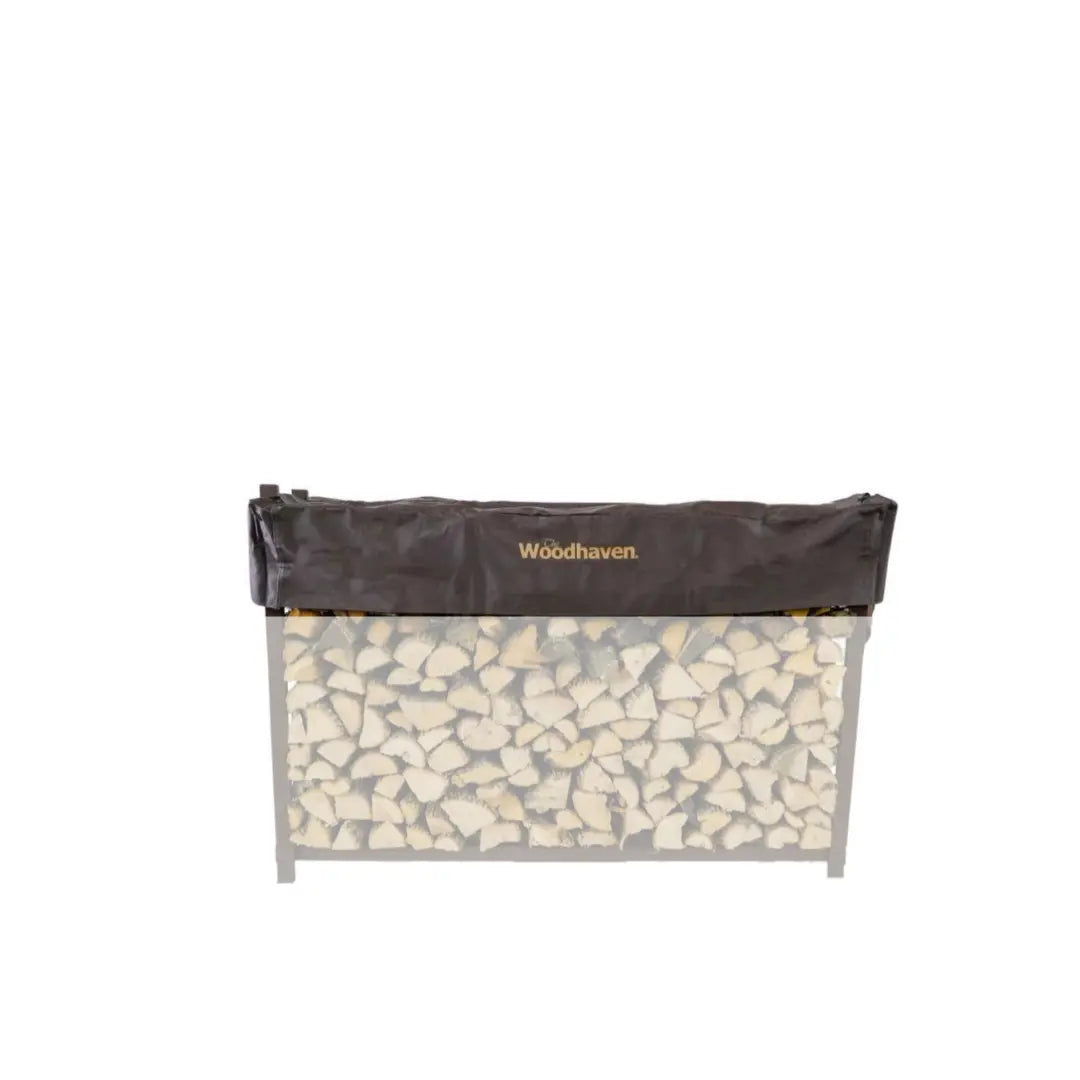
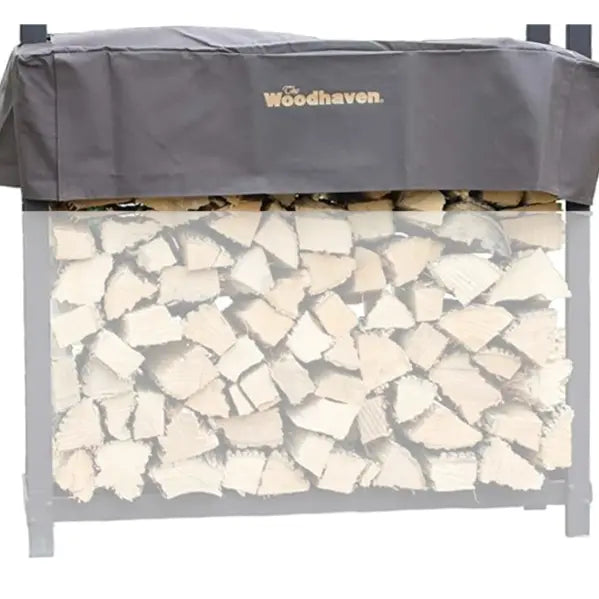
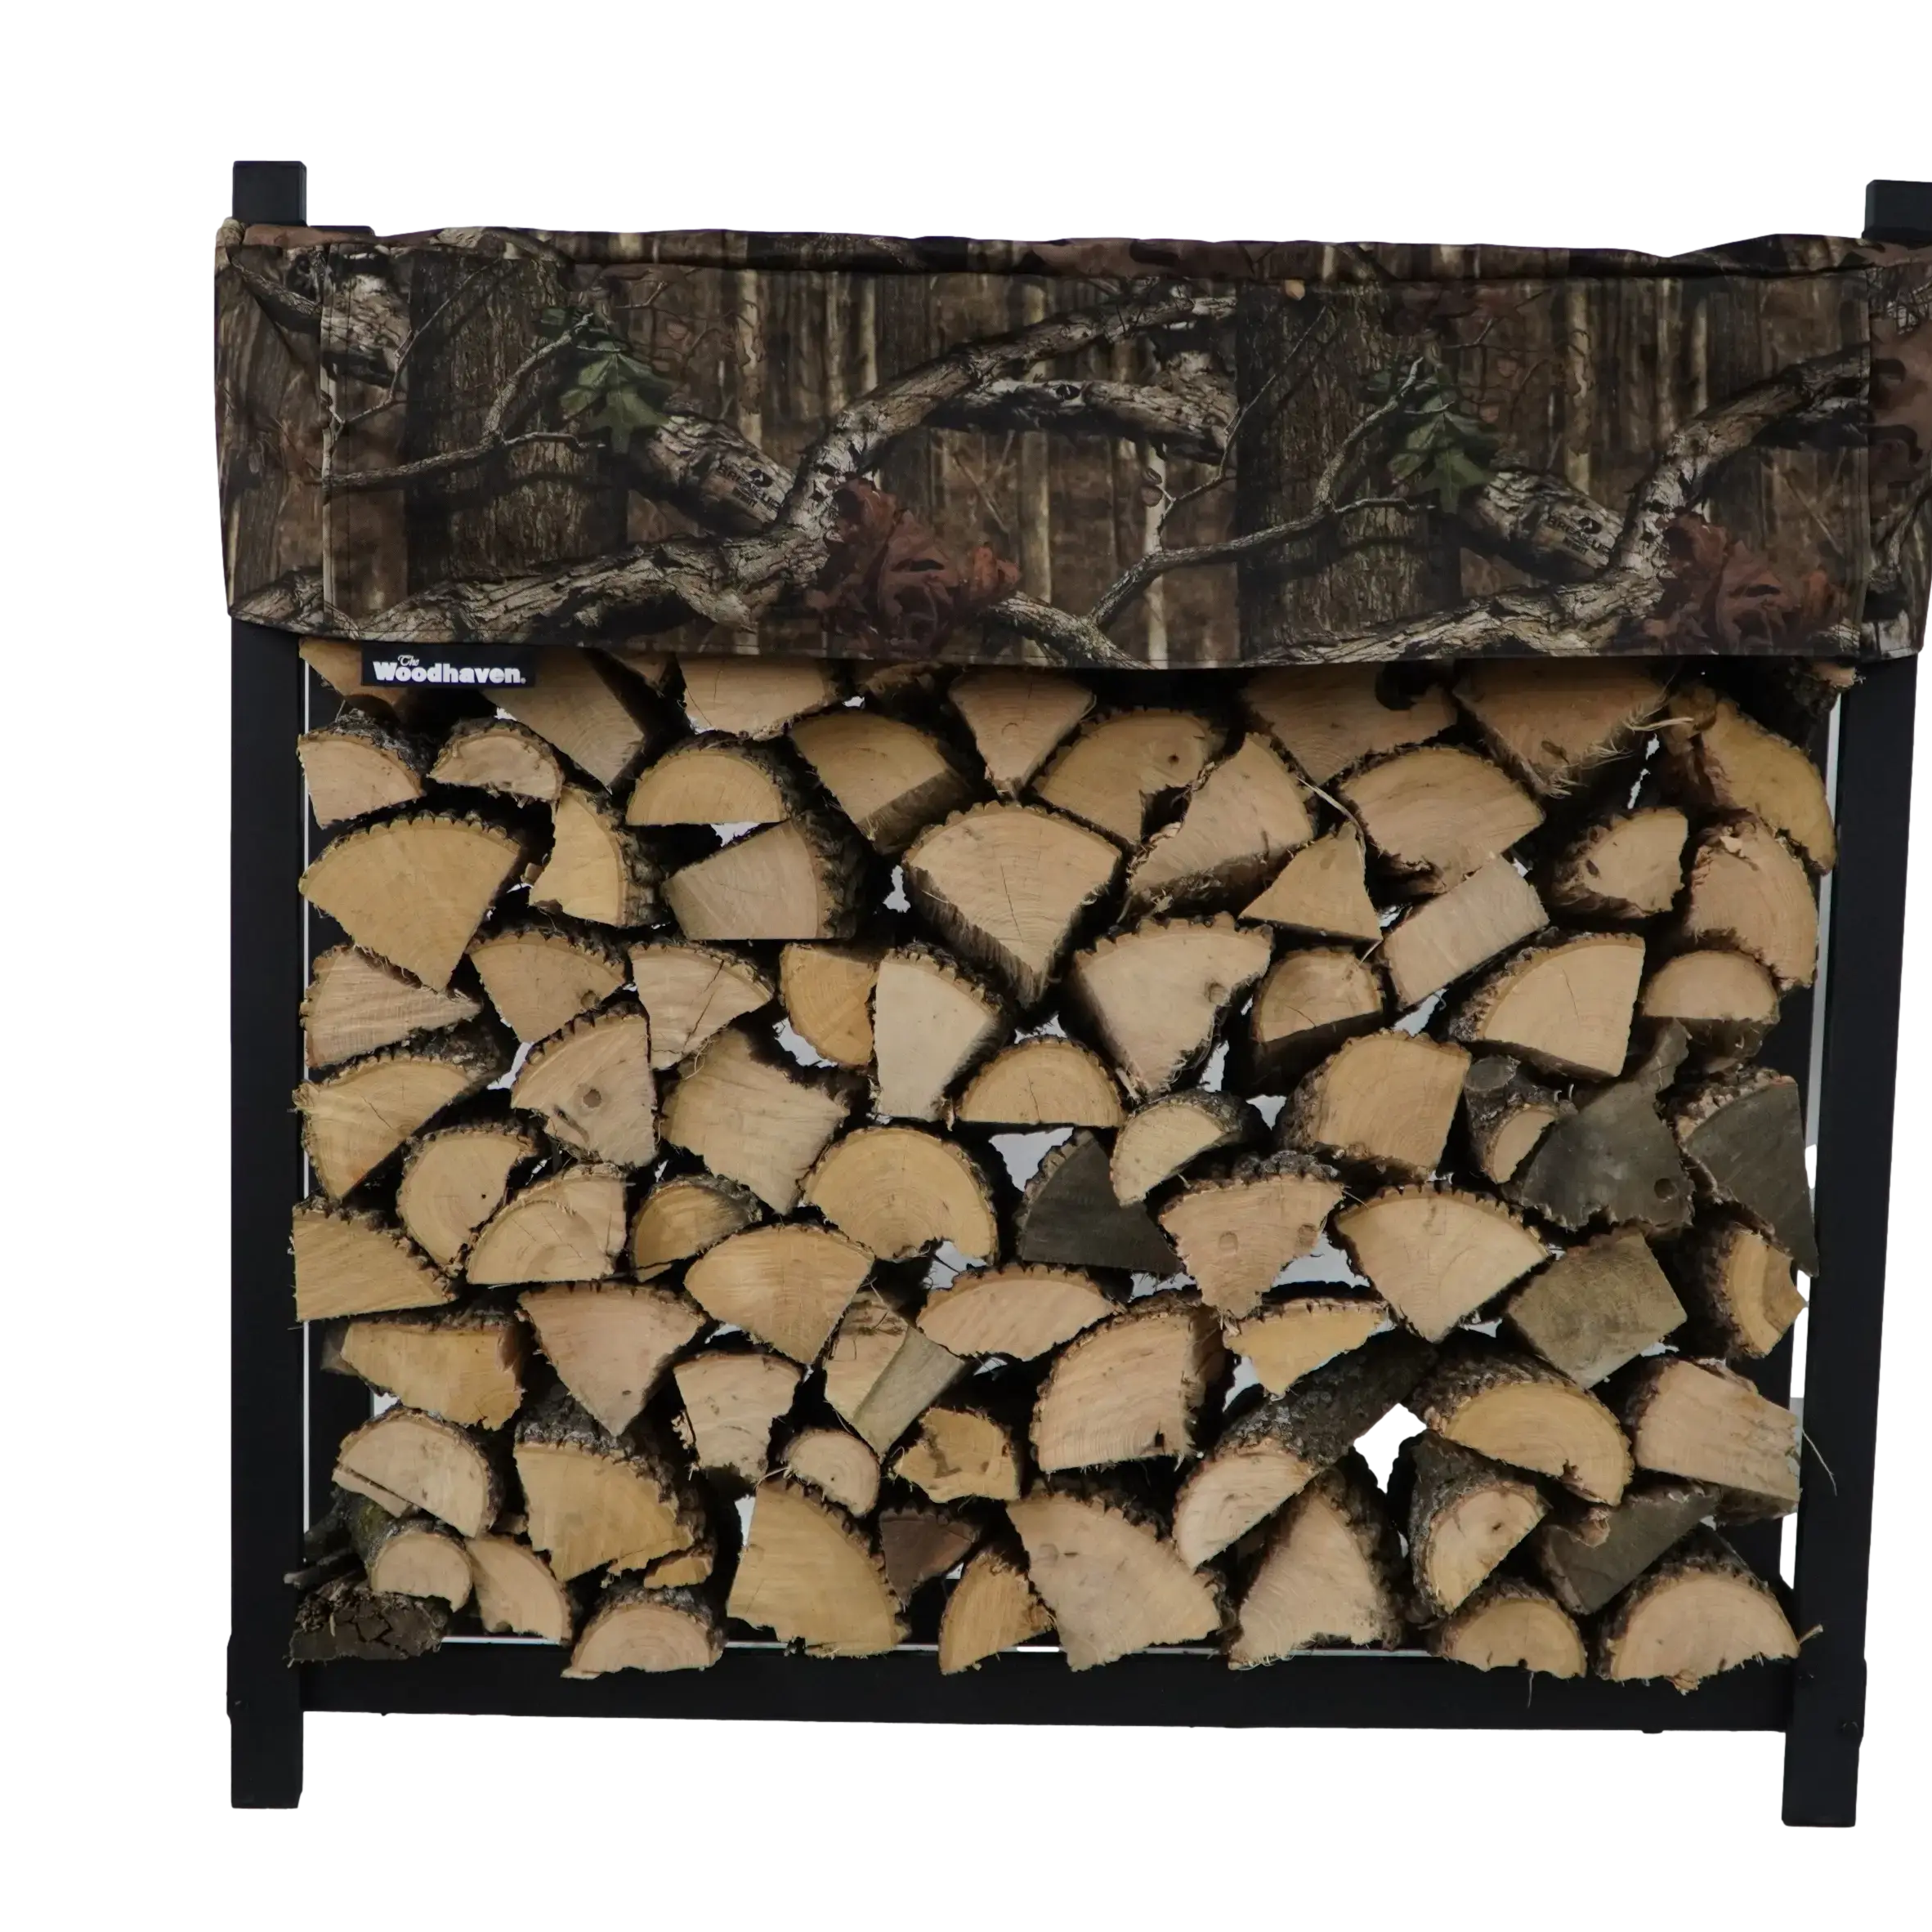
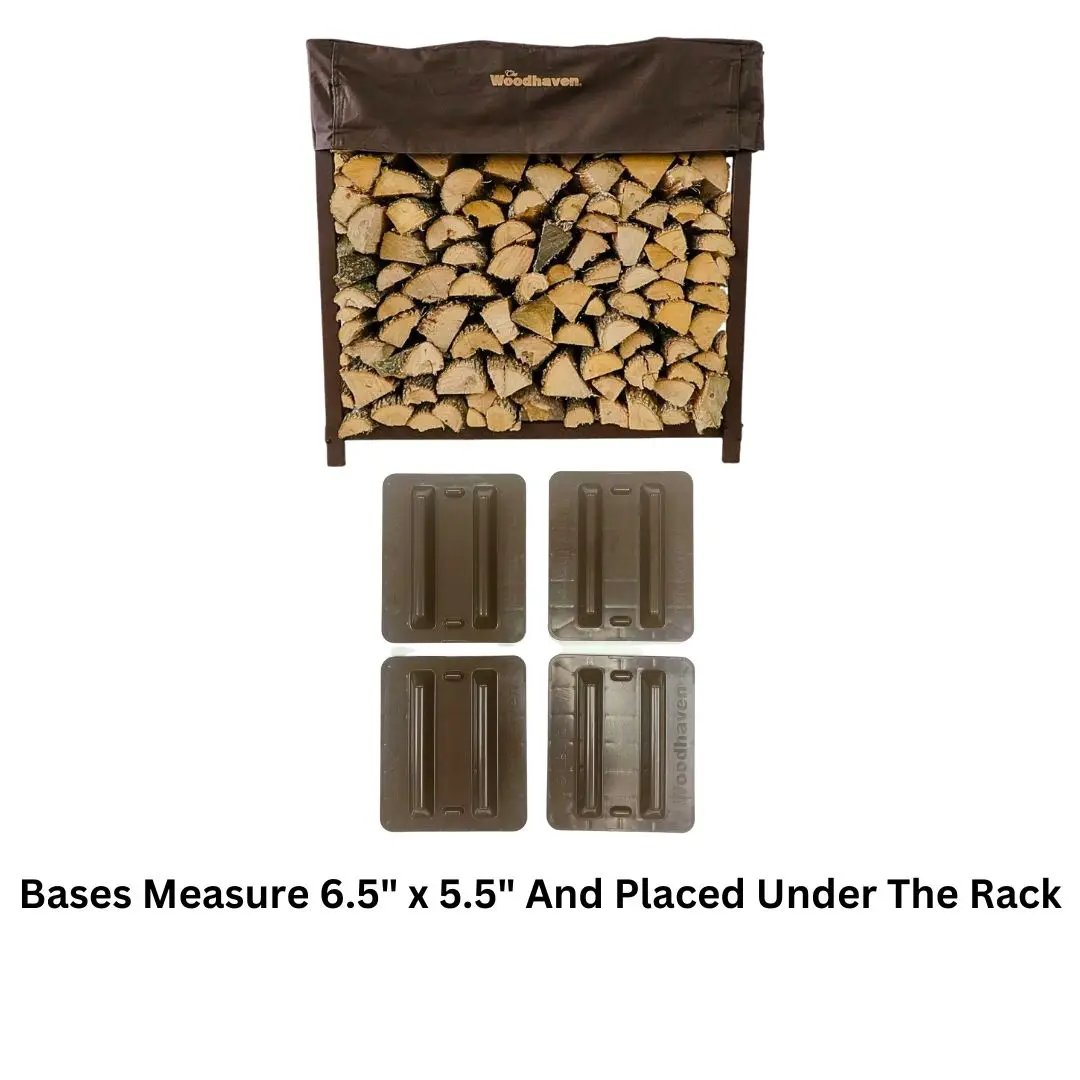
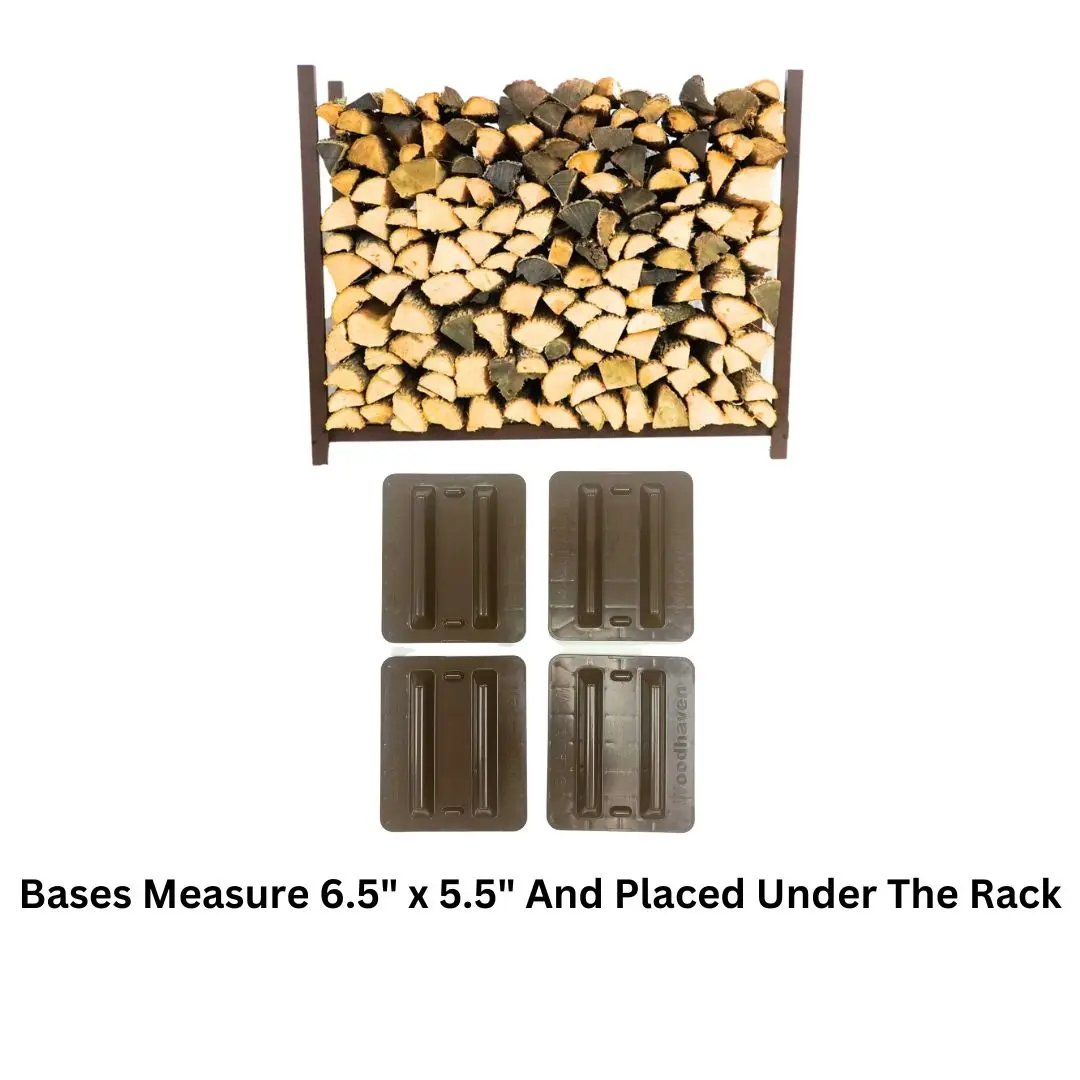
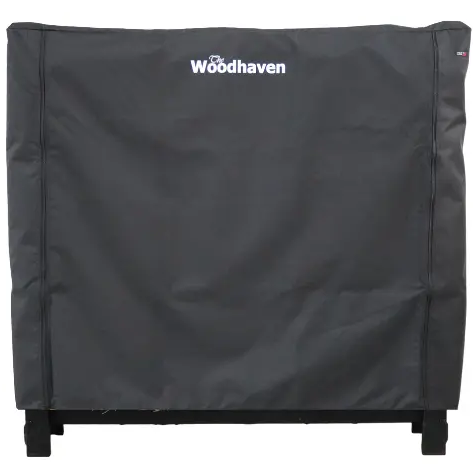
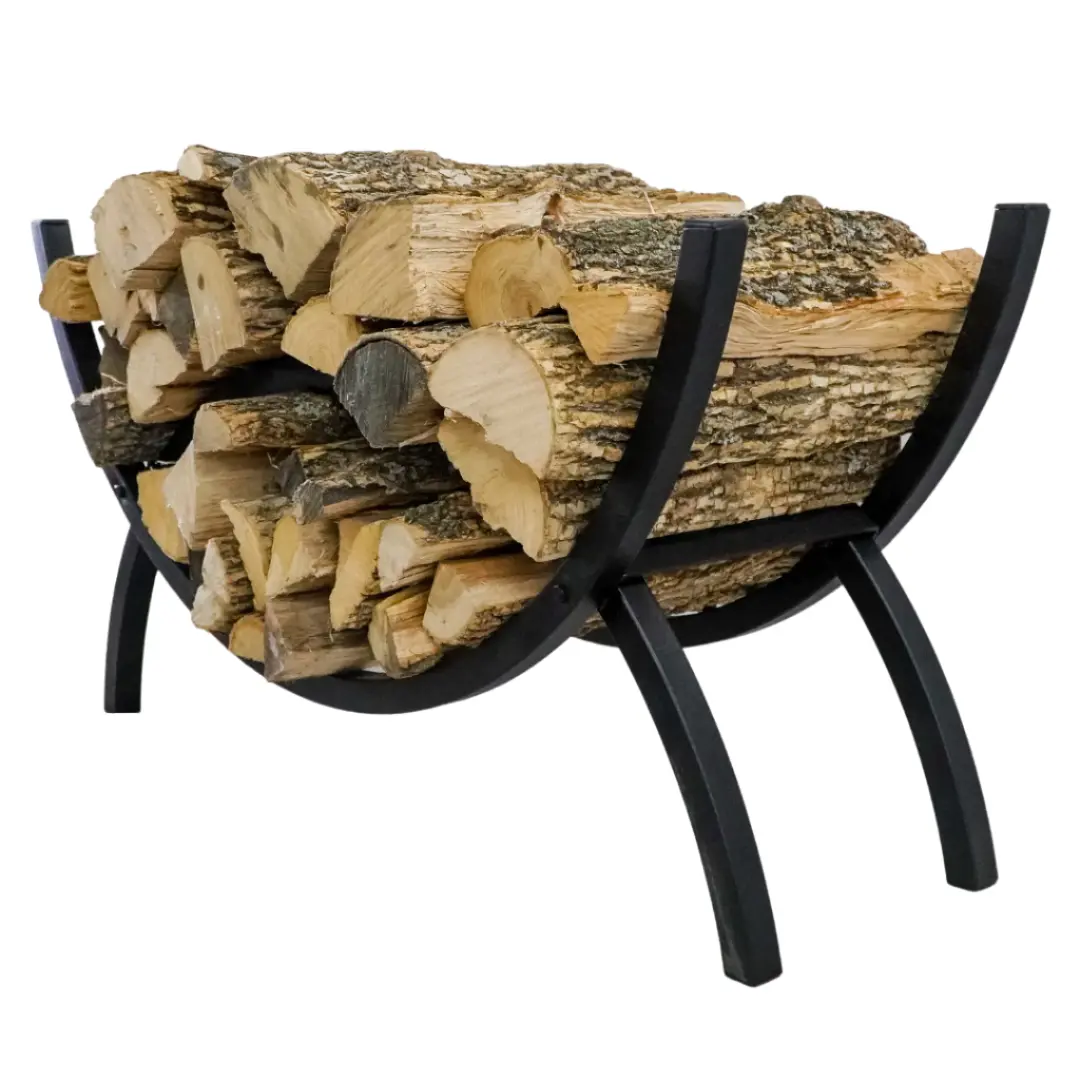
Once your perimeter ring is laid out, scatter some bark or small wood pieces underneath to keep the logs off bare dirt. If you're using a Cordwood Cover, the included mesh base does this for you automatically — and it also helps keep worms and bugs away from your firewood. If you'd rather skip the string-and-stake setup entirely, a Cordwood Cover's 8-foot mesh circular base can simply be laid on the ground as a ready-made guide, complete with integrated straps and buckles for securing your cover later.
With your perimeter ring down, start adding logs that angle in toward the center of the circle.
A few tips that make this step easier:
- Point narrow ends inward. Think of it like a pizza — the pointed end goes toward the center, and the wider end (the "crust") faces outward.
- Save odd-shaped logs for the center. This is one of the biggest advantages of the Holz Hausen — rather than struggling to fit a knotty or oddly shaped log into a traditional pile, you can simply toss it into the center. This is also a great spot for short cutoffs and kindling scraps.
- Keep the outer wall vertical or slightly leaning inward. You don't want the diameter to widen as the pile grows — it's both unstable and looks off. Some builders taper the diameter slightly smaller as they go up, giving the pile a "beehive" shape. This takes some practice but produces a great-looking result.
As you build the perimeter higher, you're essentially constructing a large wooden donut shape. Once the outer wall reaches about 1–2 feet high, start filling the inside with your odd-shaped logs, kindling, and short pieces, mixed in with regular logs.
If you notice logs starting to lean outward, place an additional log on the perimeter in the same orientation as your base ring to prop it back inward — this keeps the structure strong and stable as it grows.
Continue building until you reach your desired height. A common height is around 4–5 feet — tall enough to hold a substantial amount of wood, but not so tall that it becomes unsafe or hard to reach. Step back periodically to check that the pile is level all the way around, and fill in any low spots as needed.
Step 4: Build the "Roof"
Once your pile reaches the desired height, it's time to build the roof. Start by piling logs in the center to raise it higher than the outer edges, forming a dome shape. This center mound is what your roof logs will rest on to shed water.
Place your "shingle" logs with the bark facing up, working in rows that move progressively toward the center — each new row sitting slightly inside the previous one.
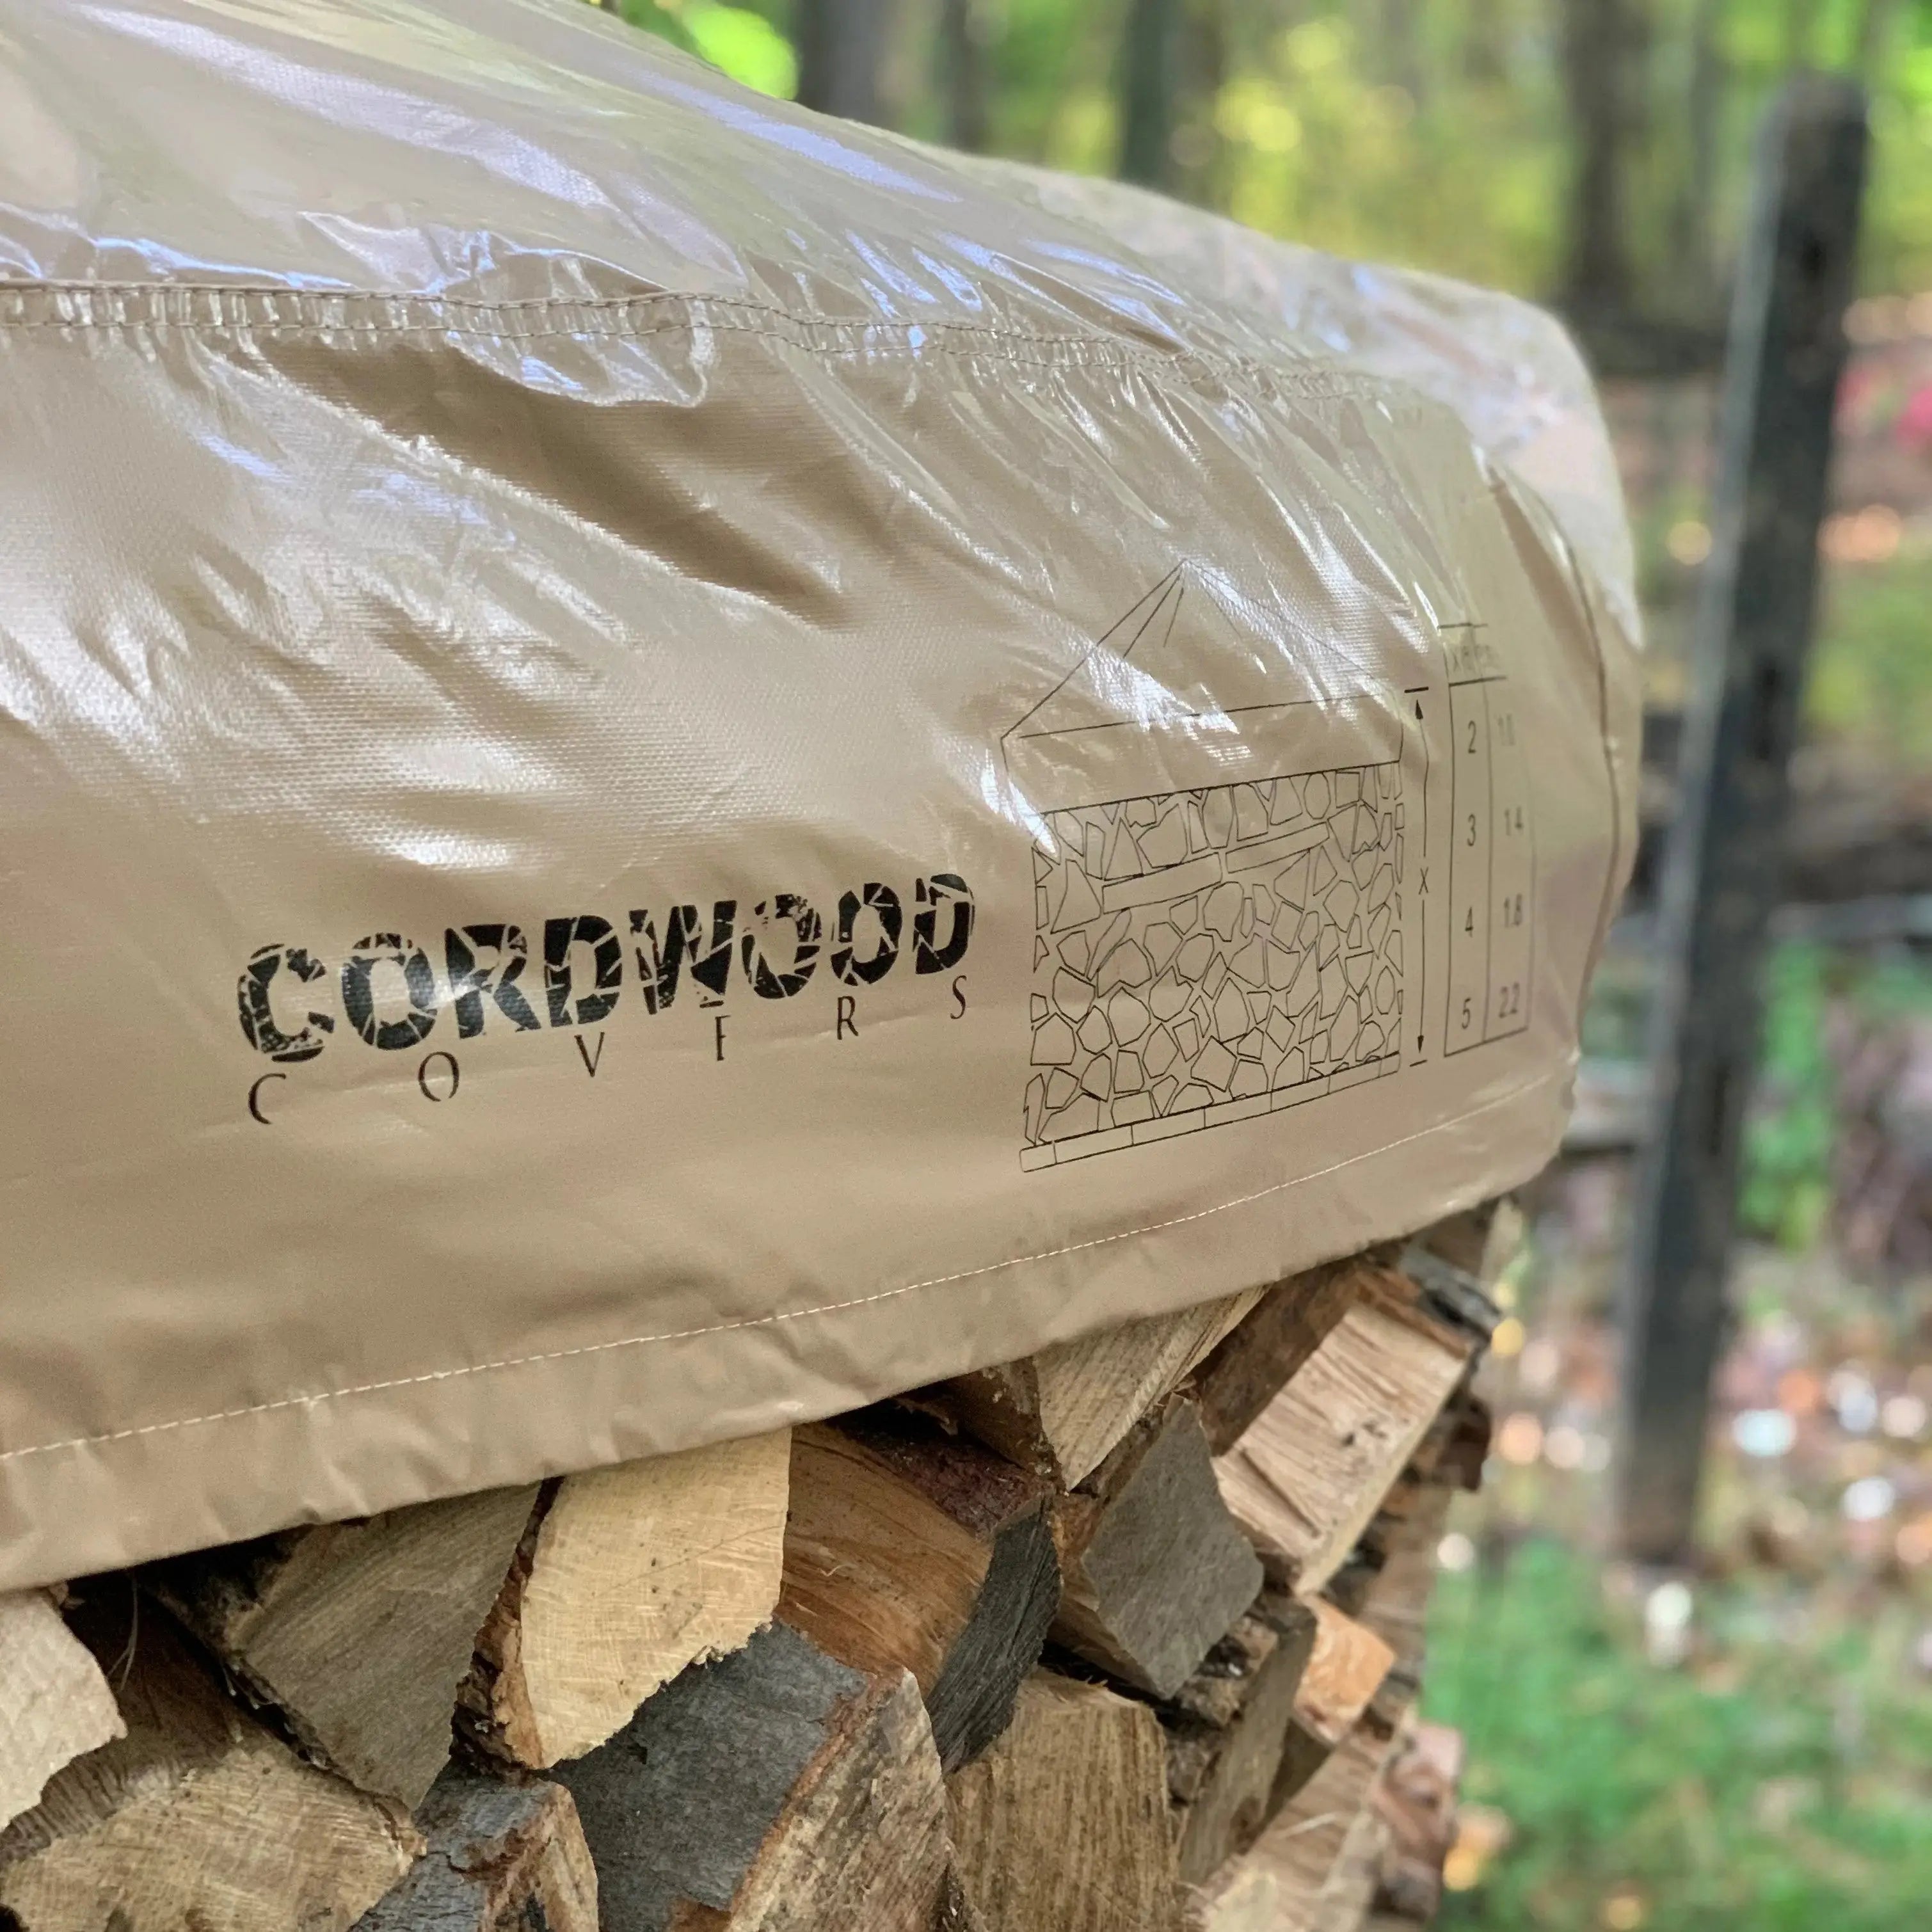
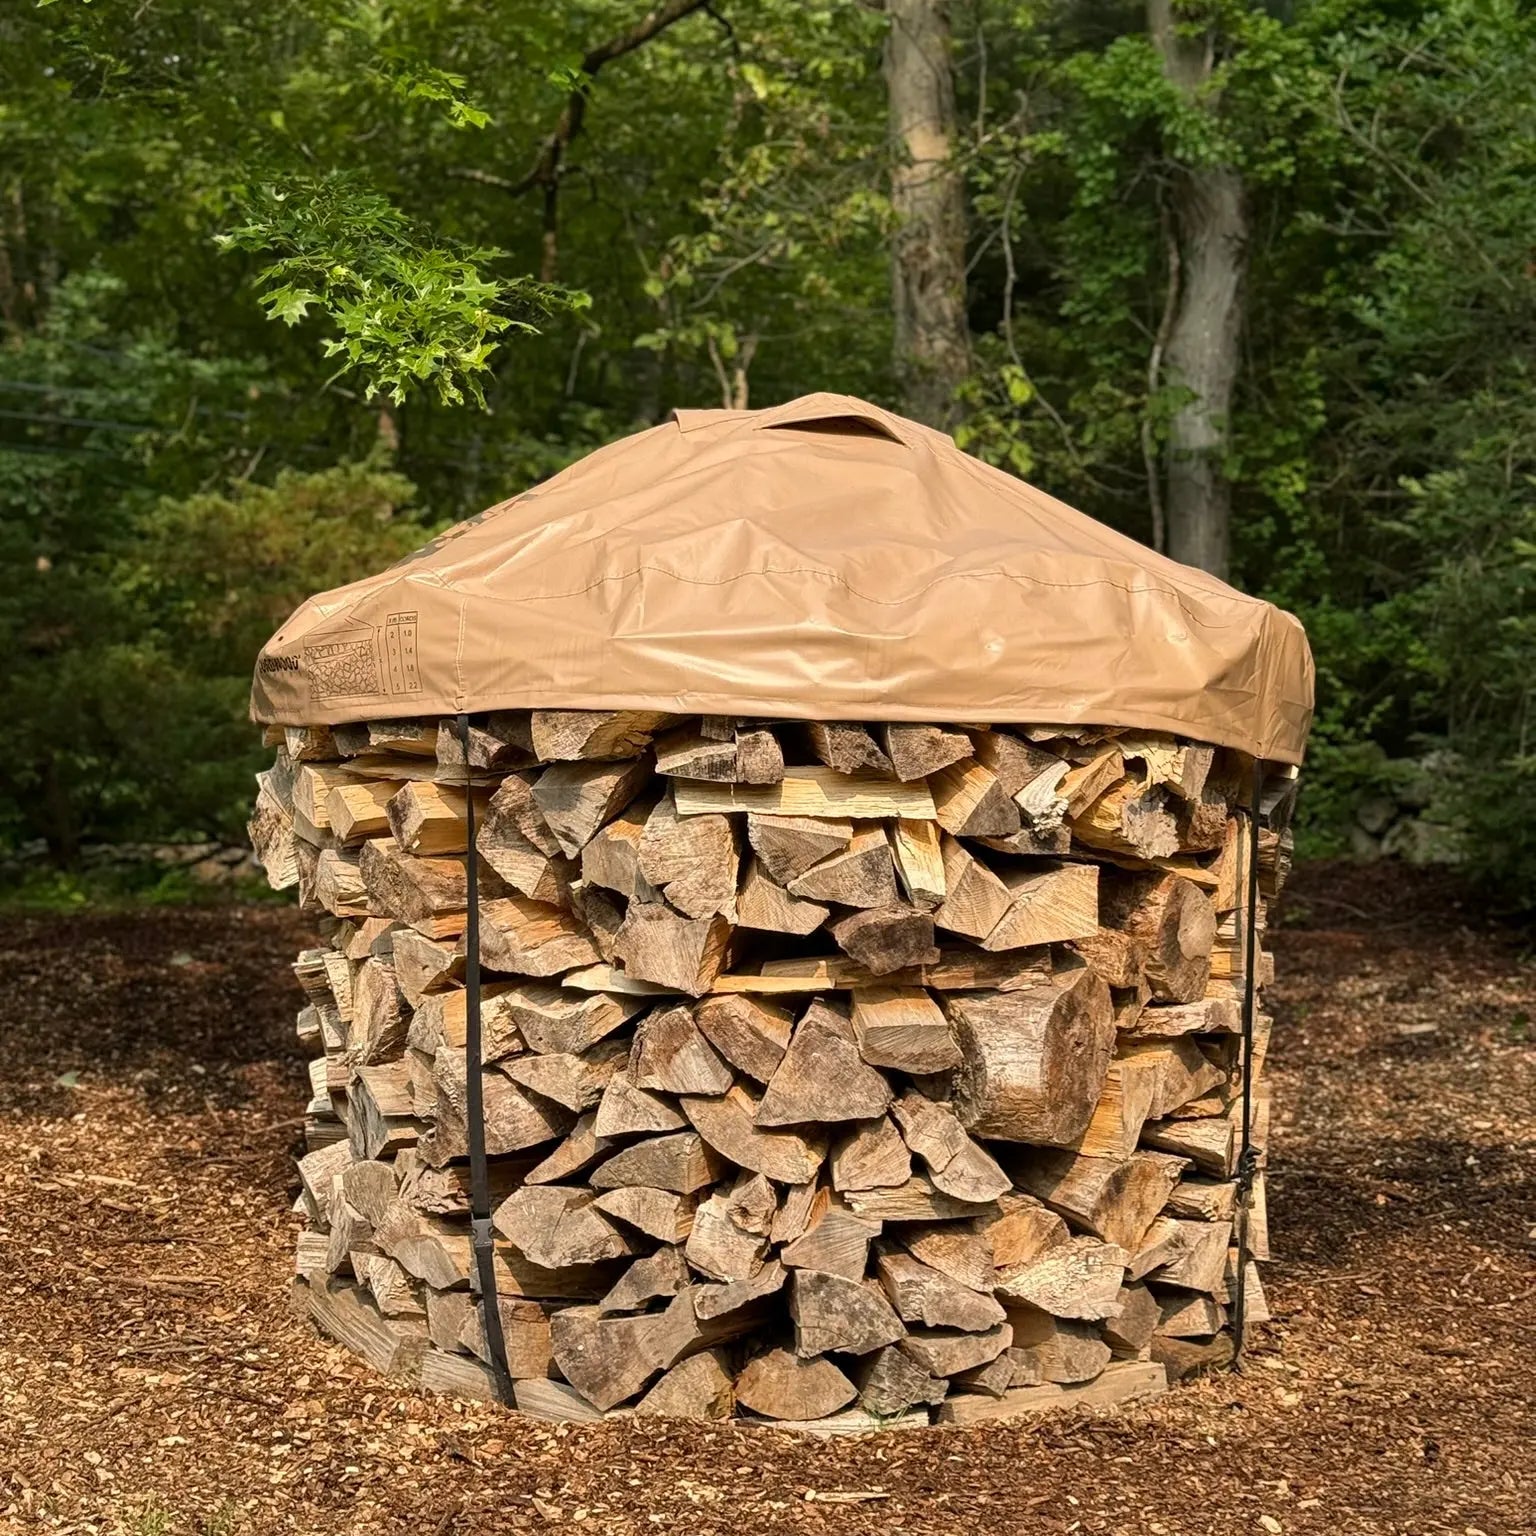
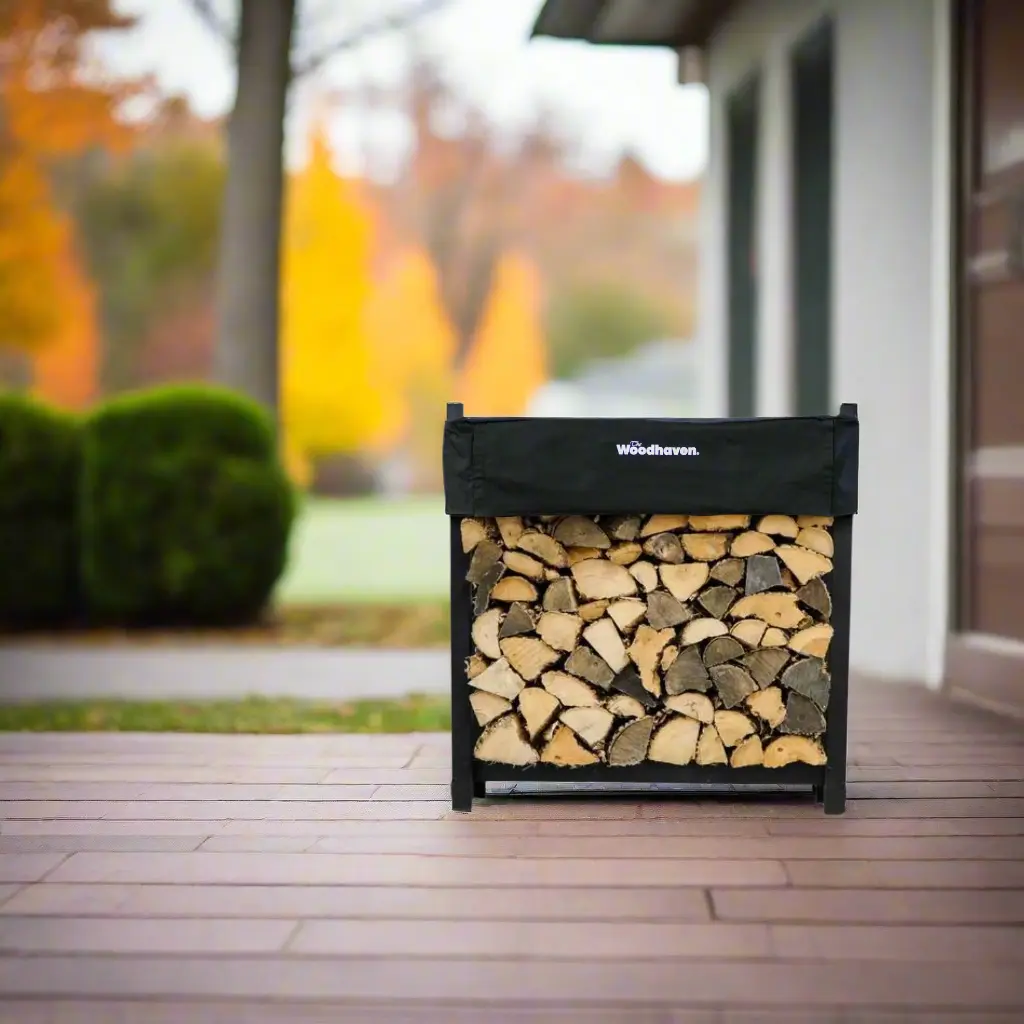
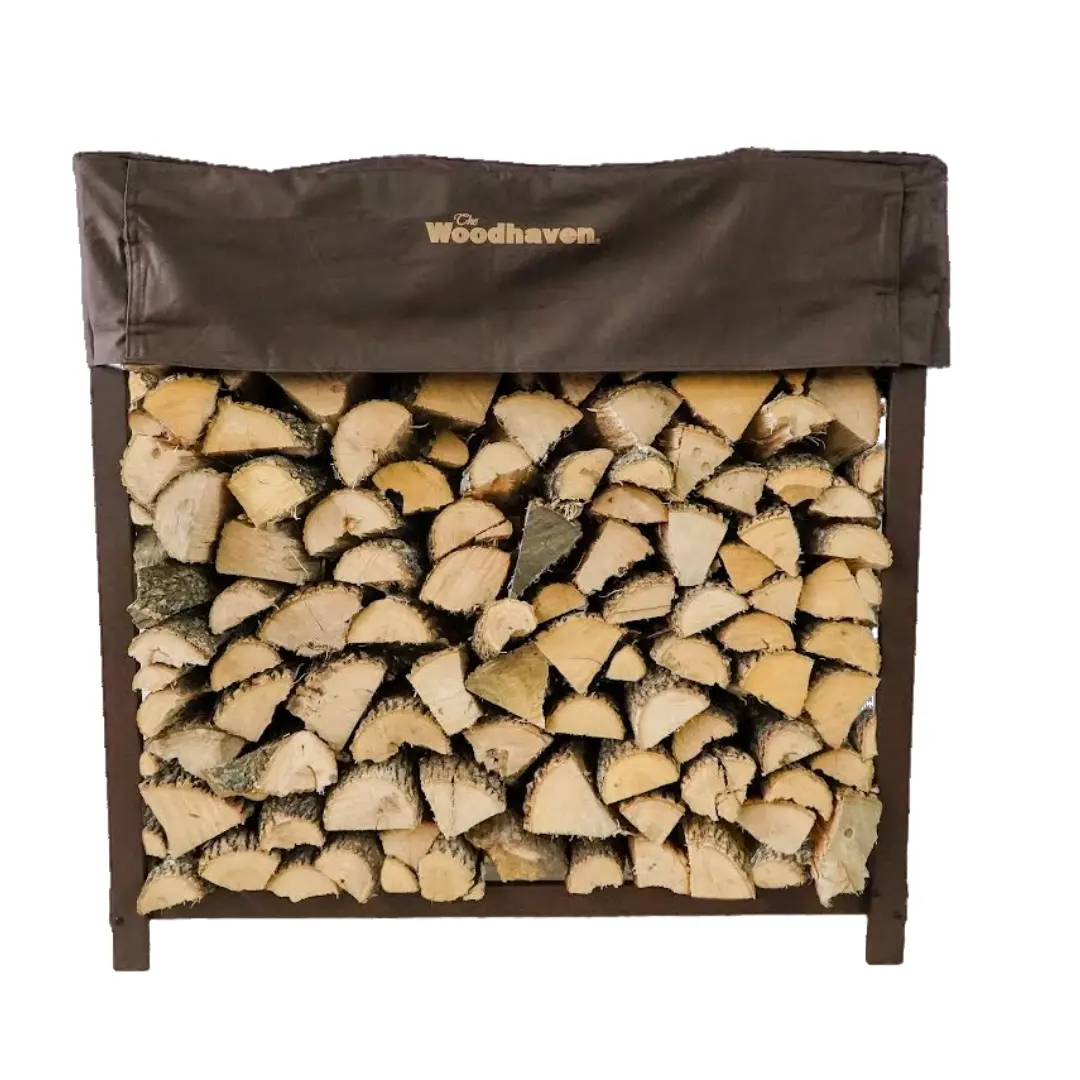
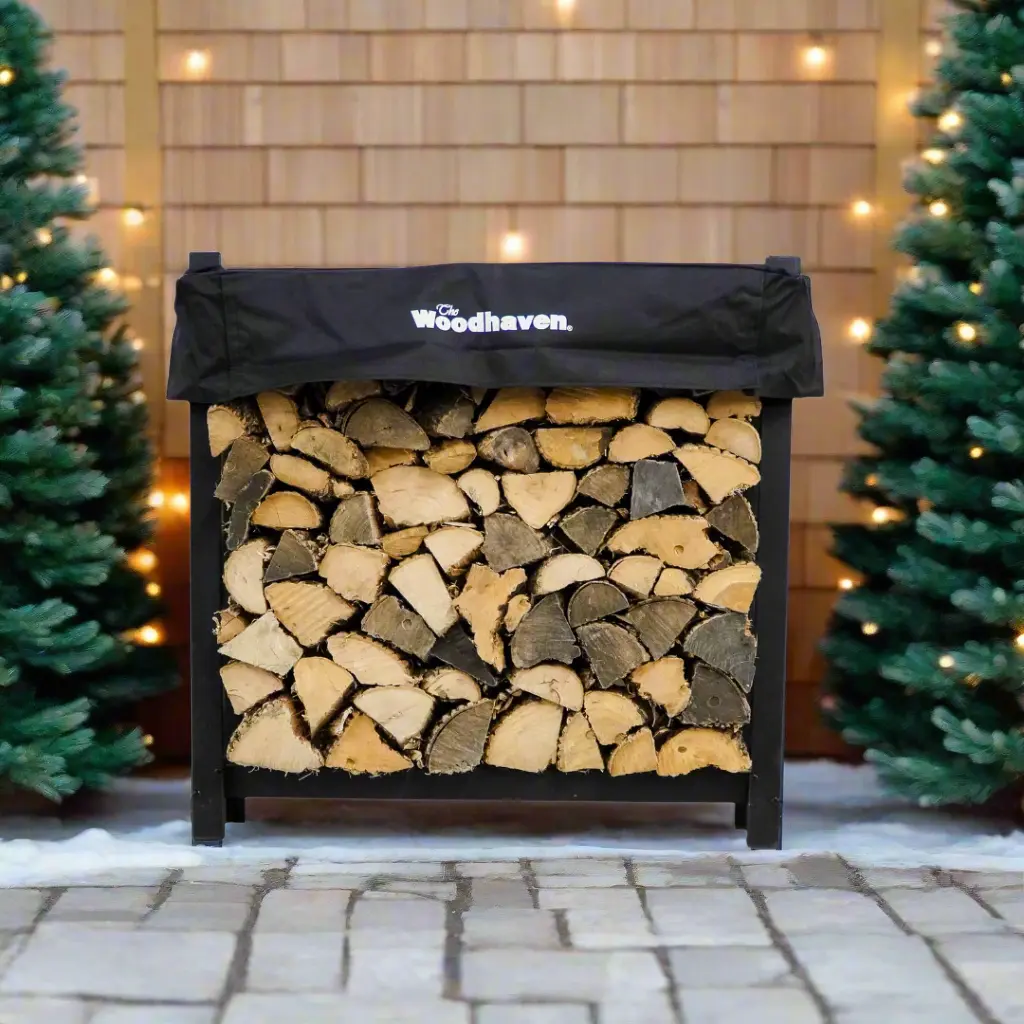
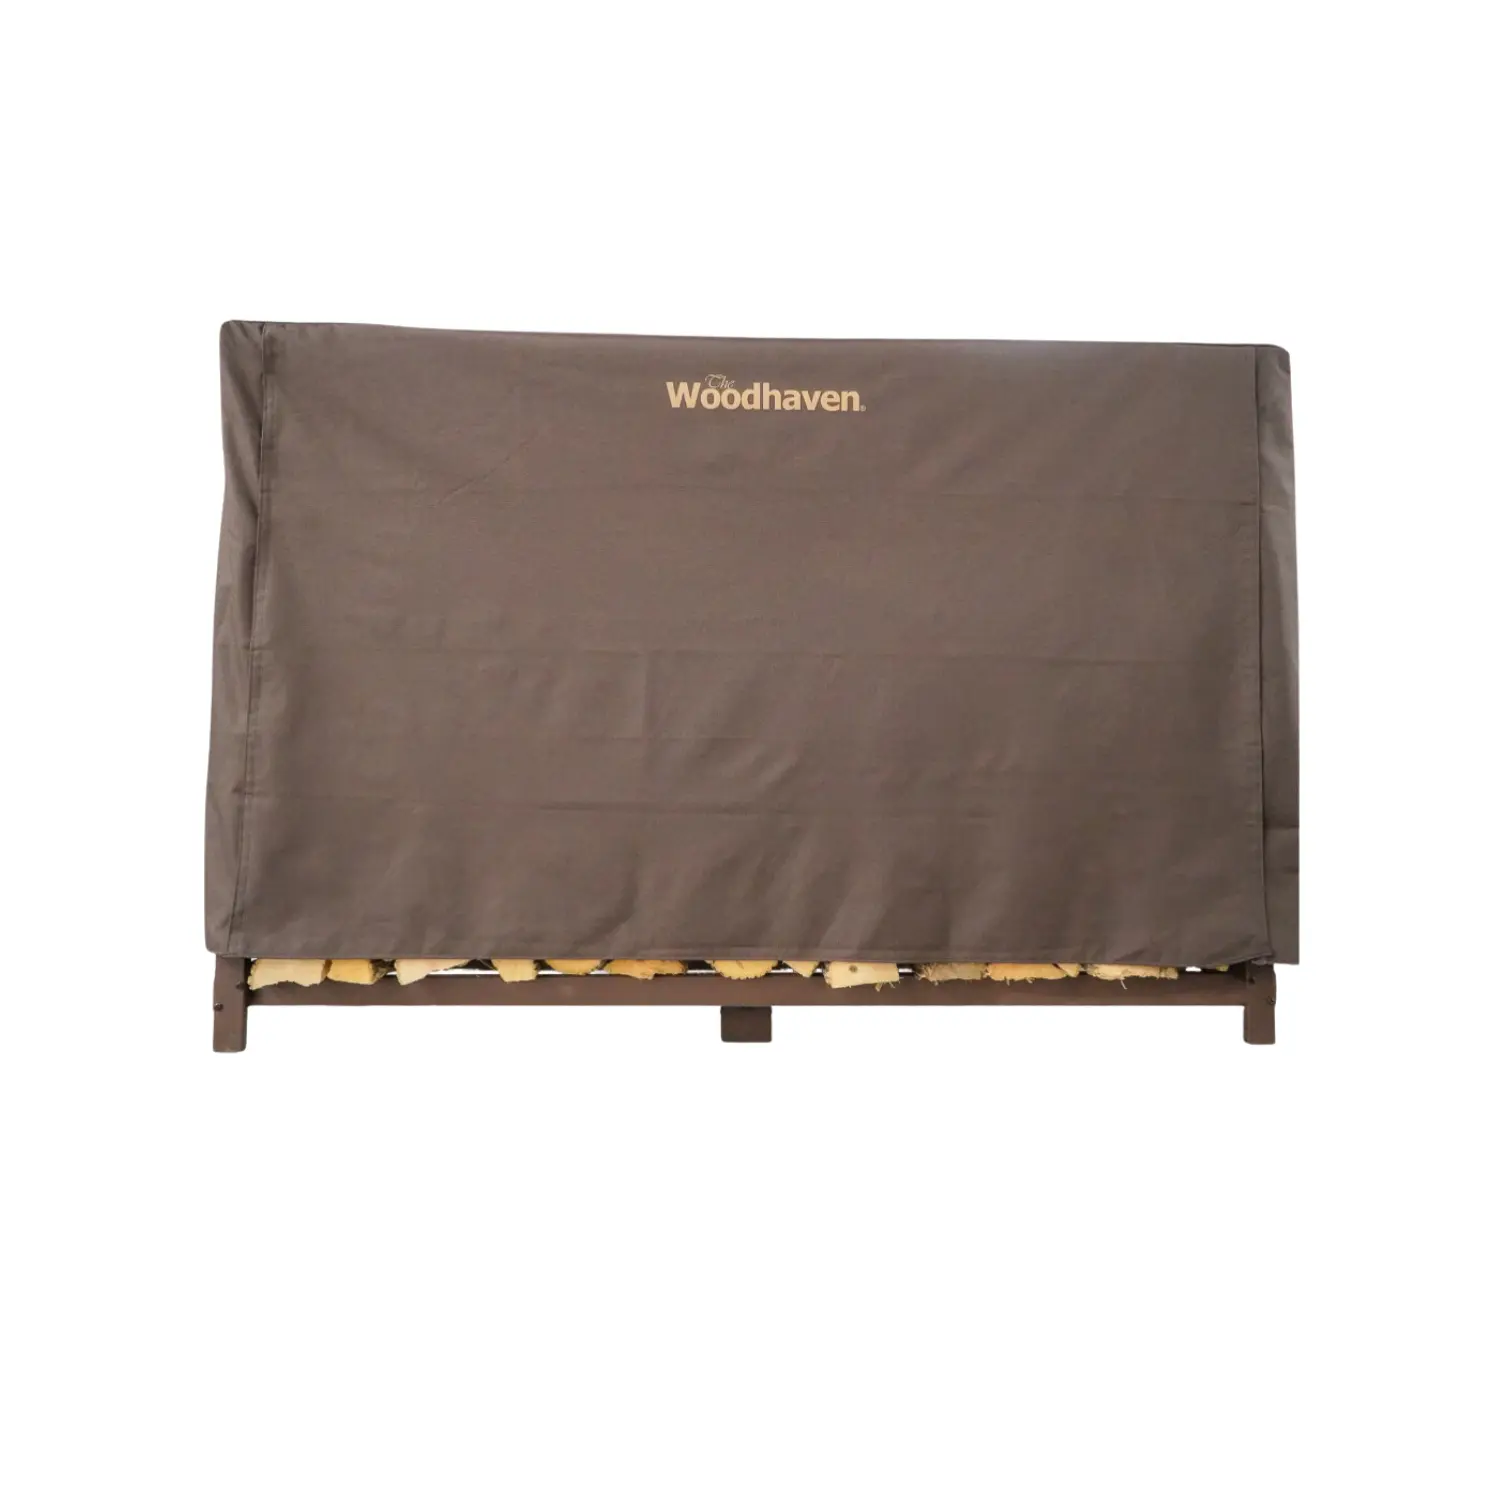
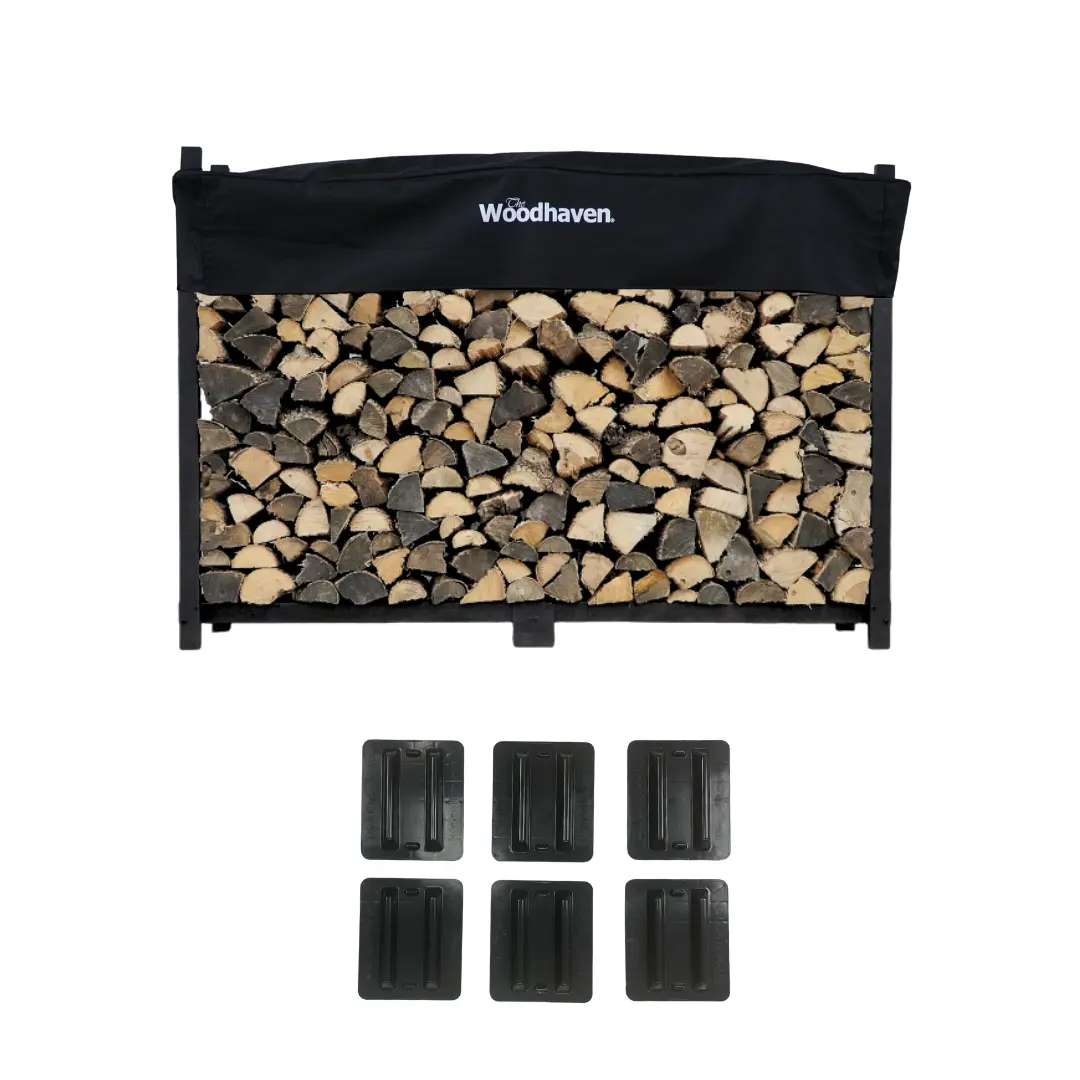
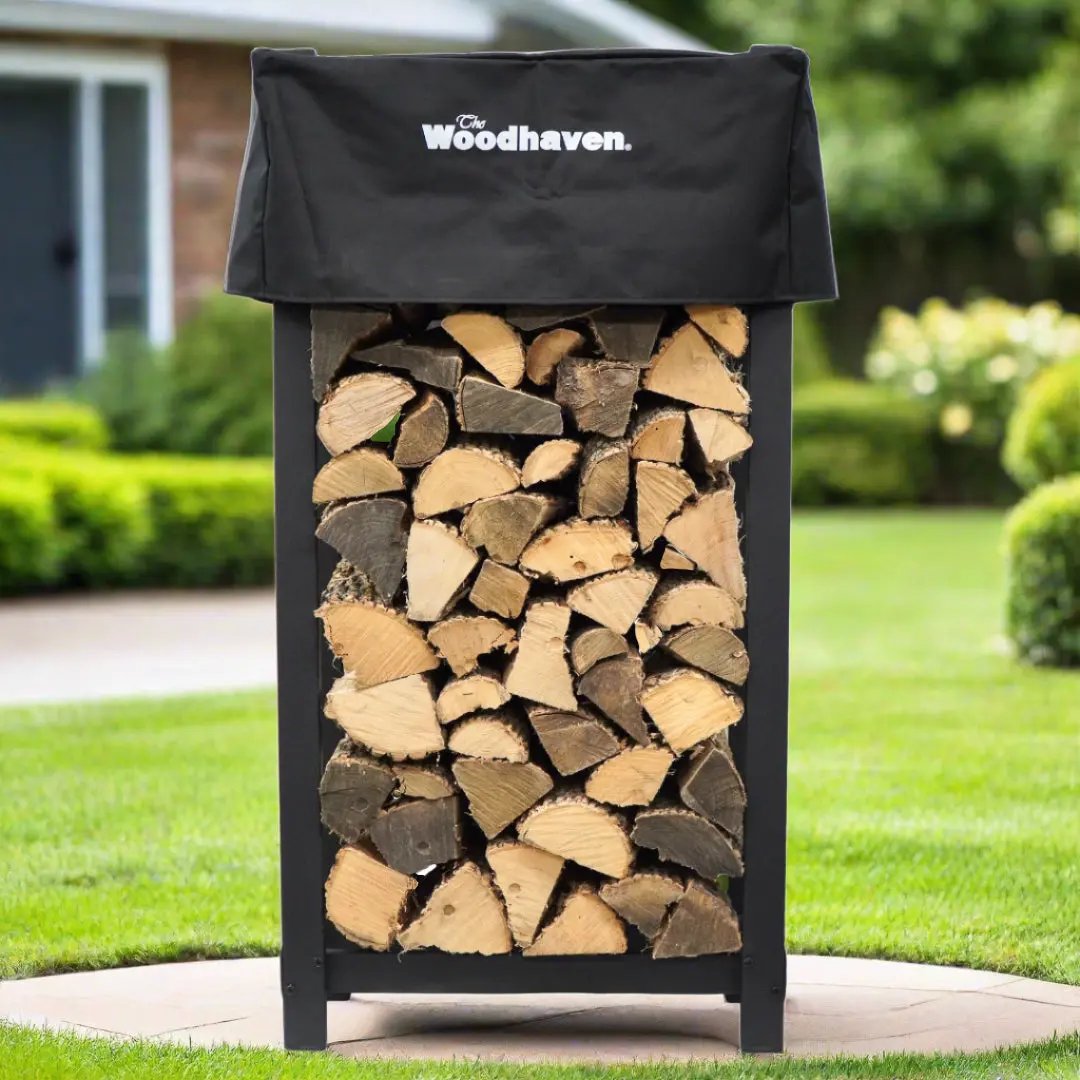
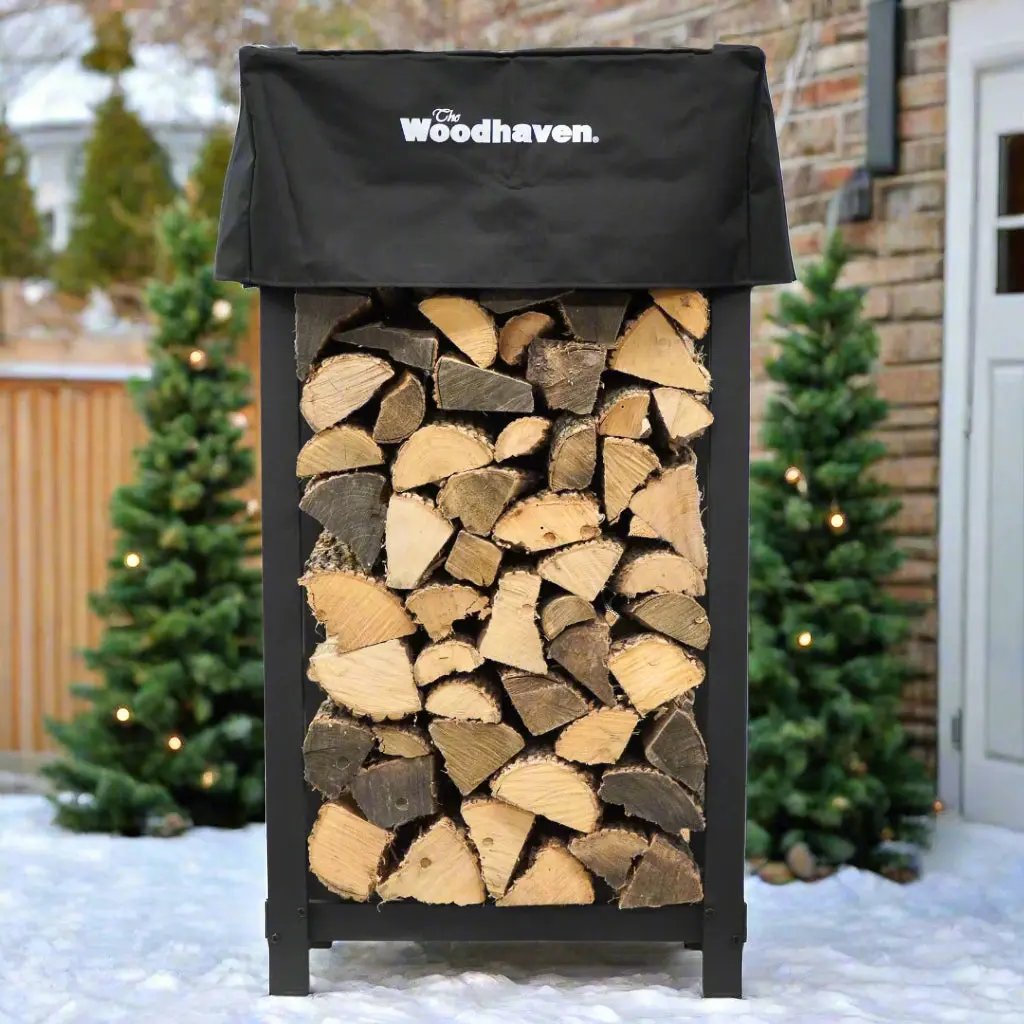
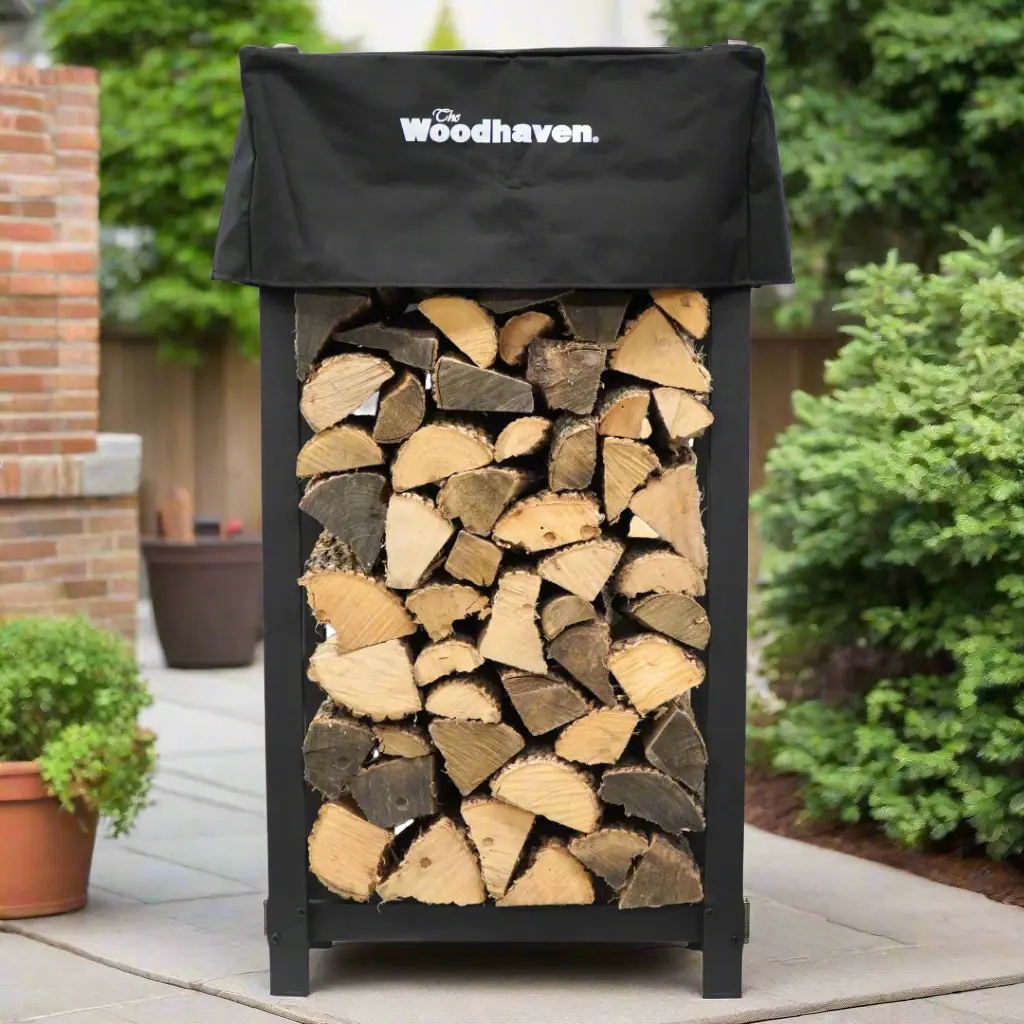
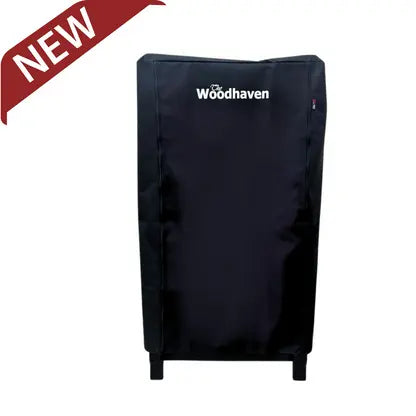
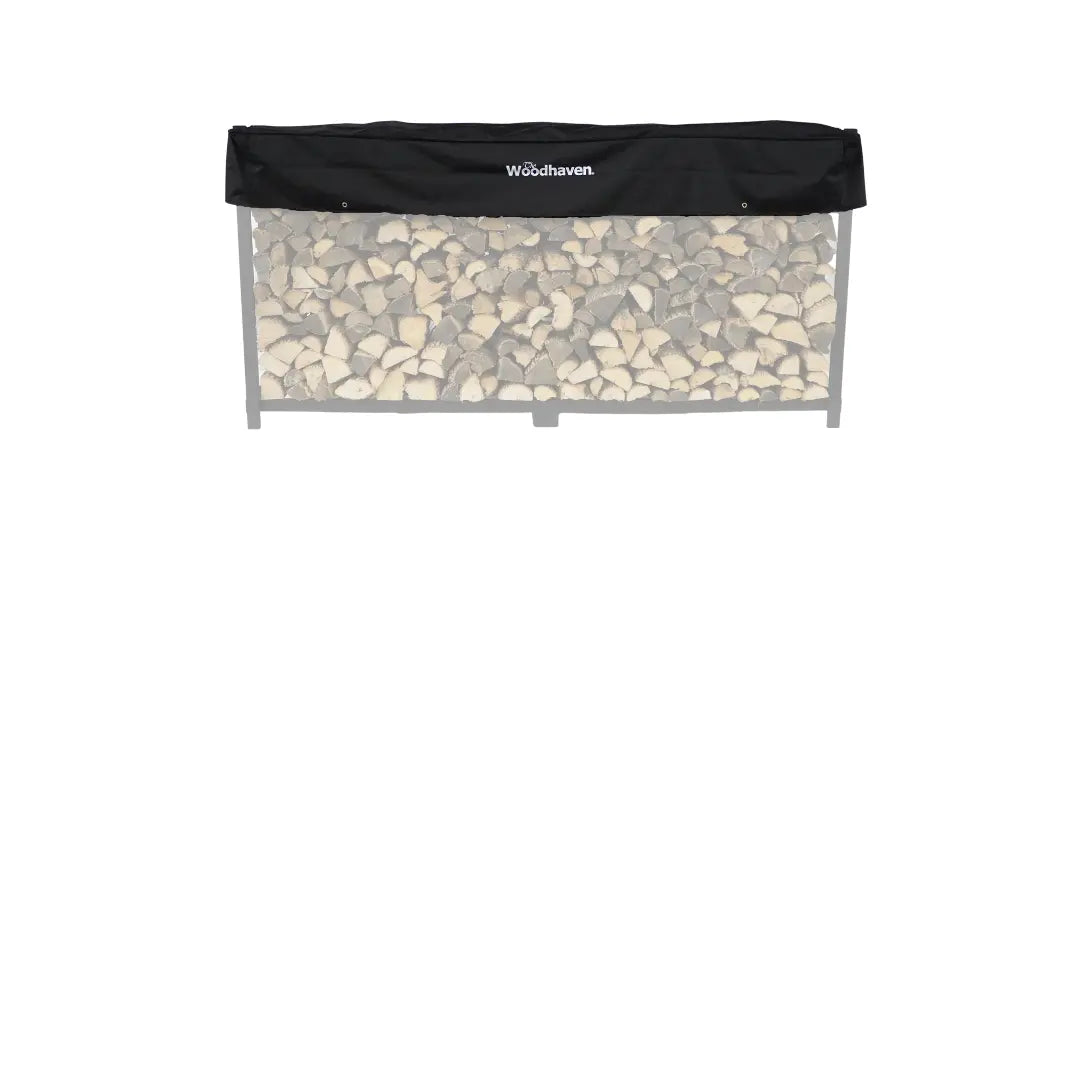
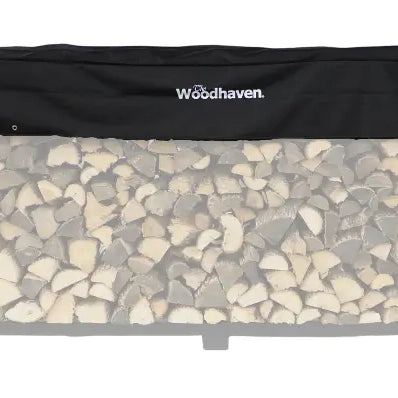
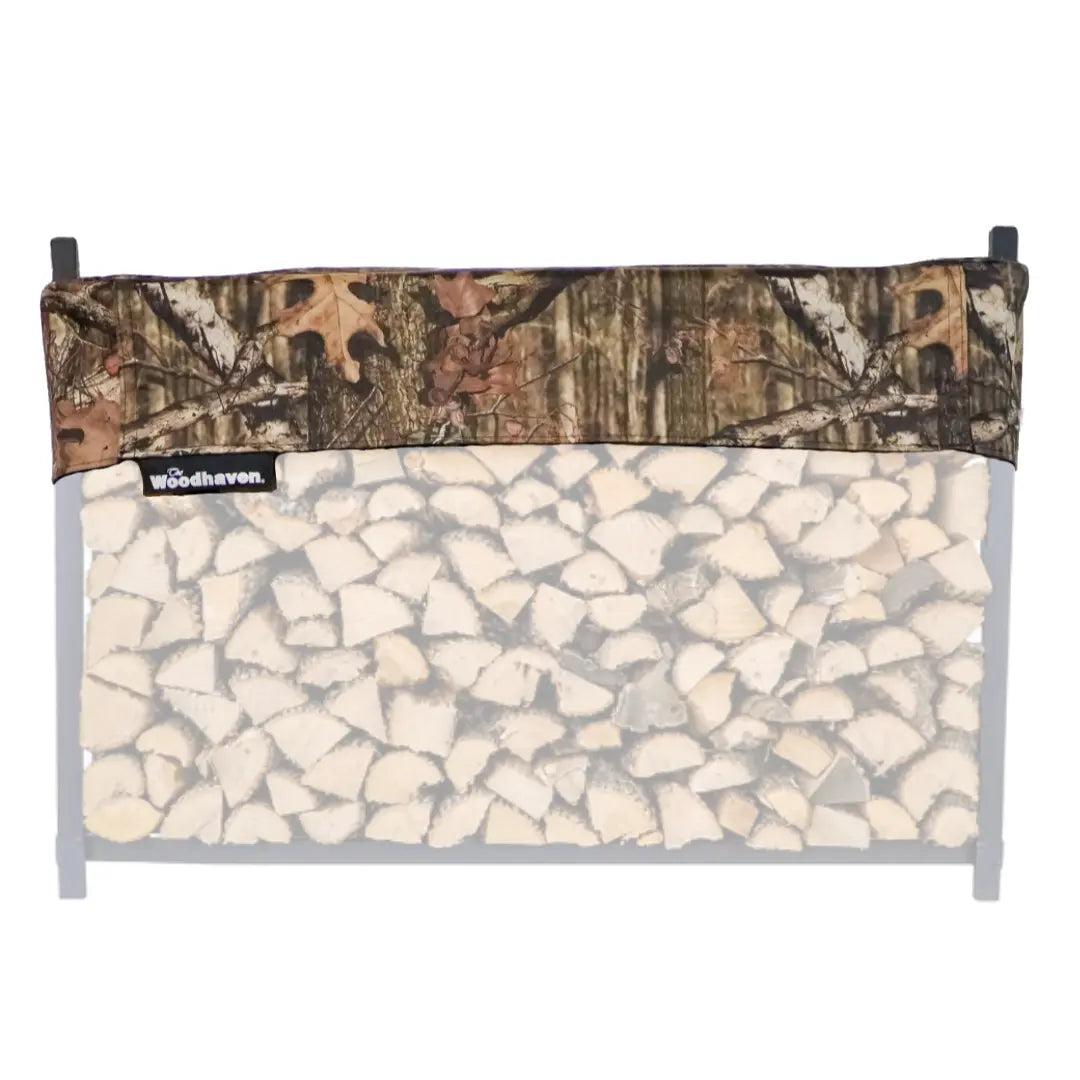
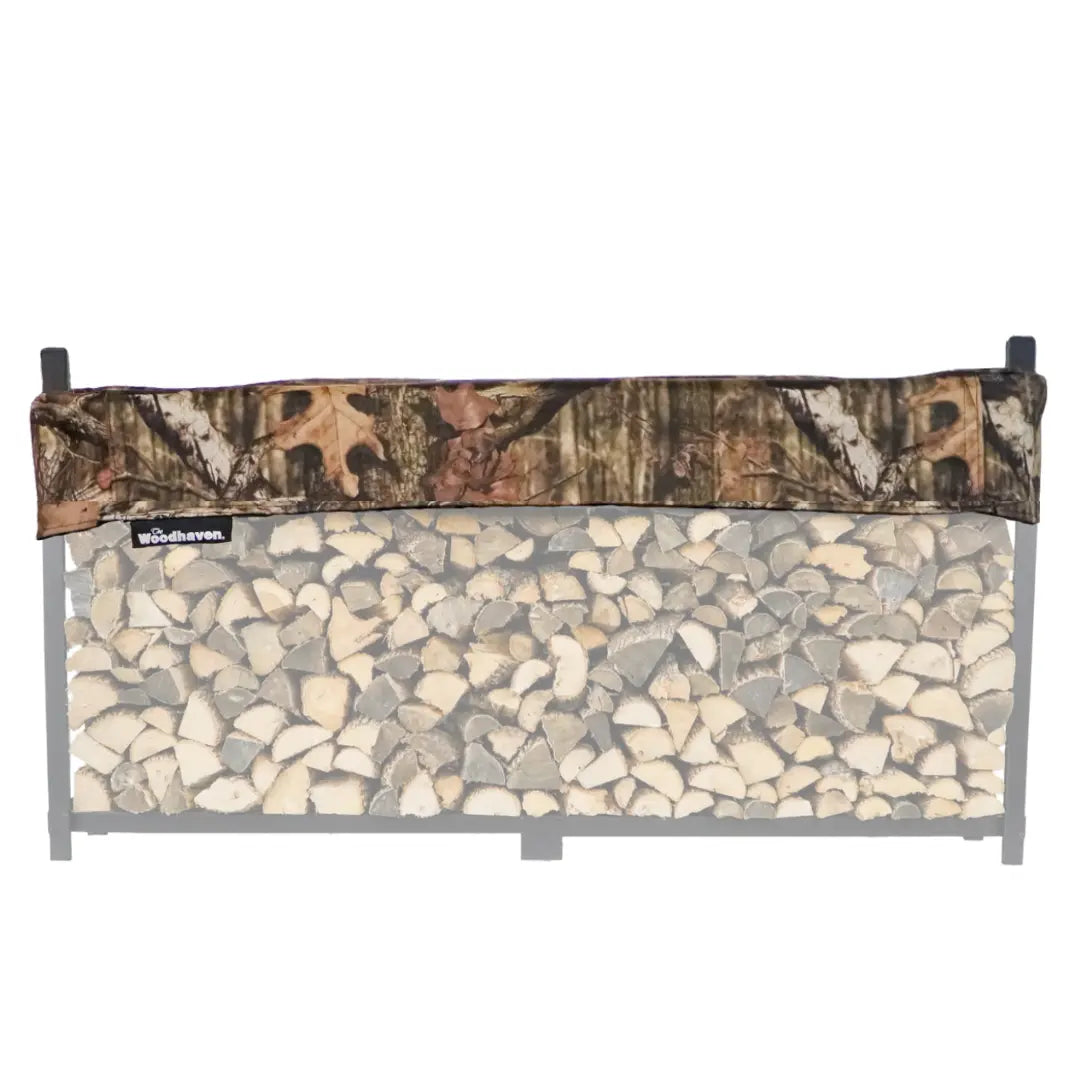
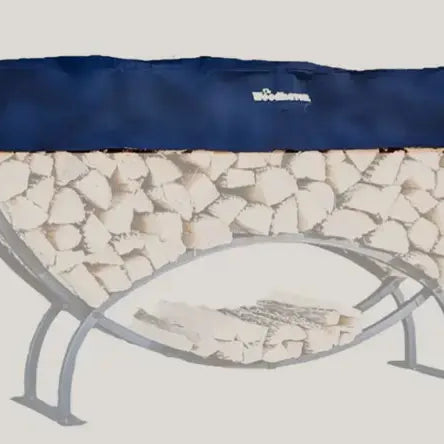
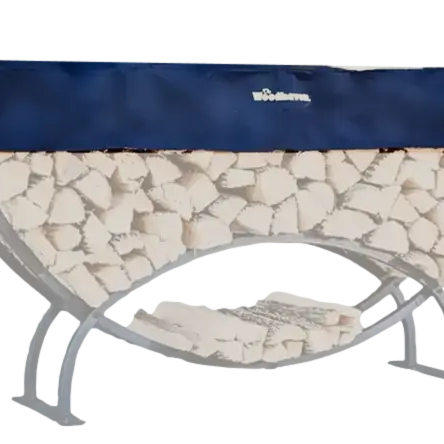
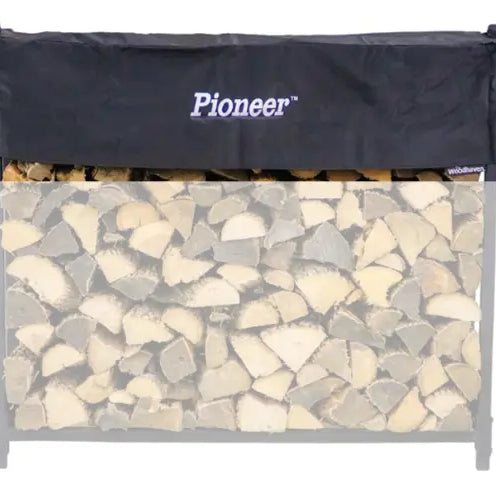
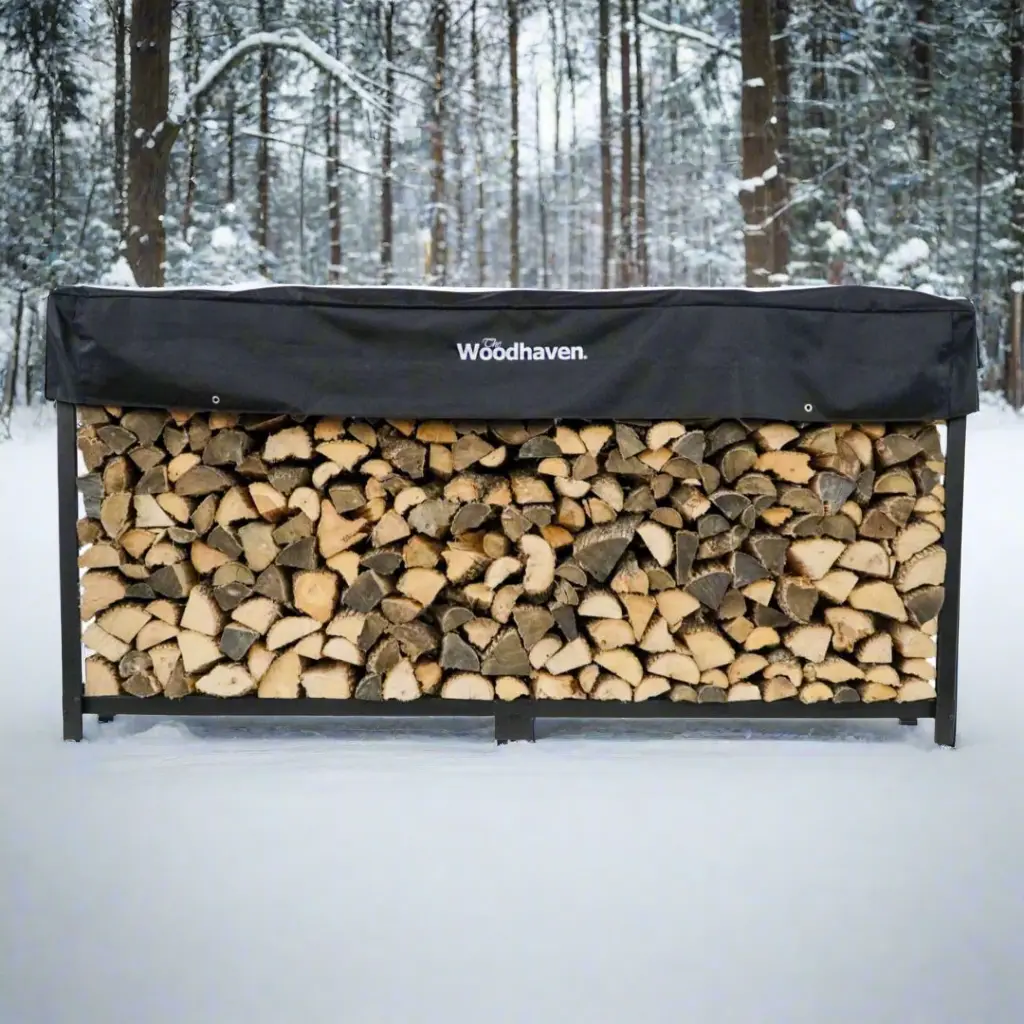
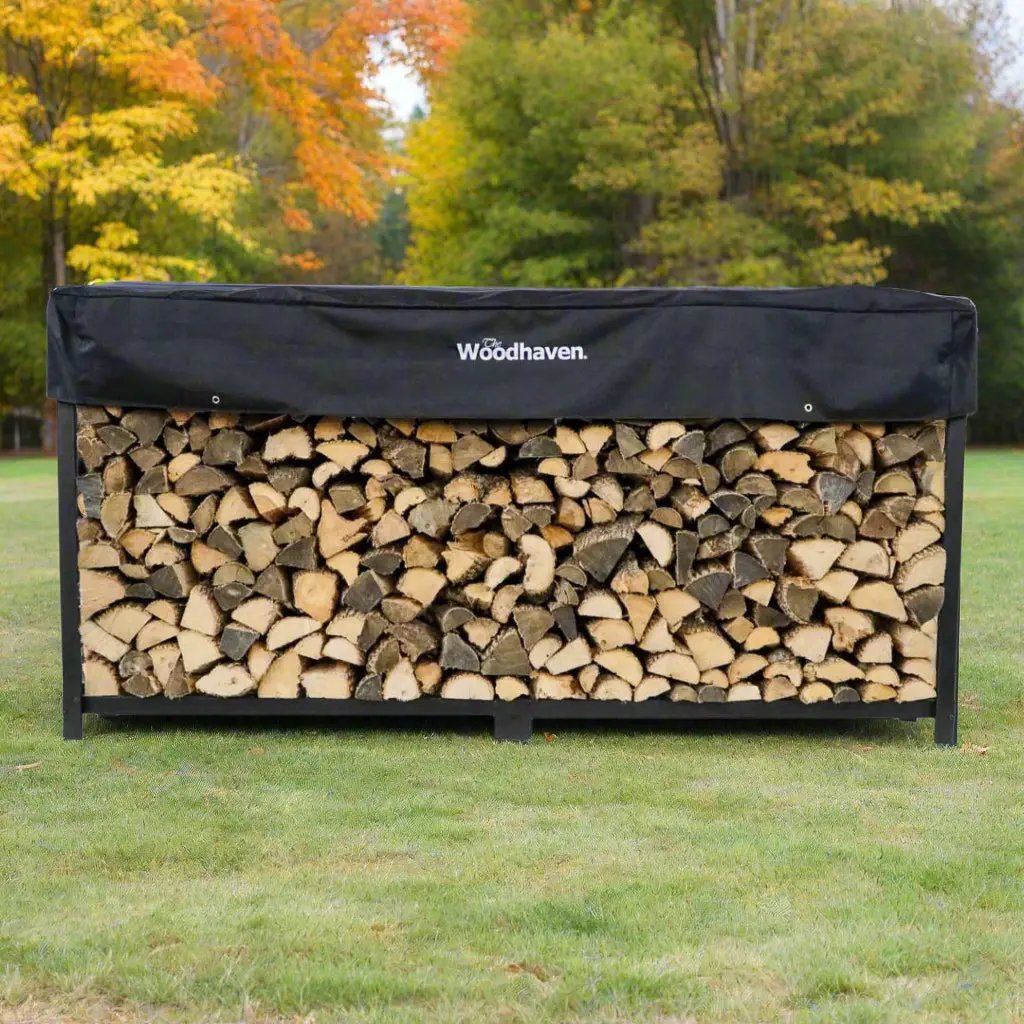
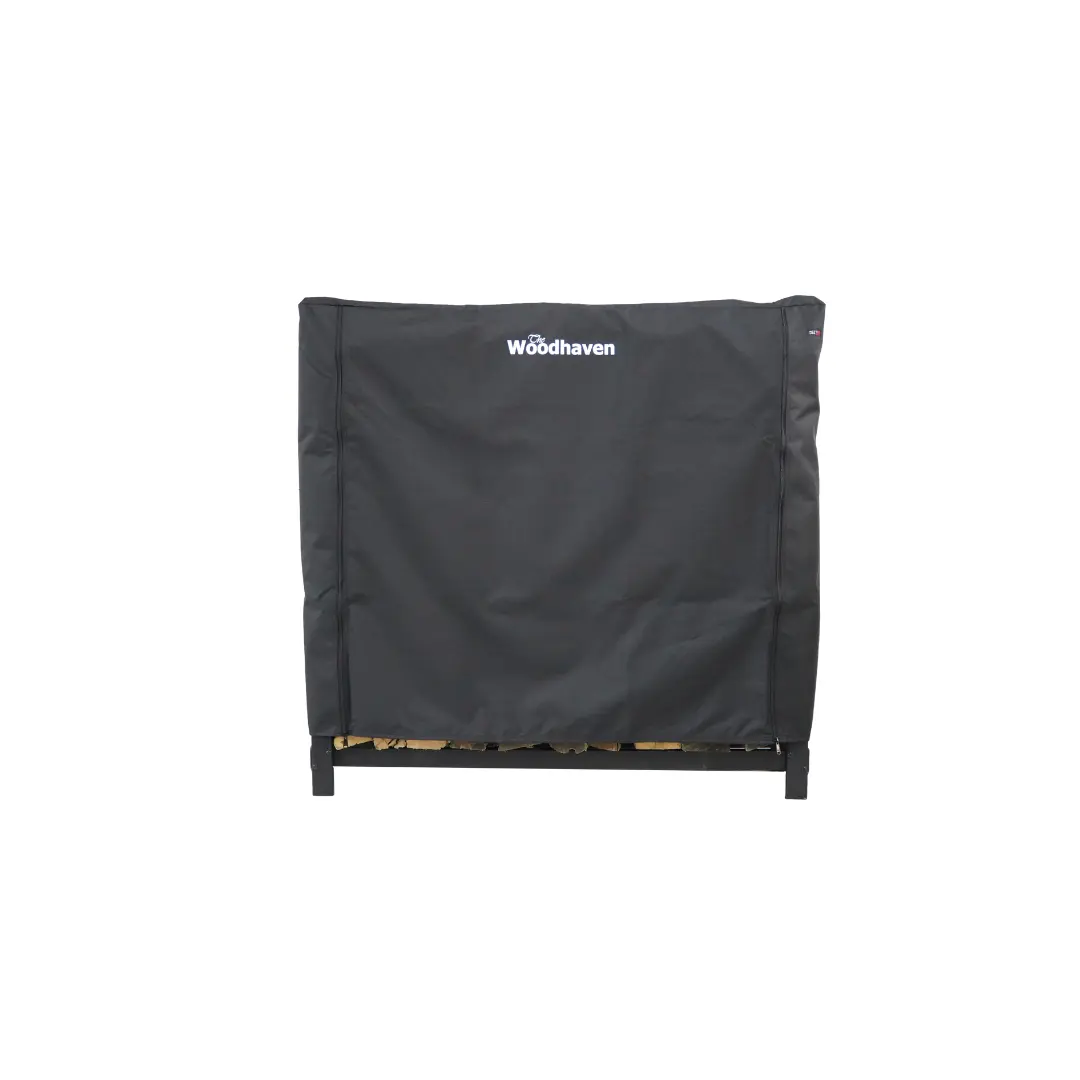
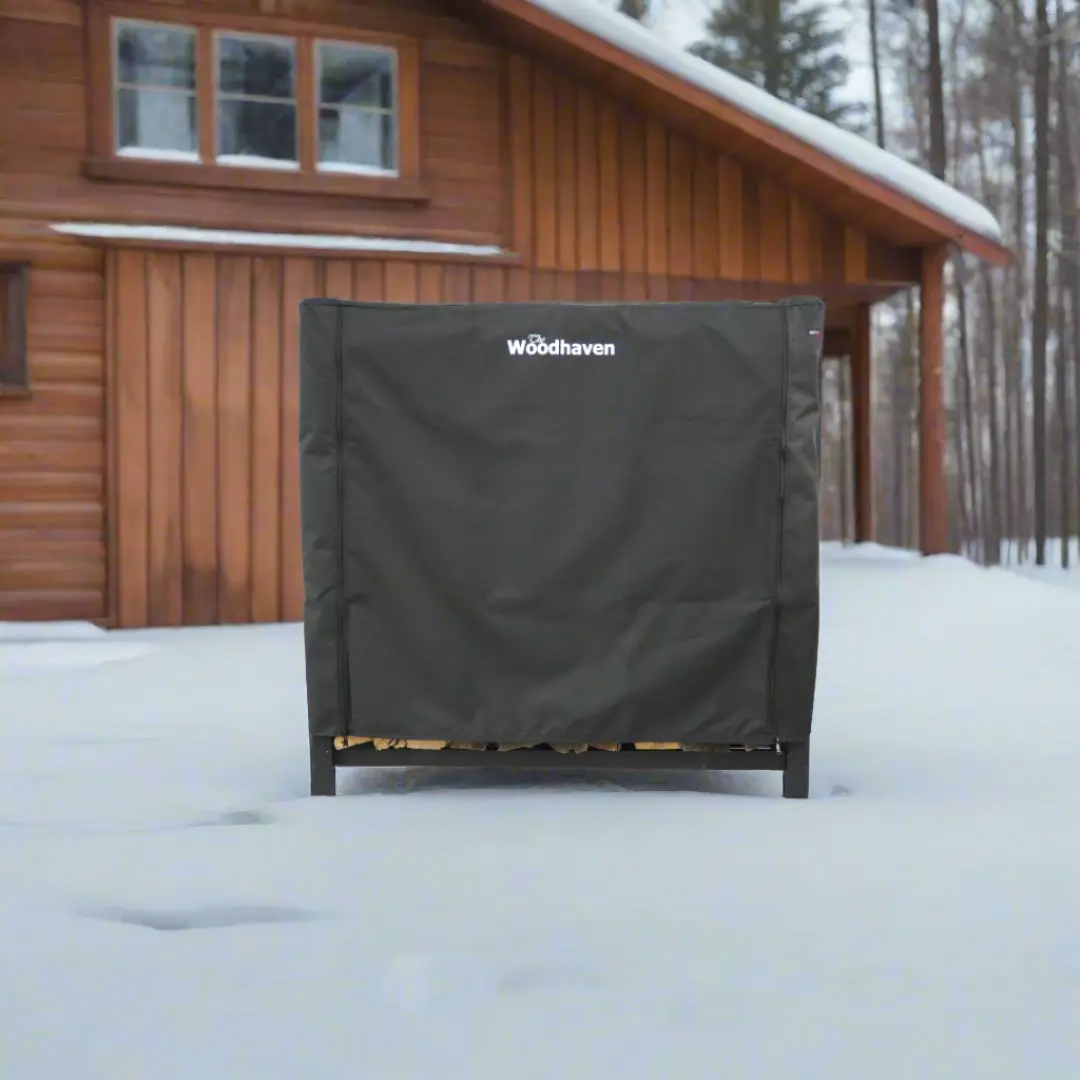
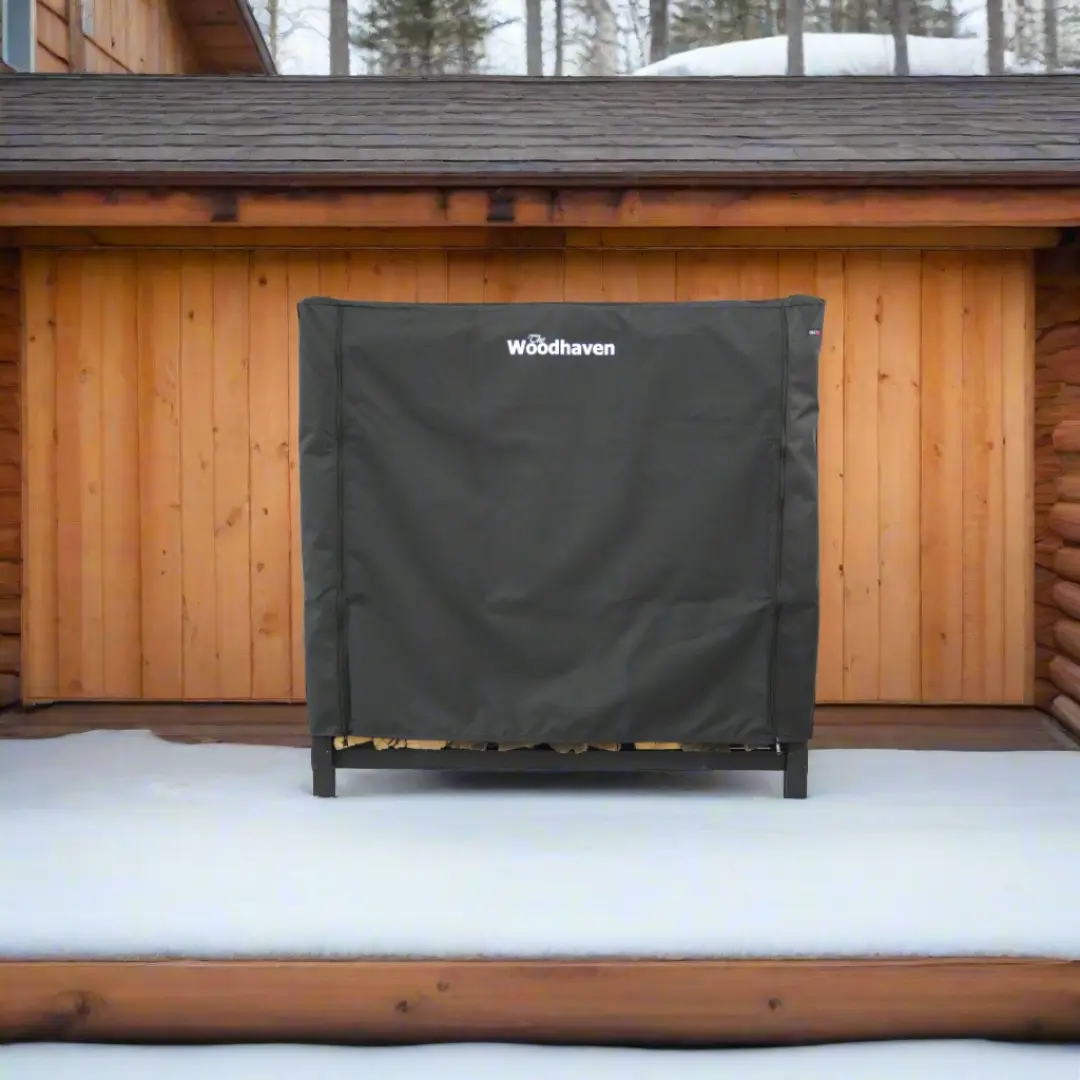
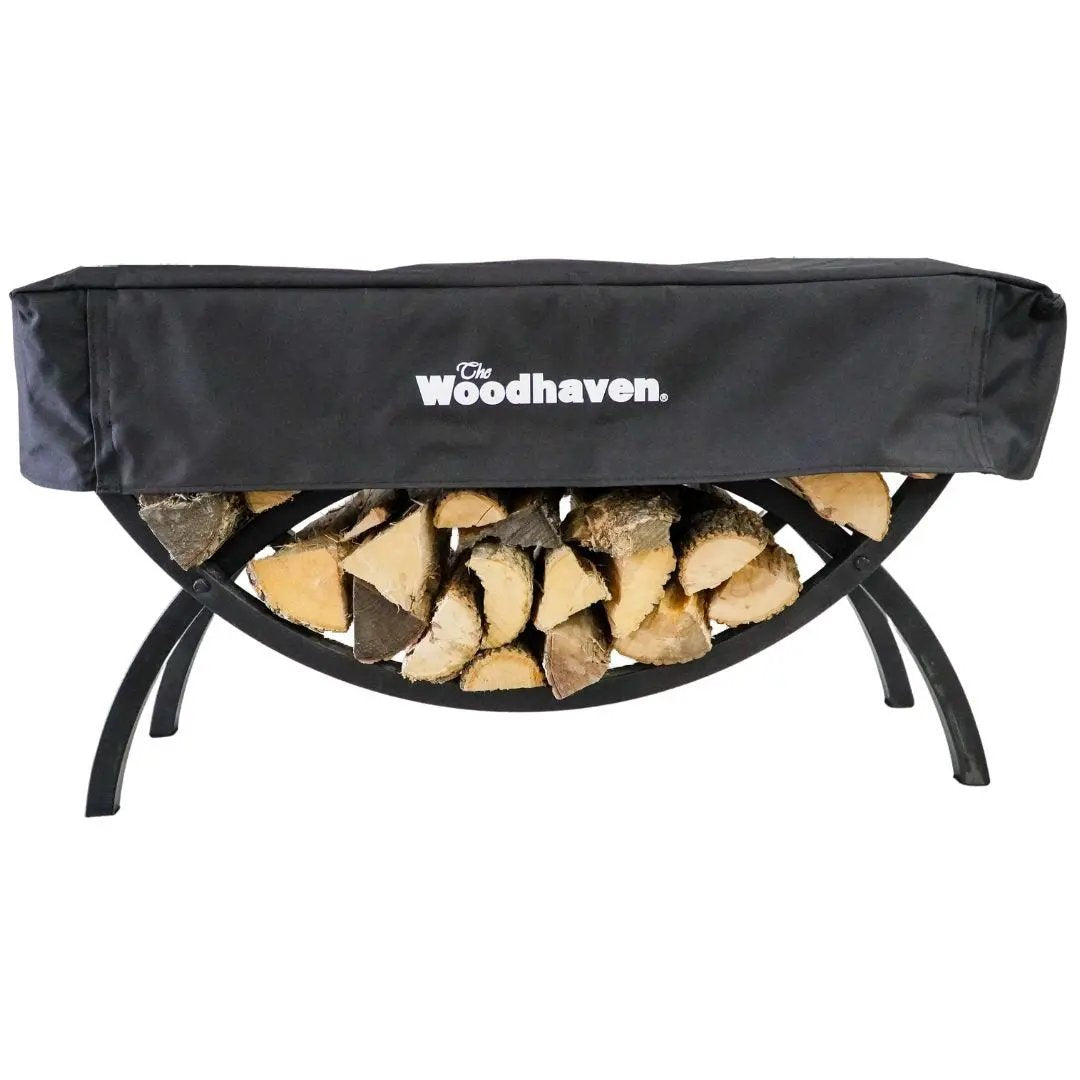
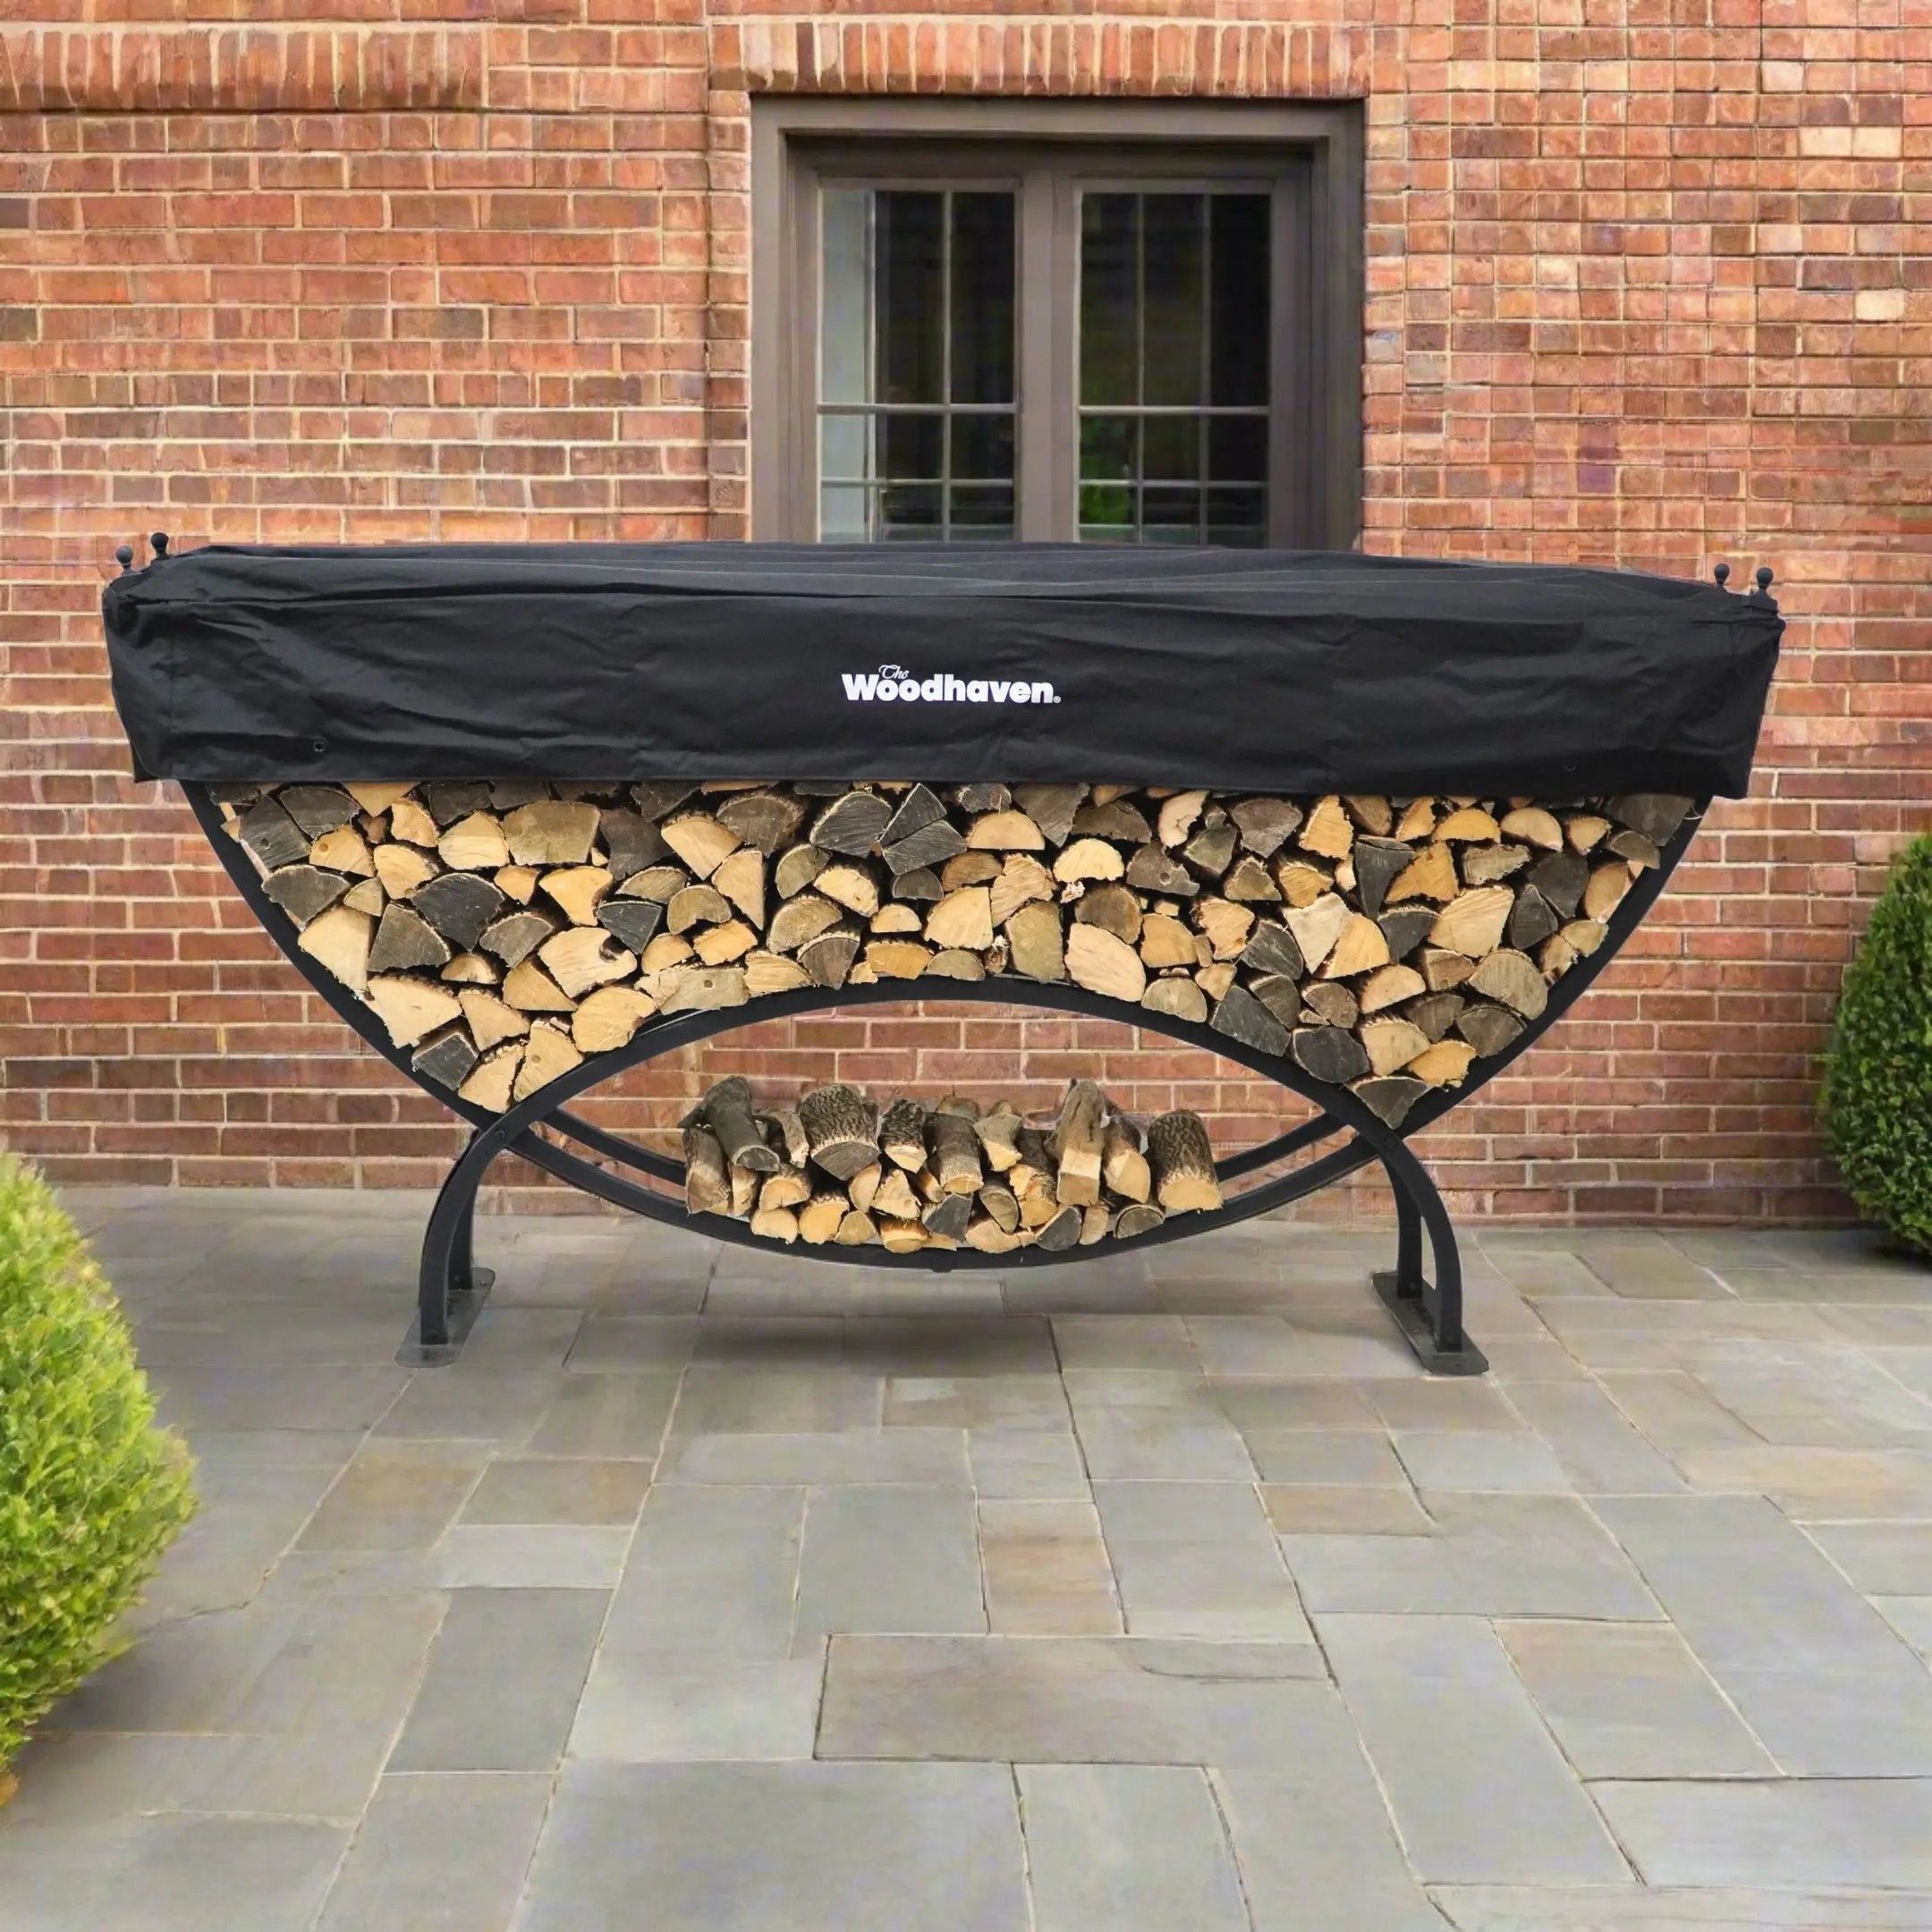
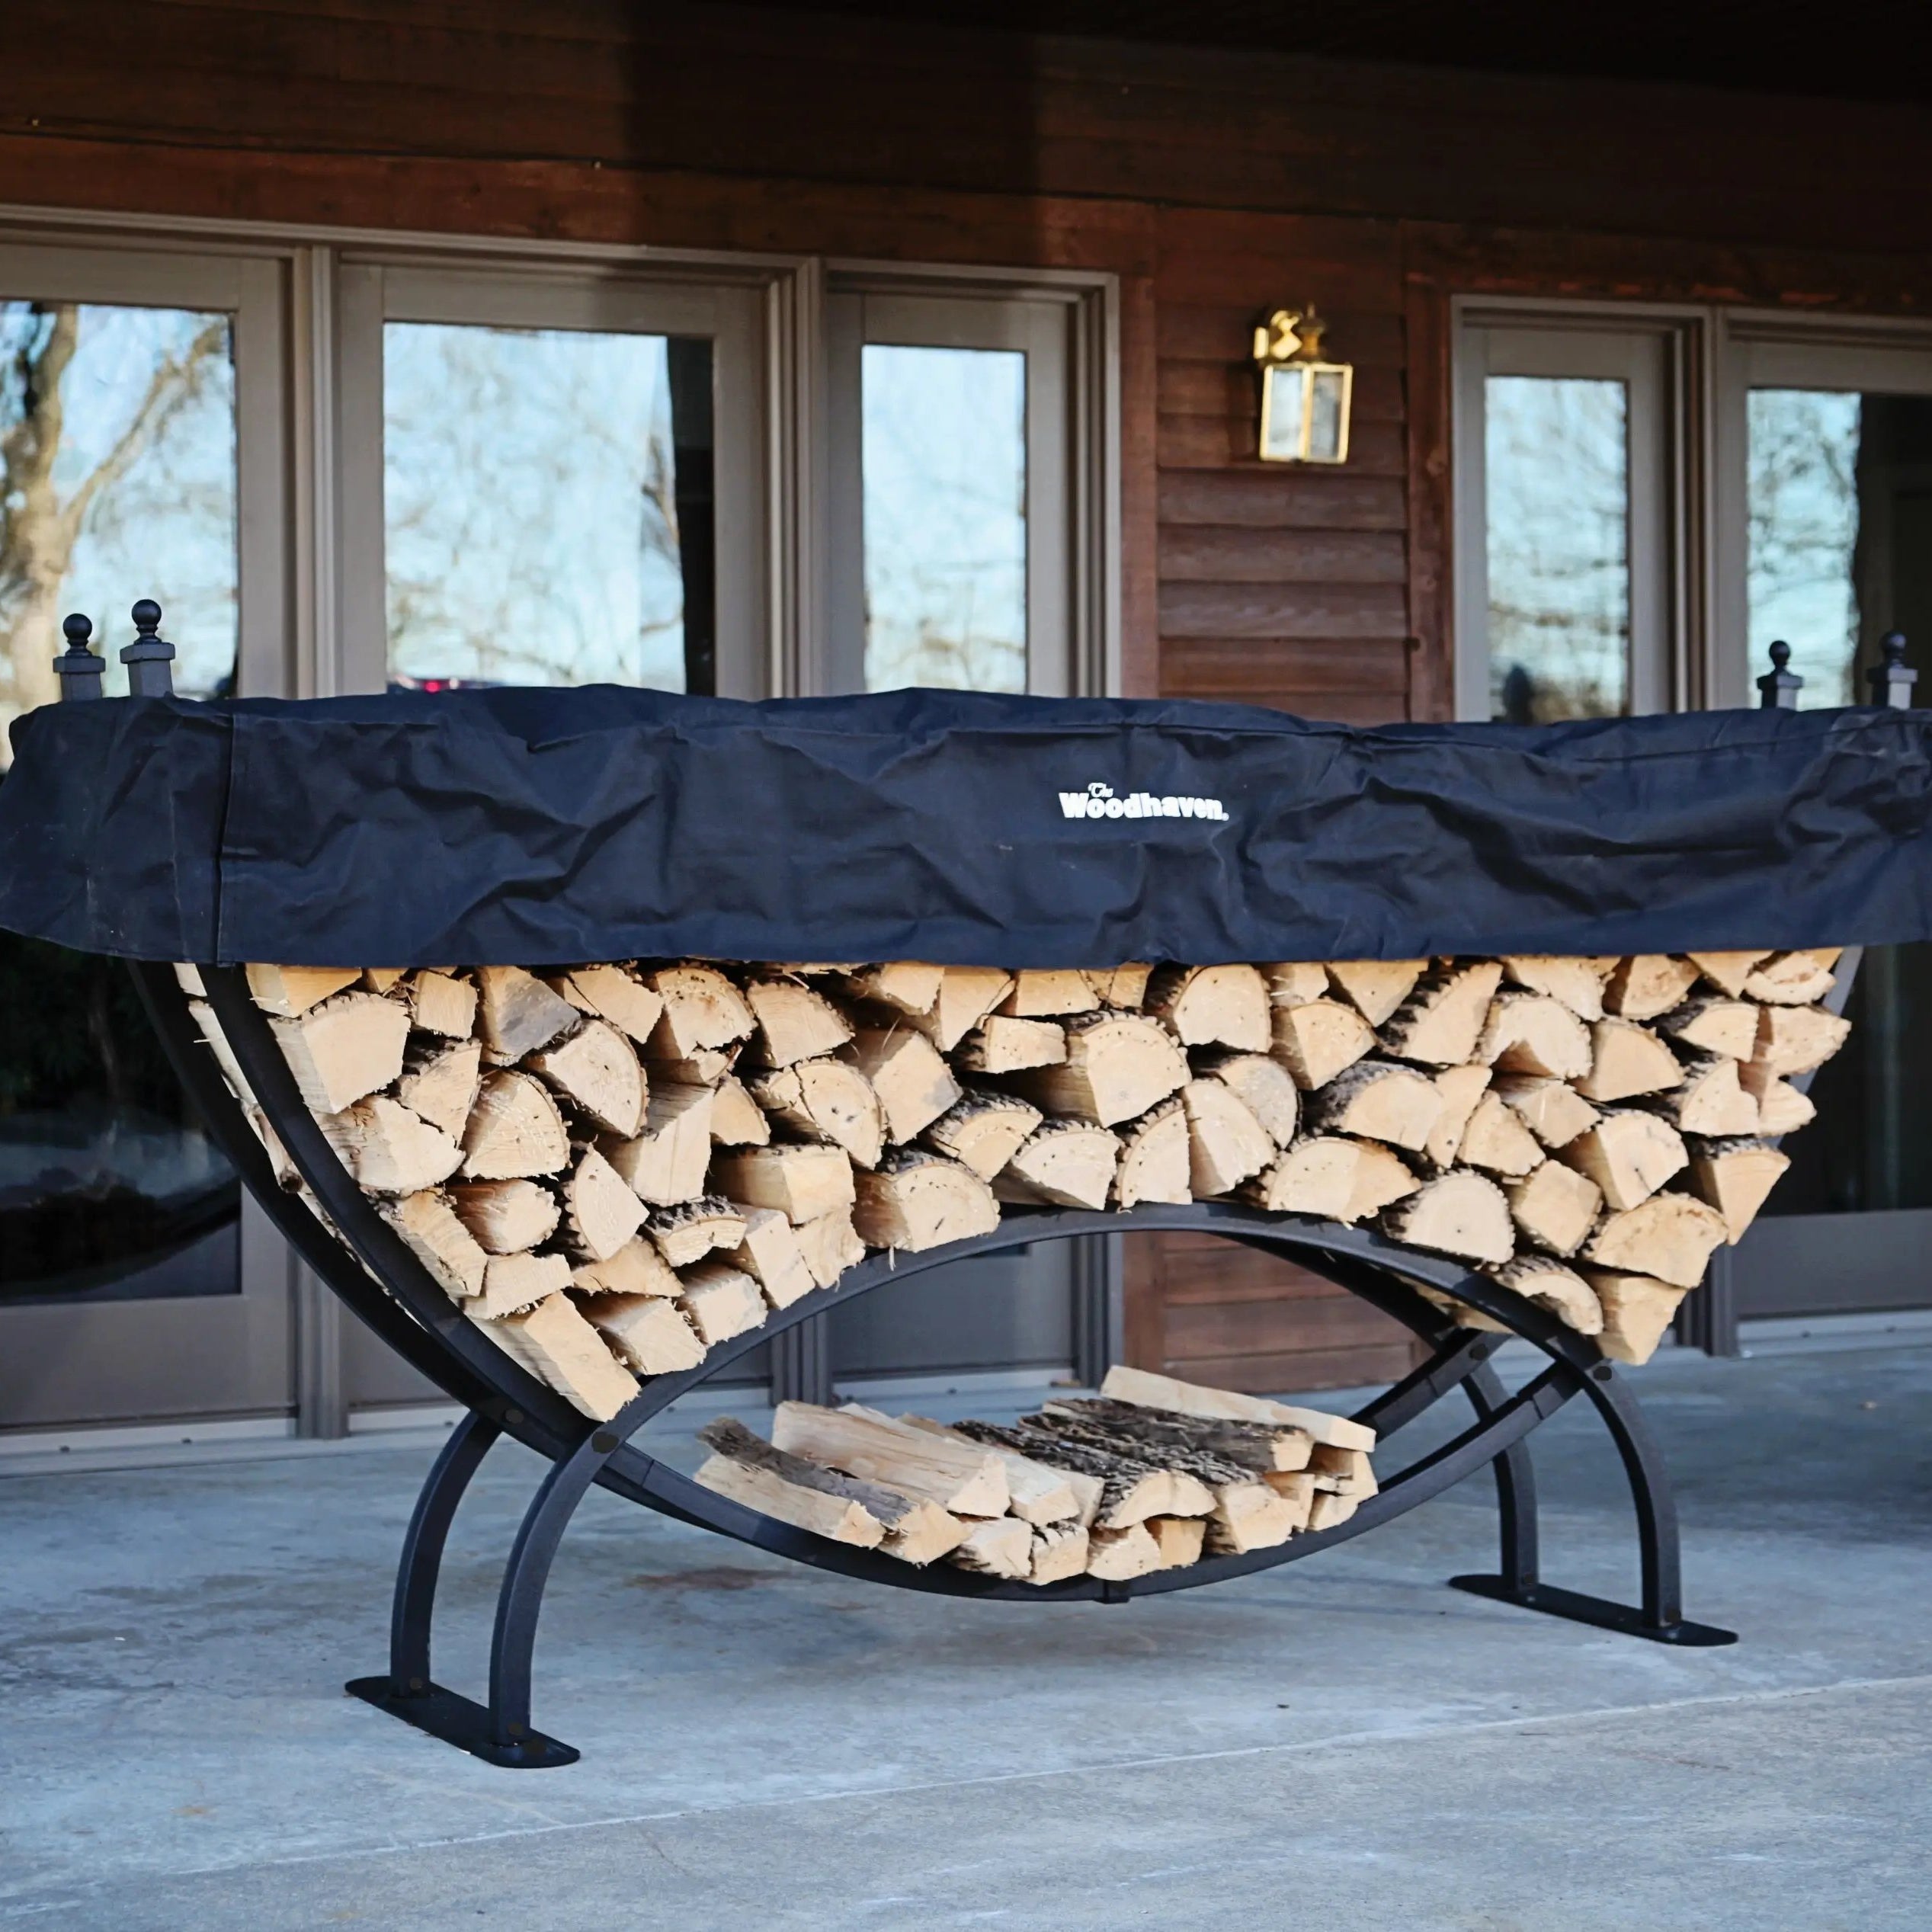
One downside to this traditional log roof: it isn't fully waterproof, and you'll end up "burning your roof" the first time you start pulling wood from the pile. Once that happens, you'll want some kind of cover to keep rain, snow, and leaves out.
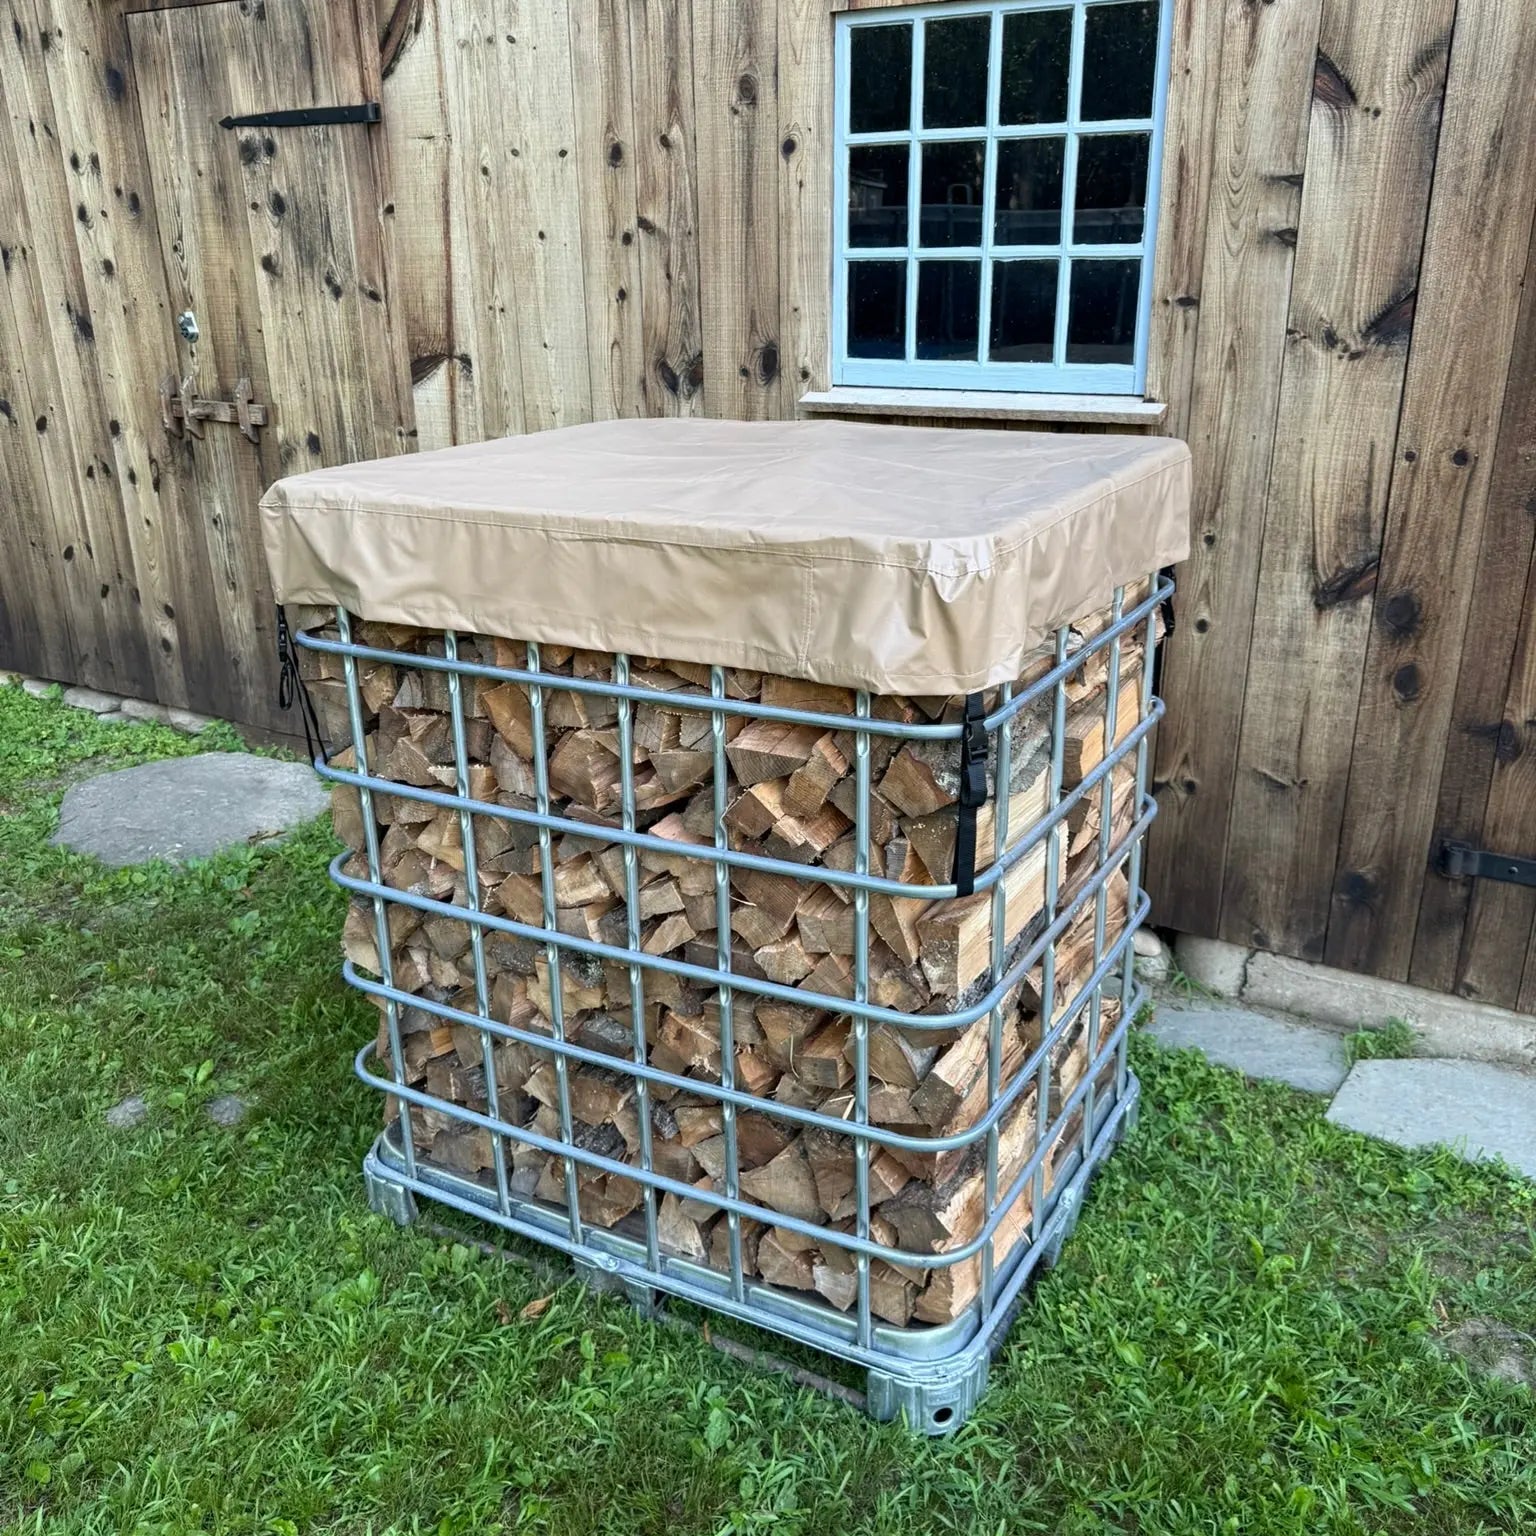
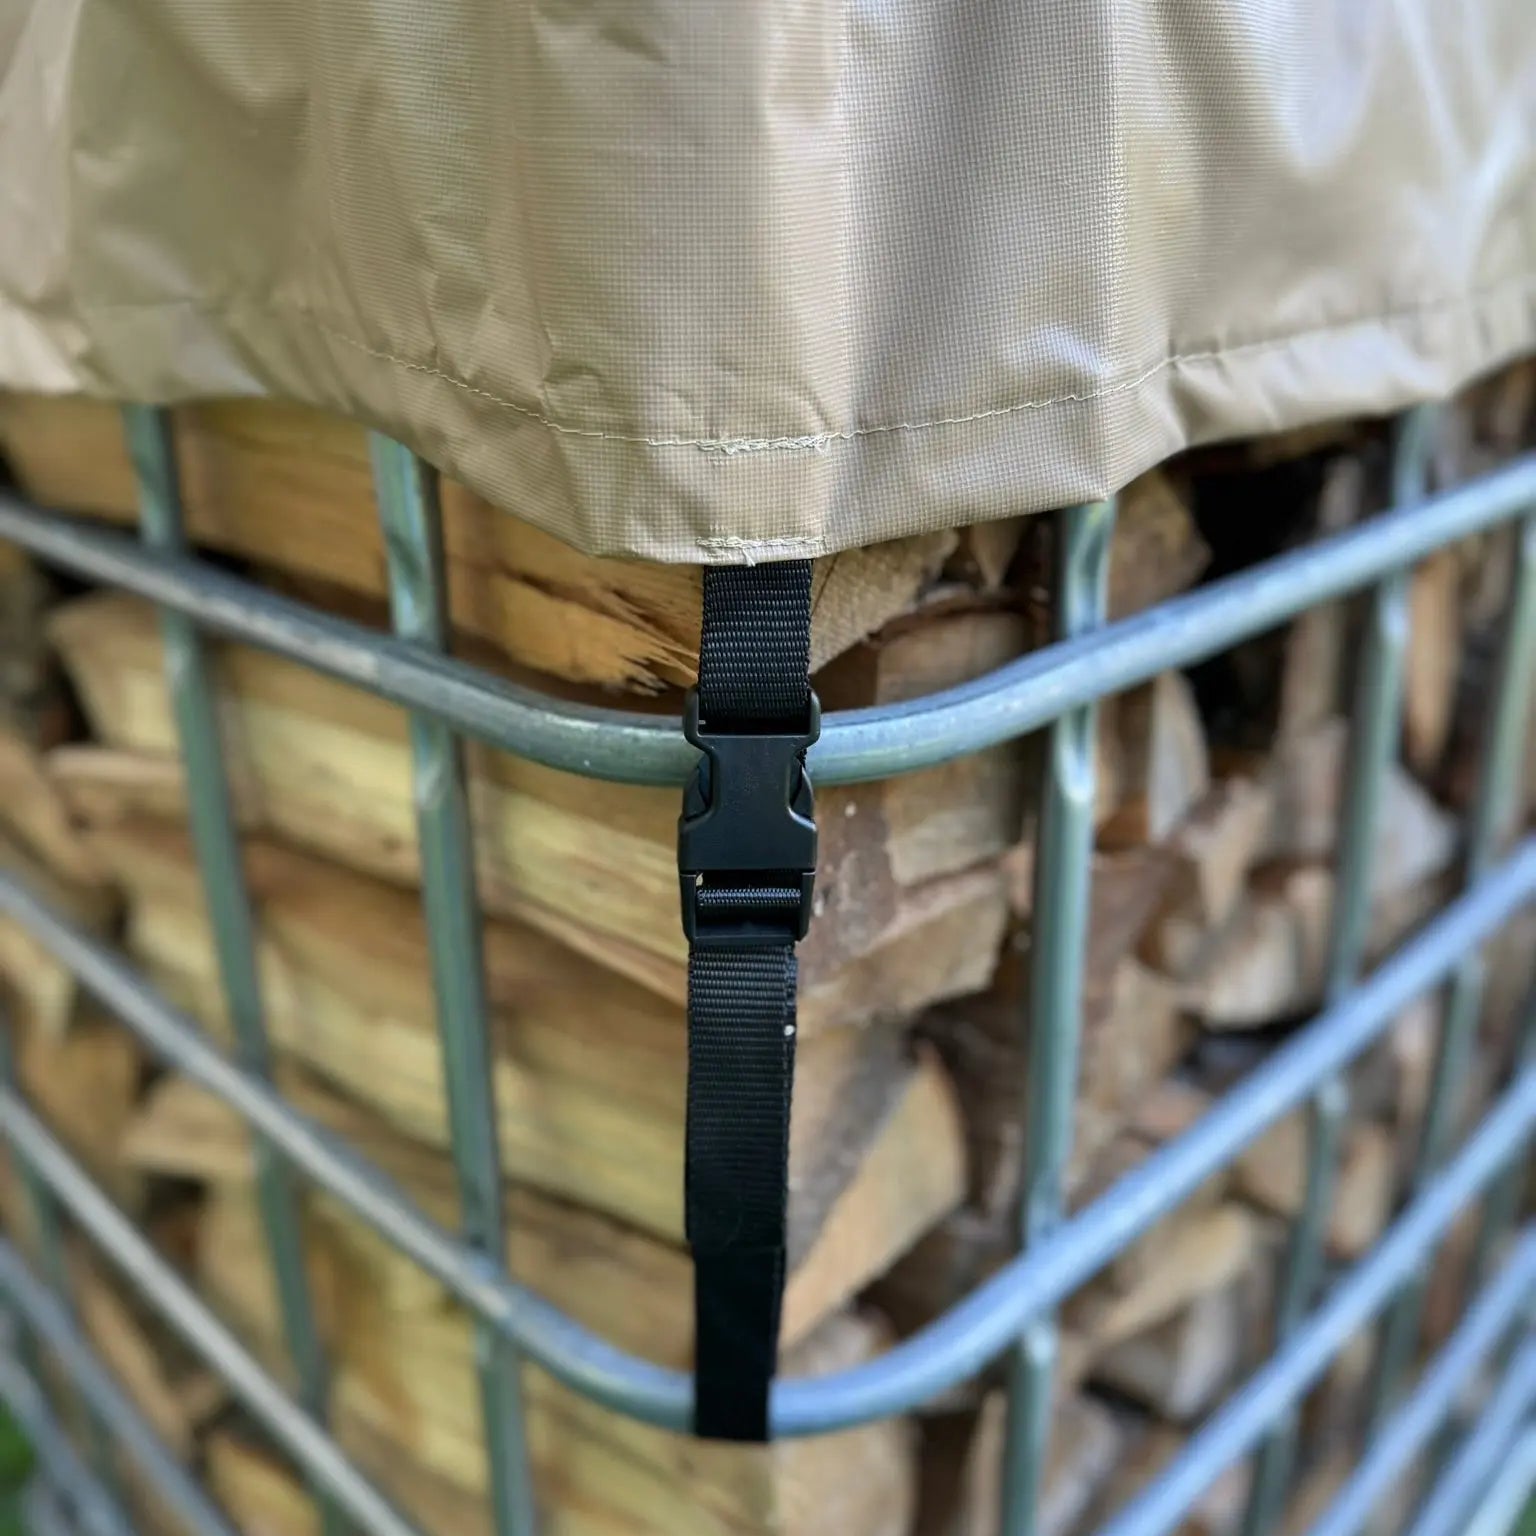
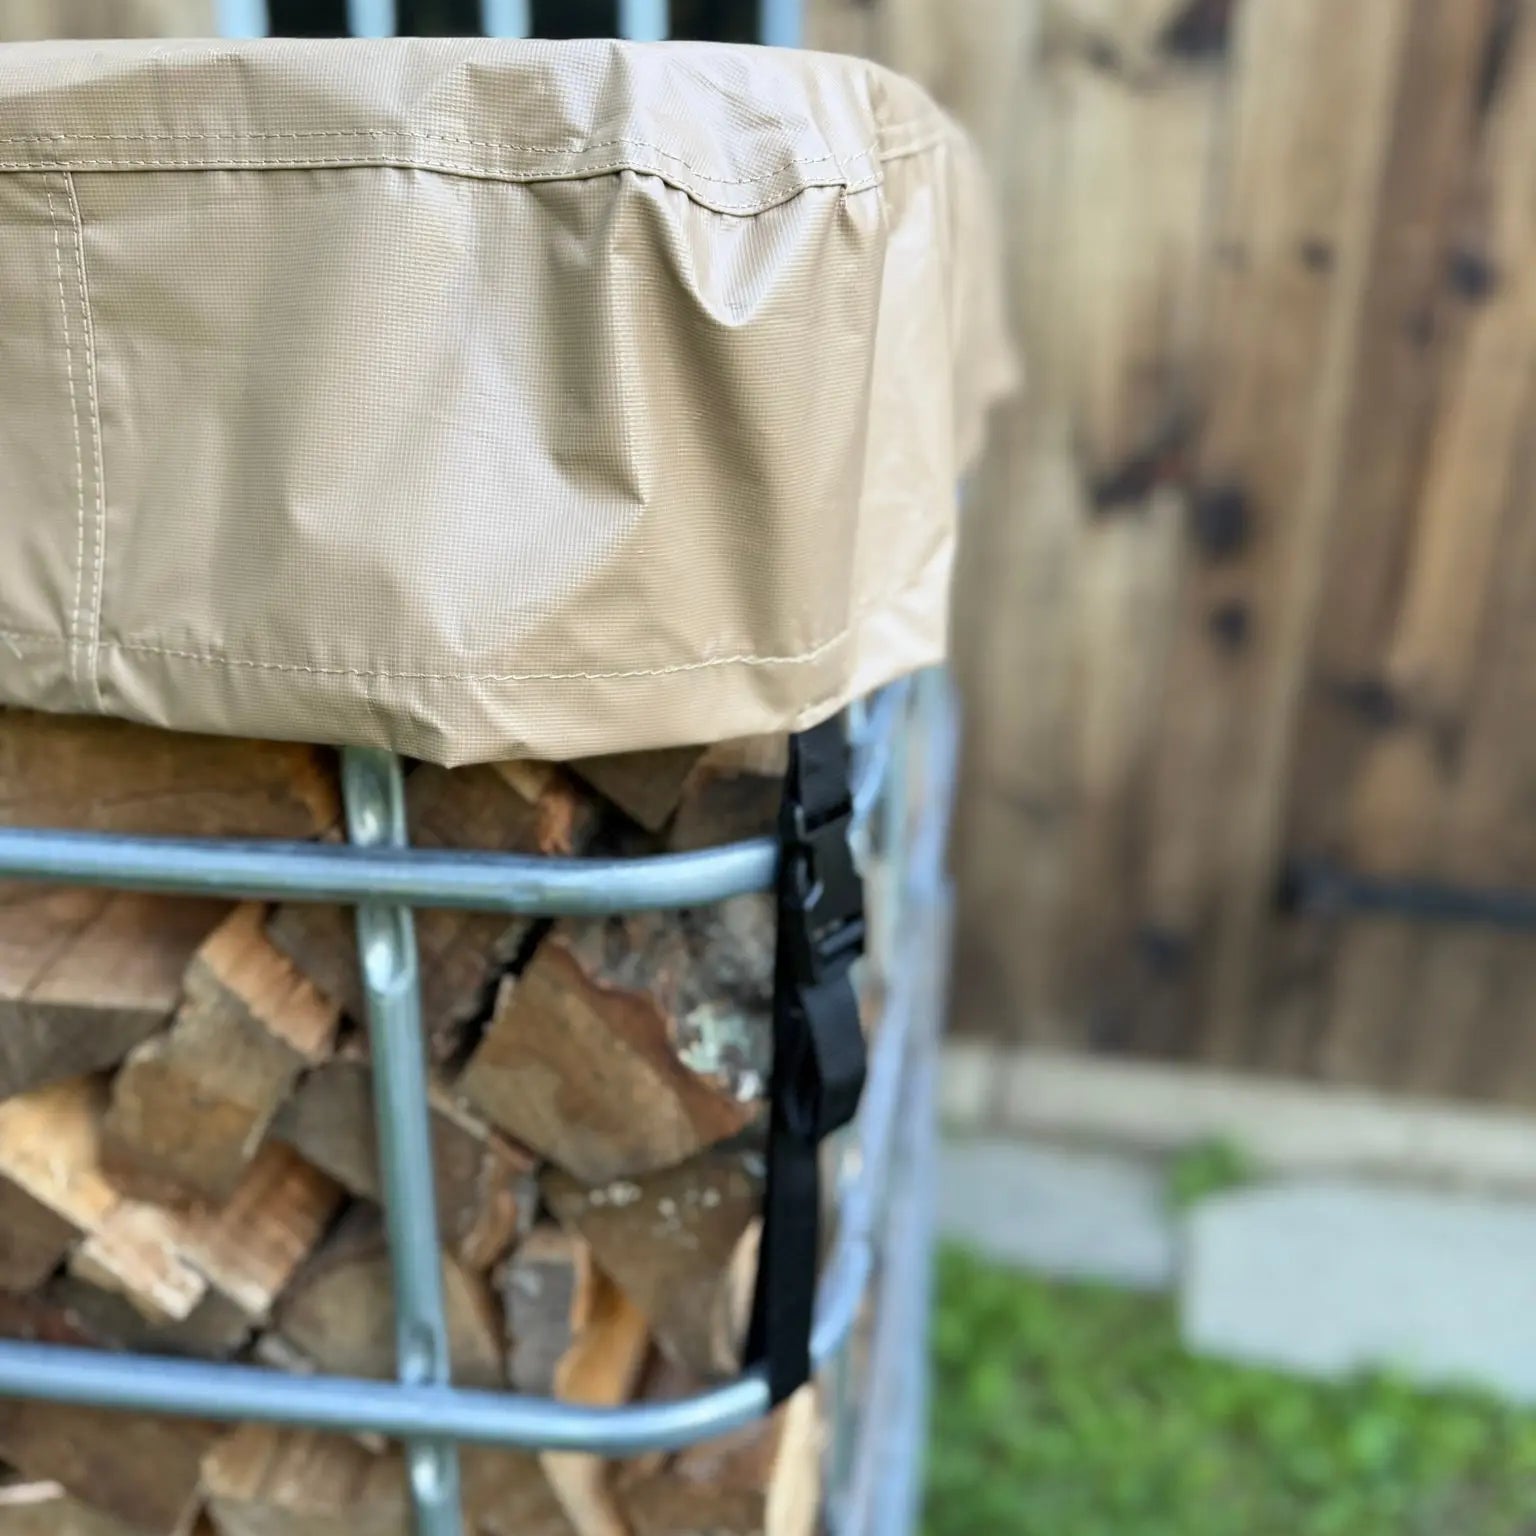
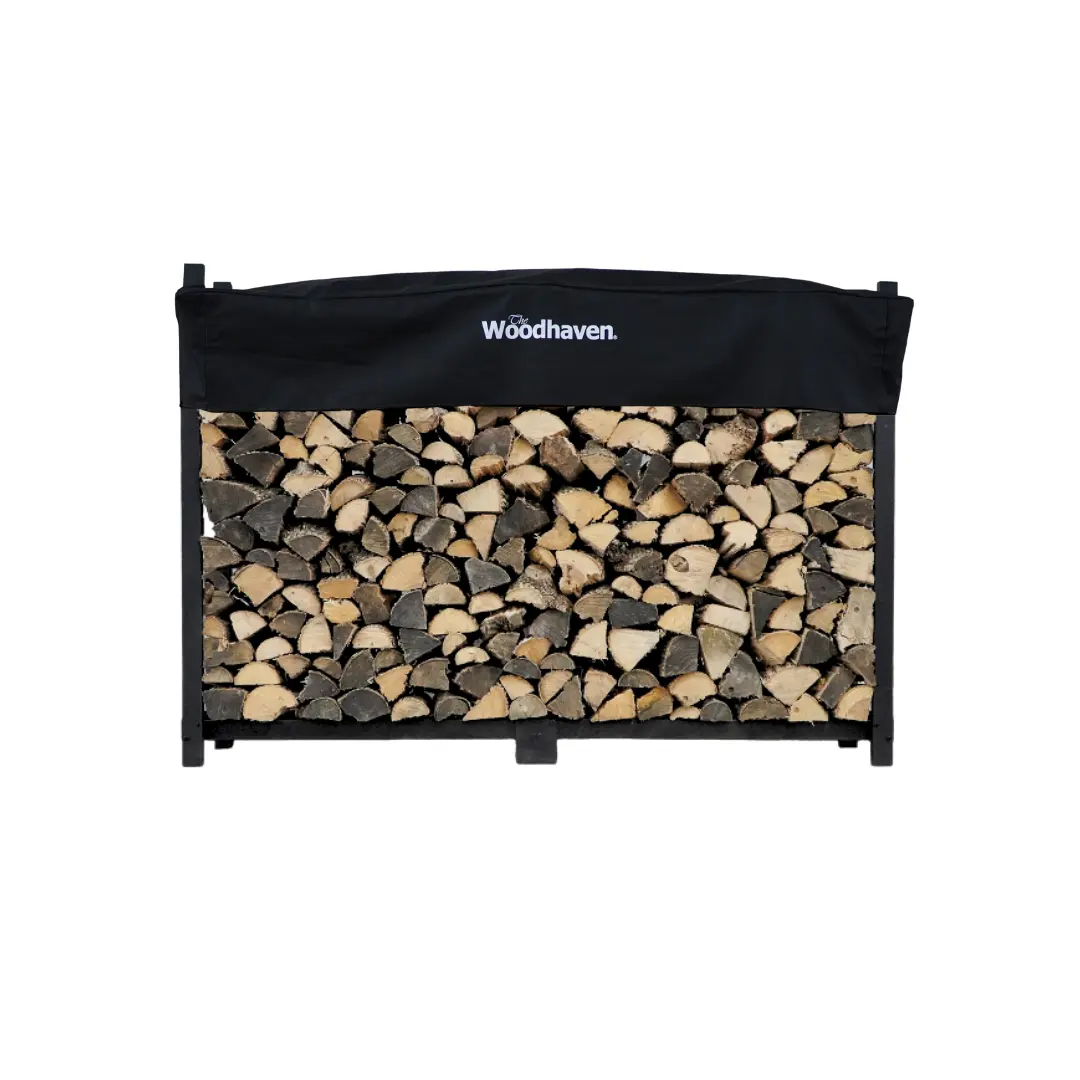
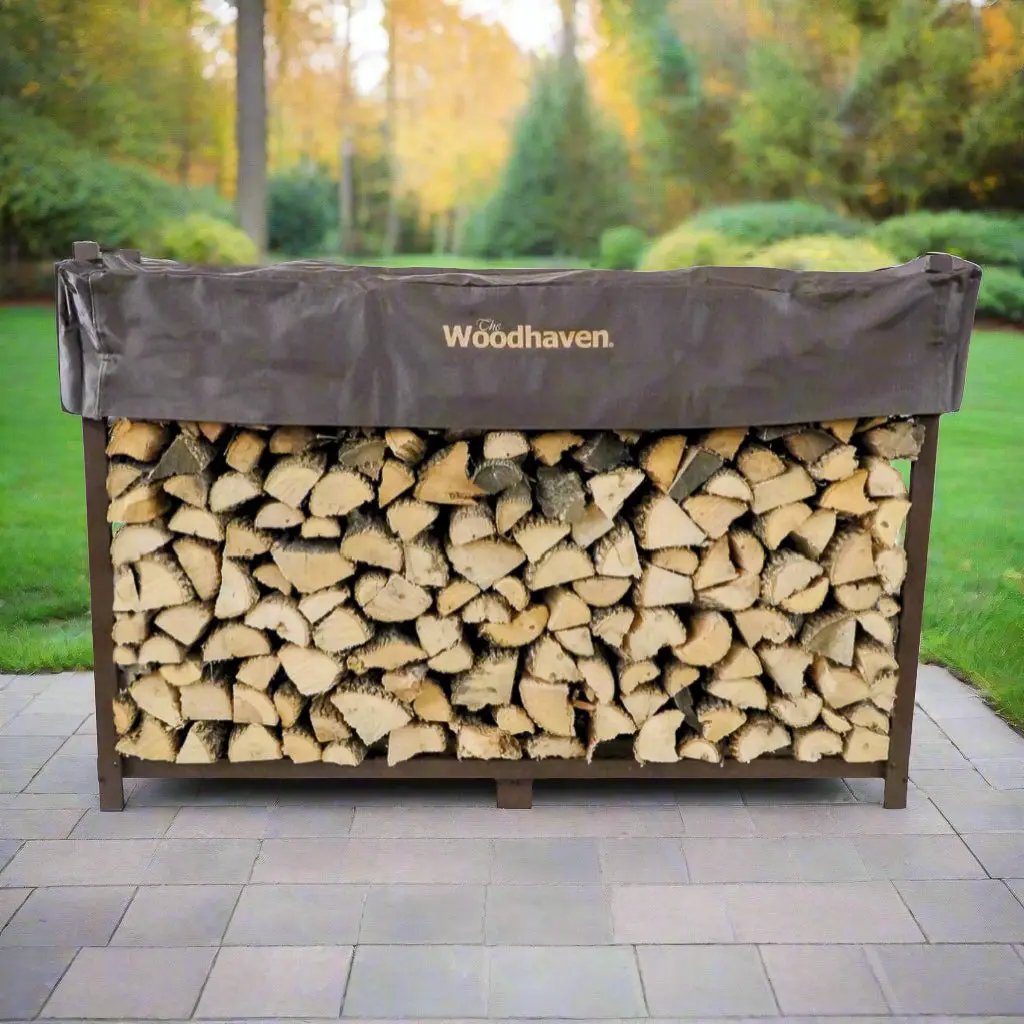
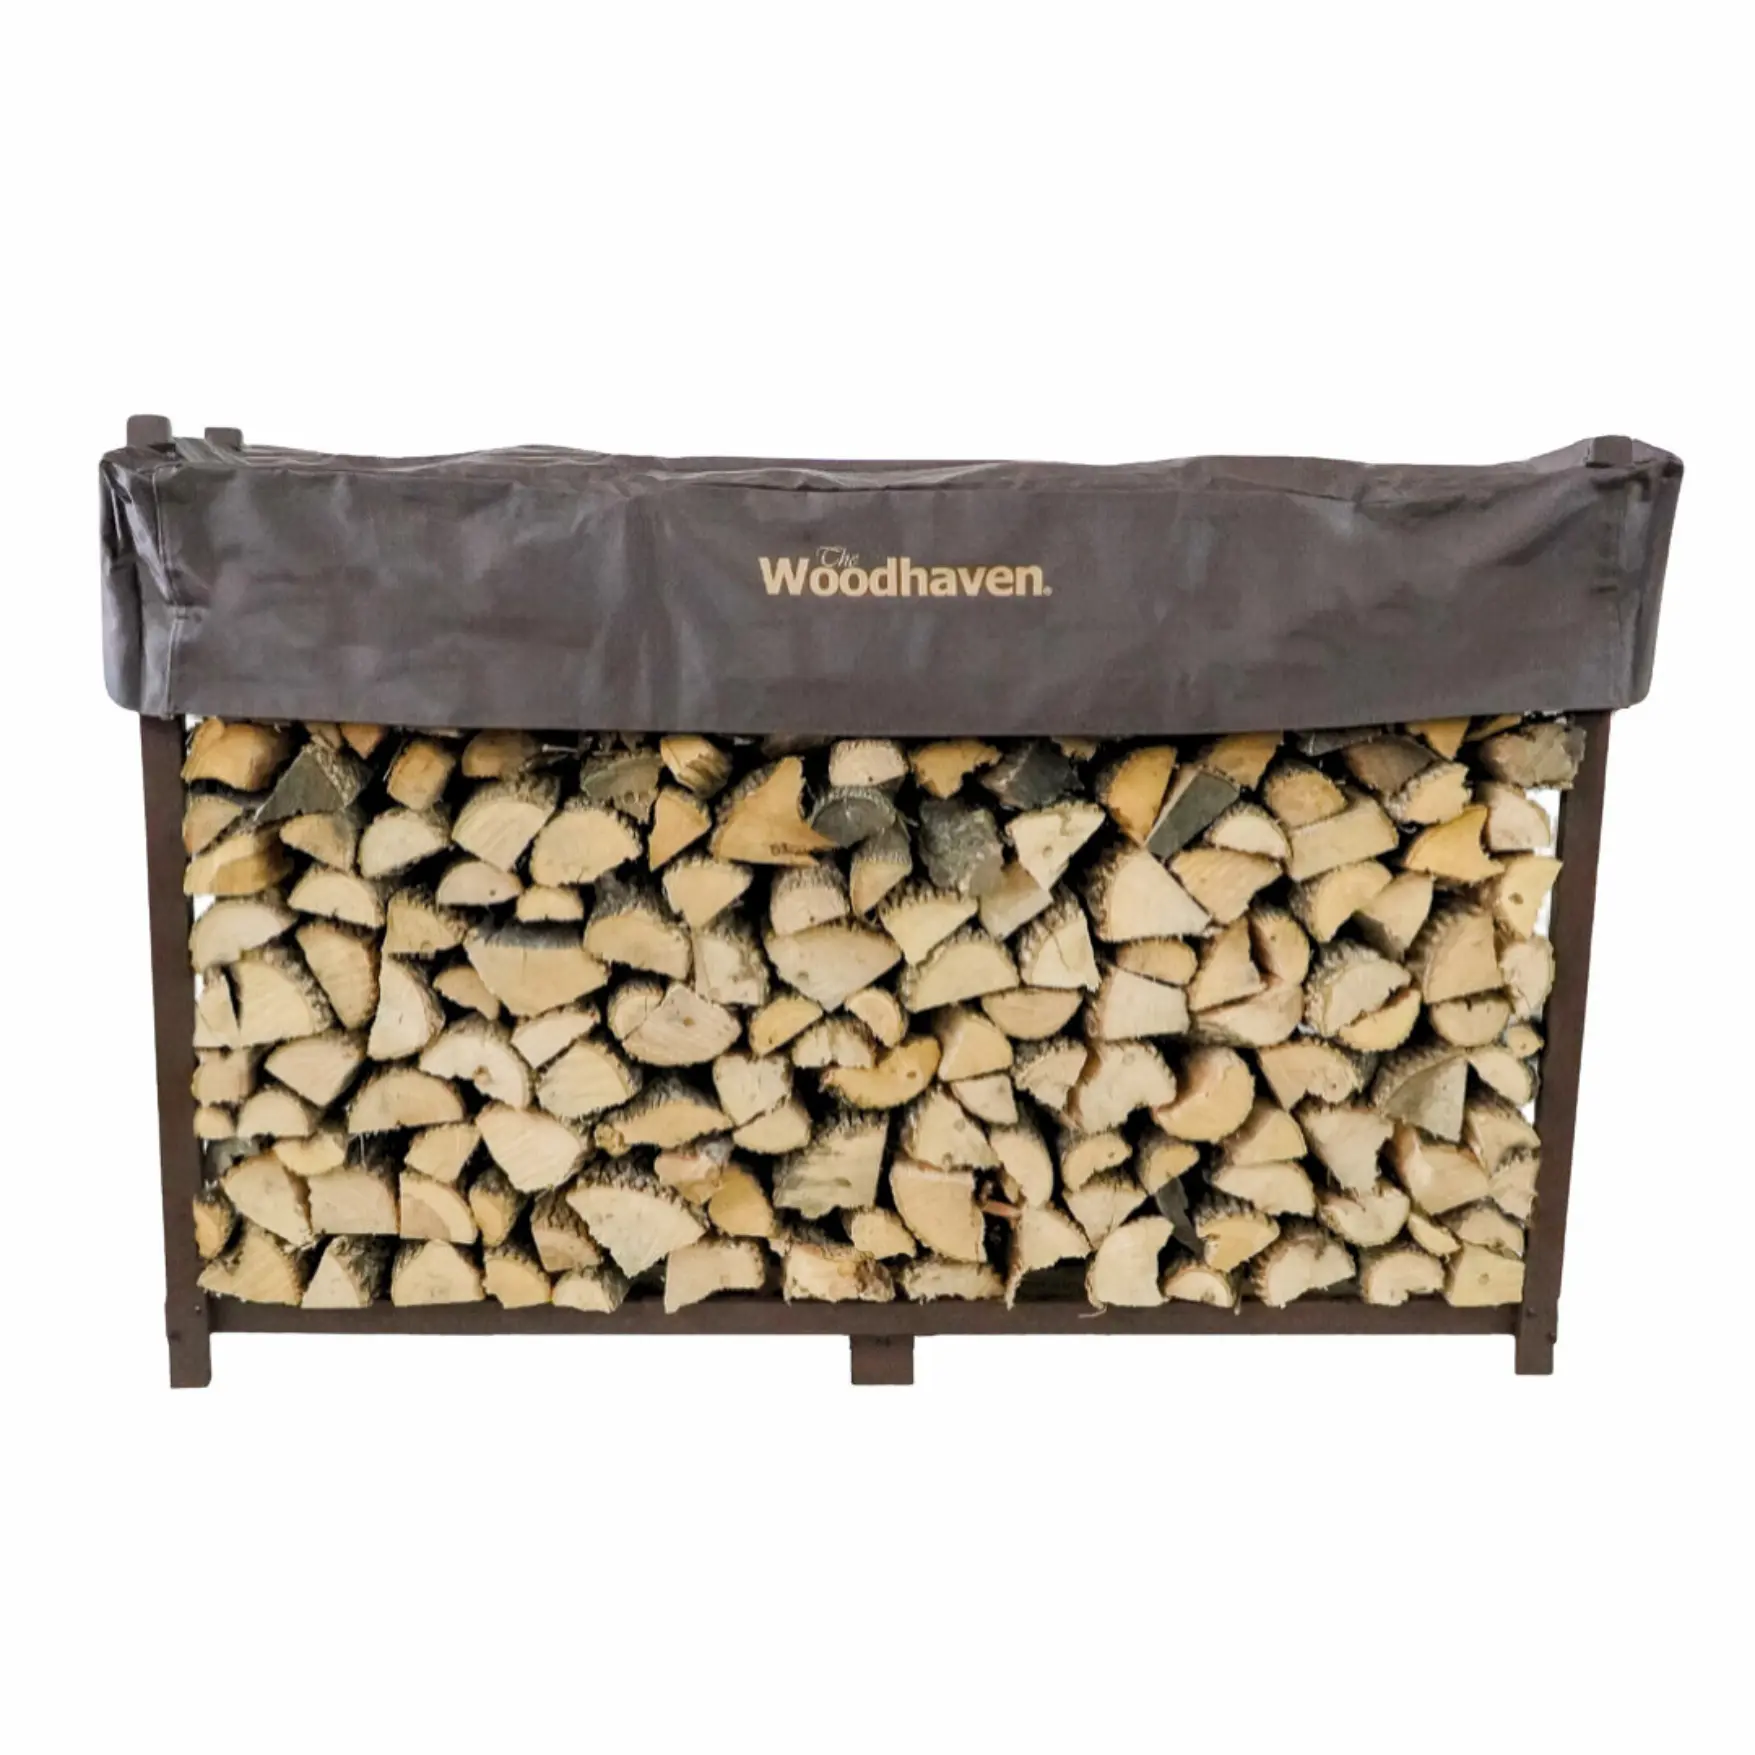
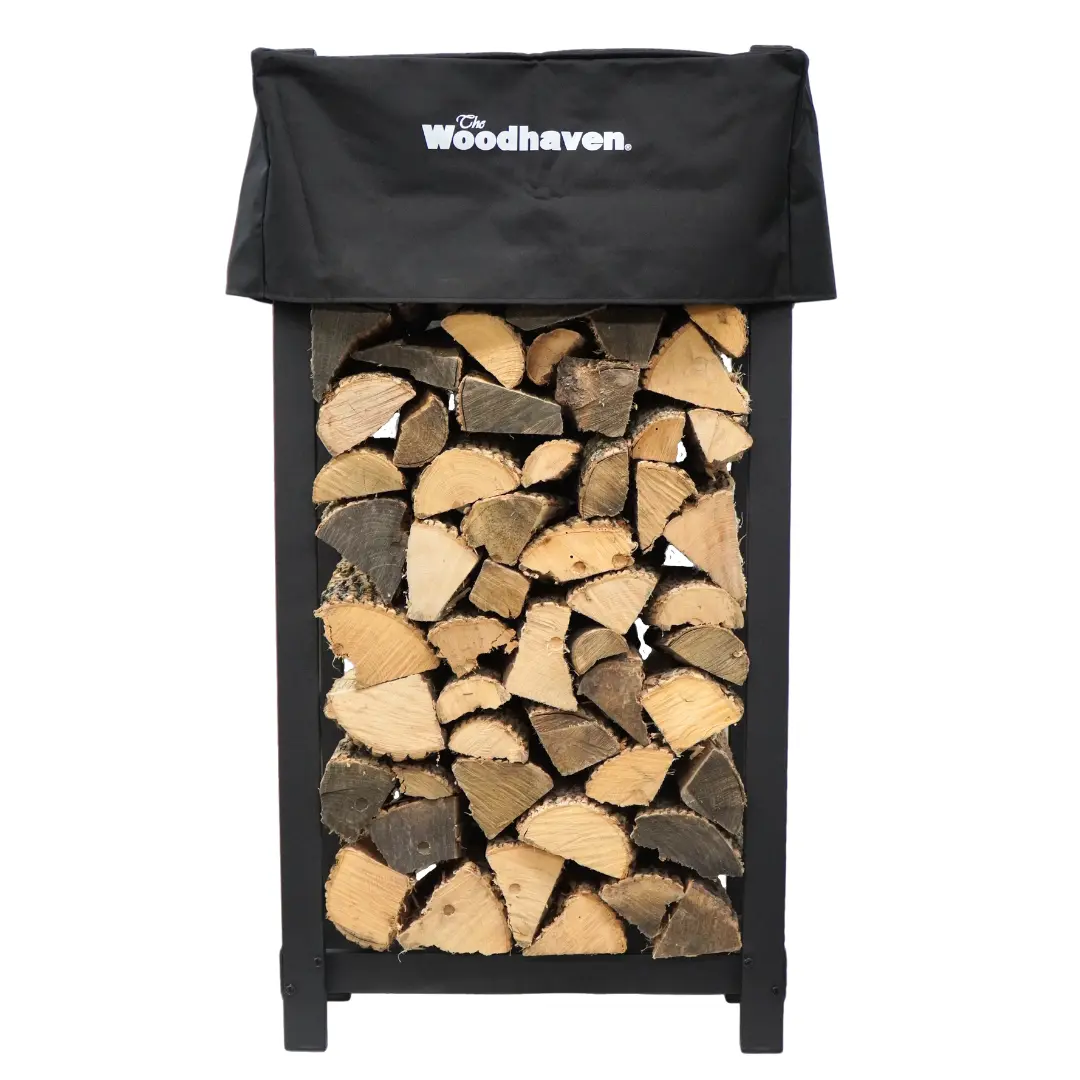
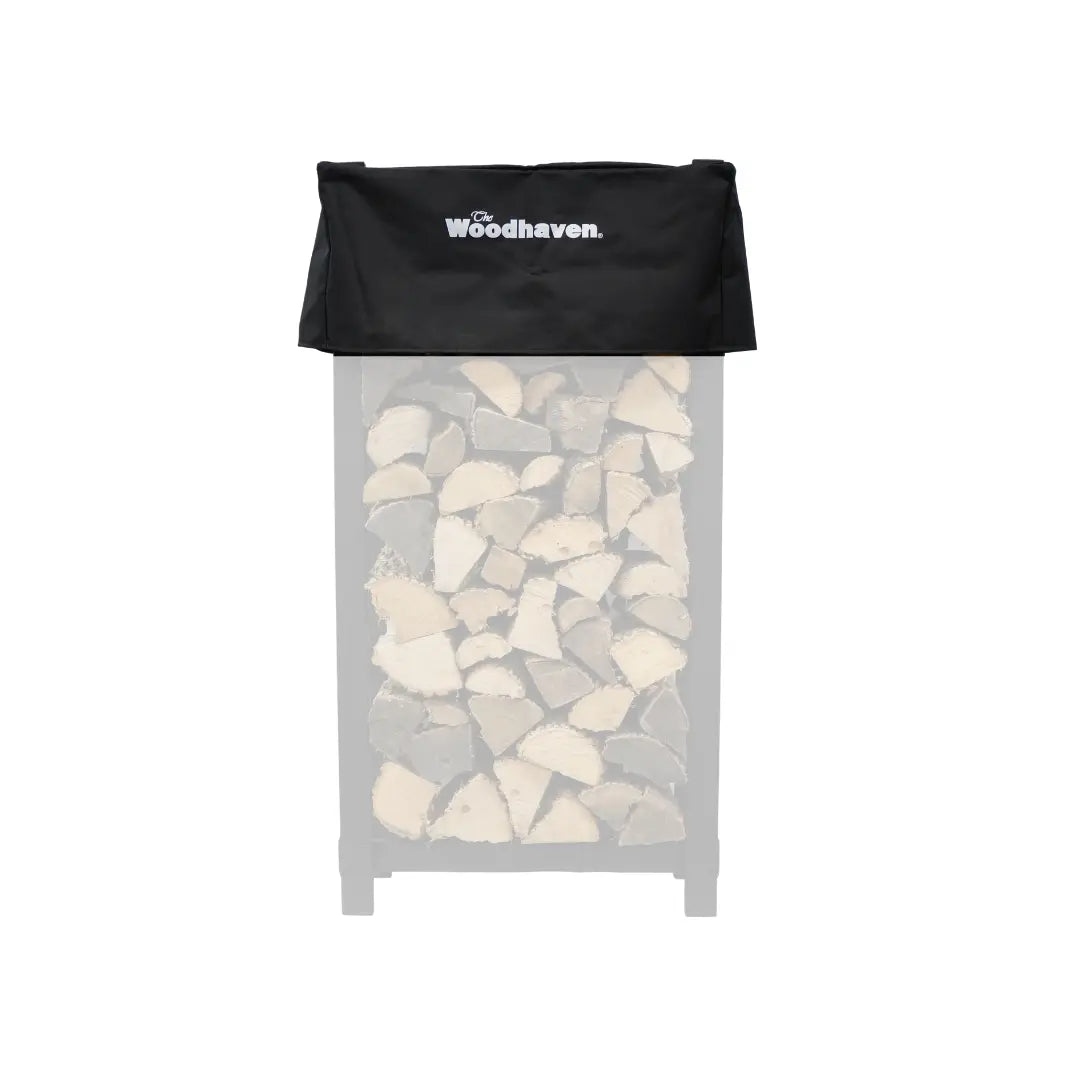
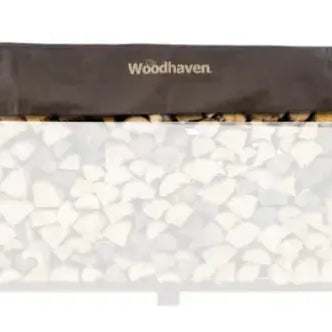
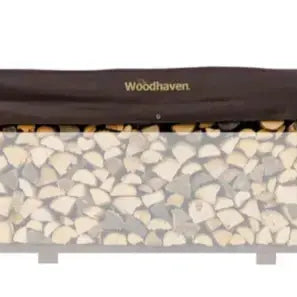
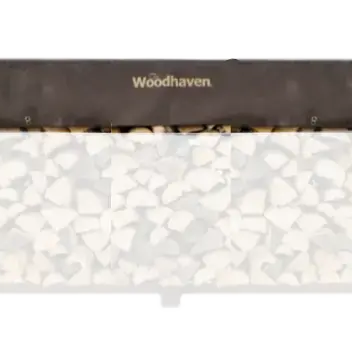
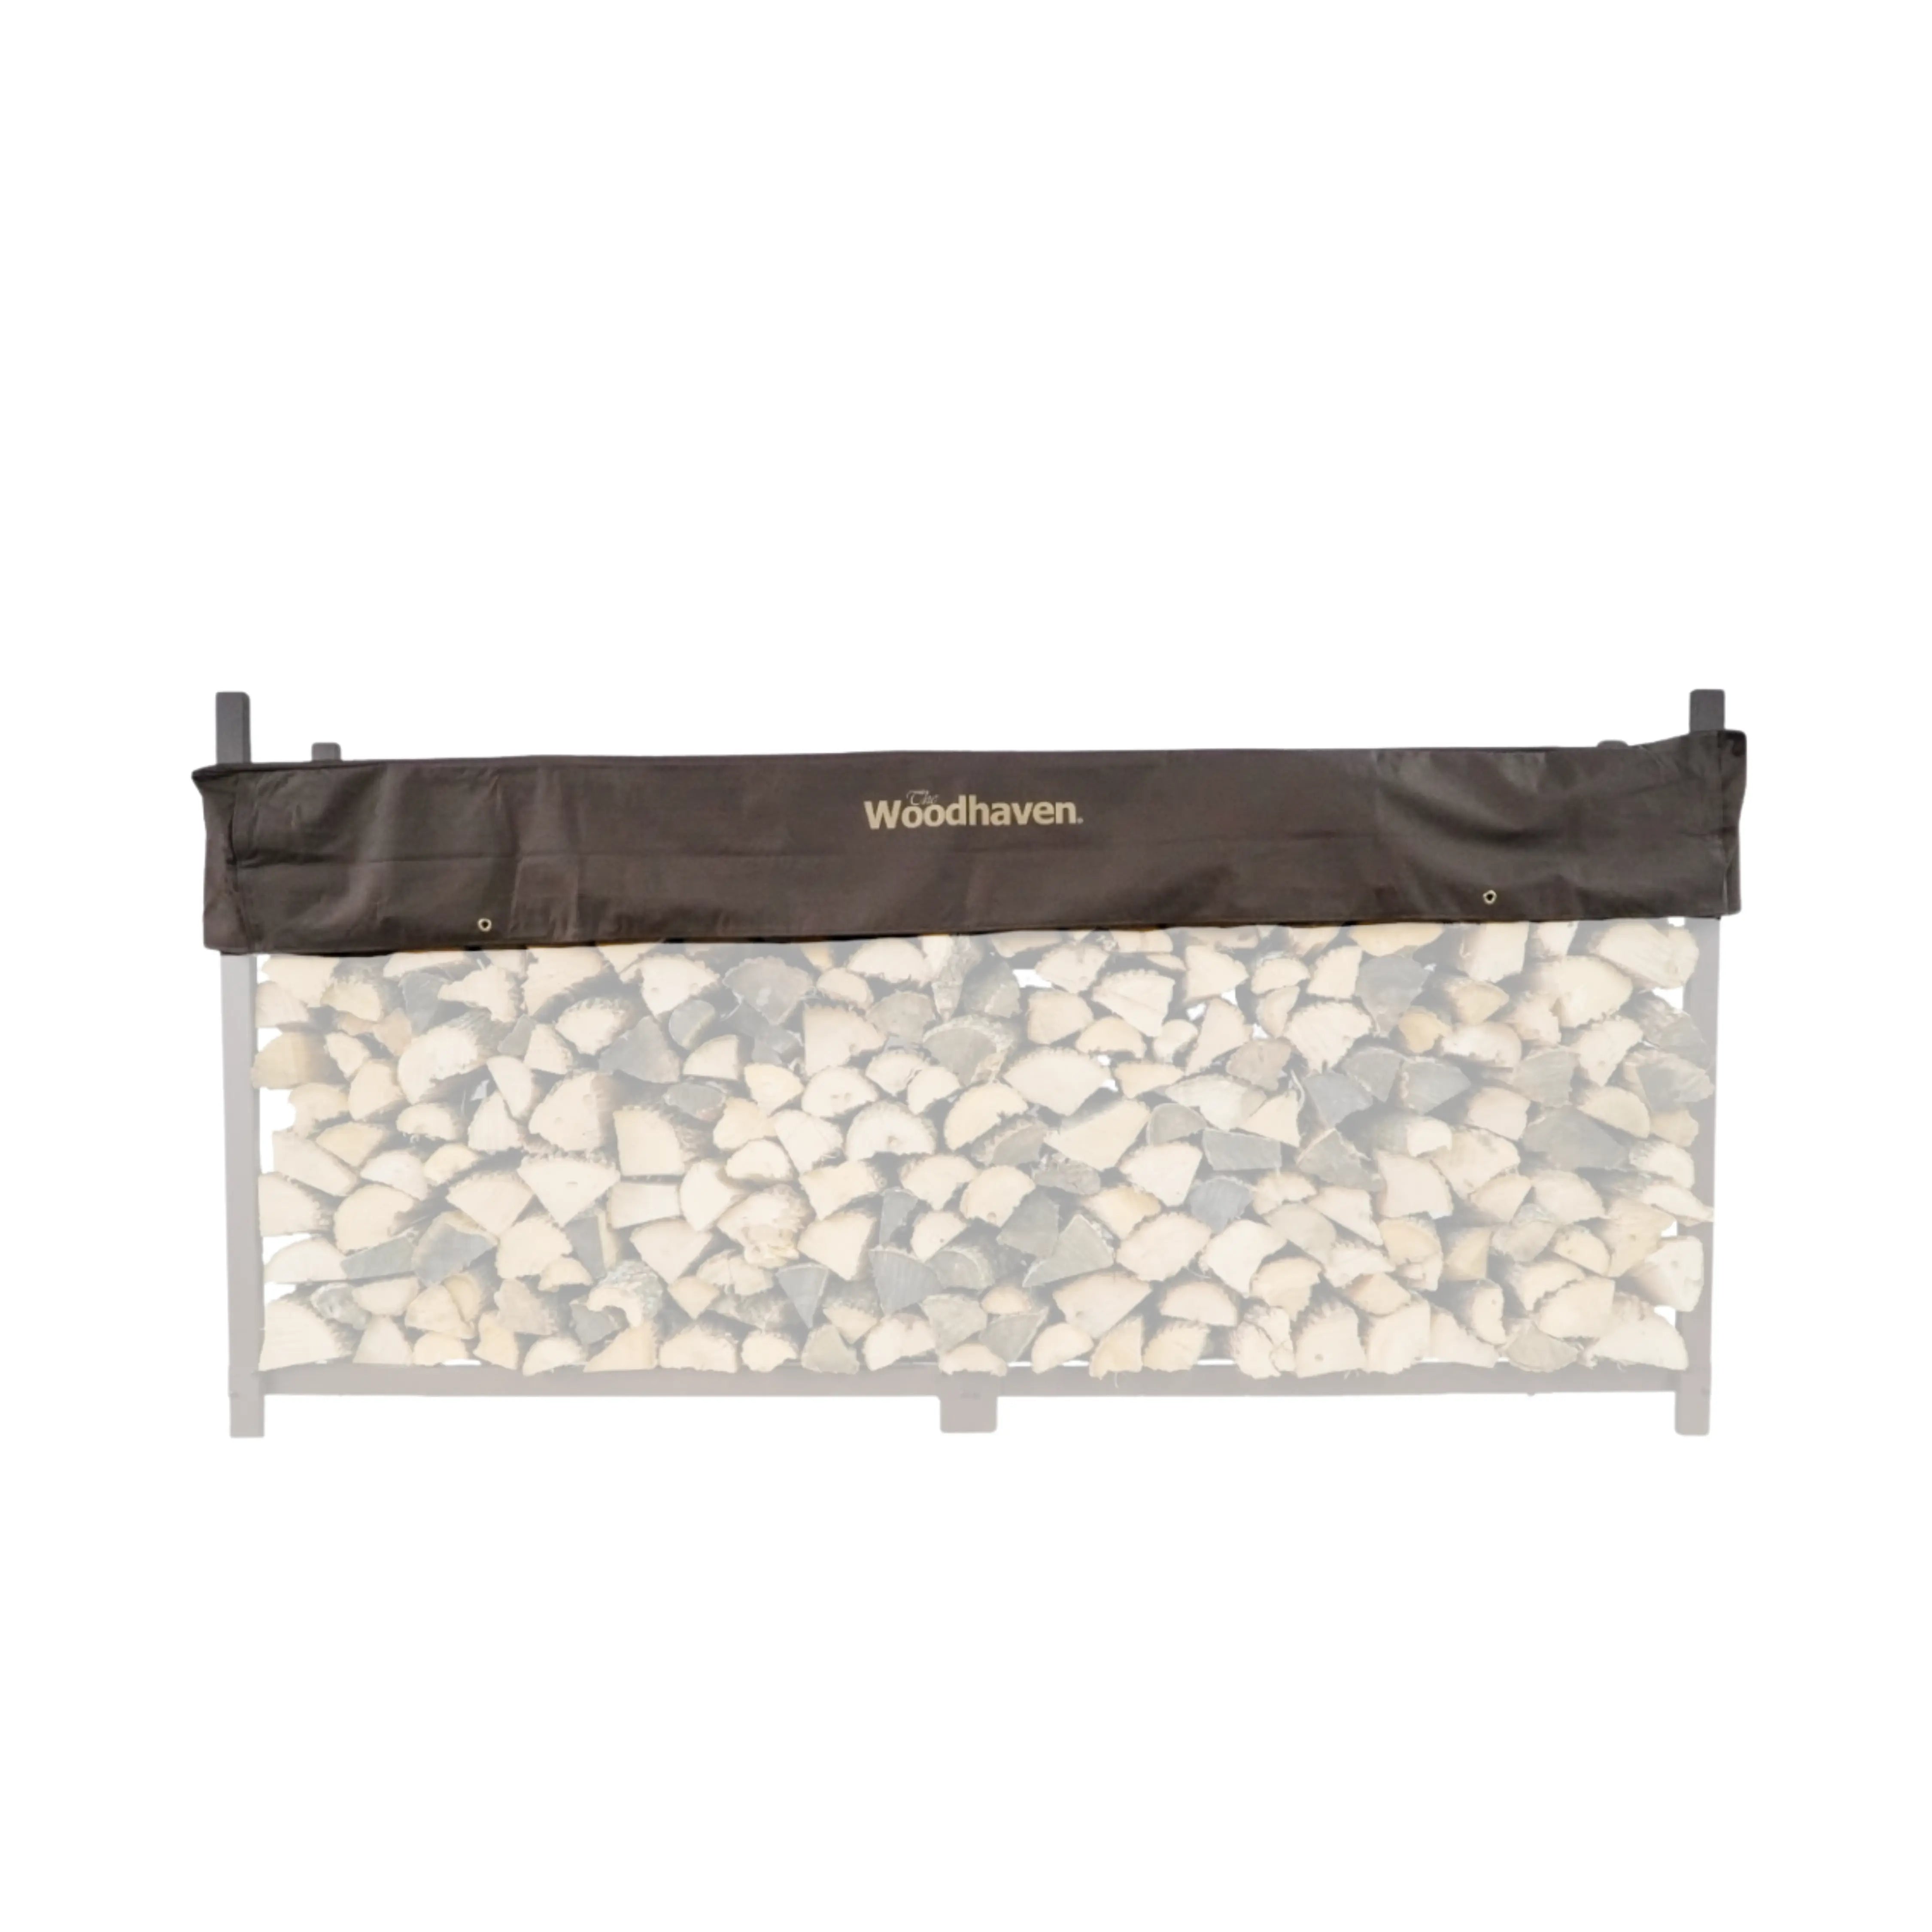
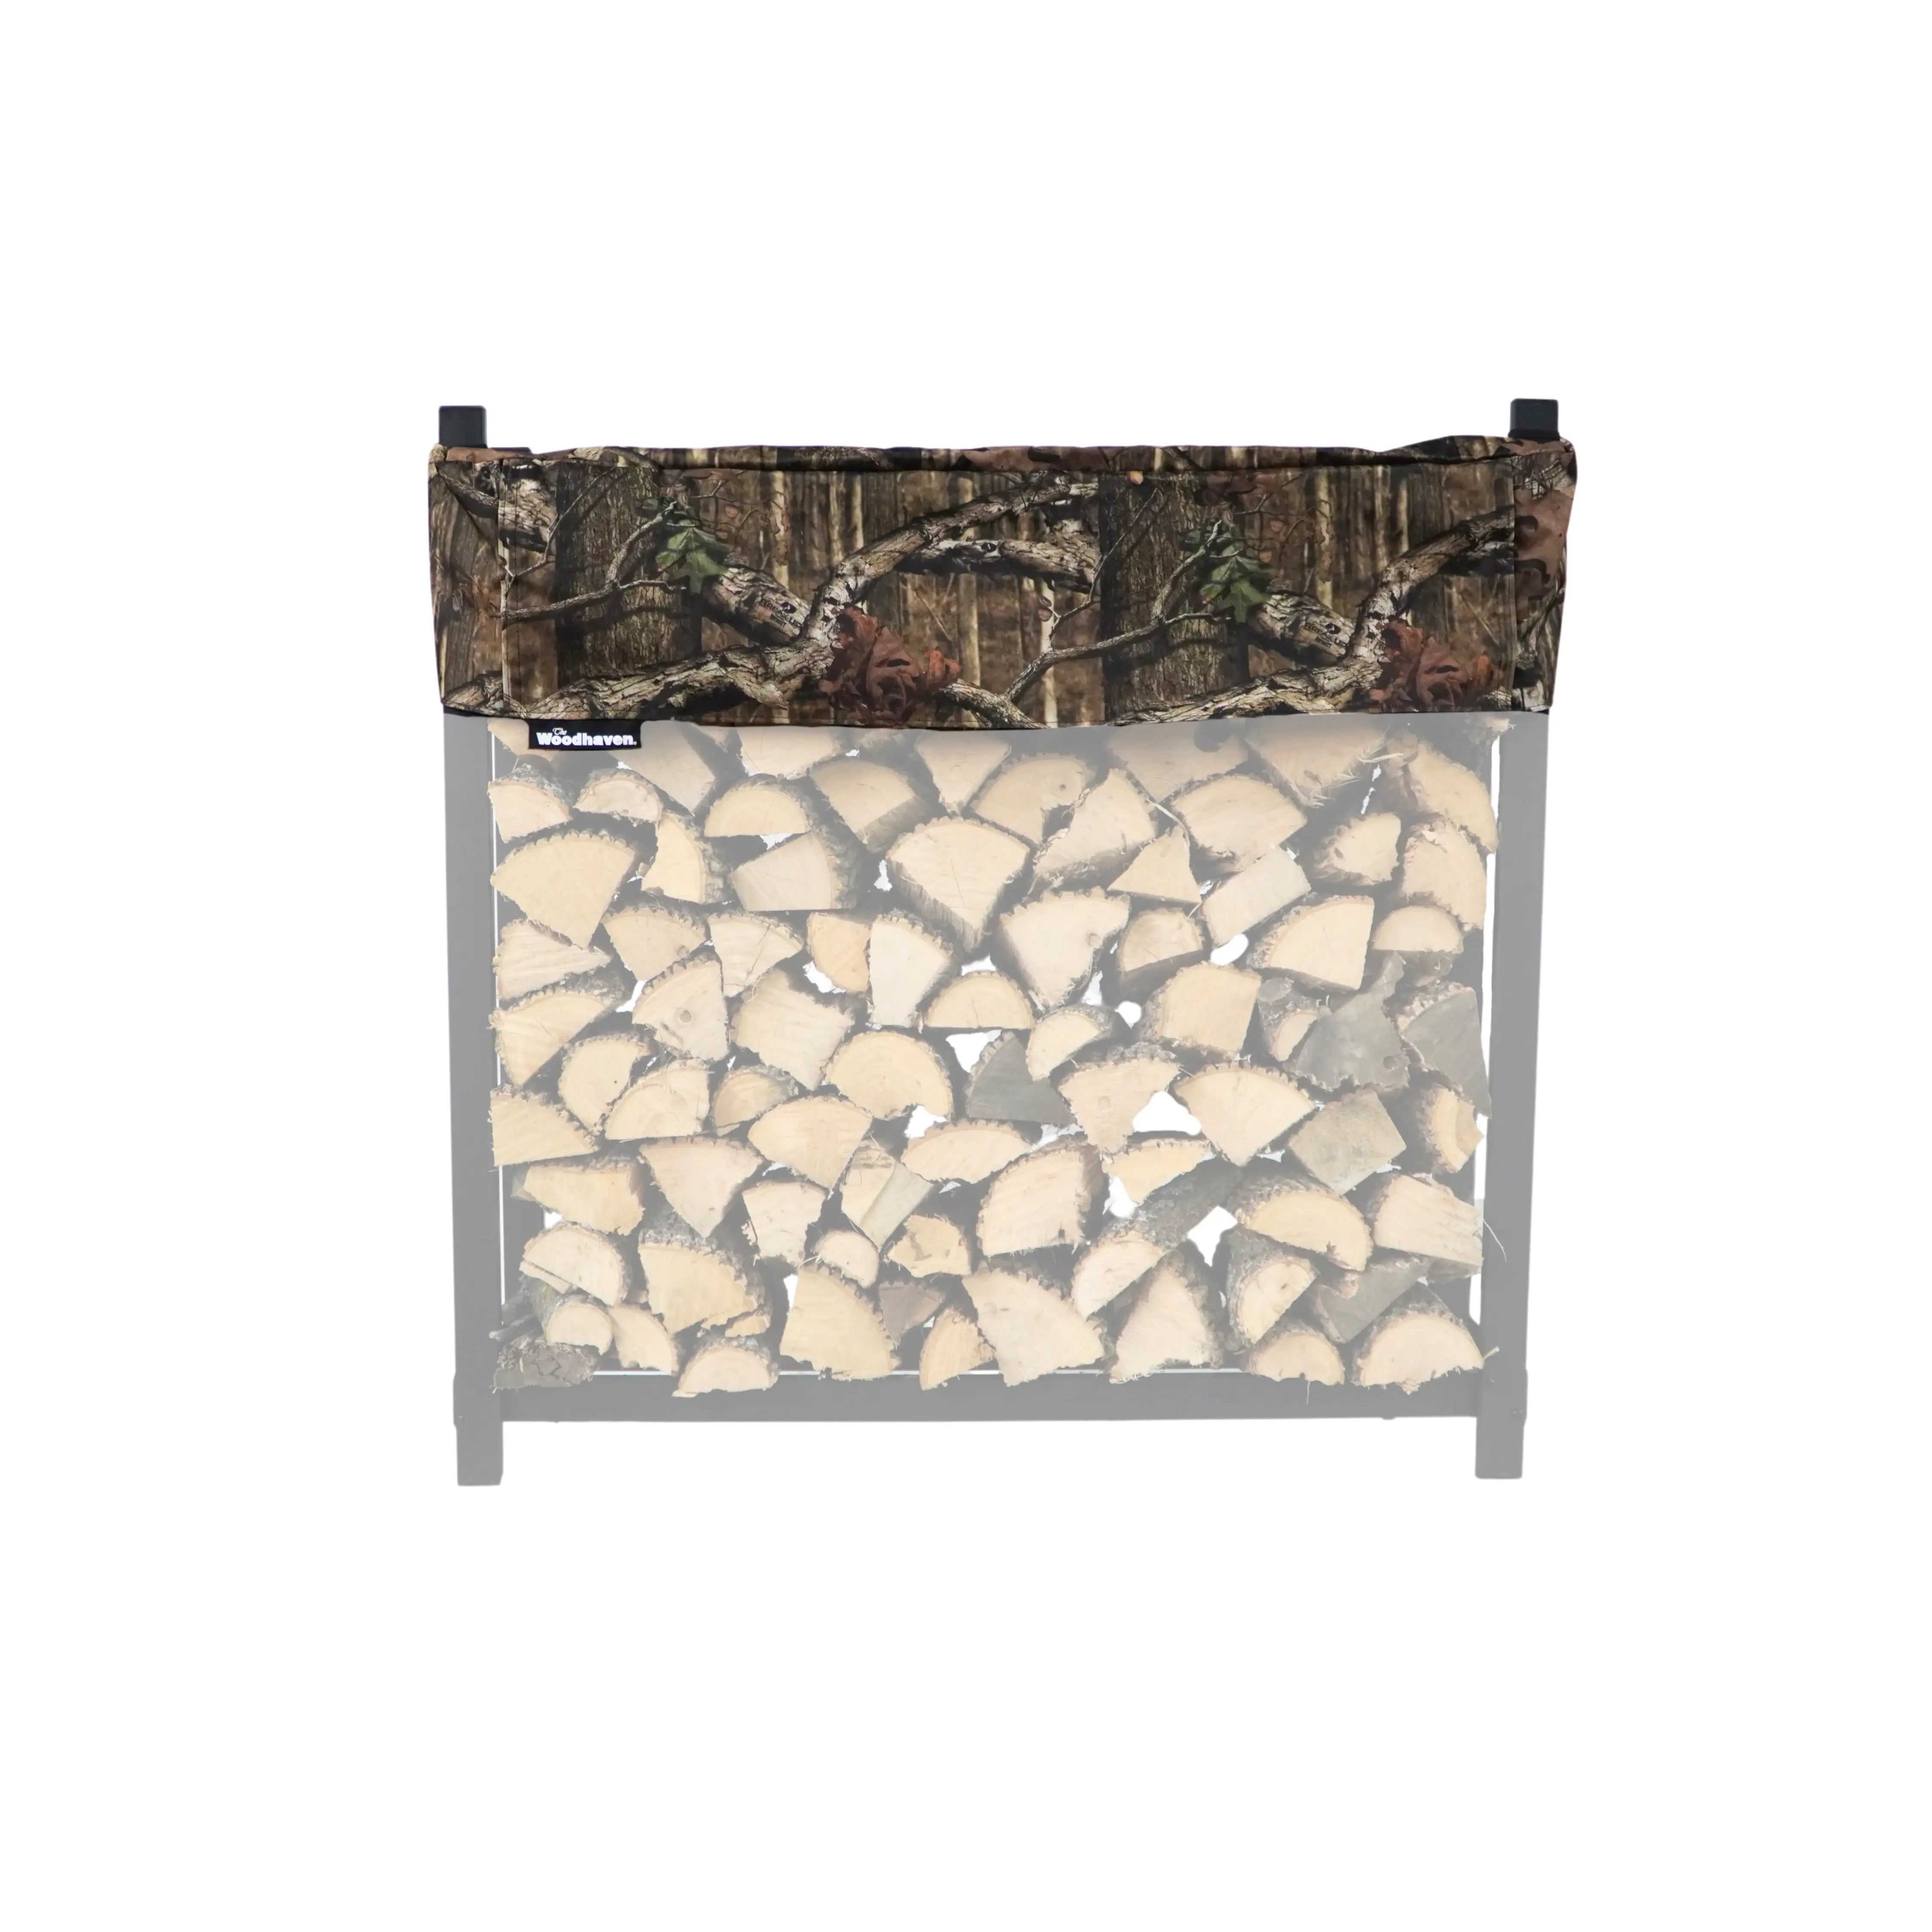
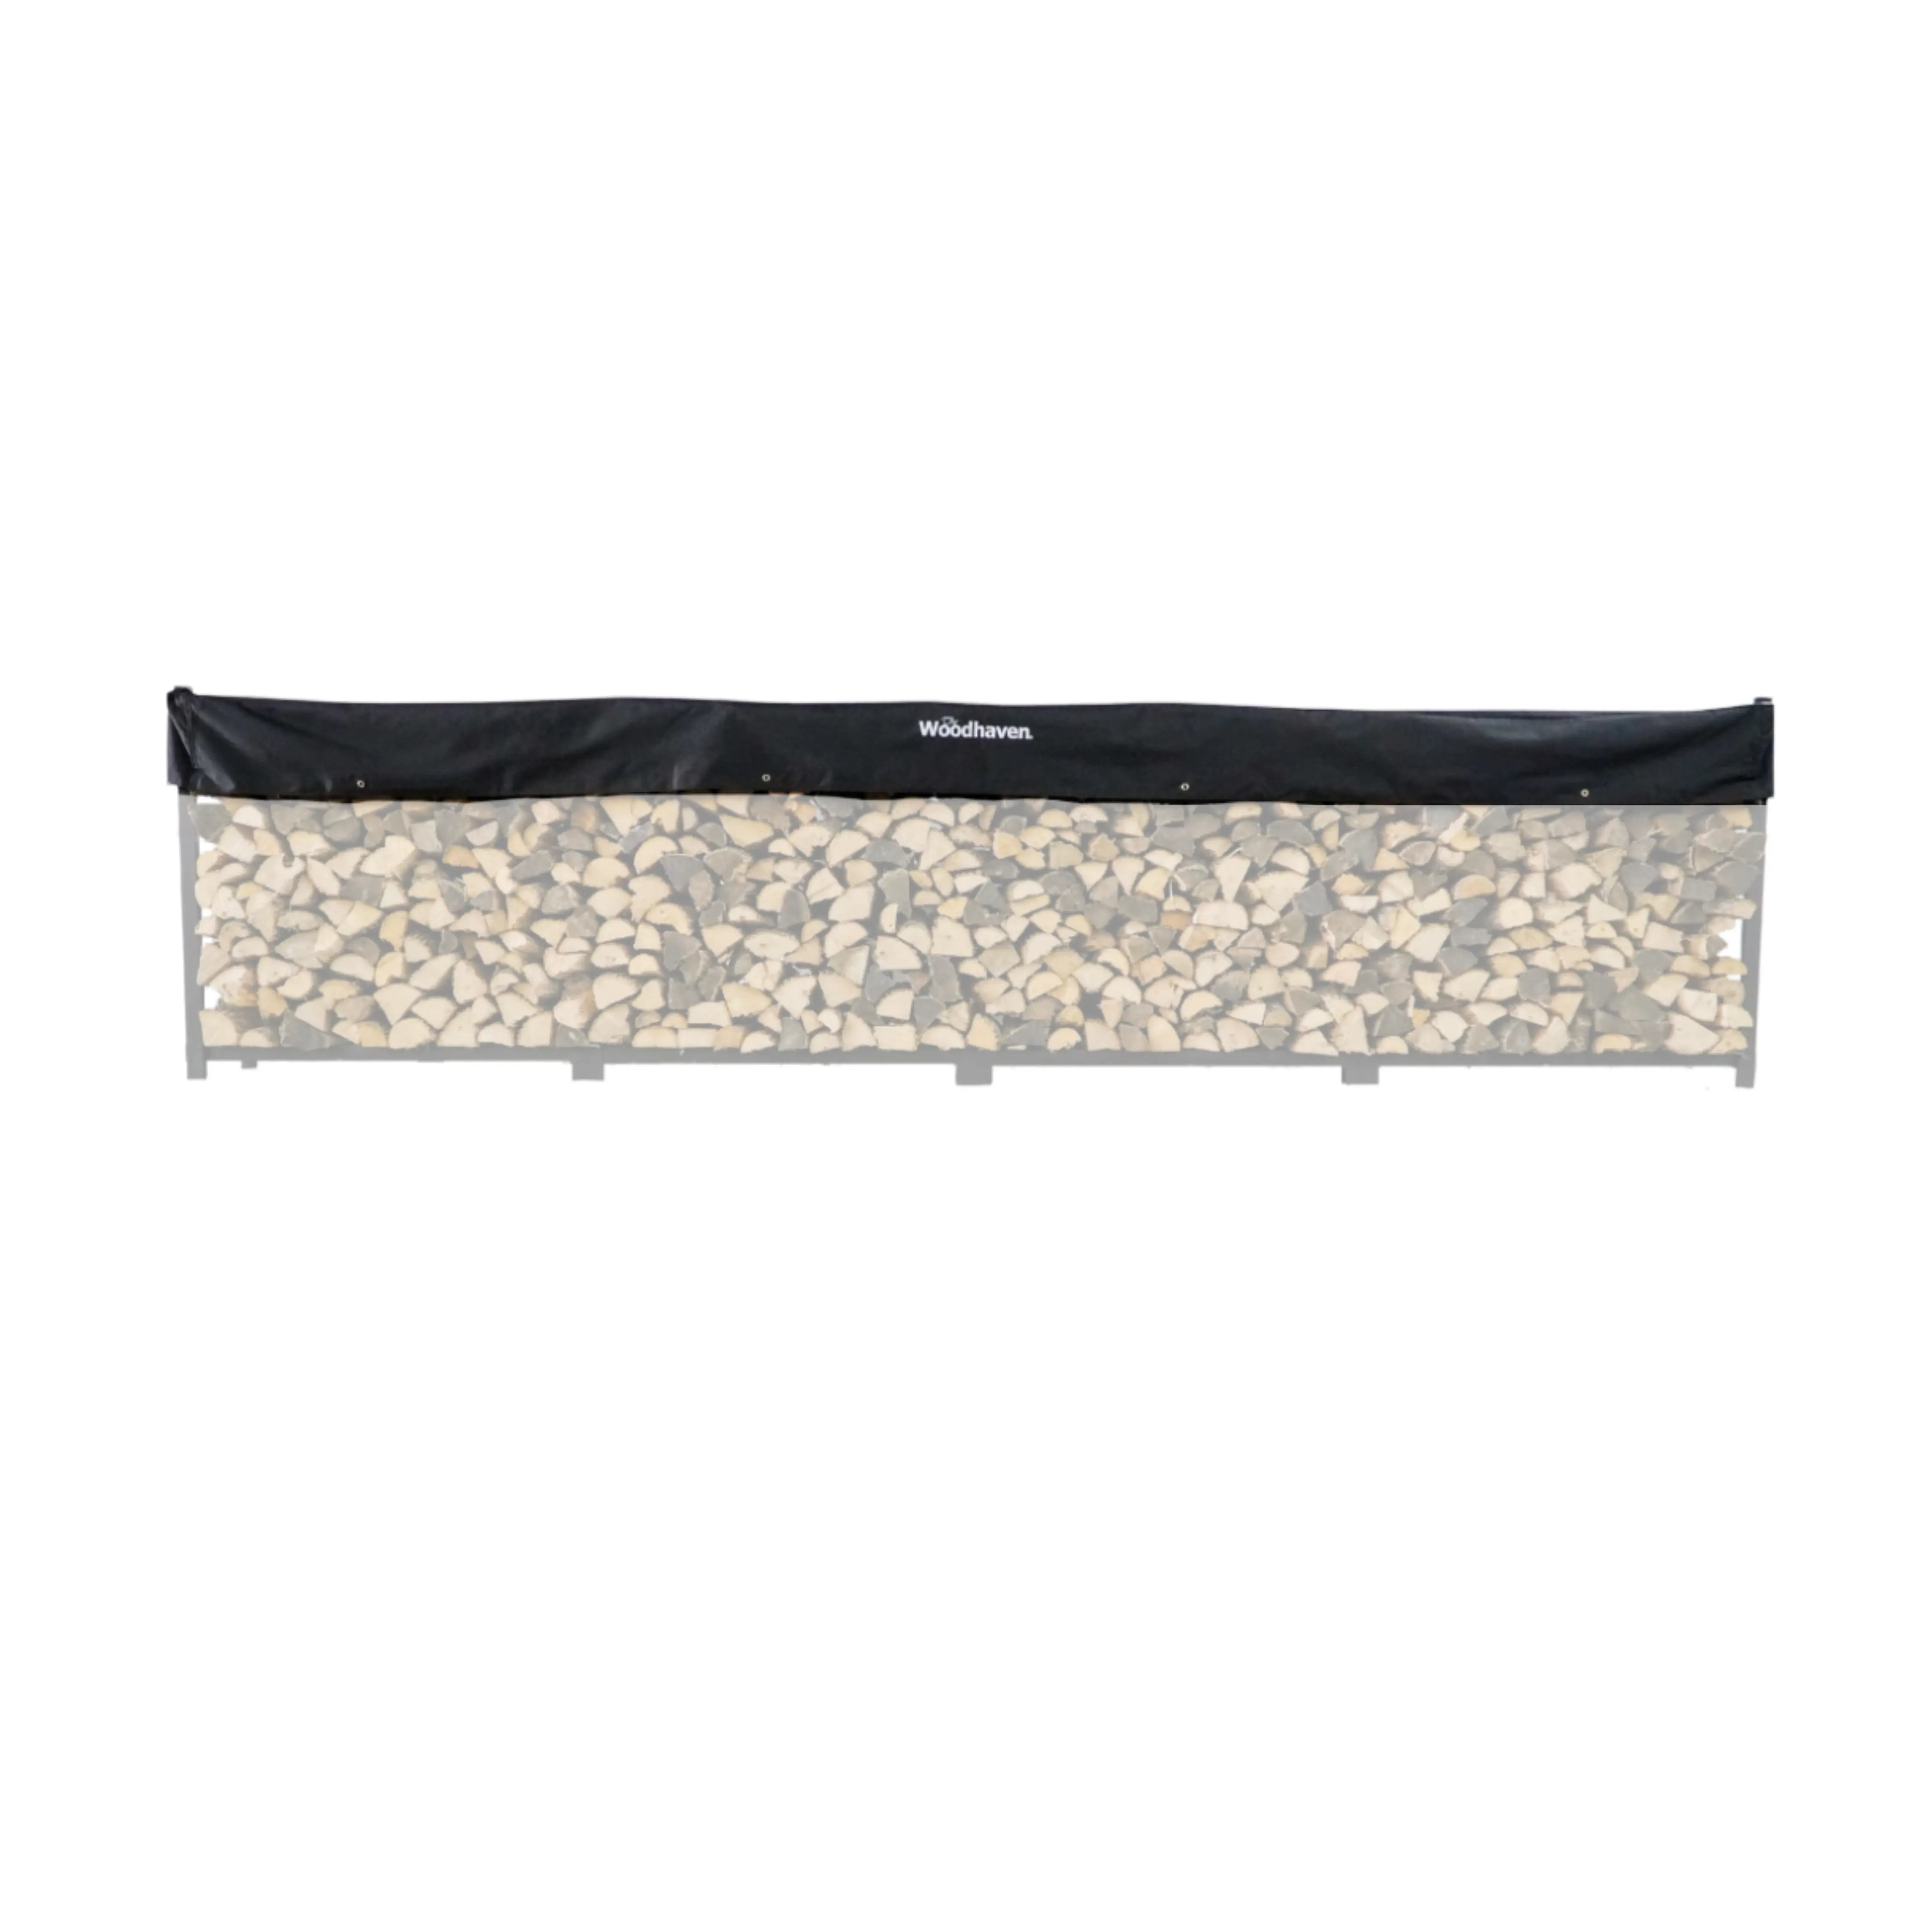
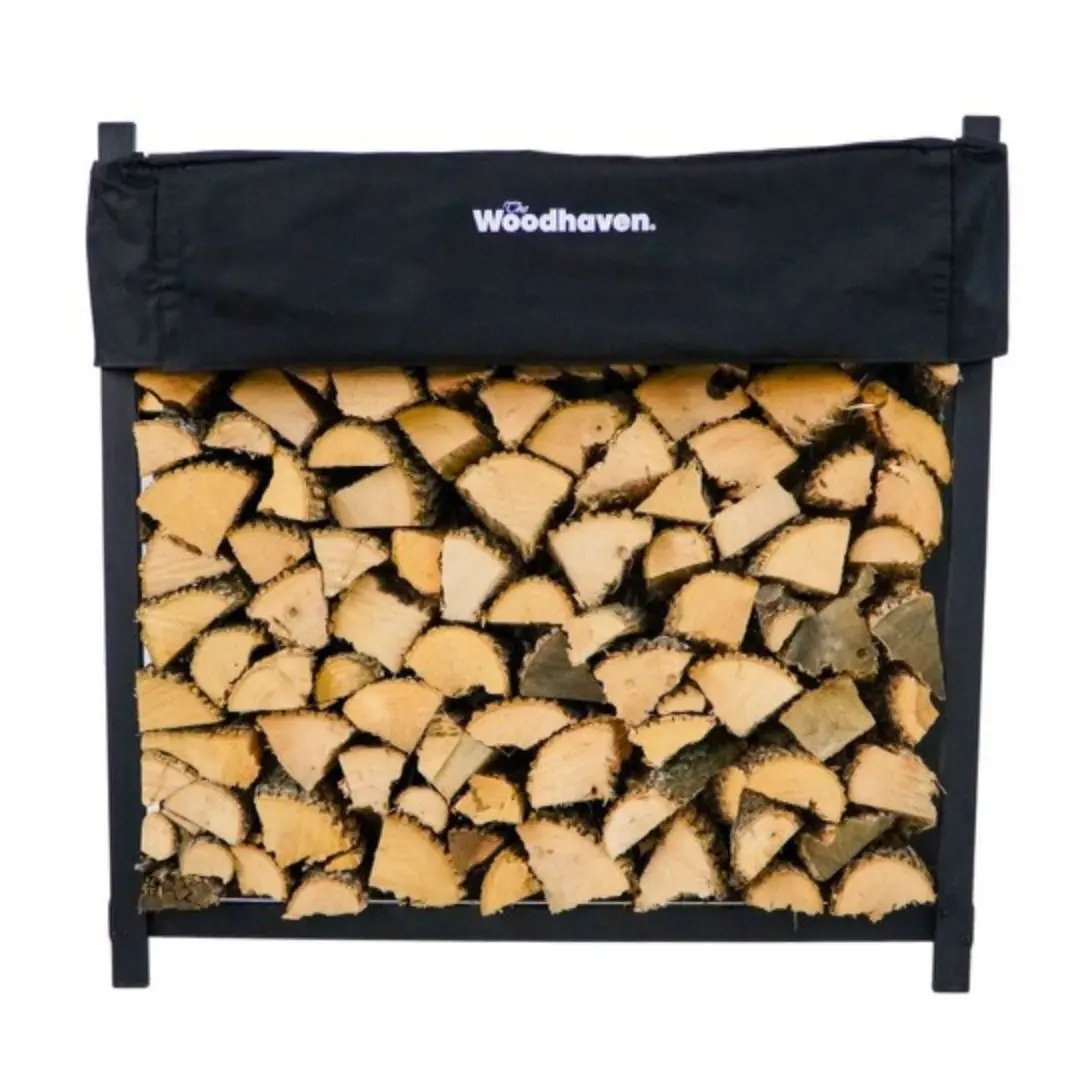
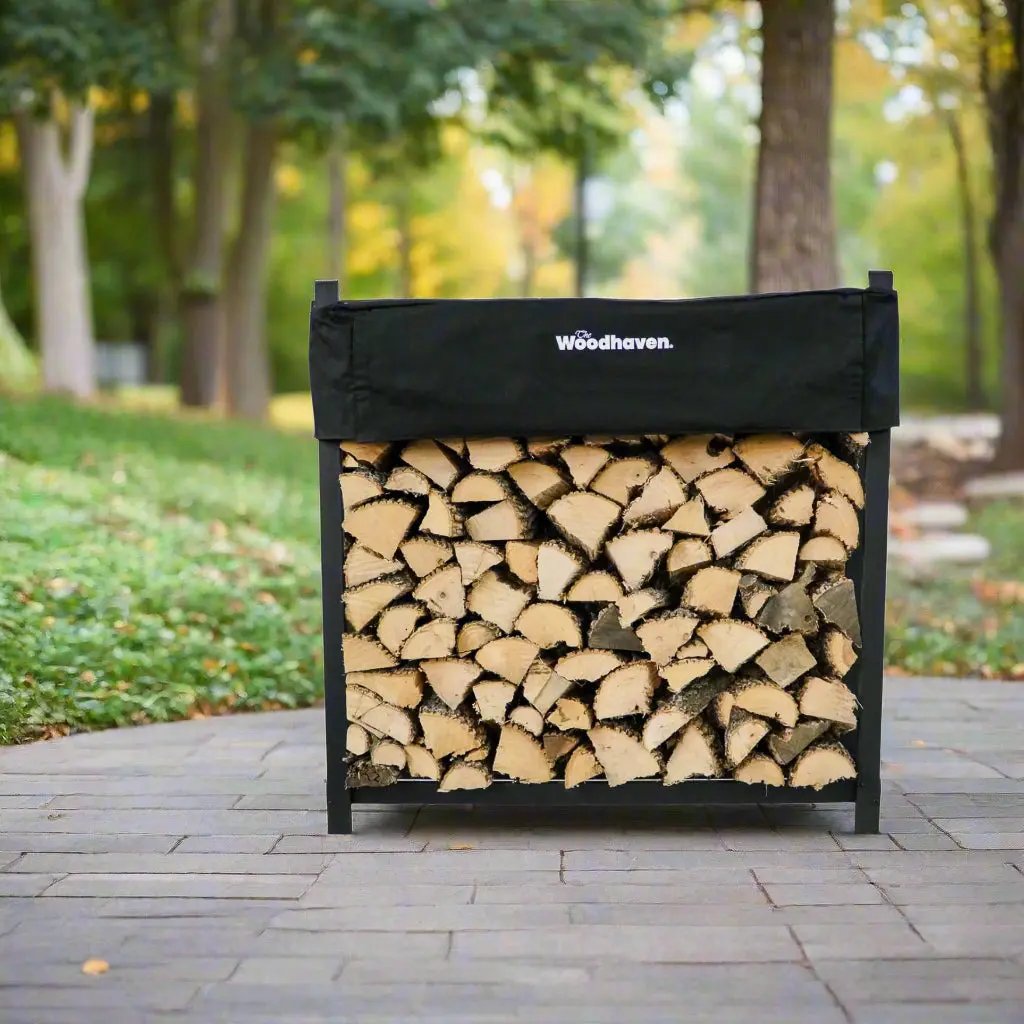
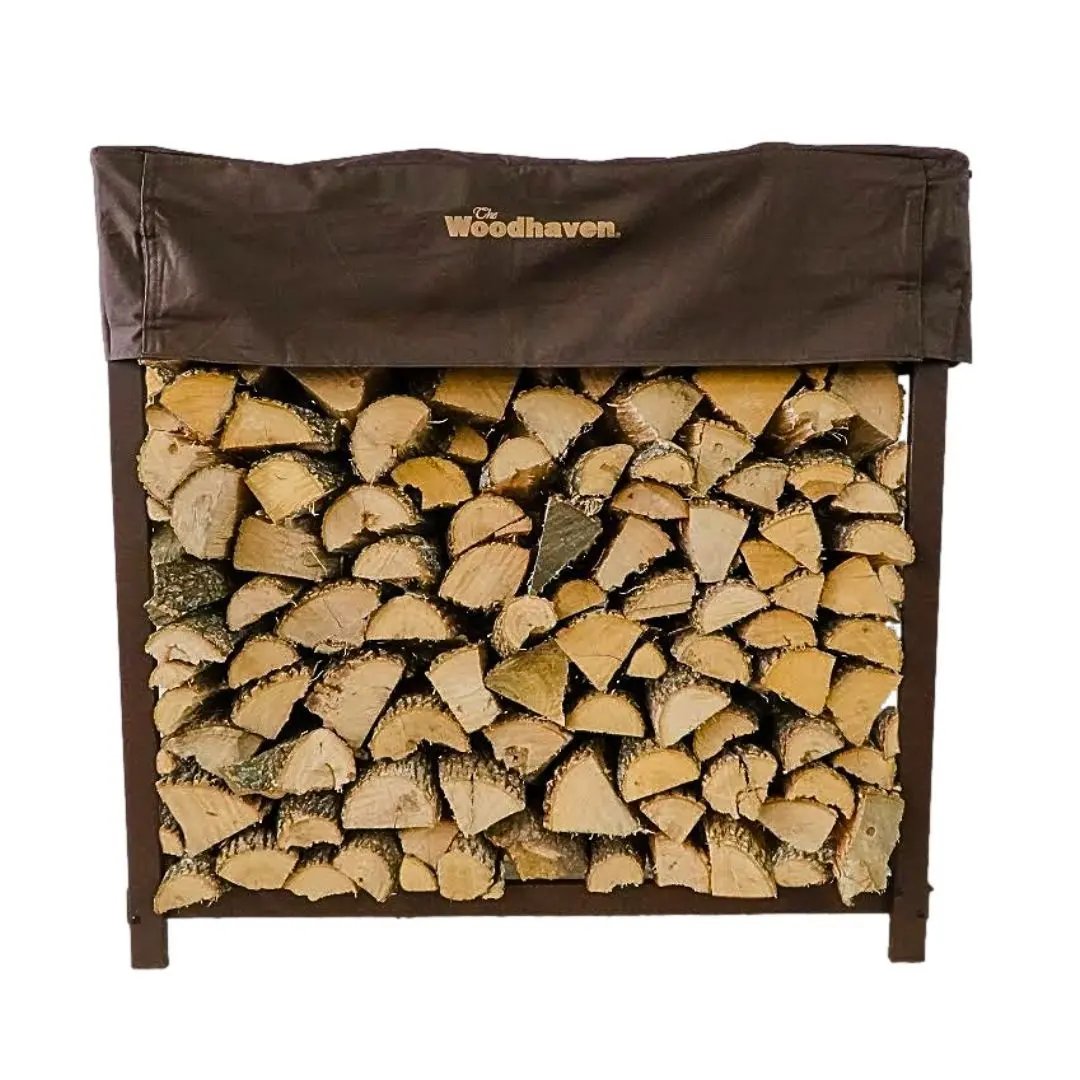
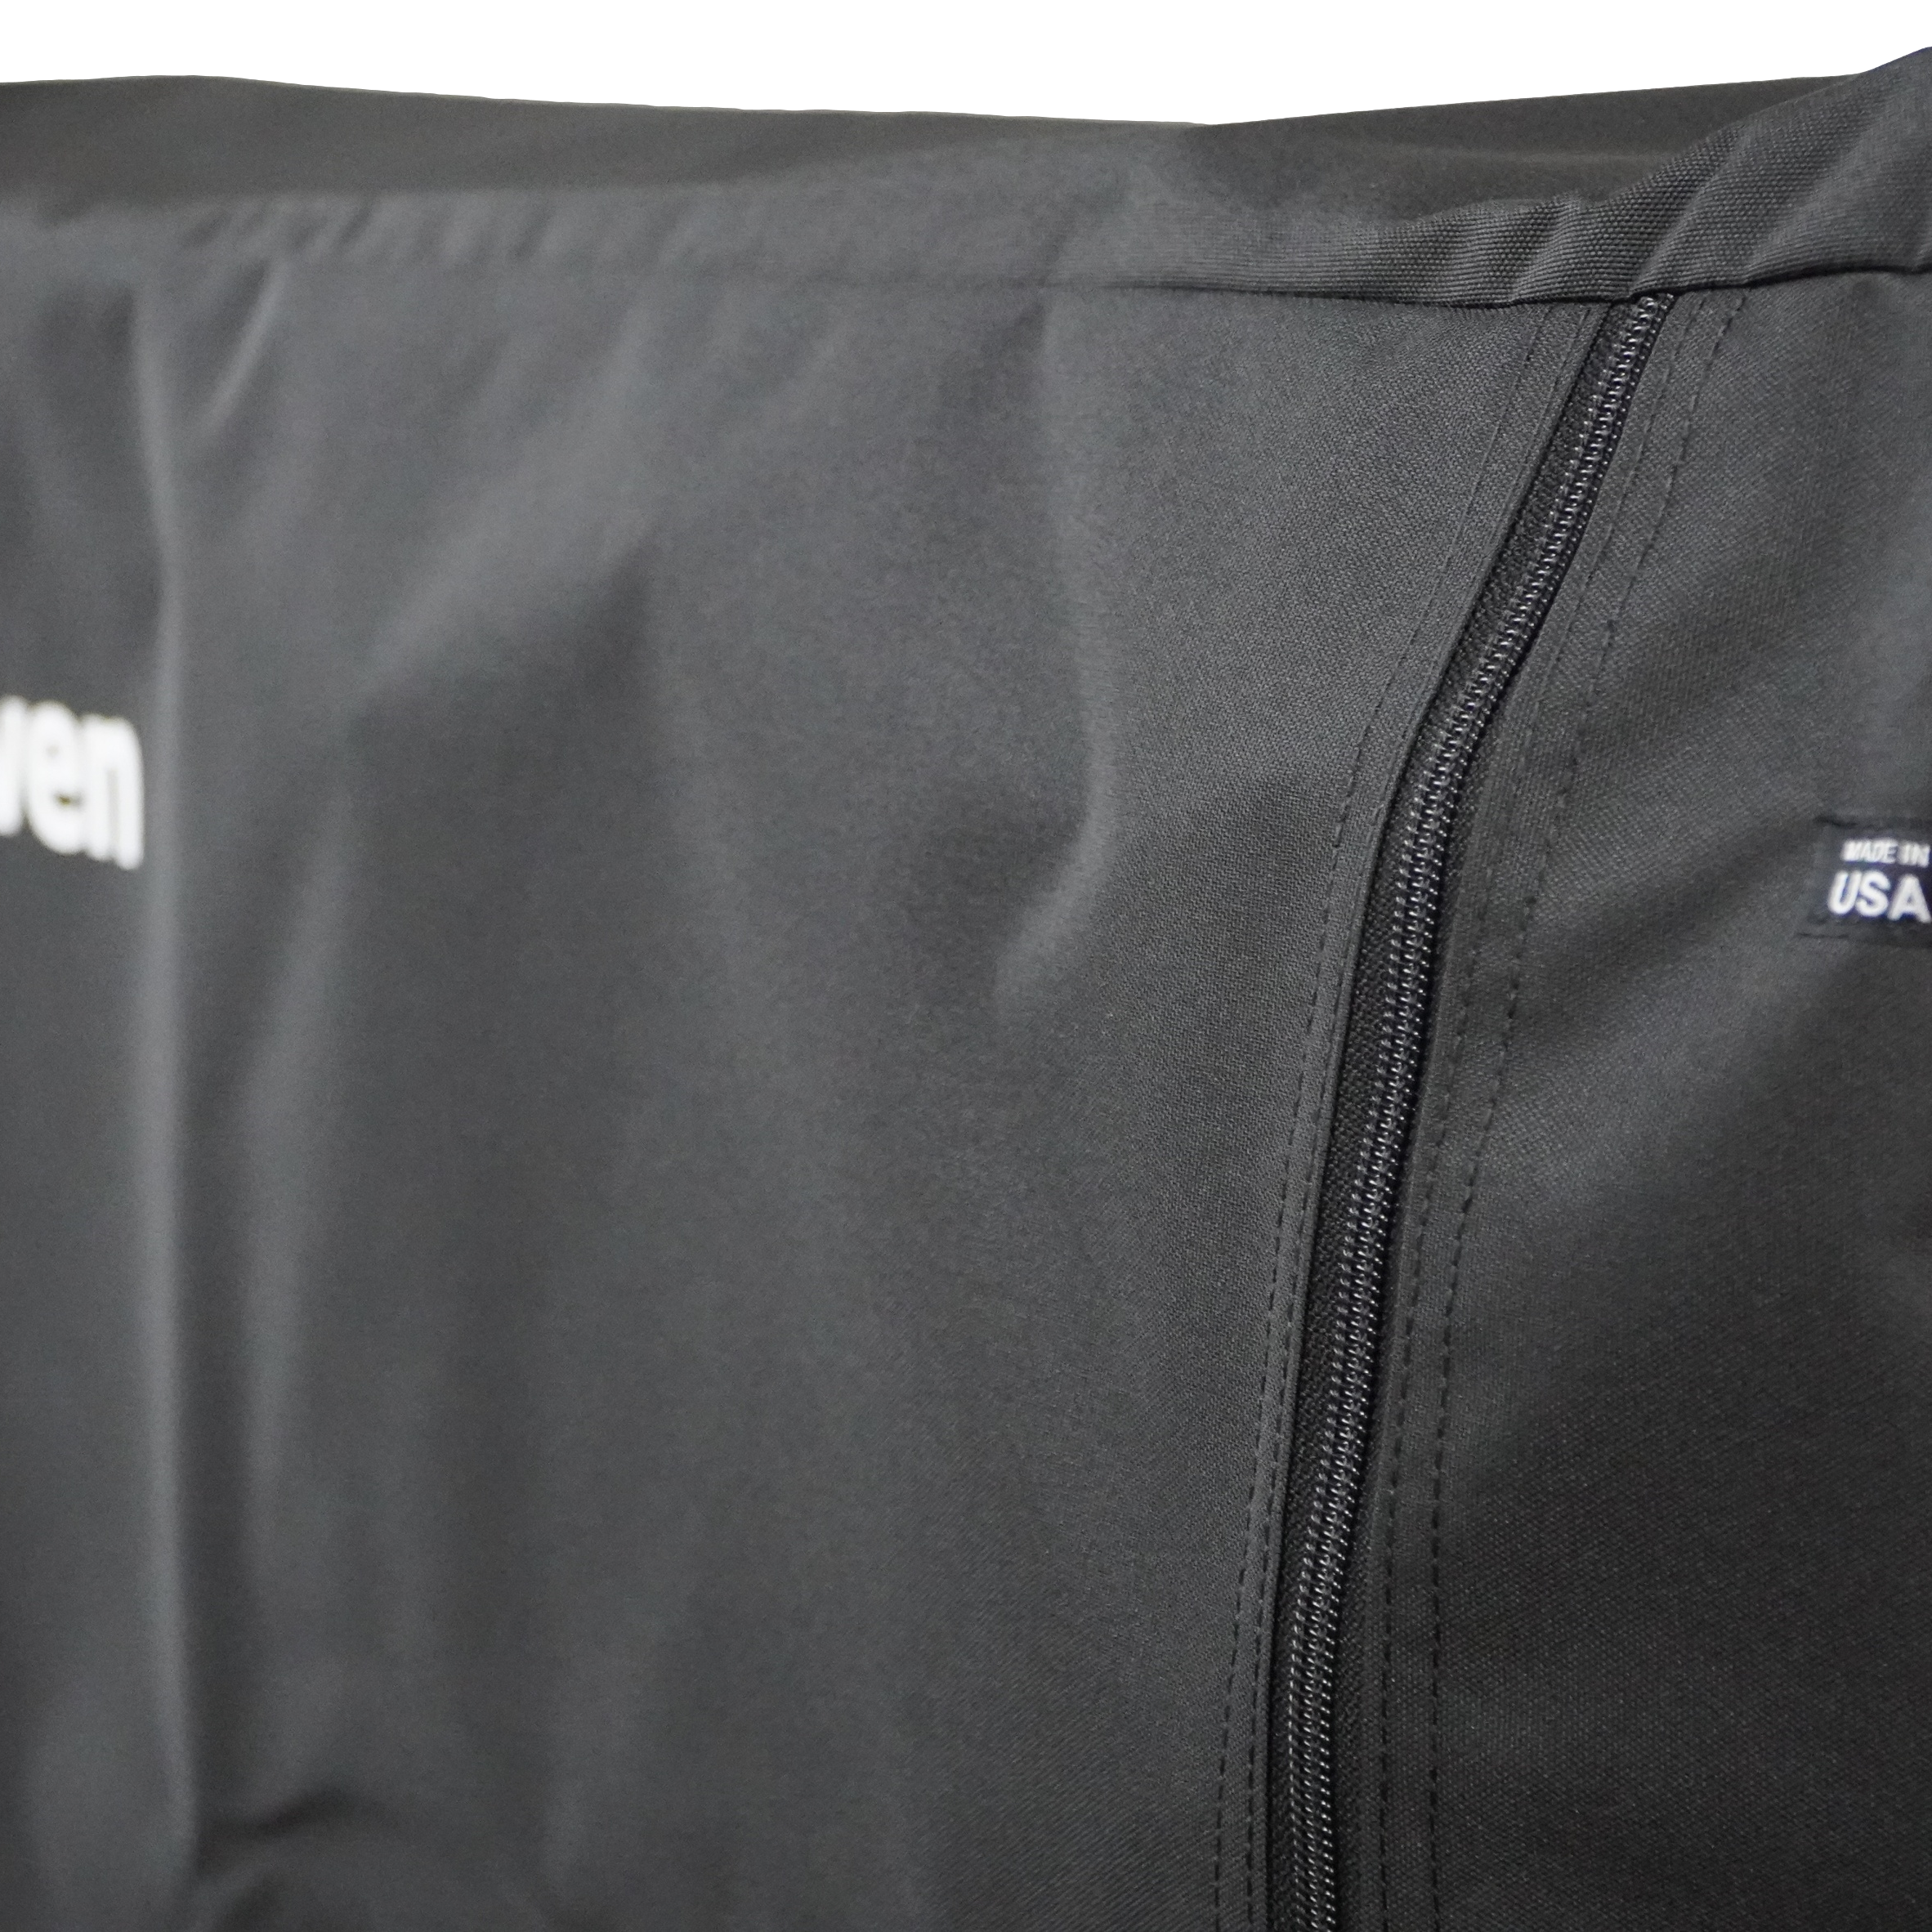
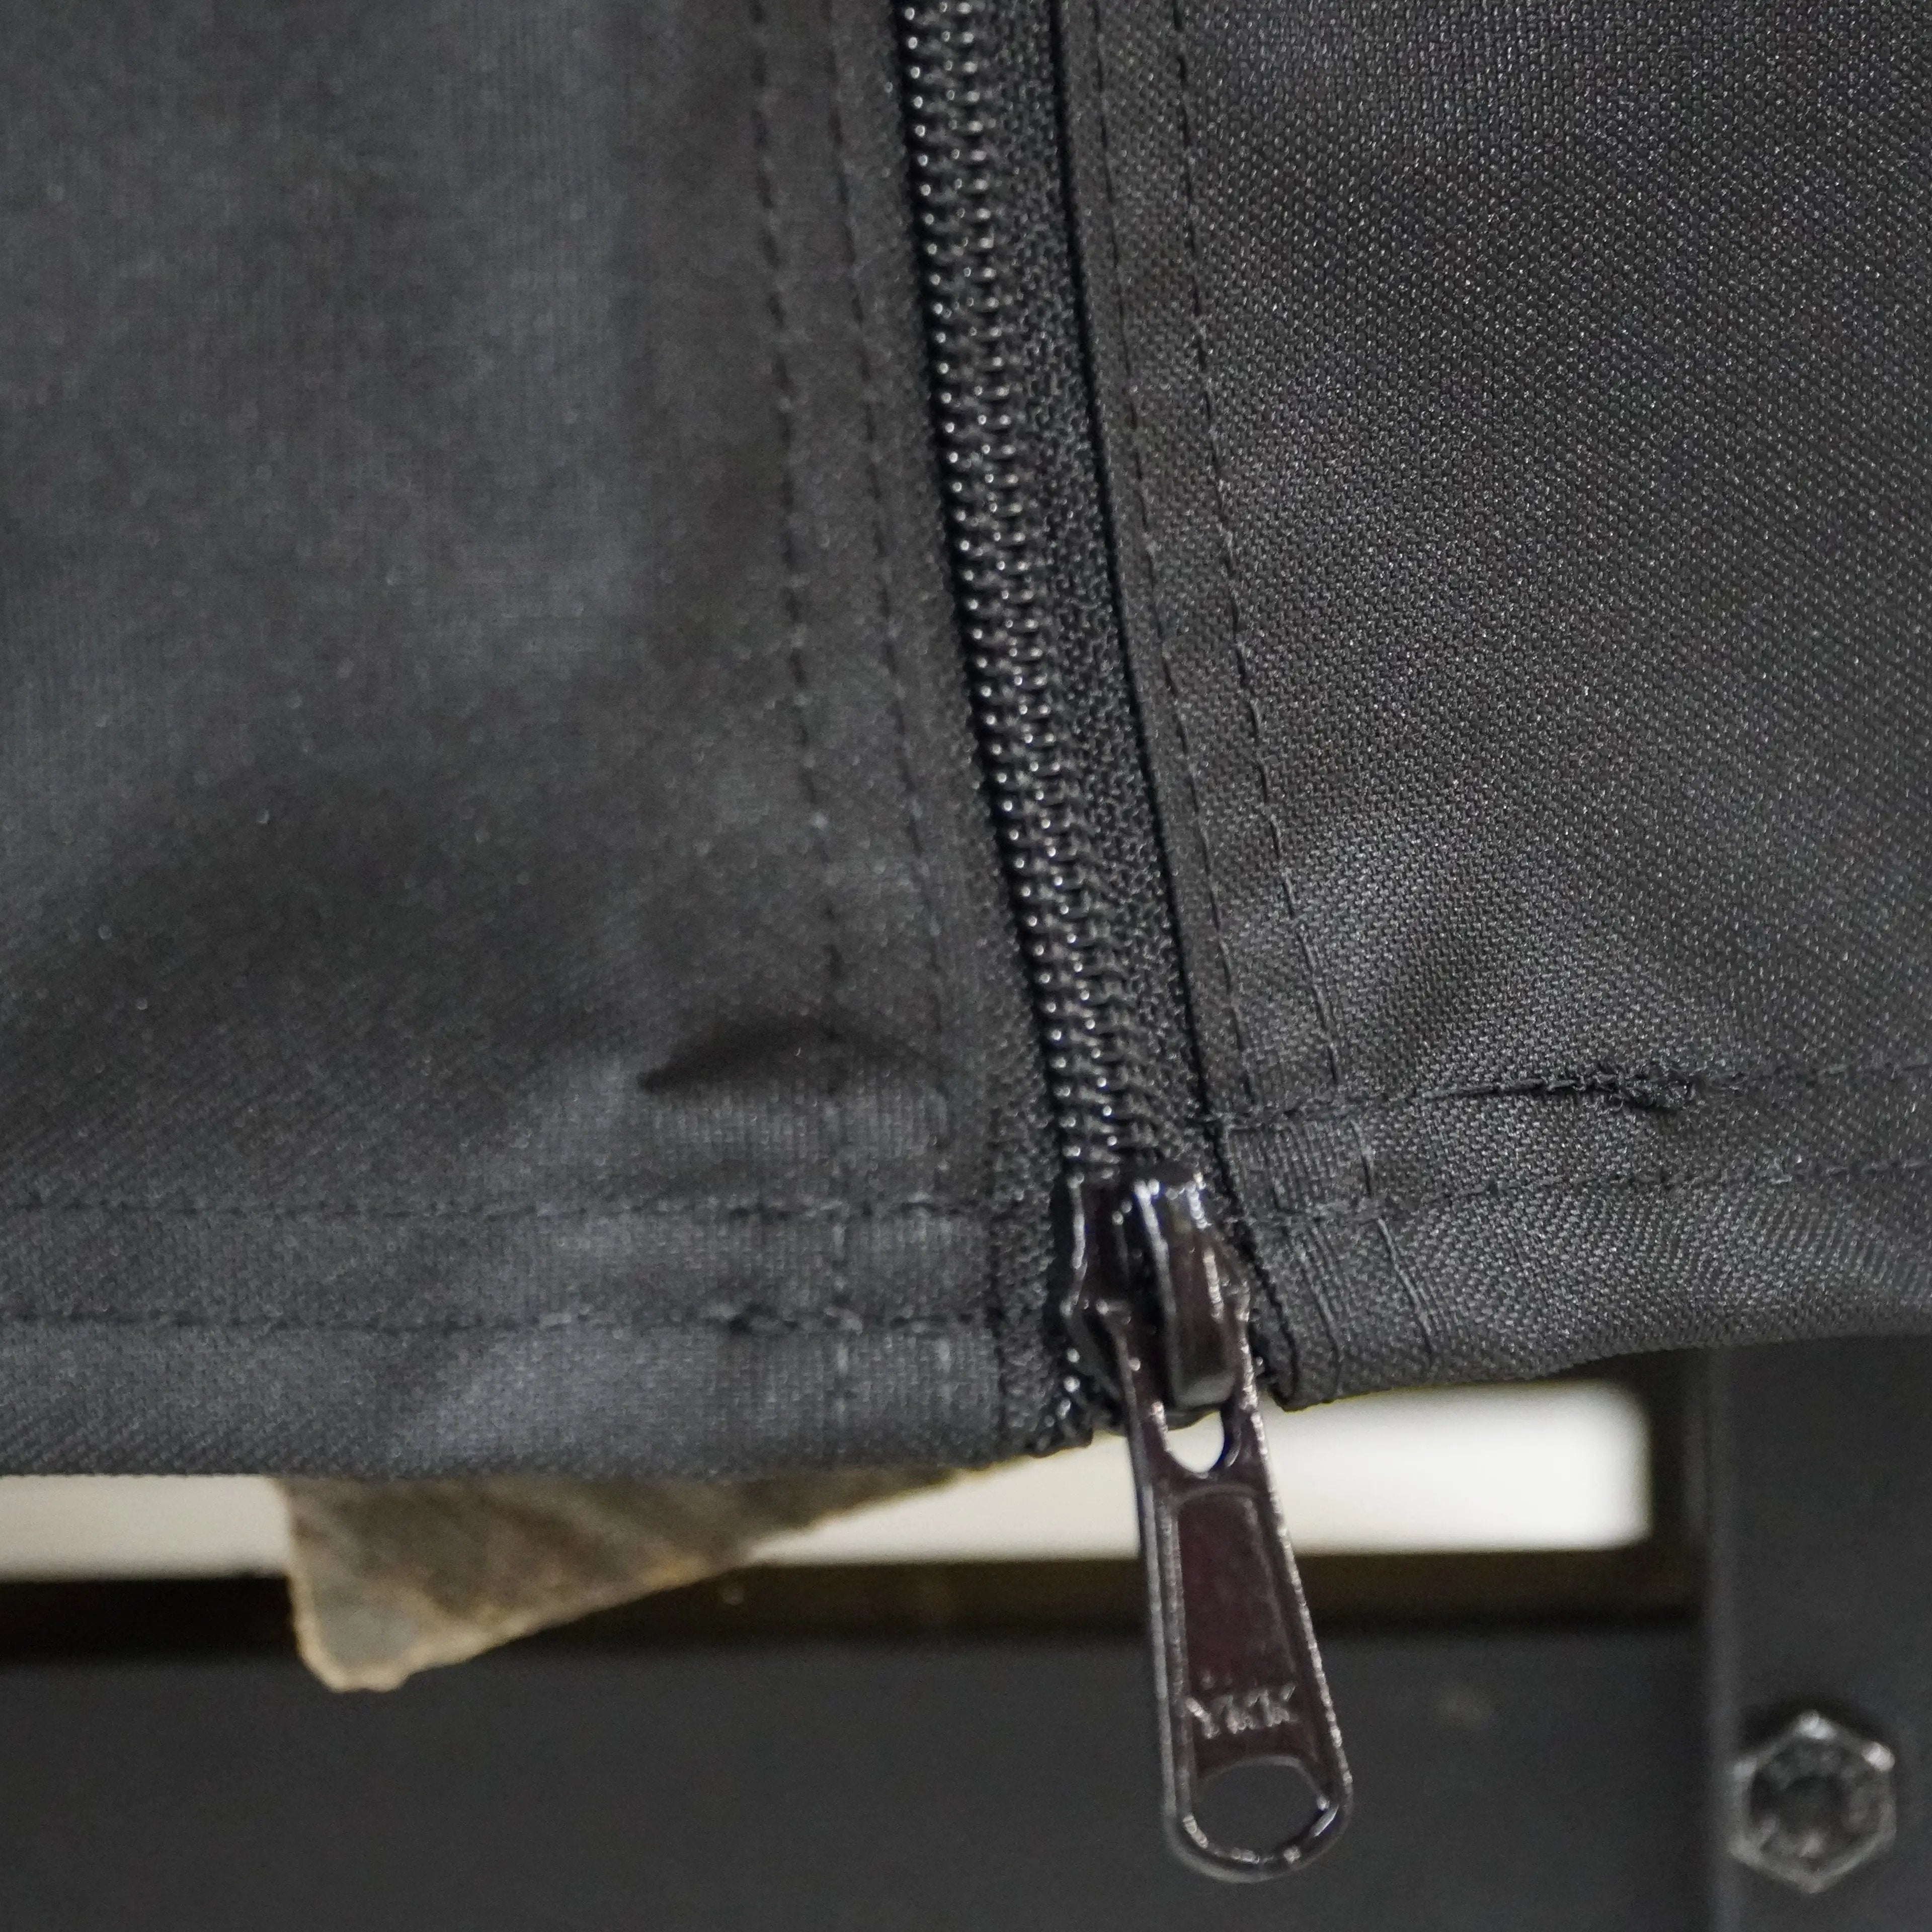
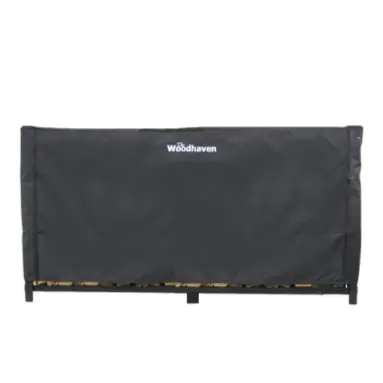
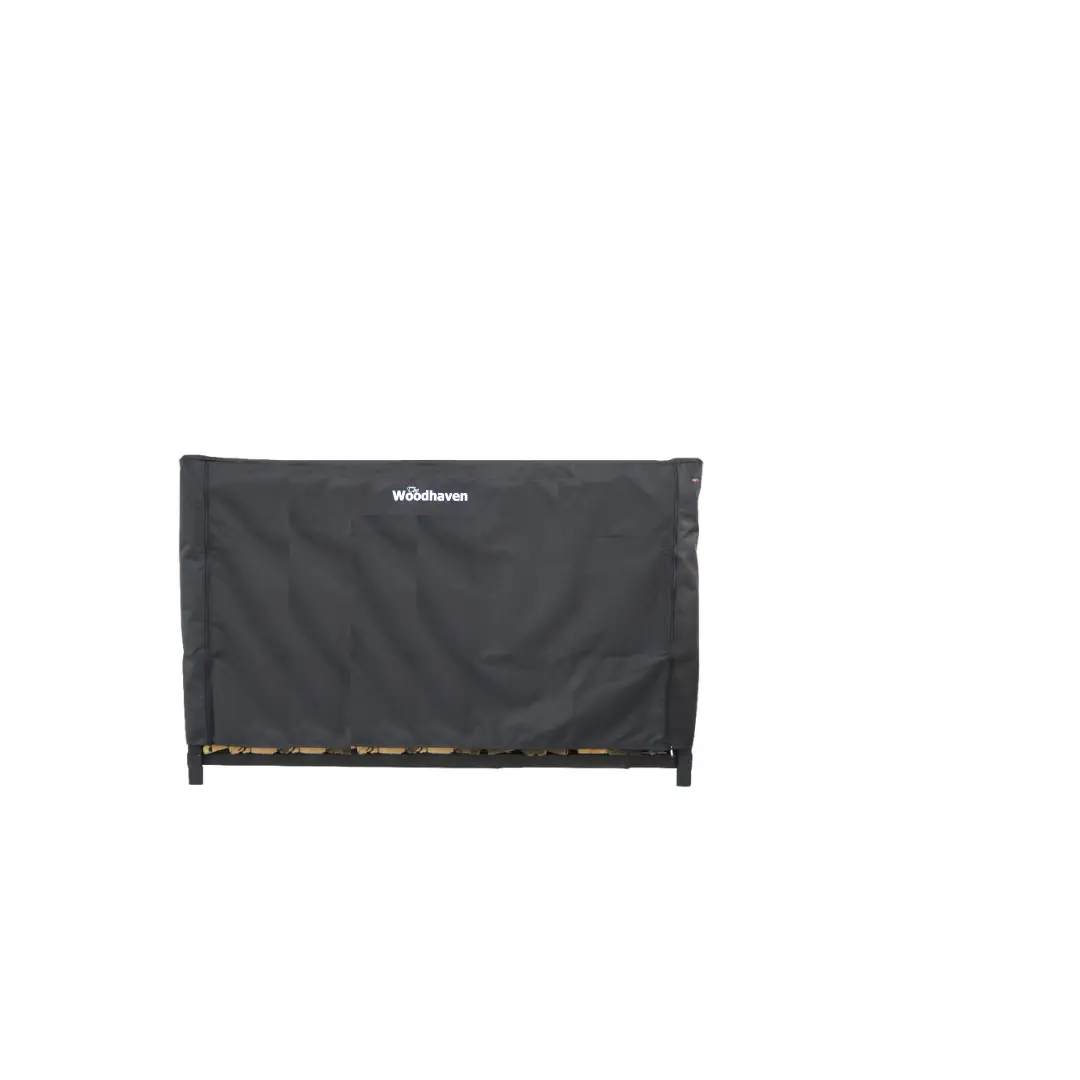
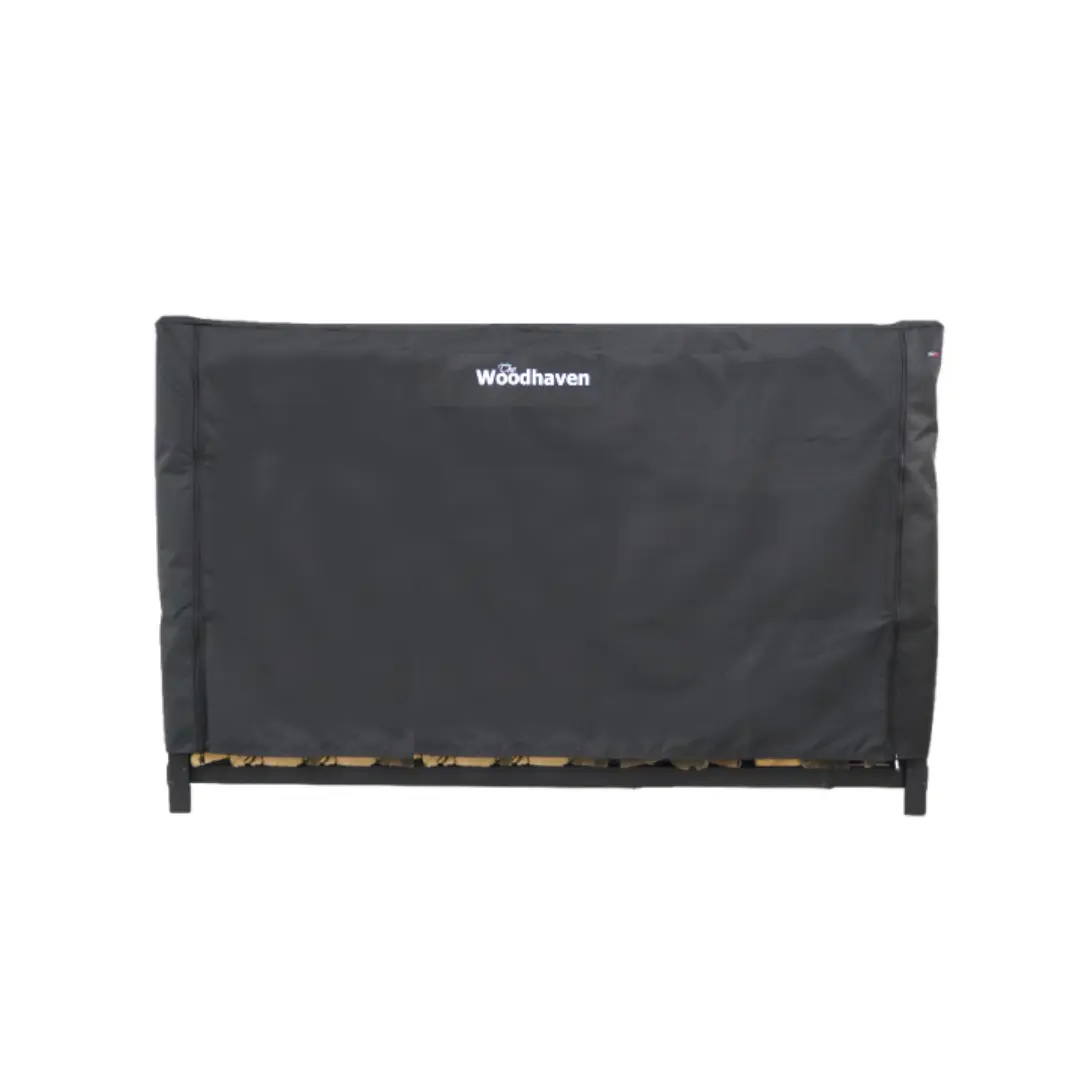
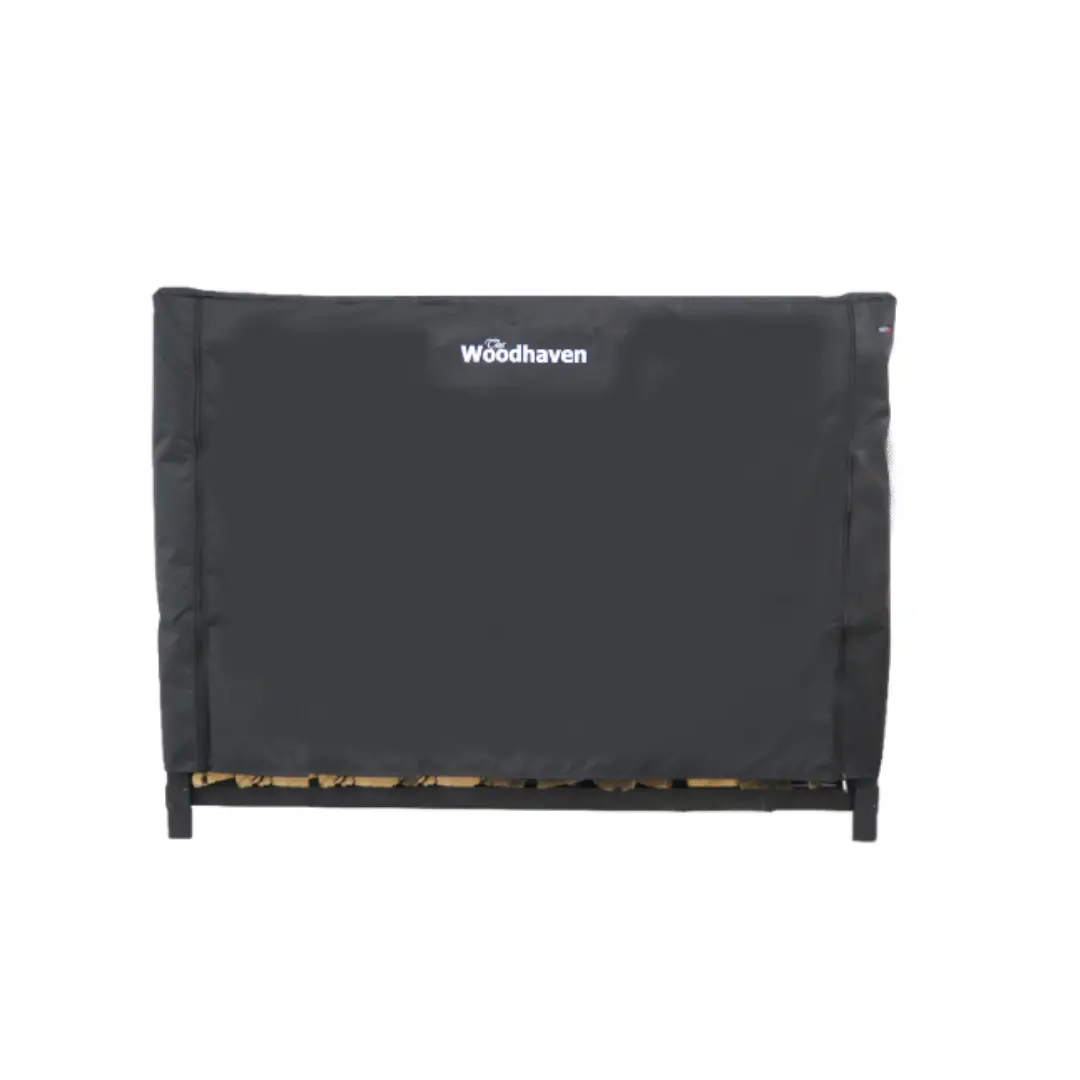
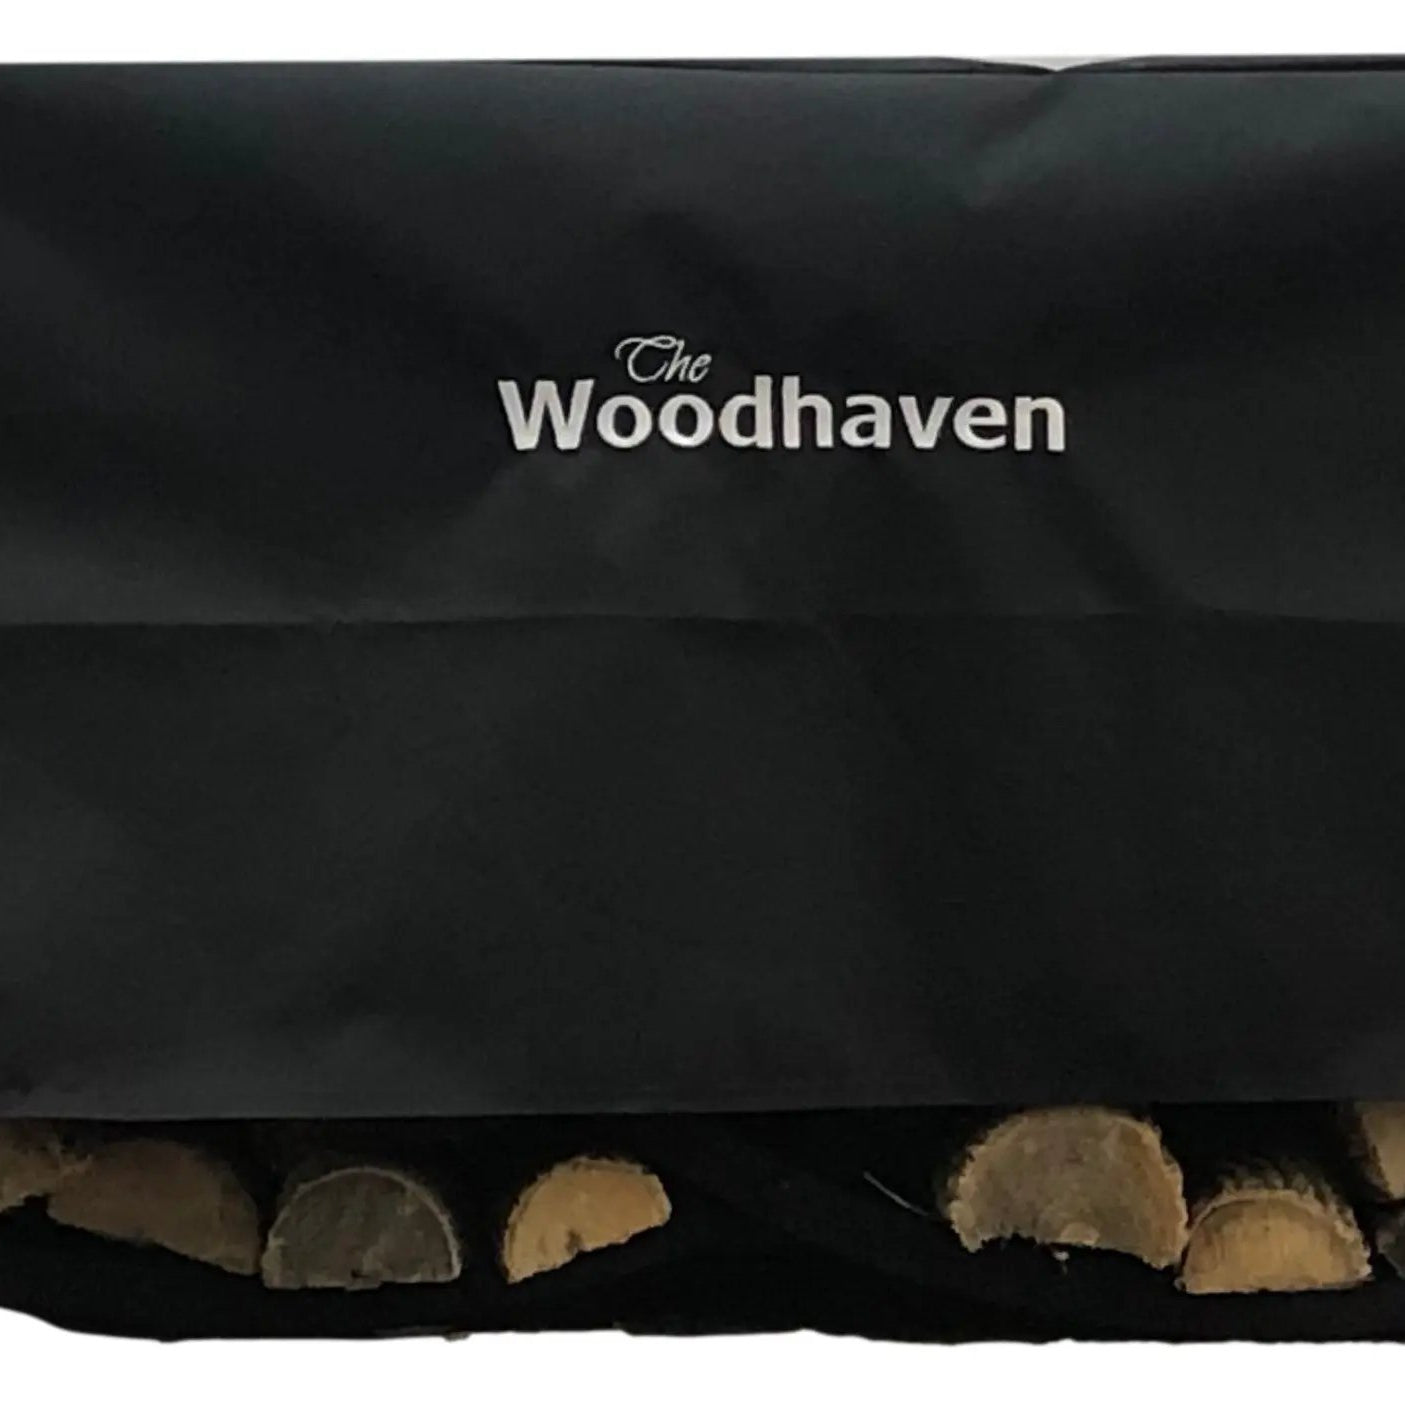
This is exactly the problem a Cordwood Cover solves. It's a form-fitted cover with vents at the peak that let condensation and humidity escape while keeping rain and snow out — no log roof required. The cover attaches with integrated buckle straps that connect directly to the mesh base, so as you remove wood over the season, you simply tighten the adjustable straps to keep everything snug.
Advantages of a Holz Hausen Woodpile
- They look great in any yard.
- The design uses a natural stack effect to dry wood — air rises through the pile as it warms during the day, pulling humidity out as it goes.
- They're genuinely fun to build.
- There's a built-in spot for odd-shaped logs that are hard to stack any other way — just toss them in the center.
- The stack is the rack — no woodshed or rack required, and nothing to rust, tip over, or fall apart over time.
- They can hold a substantial amount of wood, depending on the size you build.
- With a Cordwood Cover, there's no fighting with tarps, bungee cords, or watching the wind rip your cover loose — no matter how well you tied it down.
And yes — it looks really cool.
Happy stacking!
Frequently Asked Questions
What is a Holz Hausen?
A Holz Hausen is a traditional German method of stacking firewood in a round, cylindrical shape. It's also known as a Holtz Hausen, round stack, or beehive stack. The shape creates a natural stack-effect airflow that rises through the center of the pile, helping the wood dry faster and more evenly.
What size should my Holz Hausen be?
An 8-foot diameter is the most common and manageable size for most homeowners. Larger piles (10 feet or more) can be hard to reach into the center, while smaller diameters (around 6 feet) require more skill to stack properly and are better suited for builders with some experience.
Do I need a rack or shed to build a Holz Hausen?
No. One of the main advantages of this method is that it's freestanding — "the stack is the rack." You don't need to build or maintain a separate structure, which saves both time and money compared to traditional woodsheds.
How tall should I build my woodpile?
A height of around 4–5 feet is typical. This is tall enough to hold a meaningful amount of wood while still being safe and easy to reach when it's time to burn.
How do I keep my Holz Hausen dry without building a log roof?
Traditional log roofs aren't fully waterproof, and you end up burning through your roof as you use the pile. A fitted cover — like a Cordwood Cover — solves this by providing a vented, weatherproof top that keeps rain and snow out while still allowing humidity to escape, with adjustable straps to keep it secure as your pile shrinks.
What should I do with oddly shaped logs or short cutoffs?
Save them for the center of the pile. This is one of the biggest time-savers of the Holz Hausen method — instead of trying to fit irregular pieces into a traditional wood stack, you can simply toss them into the middle as you build up the outer ring.
Why does the outside of my pile dry faster than the inside?
The outer logs are directly exposed to wind and sun, so they naturally dry faster. To keep the entire pile drying evenly, make sure to leave a small opening at the top for airflow to escape, and avoid stacking the wood too loosely or too tightly.